It has been a HOT MINUTE since I last updated you all on Maude's progress. Mostly, that's because we took last year off from working on her while I got settled in my "new" office space! I can't believe it's been a YEAR.
So we've been getting back into the swing of things! I forgot to take progress pictures, but we finished all of Maude's insulation!
So we've been getting back into the swing of things! I forgot to take progress pictures, but we finished all of Maude's insulation!
The temperature inside Maude is MUUUUCH more stable now! It'll be much nicer working on her in more extreme temperatures moving forward :)

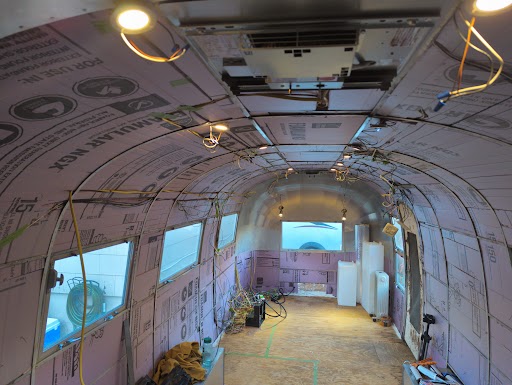
After the insulation was all installed, I spent a million hours cutting grooves into the insulation panels in order to get all of the wiring tucked in a taped down to cut down on friction between the wires and the internal skin. Wouldn't want shorts in the wires that TOUCH metal walls! ZAP! It'll also make it MUCH easier to install the inner skins, having the wires not dangling all over the place. You'll still see SOME dangling wires in photos, but that's because they will be going into some of the interior walls we'll be building out later.
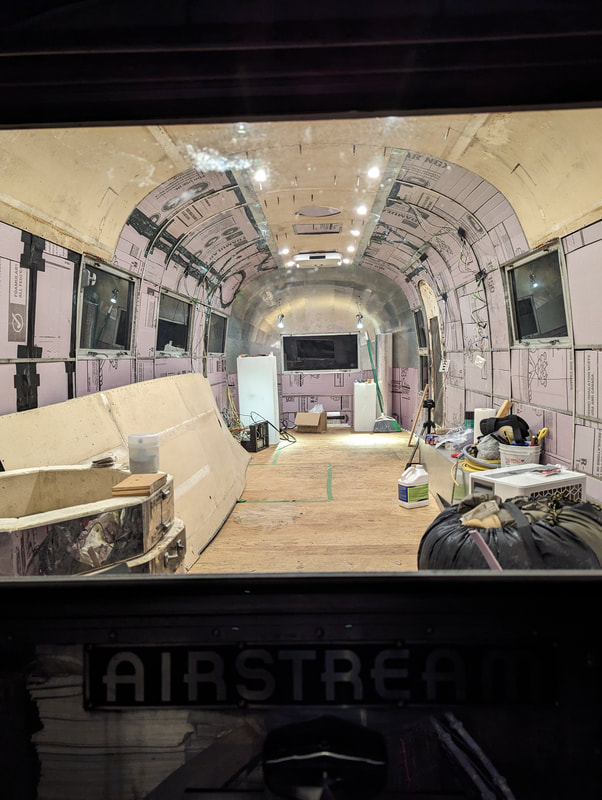
THIS was a SUPER exciting next step! It's time to start getting the inner skins installed!!!!! It finally feels like we're making forward progress!
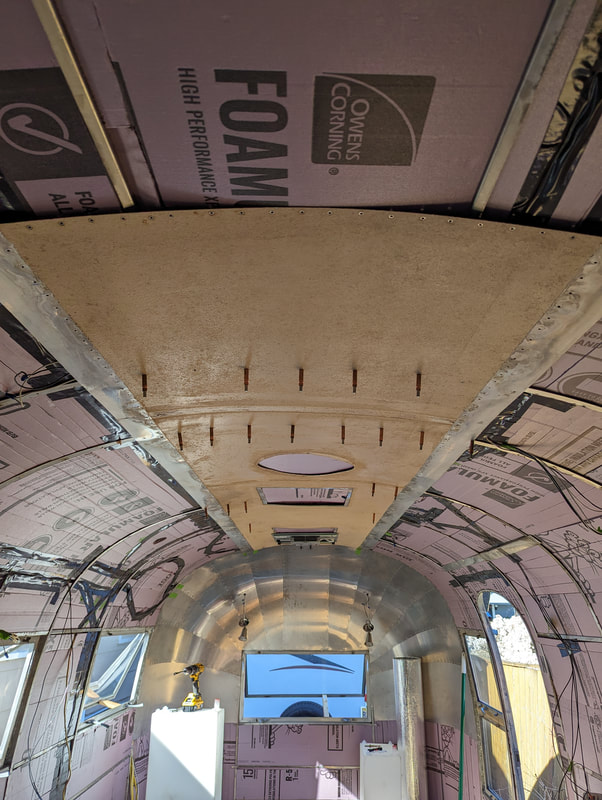
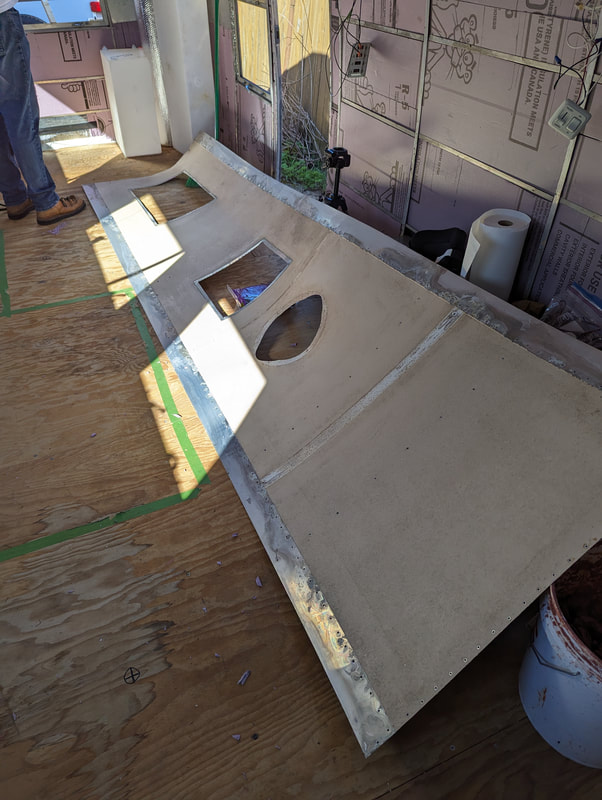
HOLYCOWHOLYCOWHOLYCOW! Our biggest worry is/was that the inner skins will be really difficult to get reinstalled. Because we had to kind of guess at the original shape of Maude, particularly at the base of the walls where they meet the floor and the trailer frame where she had been so thoroughly rotted out, we aren't sure if all of the panels will line up exactly. THANKFULLY, the uppermost piece fit PERFECTLY! We didn't have to drill ANY holes to test fit it!
You'll notice some holes in the ceiling piece - these are where we adjusted the locations of vents and light fixtures. We'll need to patch these soon!
Not shown : we spent some time determining the final positioning of the lights! We used a laser plumb to mark the floor and ceiling where we wanted the lights. Unfortunately, our first placement was not going to work! Once we got that ceiling panel up and test-fitted the AC unit control panels, we realized that the lights would need to shift 2 inches laterally, so that they weren't located under the AC panel ;) Whoops!
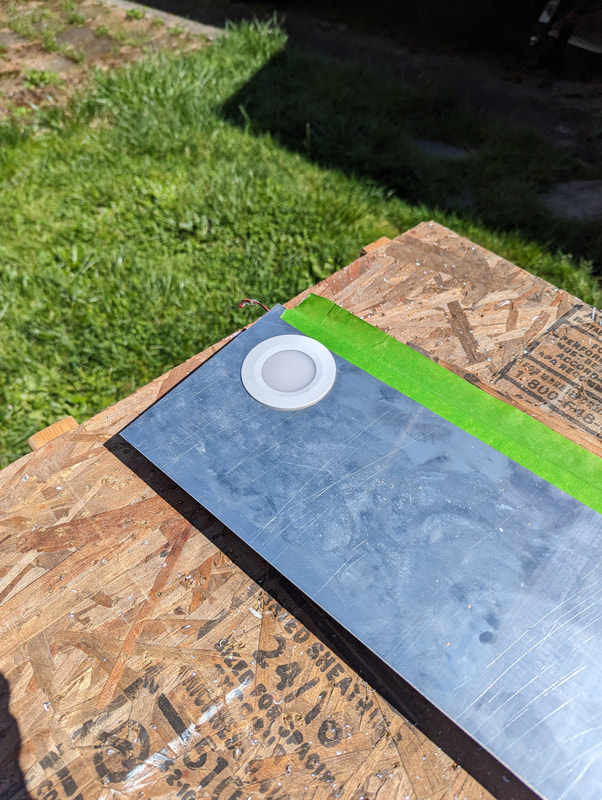
We did a test cut with the hole saw to make sure that the puck lights fit properly - WIN!

To cut the holes for the lights, we jammed a scrap piece of wood between the insulation and the inner skin. It worked really well to protect the underlying structure from the saw!
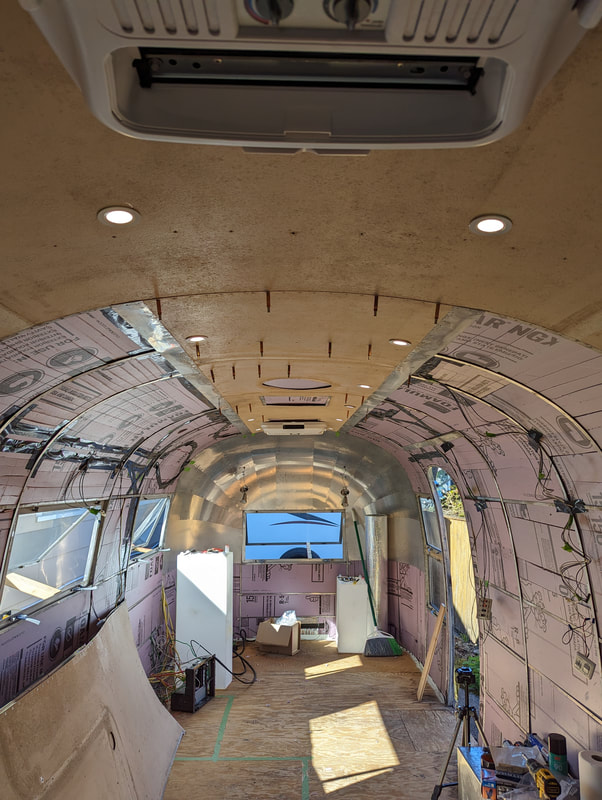 |  |
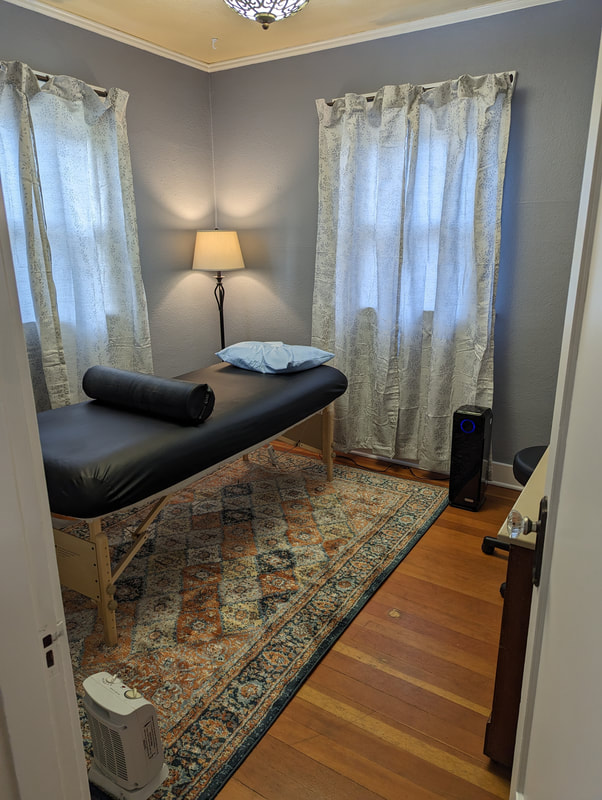
And here they all are! Holes cut, wires attached and lights installed! We were a little bit worried that these little lights wouldn't provide enough light to work under, but they're plenty bright! AND! In the treatment room, the lights are dimmable!
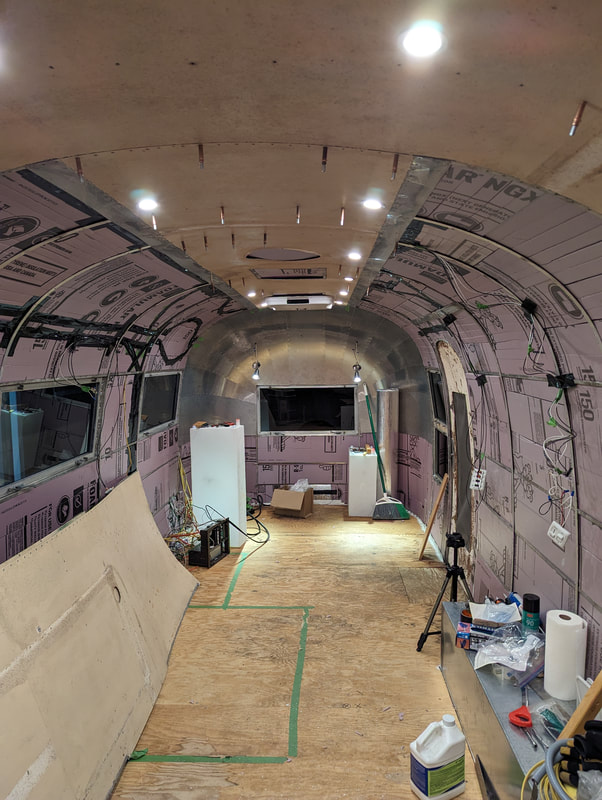
See? PLENTY bright!
It's pretty exciting to be back to working on Maude, and particularly with the projects we're finally able to be working on. She has been a HUGE project, and it finally feels like we're more than half way done ;)
Until next time! <3 Becca
It's pretty exciting to be back to working on Maude, and particularly with the projects we're finally able to be working on. She has been a HUGE project, and it finally feels like we're more than half way done ;)
Until next time! <3 Becca