Lunar New Year predictions for the year of the Yin Water Rabbit by CT Holman
I wish you all a very Happy Lunar New Year!
Thrive Acupuncture PDX |
|
![]() Image by David Mark from Pixabay January 22nd is the Lunar New Year of the Yin Water Rabbit! I don't have any experience in Chinese astrology, so here's a link to what in store for us - make sure you scroll through and find your animal sign to get more details for yourself :)
Lunar New Year predictions for the year of the Yin Water Rabbit by CT Holman I wish you all a very Happy Lunar New Year!
0 Comments
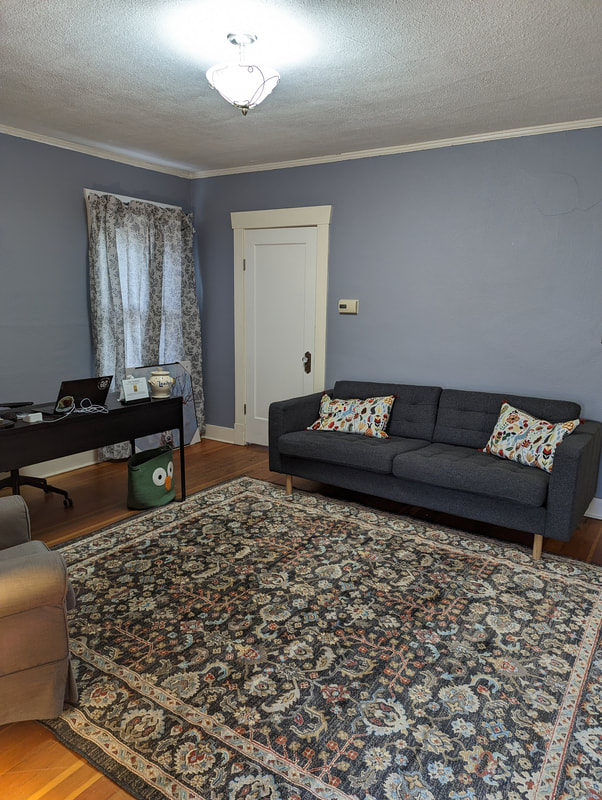
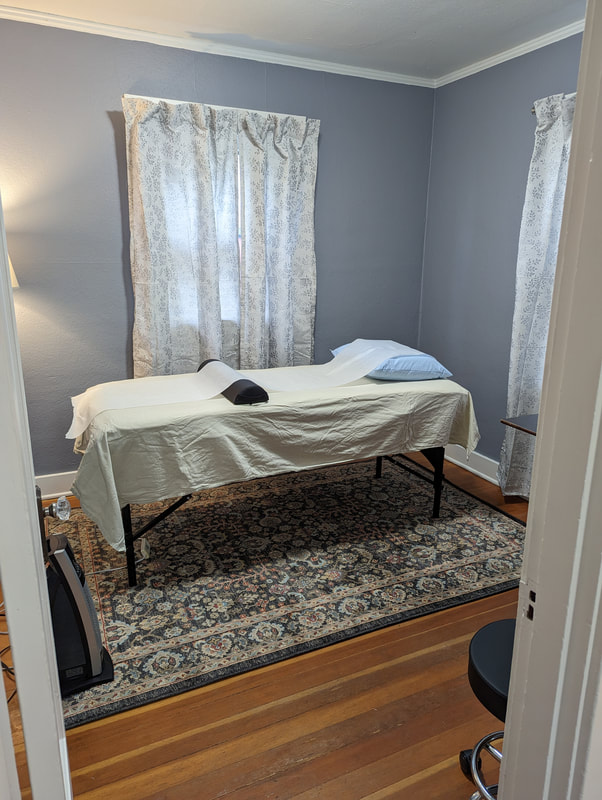
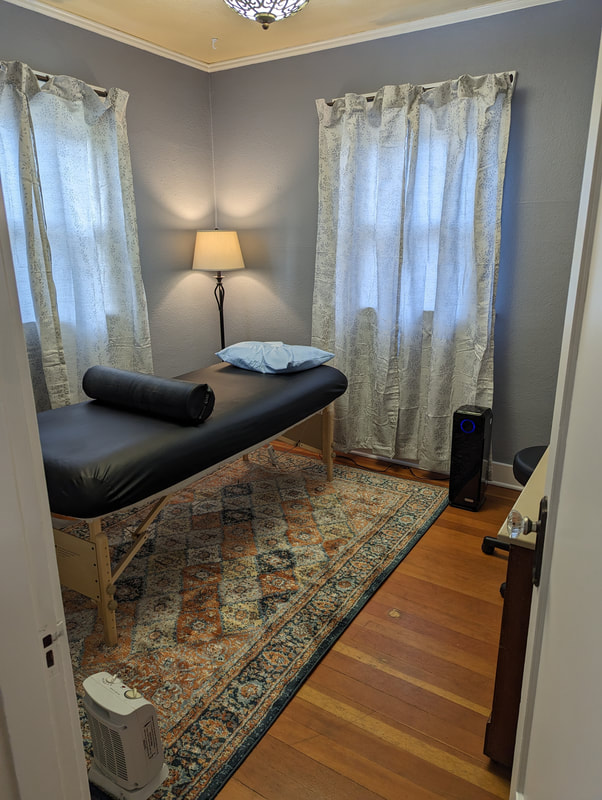
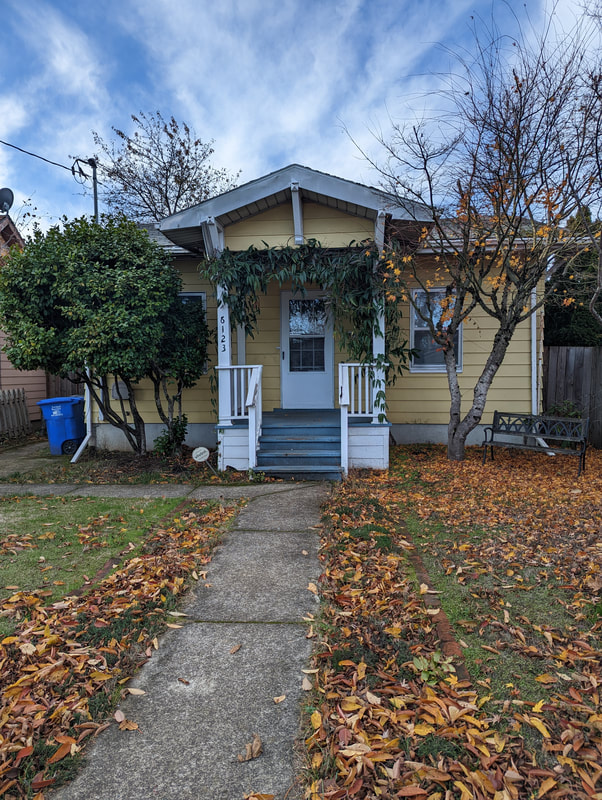
Happy New Year! I hope you had some really lovely holidays, set some nice intentions for the year and are ready to feel your best yet in 2023 :) I'm super excited to be working with you out of my new space - located at 6123 SE 83rd Ave, Portland, OR! Isn't it sweet? It's the perfect size for an acupuncture clinic! I have my very own waiting room now! You'll notice some minor changes in the coming days as I fully get settled into the space - I've got to get the art situation all figured out! :) Two cozy, cozy treatment rooms! An extra treatment room means more appointment slots for your convenience!
Once again, Happy New Year, and I'll see you all soon! <3 Becca There are a lot of changes happening around here at Thrive! I have decided to go out of network with all Regence/Blue Cross Blue Shield plans beginning January 1st. This means that I will no longer bill them directly for you. Instead, I will provide you with a receipt that should allow you to be reimbursed by Regence.
Let me know if you have any questions! ![]() Image by Carlos Insignares from Pixabay As some of you may know, I've been taking advanced coursework in Chinese Herbal Dermatology, and I just finished up this past weekend! Over the course of four 3-day weekends we covered a LOT of ground! I have loved getting a deeper understanding of how our skin works, and how to help shift the body when something isn't going right with our skin. Many of the conditions that we covered aren't treated all that successfully using biomedicine, but can be greatly improved using herbal medicine!
The skin diseases that we covered are:
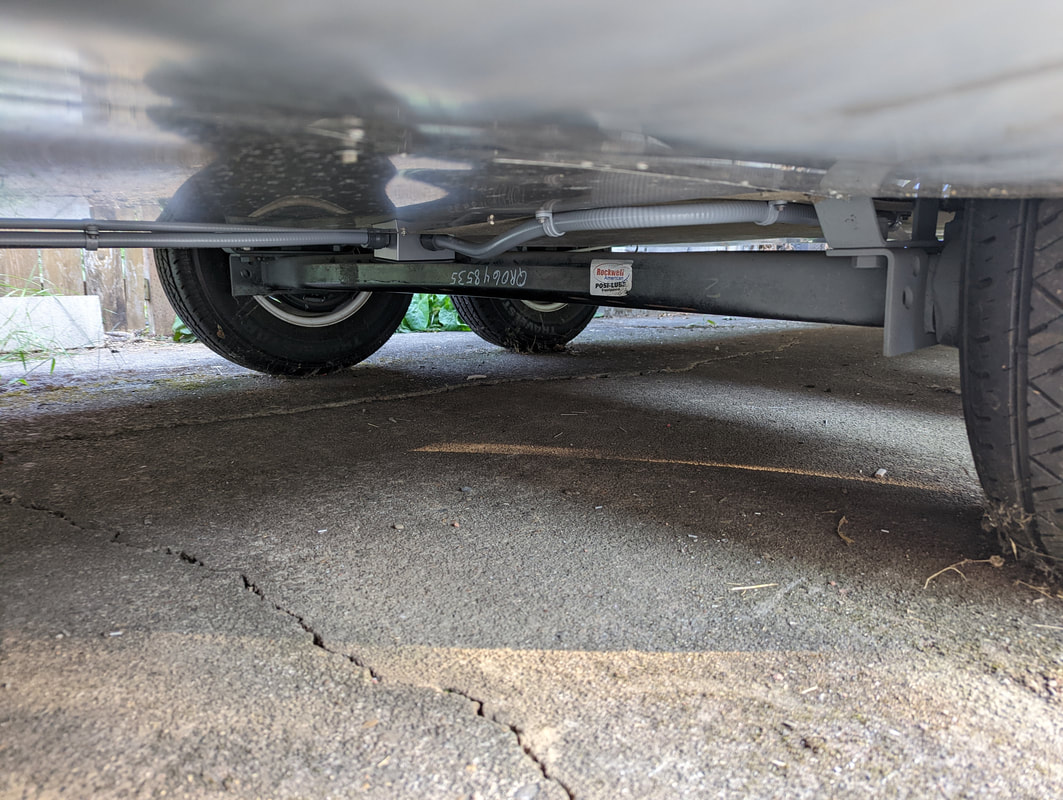
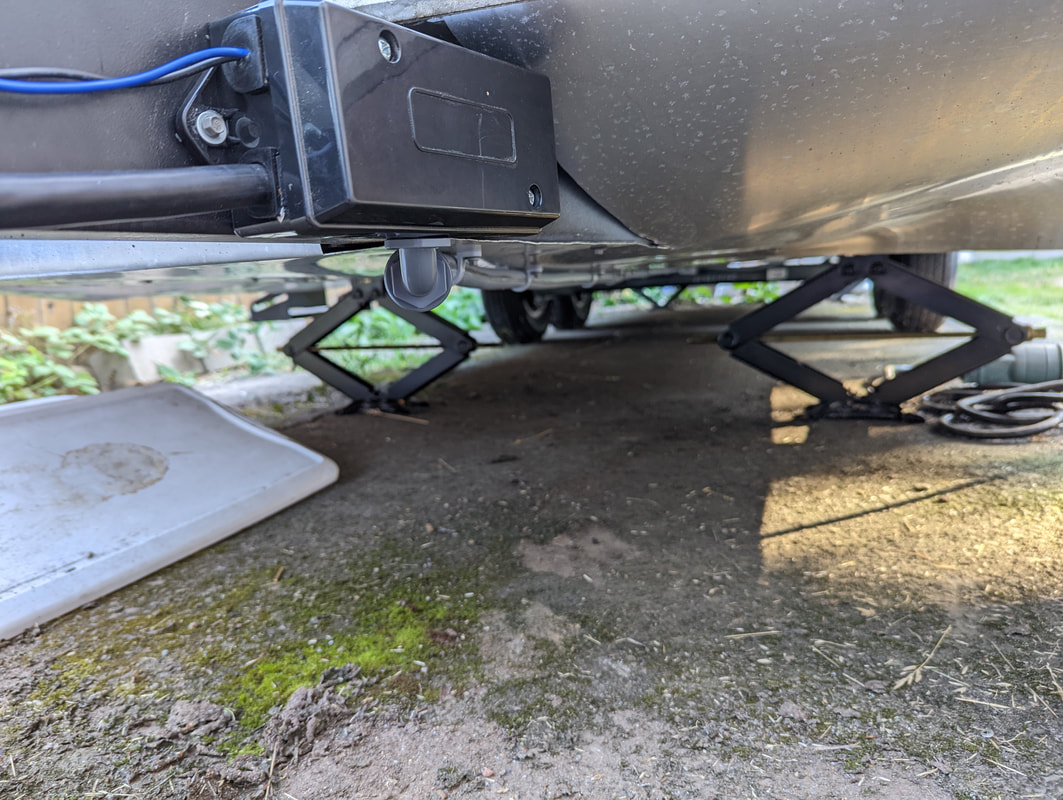
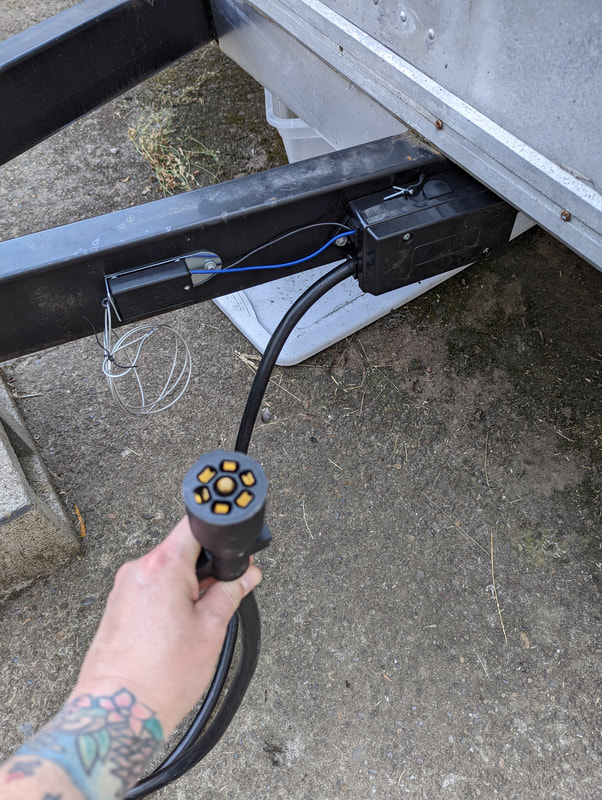
While I've had pretty good luck in treating some of the above conditions prior to this coursework, I look forward to being even more effective and efficient at helping you guys get clear and healthy skin! If you have questions about a skin condition you, or a loved one, are struggling with, please feel free to send me a message! If you're ready to get on the road to happier skin, schedule an appointment today! This weekend, we worked on getting the brakes wired! Poor Mike had to crawl under the trailer again, but we're fairly certain this is one of the last times at least! He'll still need to get under there when we go to do the plumbing and the valves for the holding tanks. That'll be a fun job ;) We ran the wire from the brakes through a protective conduit (the grey tubing). The brake lines meet up with the rest of the external lights in the 7-wire trailer controller (the black box) at the front of the trailer. And here's how the trailer will plug into an outlet on the tow vehicle so that the brakes and lights will be controlled by the truck! The little black box with the silver wire coming out of it is an emergency brake. The little wire gets attached to the tow vehicle. If the trailer were to break loose from the tow vehicle, that little wire pulls out of the box, triggering the trailer brakes to engage which stops the trailer from running wild and free! (Sorry, Maude, no solo-adventuring for you!)
Until next time! <3 Becca This weekend we got the external lighting all wired up! We're talking brake lights, turn signals, running lights and even the little light for the license plate! We can't test that the brake lights and turn signals work in conjunction with the tow vehicle until we get the 7-wire trailer harness installed (which is our next project!), but we know the wiring is good! The trailer harness is what connects to the tow vehicle and controls the lights and brakes.
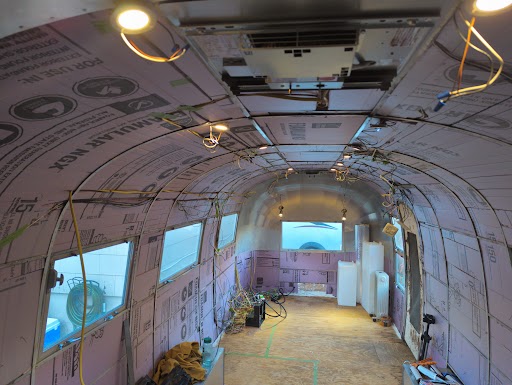
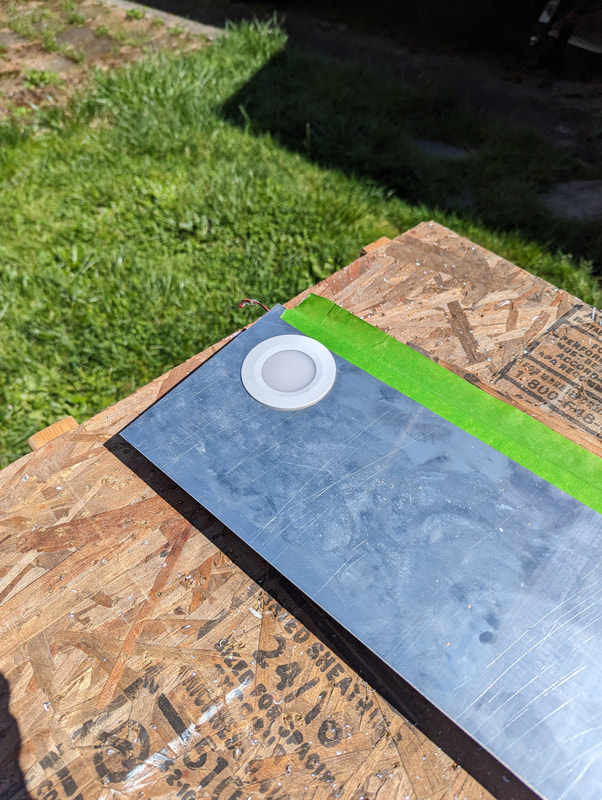
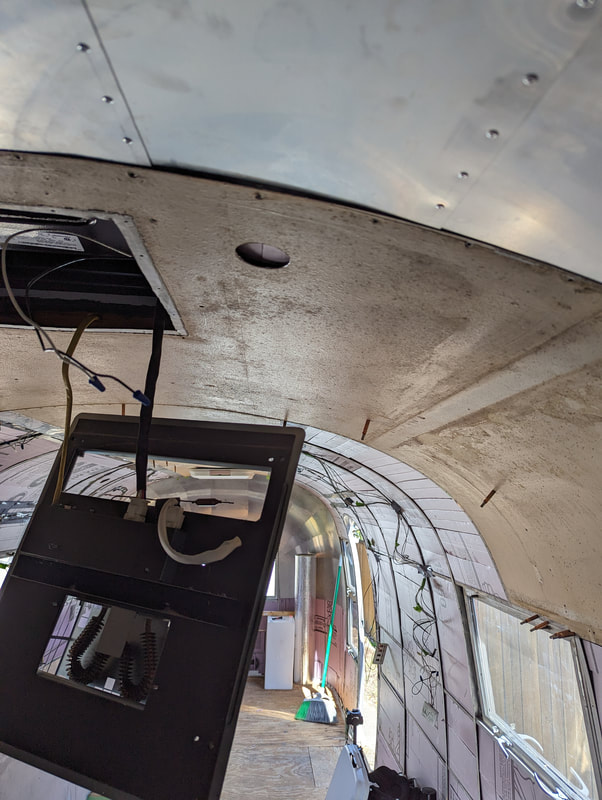
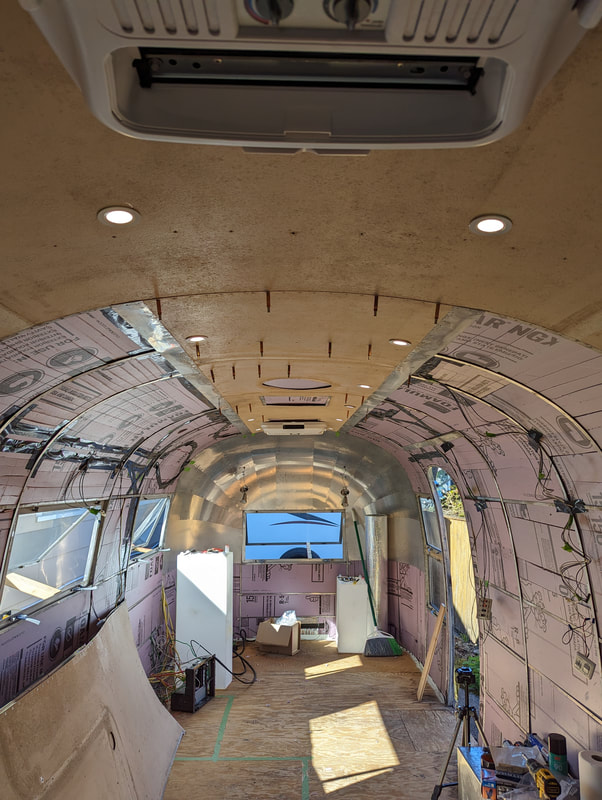
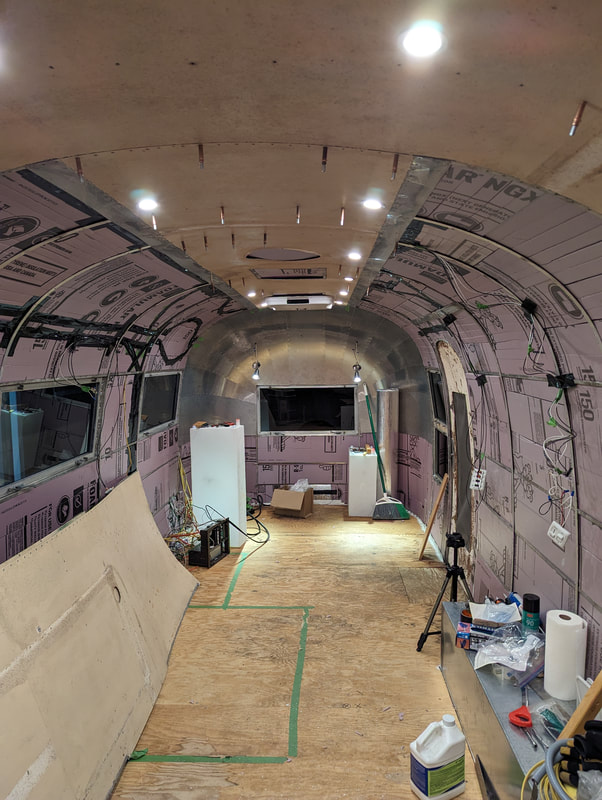
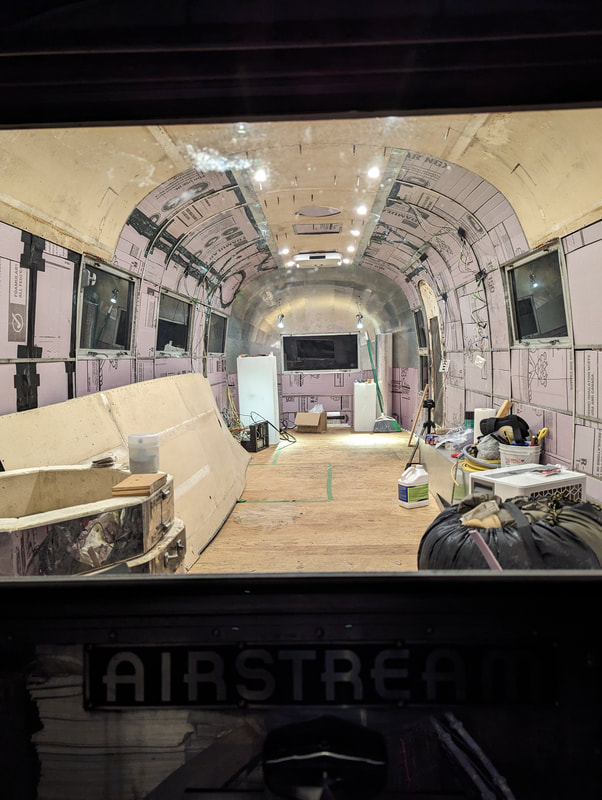
Wiring is super boring, photographically, so this is a super short blog post, but please enjoy the photos we took of the lights in action! <3 Until Next Time! <3 Becca Now that we got the end caps completed, we've been able to move forward! This weekend felt like a HUGE win in the moving-forward department! We got all of the interior (and a little of the exterior!) lighting wired up! The little puck lights are temporarily being held in place with tape. This allows us to make sure that everything works before we have to disconnect the pucks to install the interior skins. It also allowed us to test that the lighting is bright enough (particularly in the rear treatment room!) They work!!! And I'm fairly certain these little guys are bright enough! I'm not going to say FOR SURE they're bright enough, since we don't have the inner skin installed and painted yet. I'm sure the light will reflect differently, but I think it'll be great :) I'm most excited about the dimmer switch that we installed for the treatment room lights so that I can turn the lights down while you guys rest :) LOOK AT THE ADORABLE PORCH LIGHT! Eeeeeeee! So cute :) This is the bathroom light fixture. This sucker is SUPER bright! Y'all will have NO problems seeing to wash your hands properly LOL And then we had to make sure to check the brightness once it got dark! Well.... it wasn't all that dark, but I just couldn't wait any longer to get nighttime photos! It feels really nice to have a project go smoothly and end with such a visible win!
Next up is wiring the external lights - the brake lights and running lights! Until next time! <3 Becca These end caps have been a real trial. We've been working on them for almost a year at this point! We've certainly taken on some side projects during this time, but the end caps have been our main focus. Here's where we started this weekend: One. Panel. Left. If you'll recall, last weekend we had to cut our own new panel, because the one we ordered was about an inch shy width-wise. Here it is being installed! Last panel held into place with Clecos! ALL. DONE!!!!!! It was a quick last panel (we've gotten PRETTY efficient with our panel installing skills! ;) ), this one took right about an hour. It turned out so beautifully! I just love the way the panels curve and angle in the end caps :)
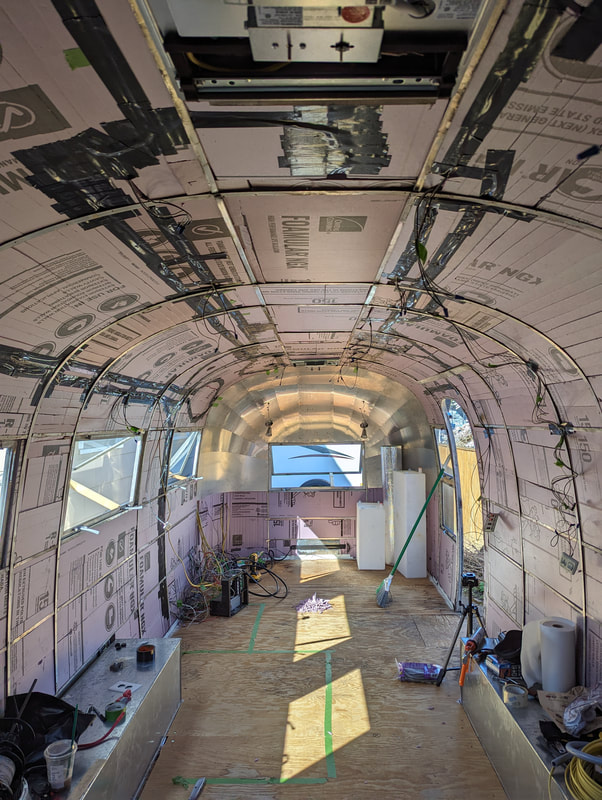
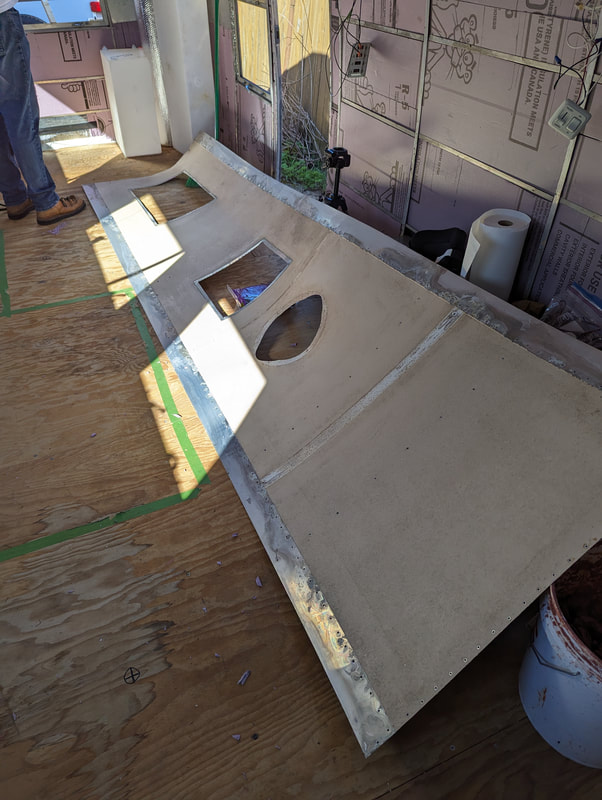
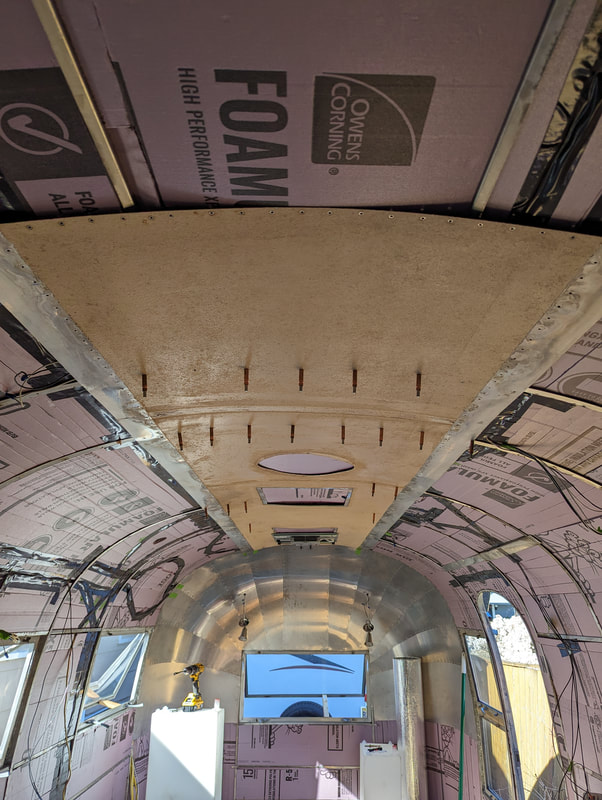
I'm very excited to move onto the next project(s). We need to finish up the 12-volt wiring, installing the purple insulation and then we're ready to replace the inner skins! Once the inner skins are installed, then it's time to build out the interior! Here's to finally moving past the end caps LOL! Until Next Time! <3 Becca Time to get back to working on the rear endcap! Here's where we started: You can see the copper-colored Clecos in place still. Our rivet gun wasn't working correctly the last time we worked on Maude, so we got a new one. HOLY COW what a difference! We don't think the old one ever worked properly. This one does rivets with just one pull of the trigger, as opposed to the old one which always took at least 2! So we started by getting caught up on the rivets. Tada! Super pretty! Time to add more panels! And another! And another! But oh no! You see that central gap? Turns out it's wider than our last sheet of aluminum. #&@^$%!&!&^%$&^@$! Somewhere we miscalculated <sigh>. Again. As opposed to ordering a new cut sheet from the metal shop, we decided to try our hand at cutting a new sheet ourselves. Luckily, we have all the cut-offs from having the shop cut the panel pieces for us, and a couple of them were large enough. In the past we'd had terrible luck at getting smooth edges with both the electric shears and the manual ones. Both made really ugly/raw-looking edges. So, Mike came up with a different plan: Above is the sheet we were going to cut, with a scrap piece of aluminum being used as a straight edge. Mike used a razor knife to "cut" the sheet. Cut and cut and cut and cut. I'm not sure how many passes he made, but it was a LOT. But it WORKED! We were finally able to bend the aluminum along the cut and snap off our sheet! Some sanding along the cut edge and it's ready to be installed! I can't believe that worked LOL! I'm REALLY glad we didn't have to do them ALL this way, but SUPER glad it worked for this one sheet!
We had hoped to finish the endcap this round, but Maude just never cooperates, does she? LOL The number of curse words that flew out of my mouth (and I'm GENERALLY a potty mouth!) was fairly substantial. I may have also crazy-cackled because of the absurdity that has been working on these stupid end caps. I swear, if I never have to do an endcap again, I'll be a REALLLLLLLY Happy Camper! Until next time, <3 Becca We're feeling fairly encouraged by the finishing of the front end cap! This past weekend we got some more work done on the rear end cap <3 Here's where we started: Unfortunately, our rivet gun seems to be struggling (taking wayyyyyy too long for each rivet), so some of our work time was spent running to the local hardware store to see if they had a new one. They didn't. We continued on, leaving more Cleco holders than we were wanting (we're enjoying seeing the more-finished product as we go along!). You can see that we did get SOME rivets done - those were mostly done by me with the human-powered rivet gun. My hands HURRRRRRT from using it! We'll find a new riveter soon ;)
|