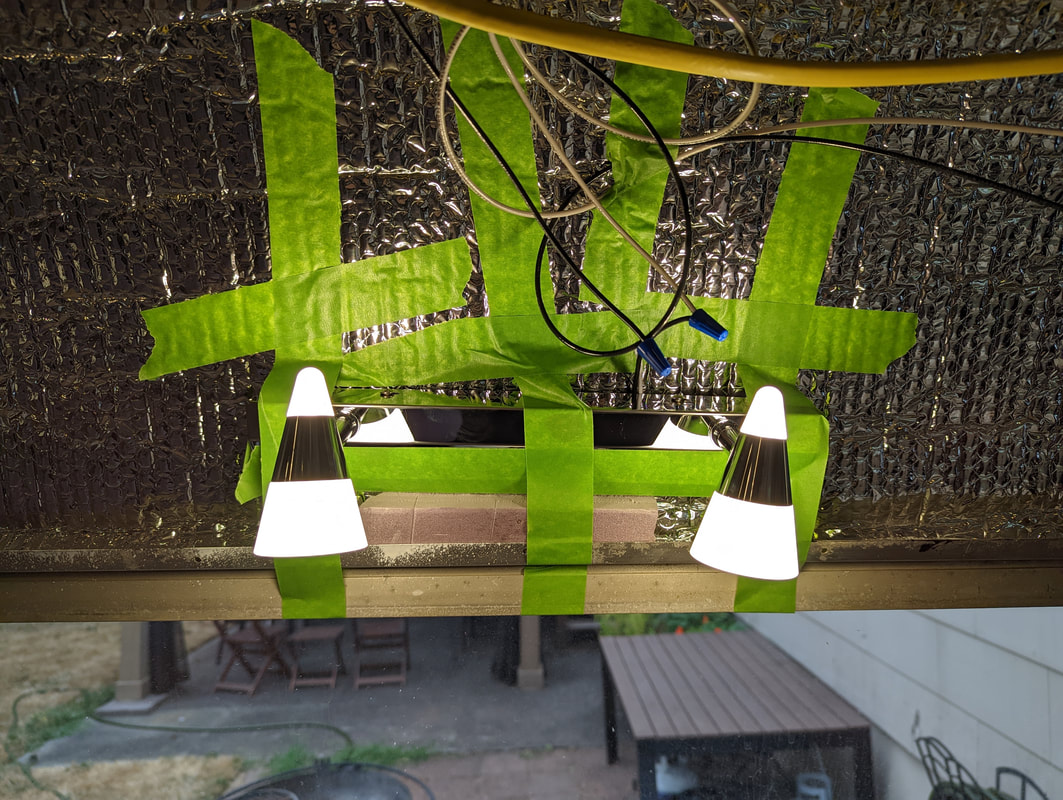
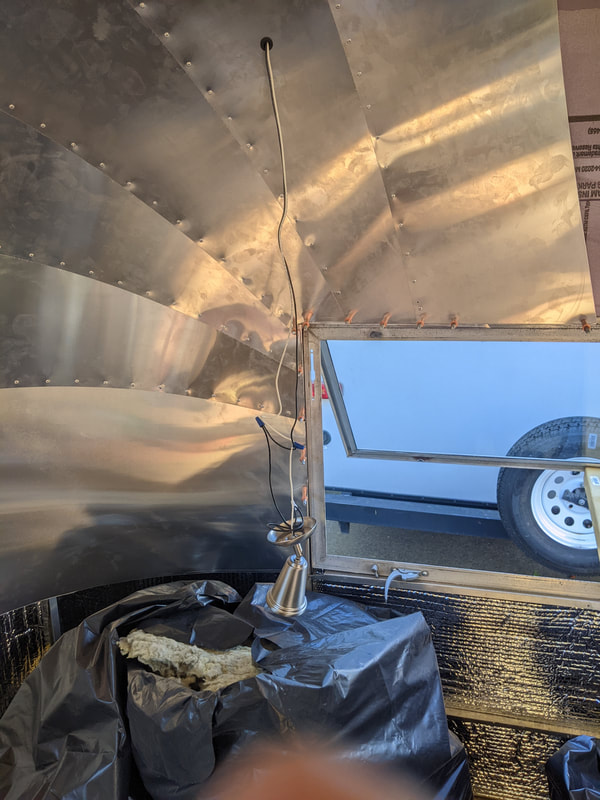
This weekend we got the external lighting all wired up! We're talking brake lights, turn signals, running lights and even the little light for the license plate! We can't test that the brake lights and turn signals work in conjunction with the tow vehicle until we get the 7-wire trailer harness installed (which is our next project!), but we know the wiring is good! The trailer harness is what connects to the tow vehicle and controls the lights and brakes.
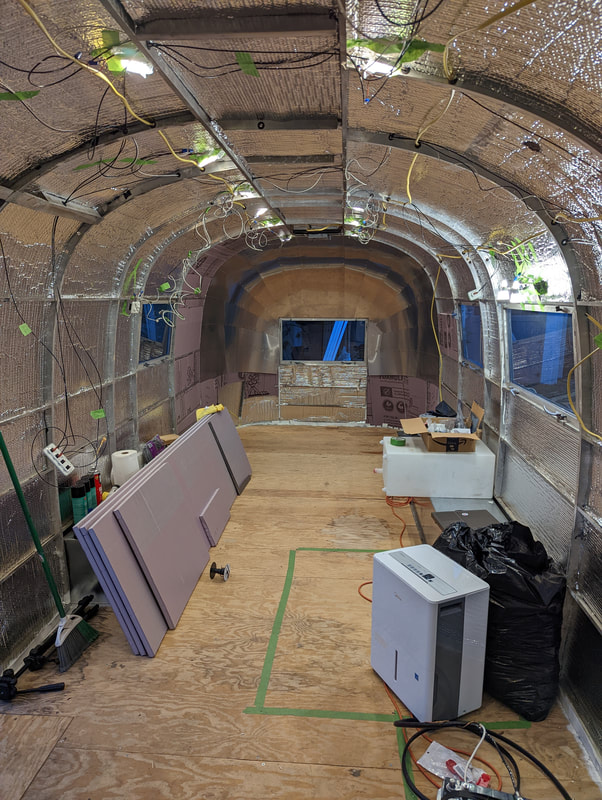
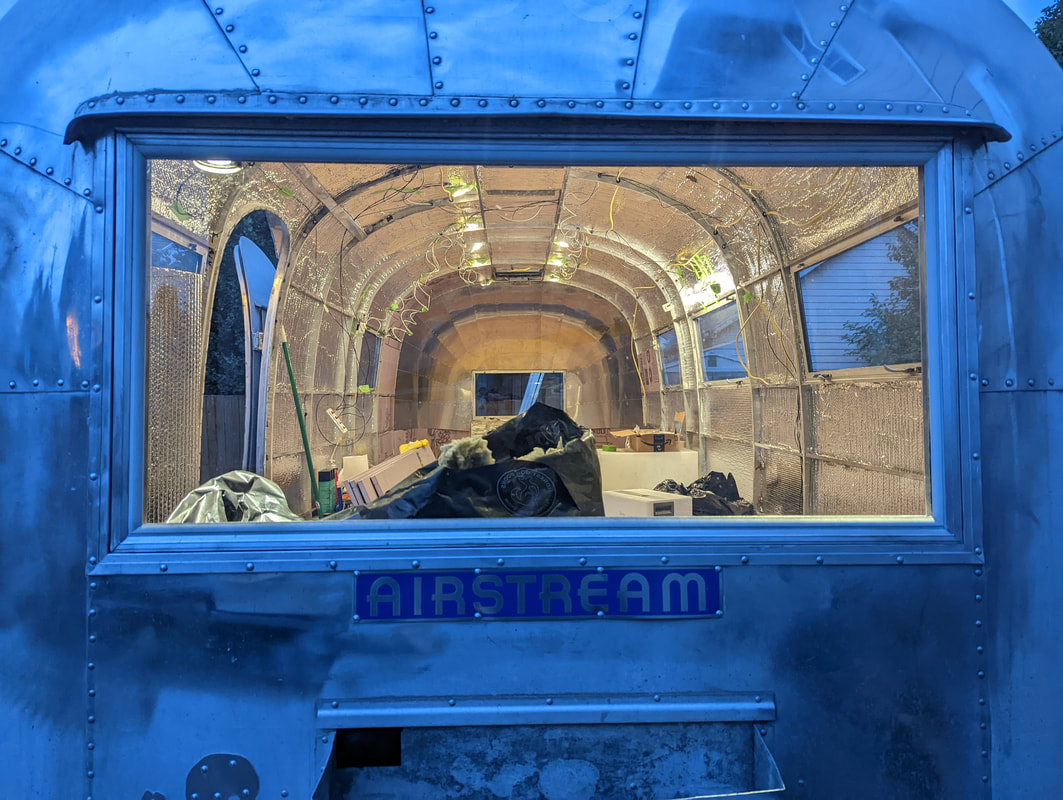
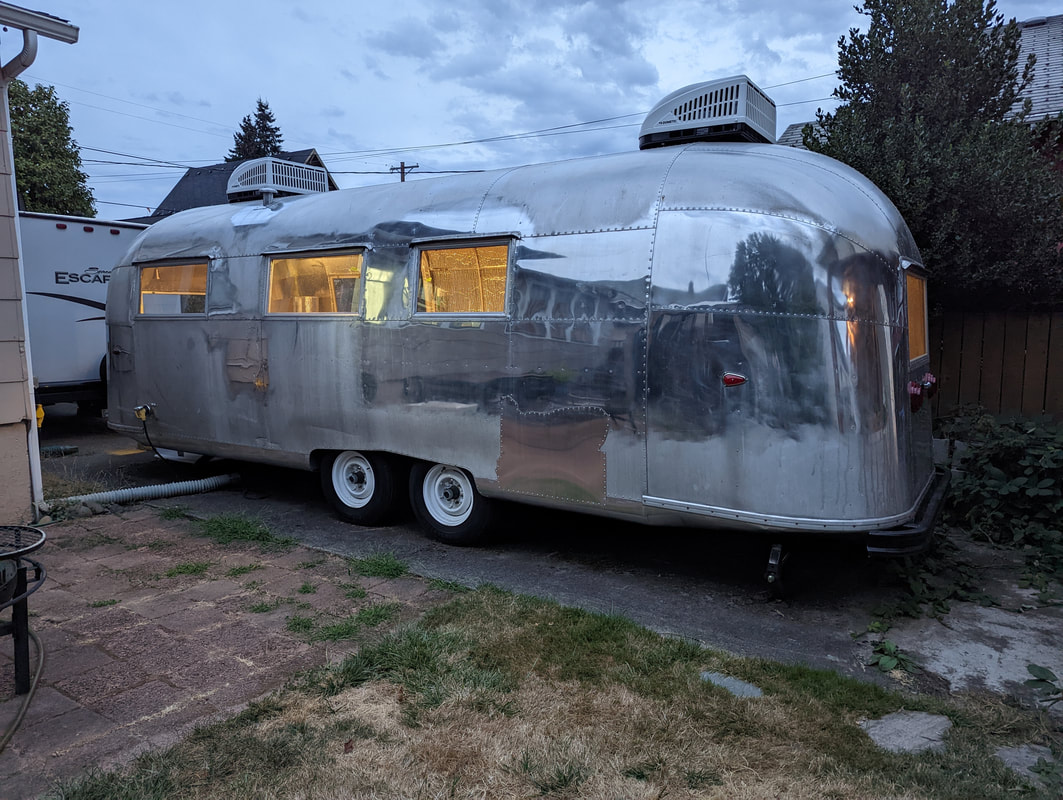
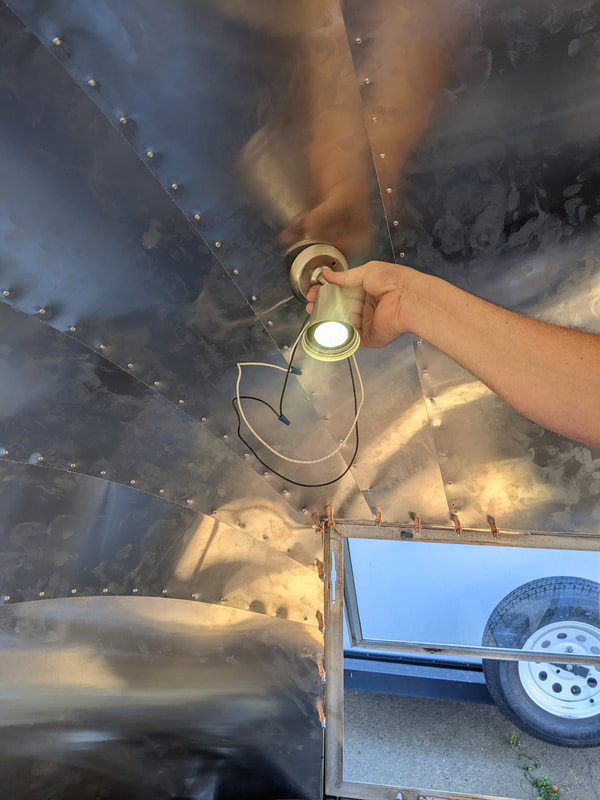
Wiring is super boring, photographically, so this is a super short blog post, but please enjoy the photos we took of the lights in action! <3
Until Next Time! <3 Becca
Wiring is super boring, photographically, so this is a super short blog post, but please enjoy the photos we took of the lights in action! <3
Until Next Time! <3 Becca