Today's blog post title courtesy of Mike! LOL
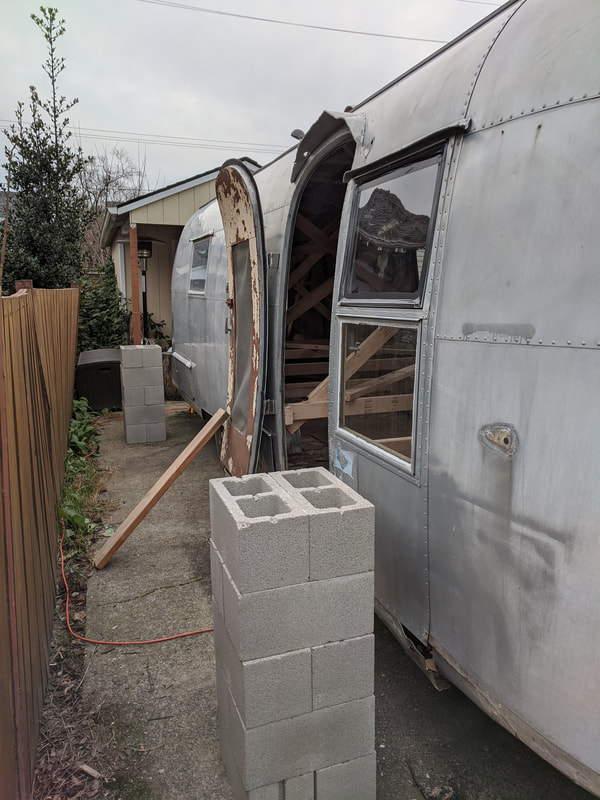
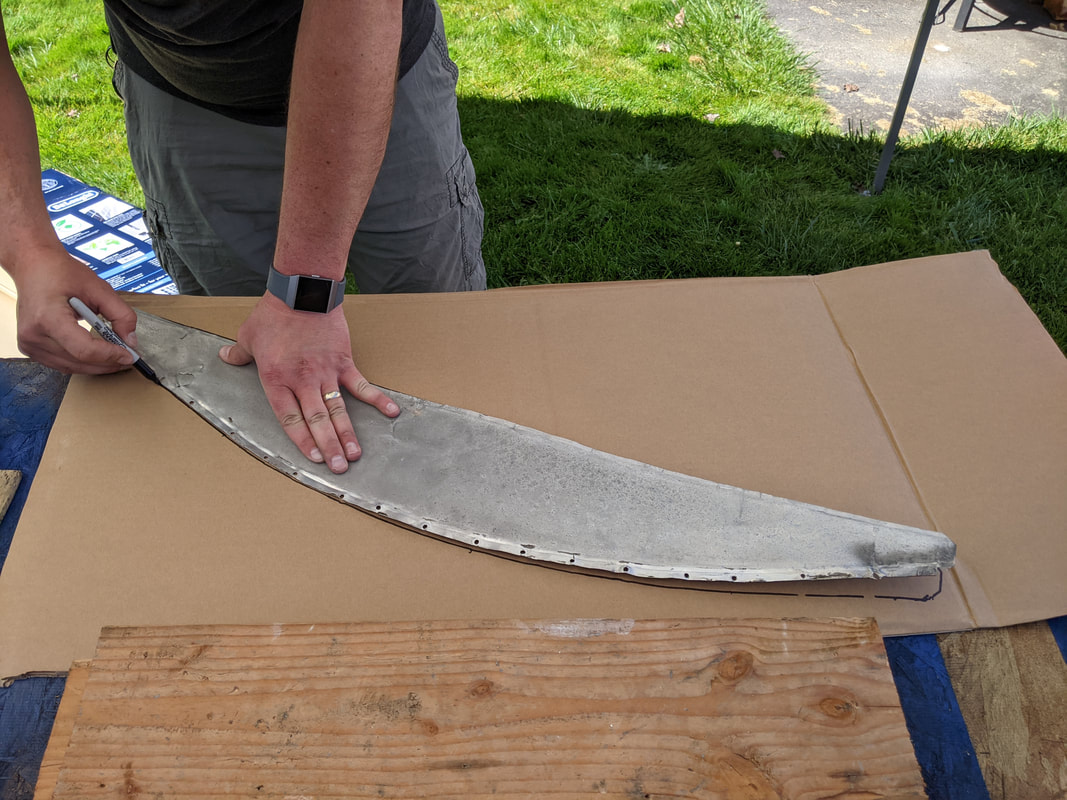
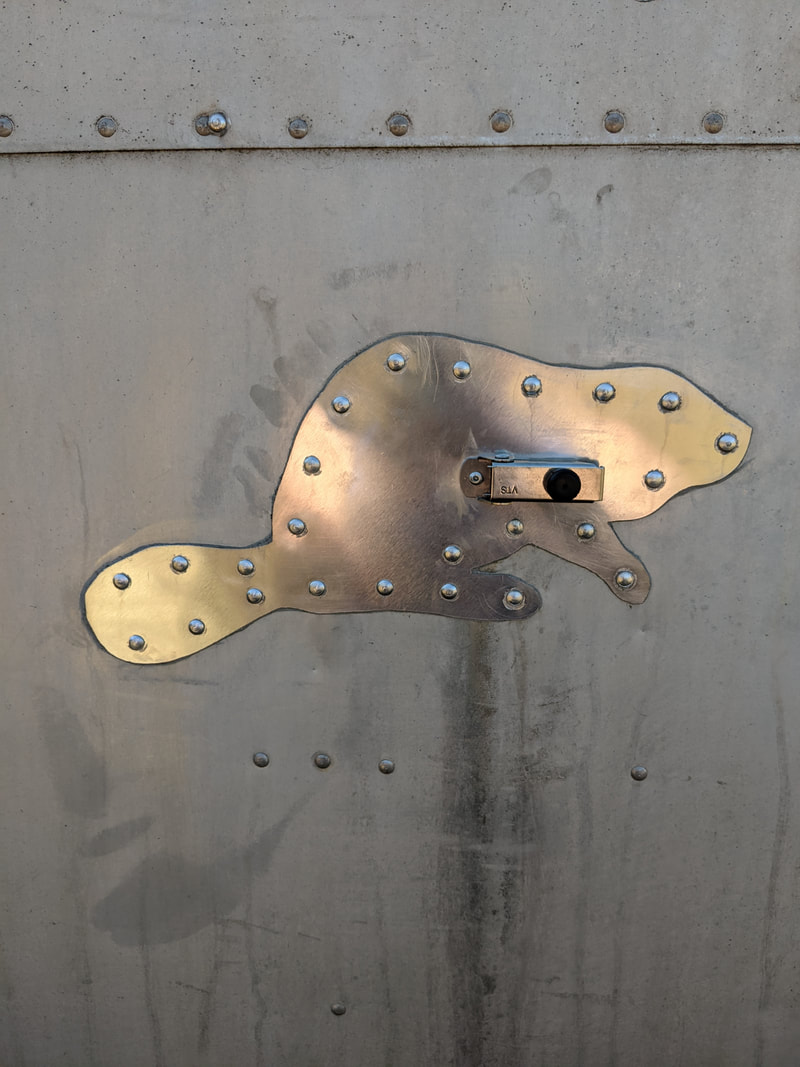
Since the weather was going to be nice all weekend, we decided to tackle the bigger project of manufacturing a new main door drip cap! Below, you can see the mangled old one complete with tears. (Apologies for the OLD picture! November 2019, to be exact! I forgot to take a new "before" photo ;) )
Since the weather was going to be nice all weekend, we decided to tackle the bigger project of manufacturing a new main door drip cap! Below, you can see the mangled old one complete with tears. (Apologies for the OLD picture! November 2019, to be exact! I forgot to take a new "before" photo ;) )
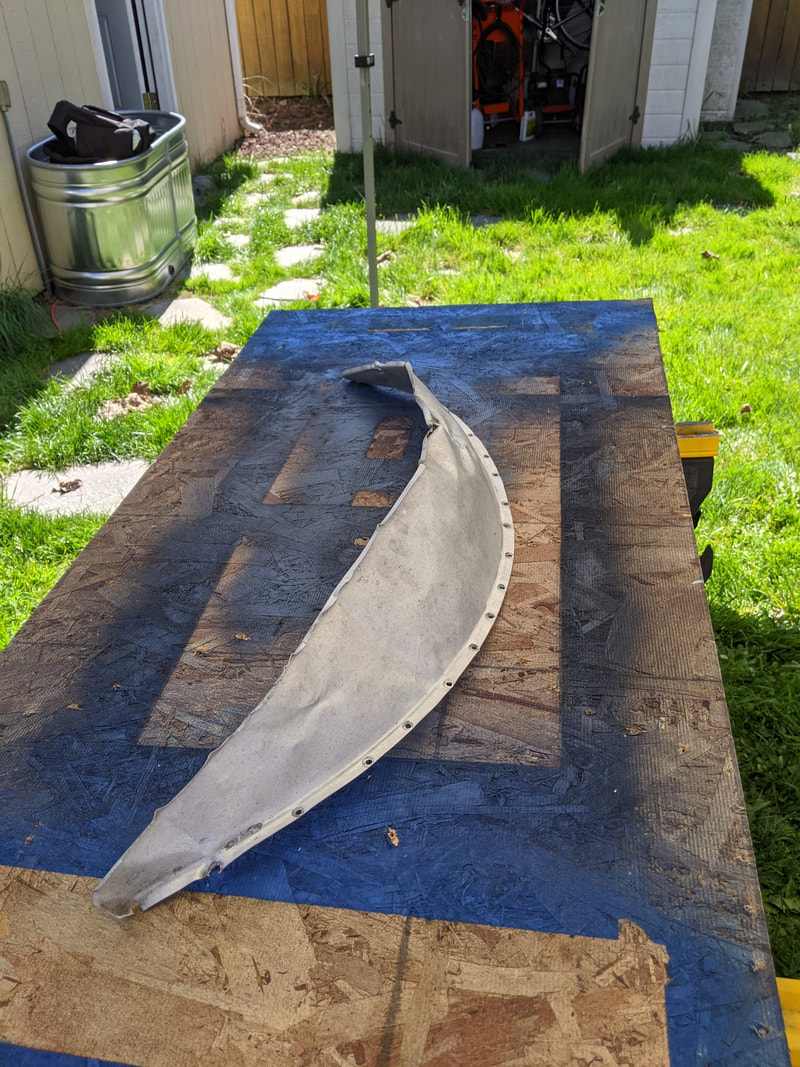 |  |
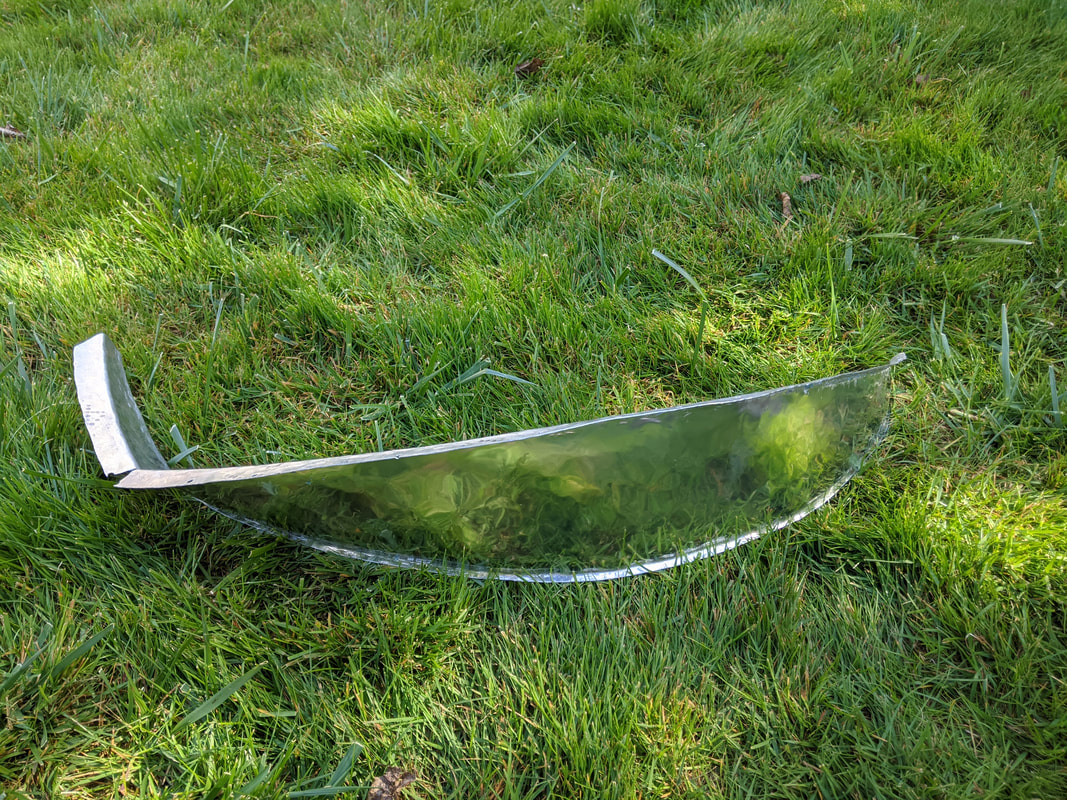
And here it is, in all of its disassembled glory! I got to clean where it butts up against Maude's skin. A little acetone cleaned it up, ready for some polishing.
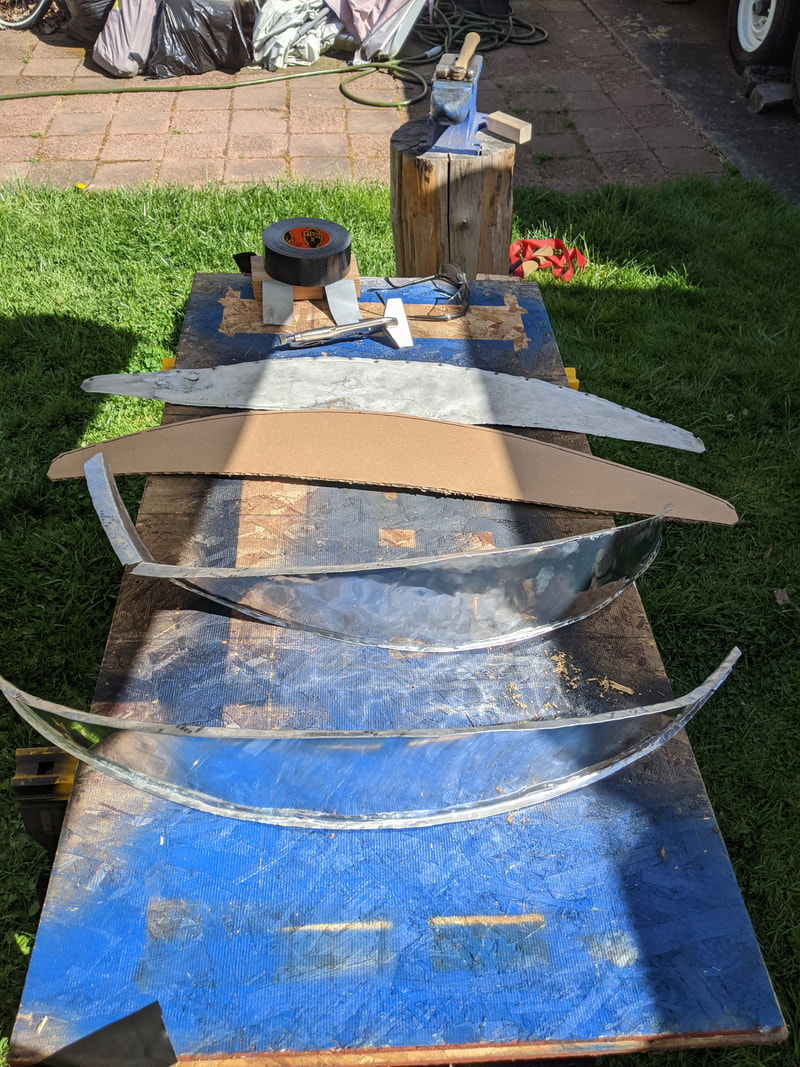
In order to fabricate the new one, we had to figure out what-the-heck shape we needed to cut from some fresh aluminum. Mike flattened out the original so that we could trace it :)
Traced it!
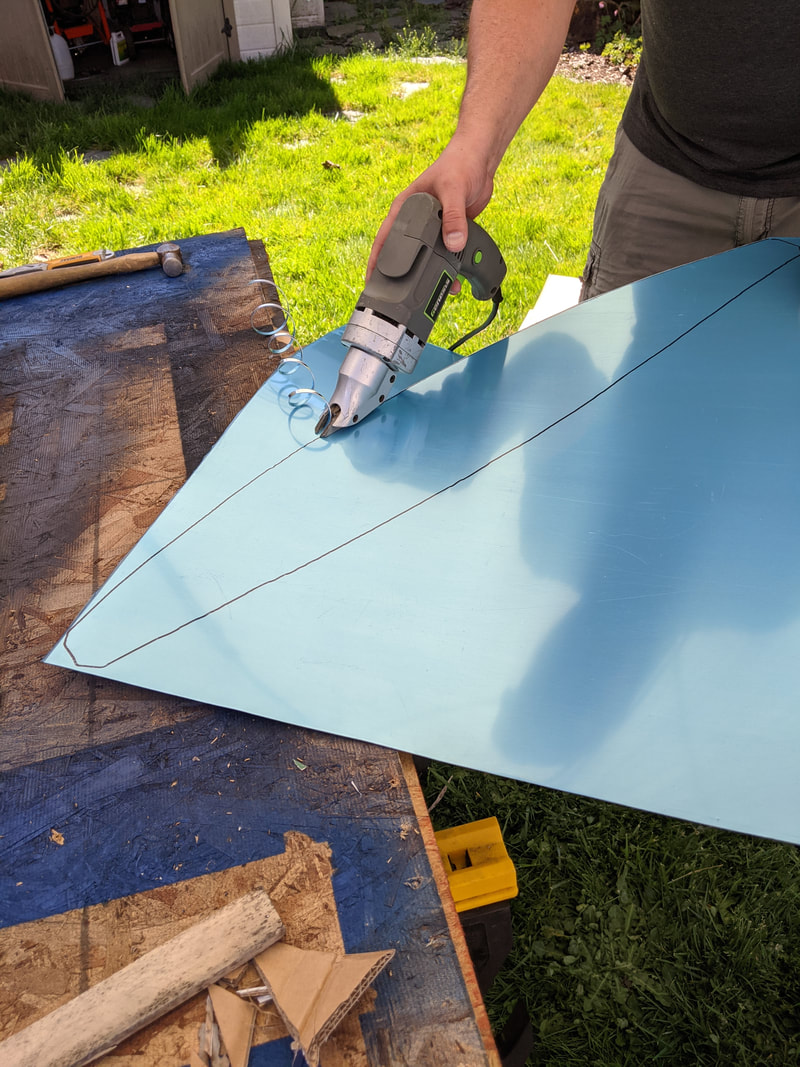
Cut it out!
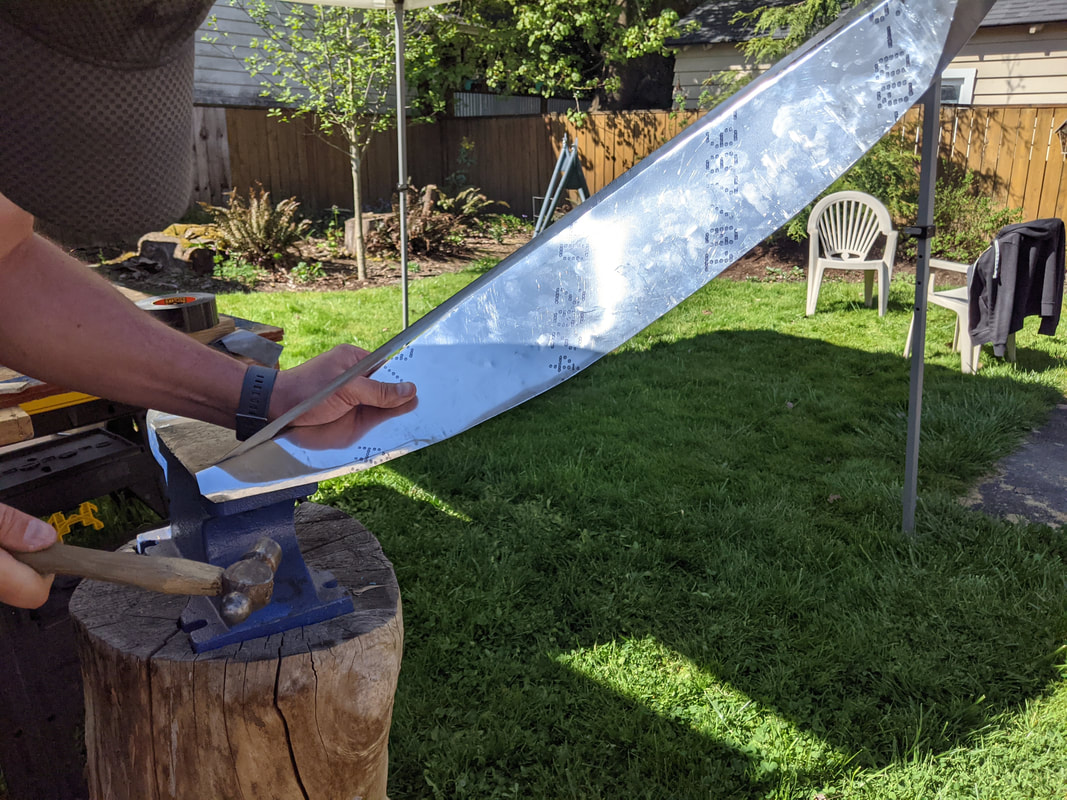
Aaaaaand foreshadowing! Here is where we made a mistake. We were worried about the rivets ripping out of the new drip cap, like the old one, since the flange (through which the holes are drilled) was pretty shallow. So Mike added on a little bit more material.
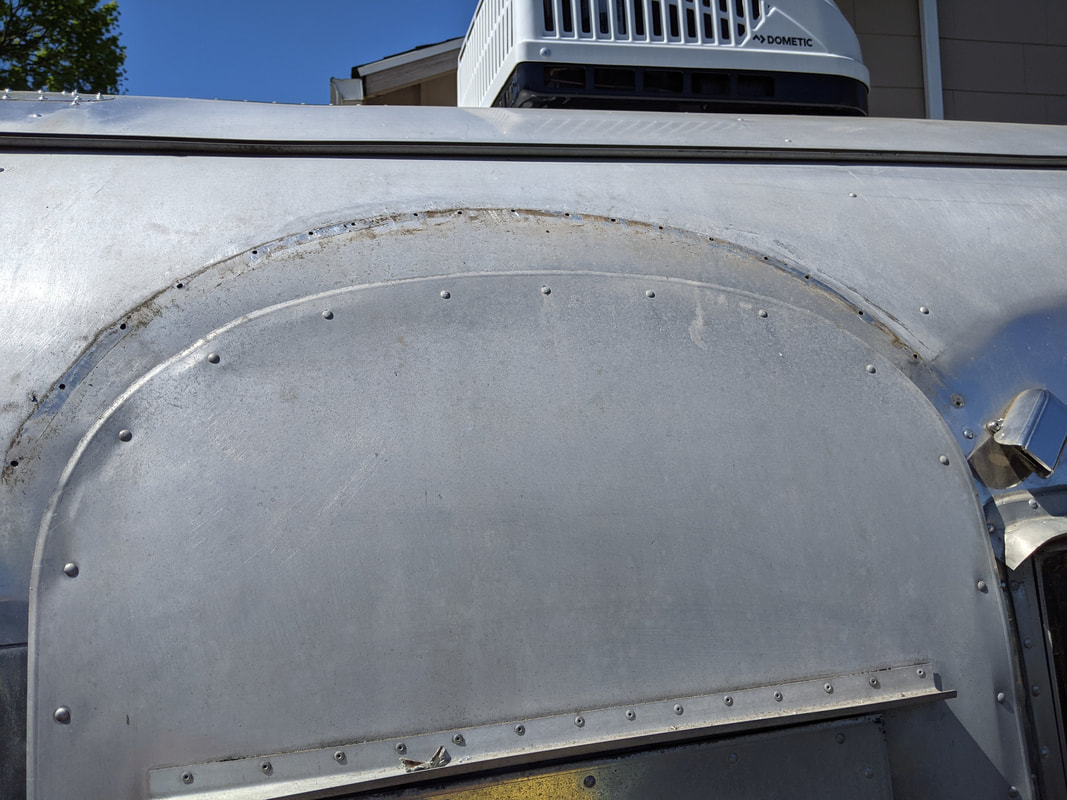
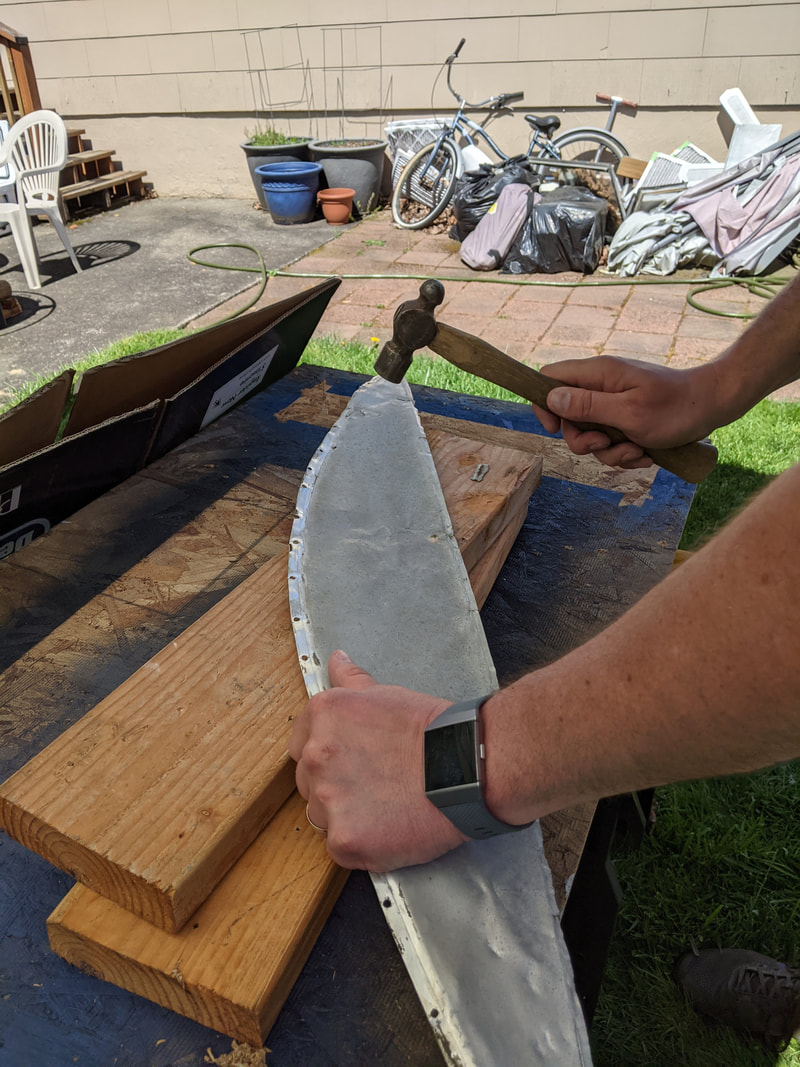
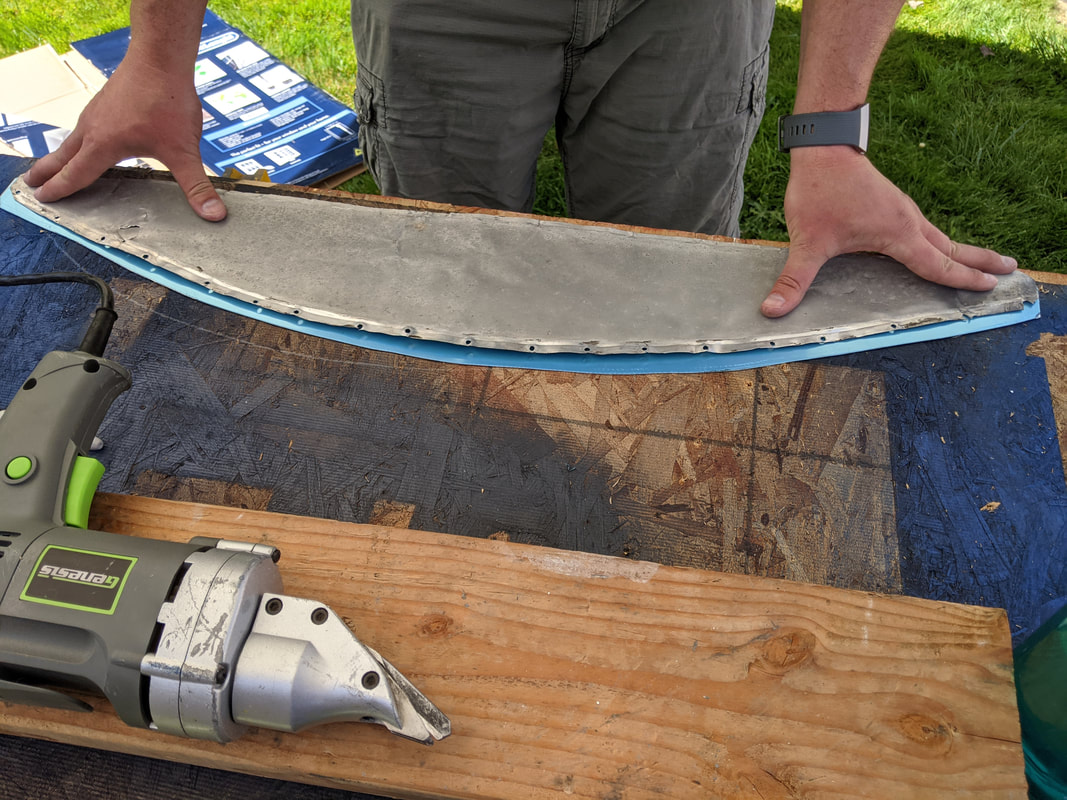
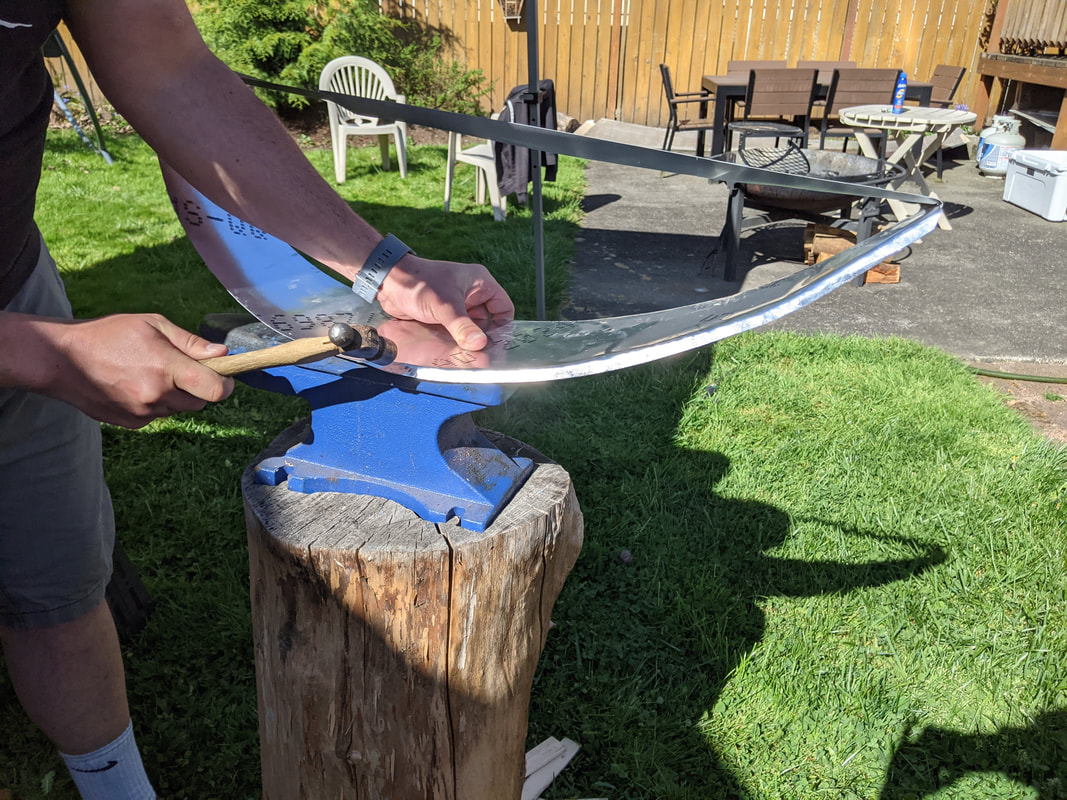
The drip cap is pretty tricky, in that it has a curve to it so that it wraps over the top of the door, but also that flange where it attaches to the skin and a rim so that the rain will roll off down the sides, not down the front edge of the drip cap. Above, Mike is working on bending in that rim.
While Mike was working the metal, I couldn't help much, so I decided to tackle the door latch! It's just a little latch that will keep the door propped open. UNFORTUNATELY (LOL!) the original holes don't line up with the bracket that it catches on the door! Ugh! So, I now either need to remove this latch (and probably redo the patch too!) to align it properly, or move the catch on the door, which will involve some patching. I decided that was a problem for another day. A little disappointing LOL
Also disappointing! After 4 hours of fabricating the new drip cap, we started trying to fit it to the skin and it tore. Remember that added material on the flange for extra rivet space? Yeah, that made it so that we couldn't get that curve to fit. We were DONE at this point, so we called it a day ;)
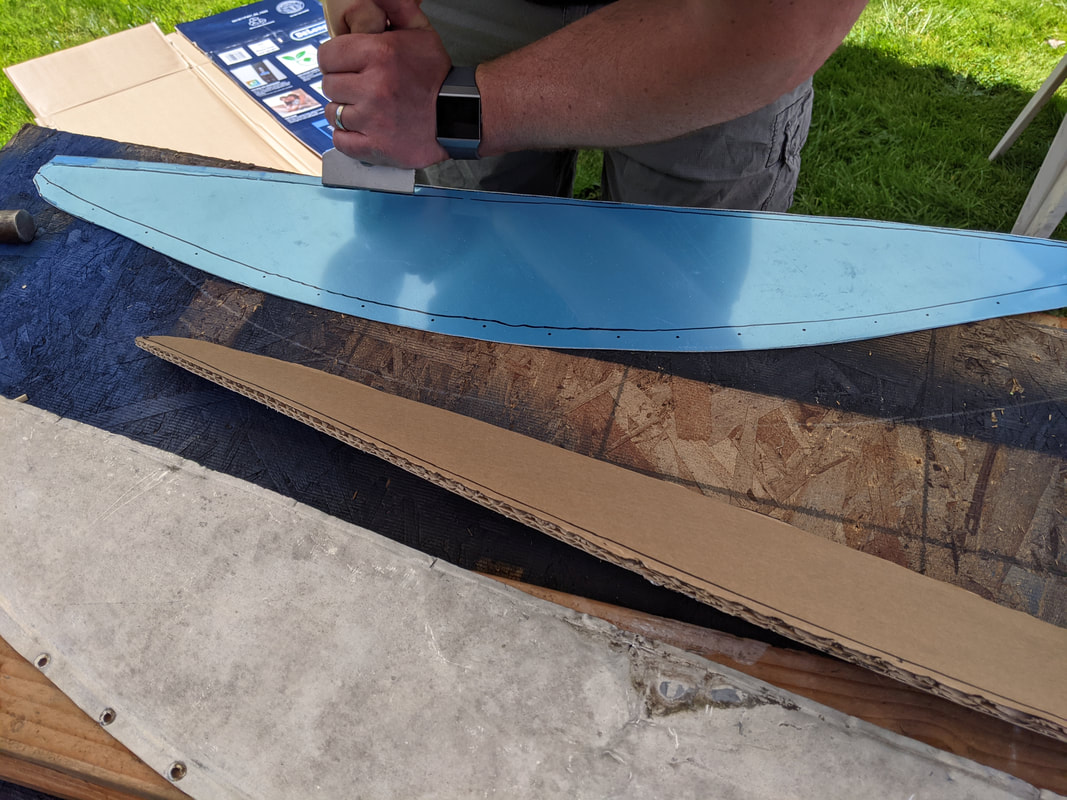
Day 2! We had a new plan. Keep the exact shape of the original. Also, start with the curve to match the shape of the door and THEN add the flange and the drip rim.
This second plan worked SOOOOO much better :)
Look at the progress! And that final drip cap!
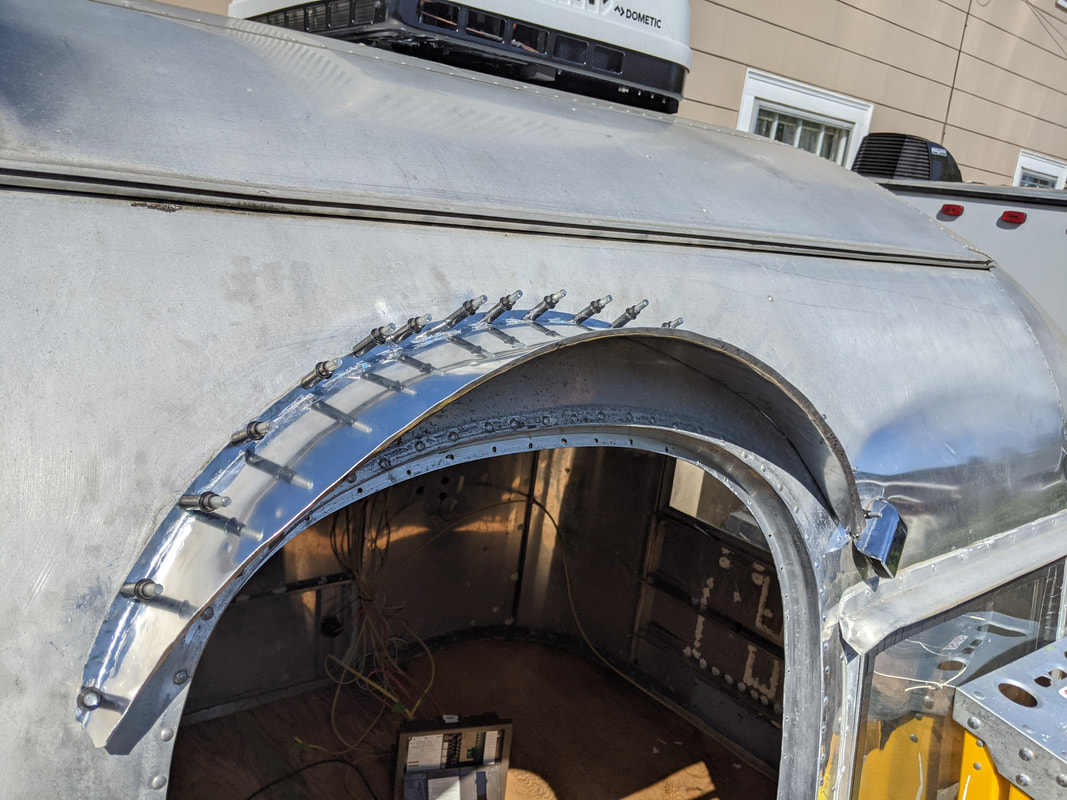
Here we were dry fitting it and drilling the holes to rivet it into place. Lookin' great!
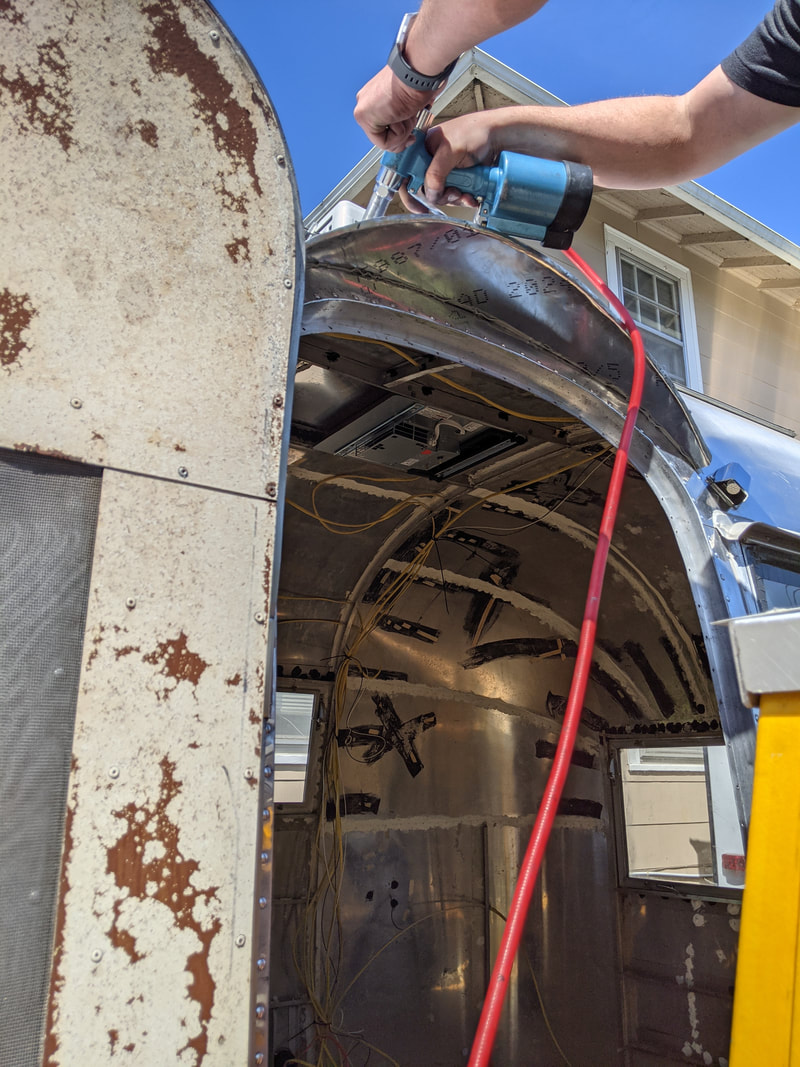
We added butyl tape (a material that we also used on the windows to help seal the drip cap to the skin). We caulk each rivet and push them through the butyl tape, making for a pretty darn good seal :)
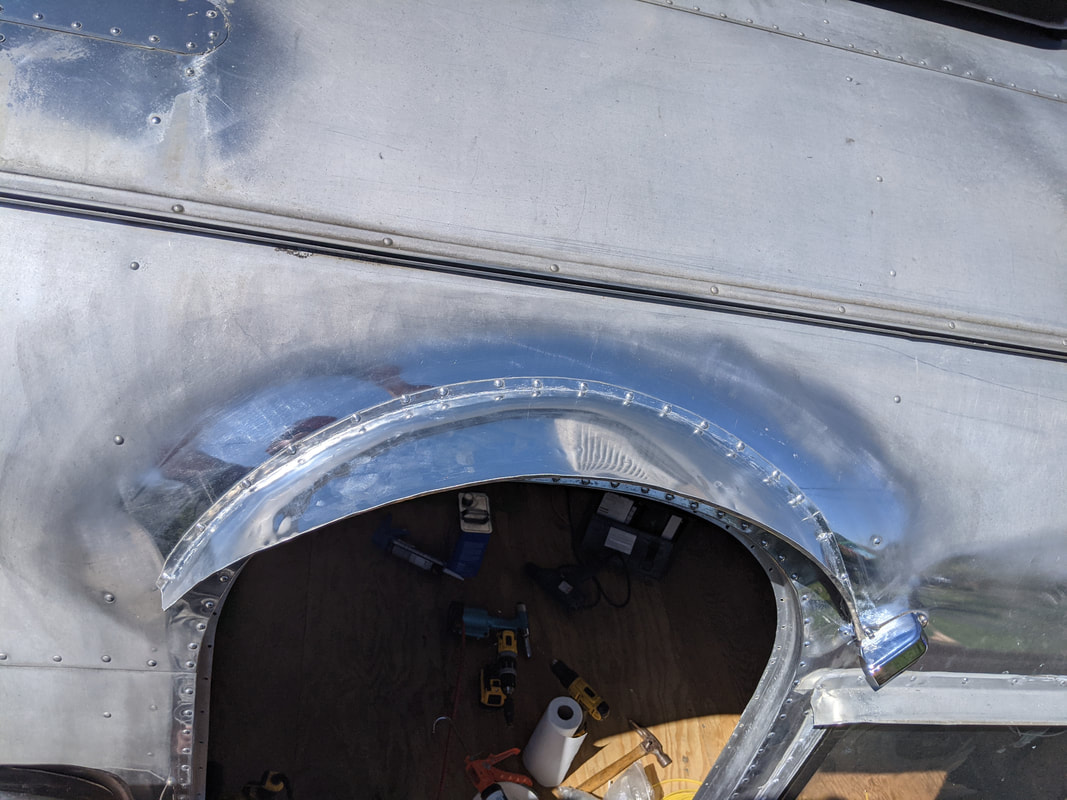
And here it is all finished! Not shown, I also caulked the insides of the rivets.
Even though the first day was a bit disappointing, it's a good thing Mike and I are so stubborn! The new drip cap looks fantastic!
As an aside, check out that shine! Someday, Maude will be completely shiny and gorgeous!
Until next time! <3 Becca
Even though the first day was a bit disappointing, it's a good thing Mike and I are so stubborn! The new drip cap looks fantastic!
As an aside, check out that shine! Someday, Maude will be completely shiny and gorgeous!
Until next time! <3 Becca
