I know. It's been SUCH a long time since we've done work on Maude. She's been very frustrating (she's still leaking sporadically. We're trying to hunt them down while we also try to move forward). The weather hasn't cooperated very well (It's been too cold to do much work requiring caulk or adhesives). And we were waiting on parts (that FINALLY ARRIVED! Yay! Hence I have something to write about LOL!).
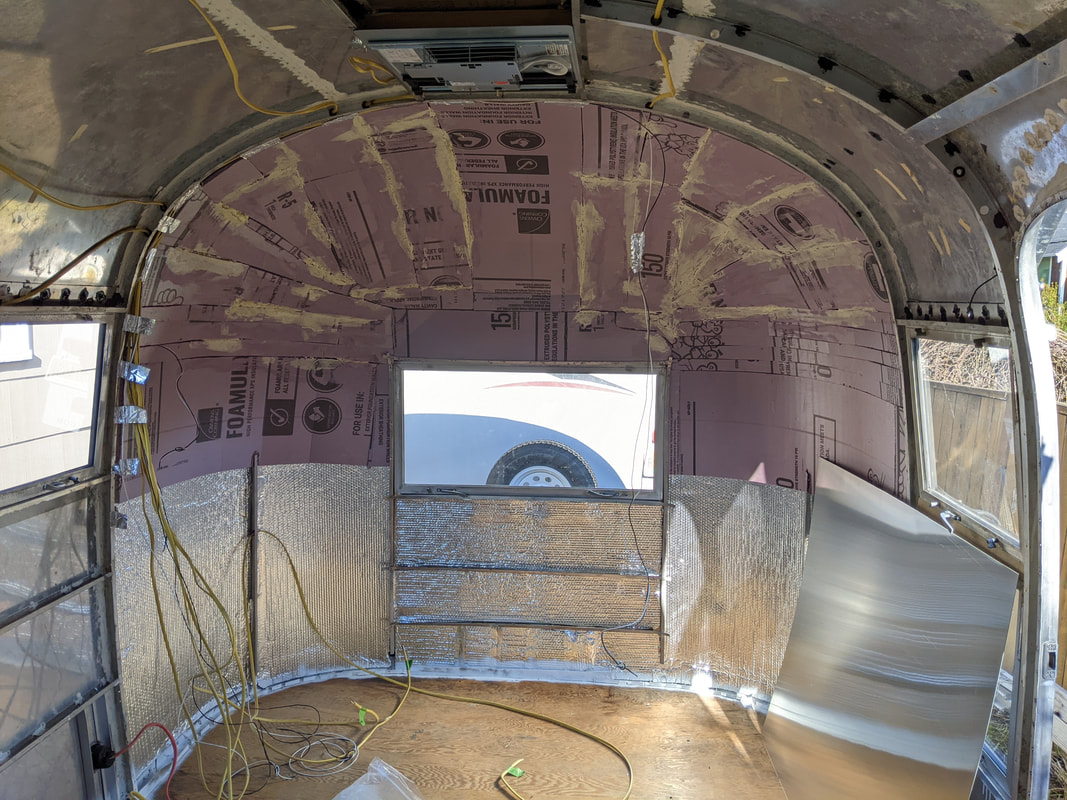
Here is where we left off:
Here is where we left off:
If you'll recall, we just could NOT get the fiberglass endcaps to fit properly. So we decided to scrap that plan and build our own out of aluminum sheet.
It's always tough to start a new part of the work, since we have to figure out what the heck we're doing ;) We started Saturday morning by watching YouTube videos of building one of these suckers. We watched these MONTHS ago, but needed a refresher.
Every trailer is different, so we've already found that we've made a (some?) mistake. But it's not unfixable, so that's a REAL WIN when it comes to Maude ;)
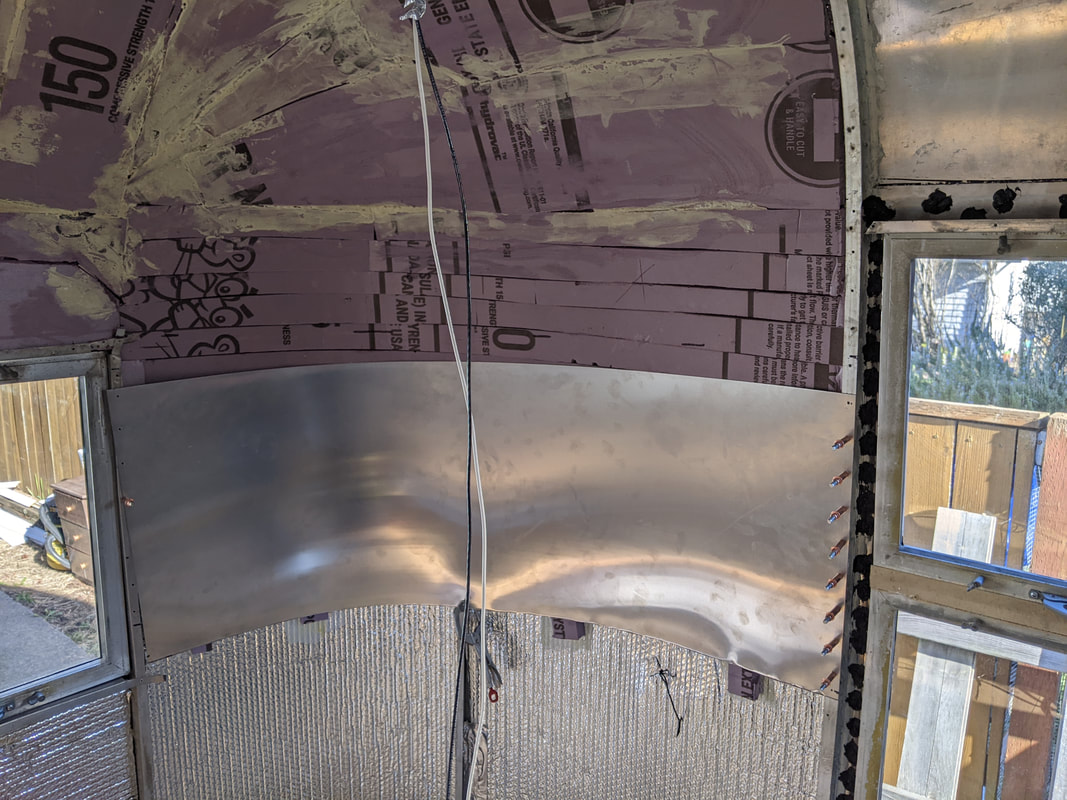
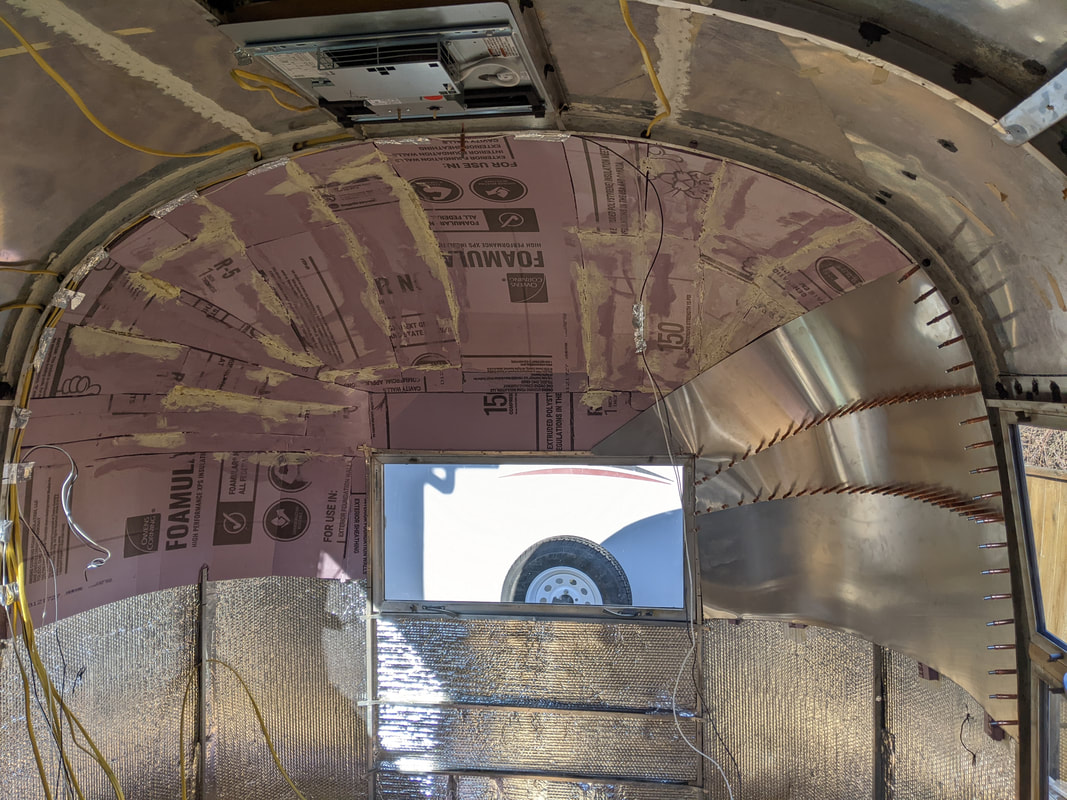
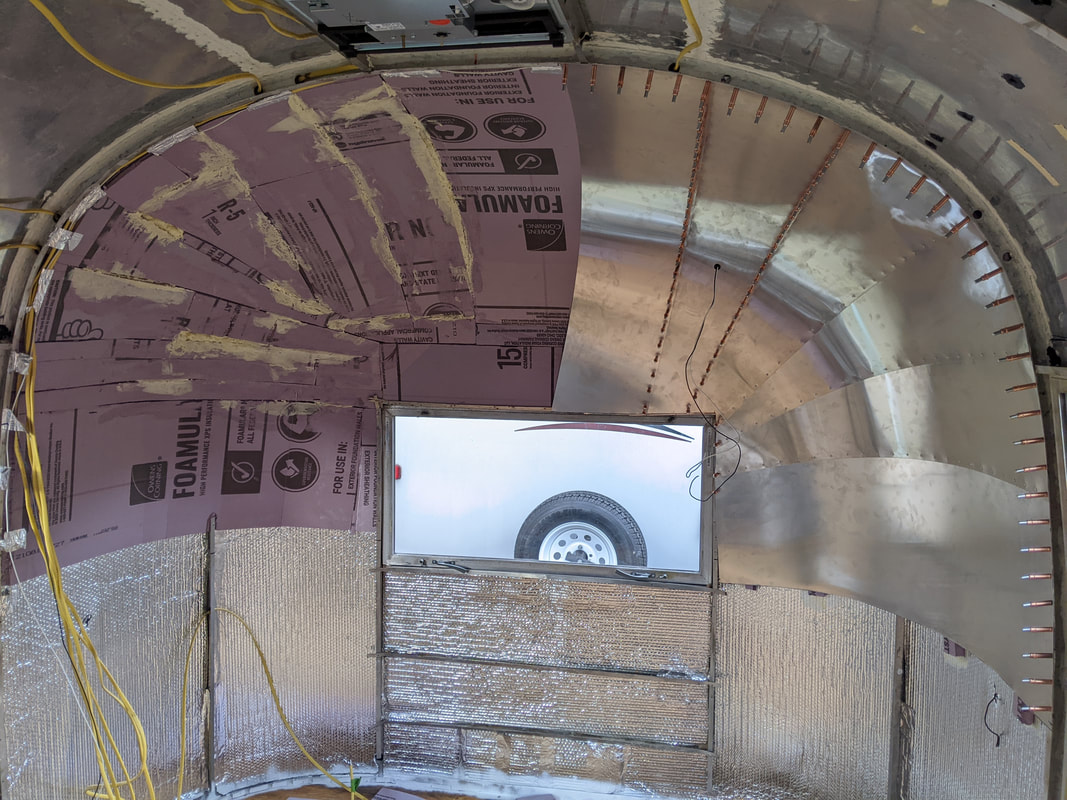
This first sheet of aluminum, as you can see in the photo juuuuuuuust barely reaches around the curve between the two sets of windows. You'll notice that the bottom corner doesn't overlap the window frame. It'll be okay, because we have the original interior skins that will cover the gap, but it took some strategizing to make sure that everything would be covered ;)
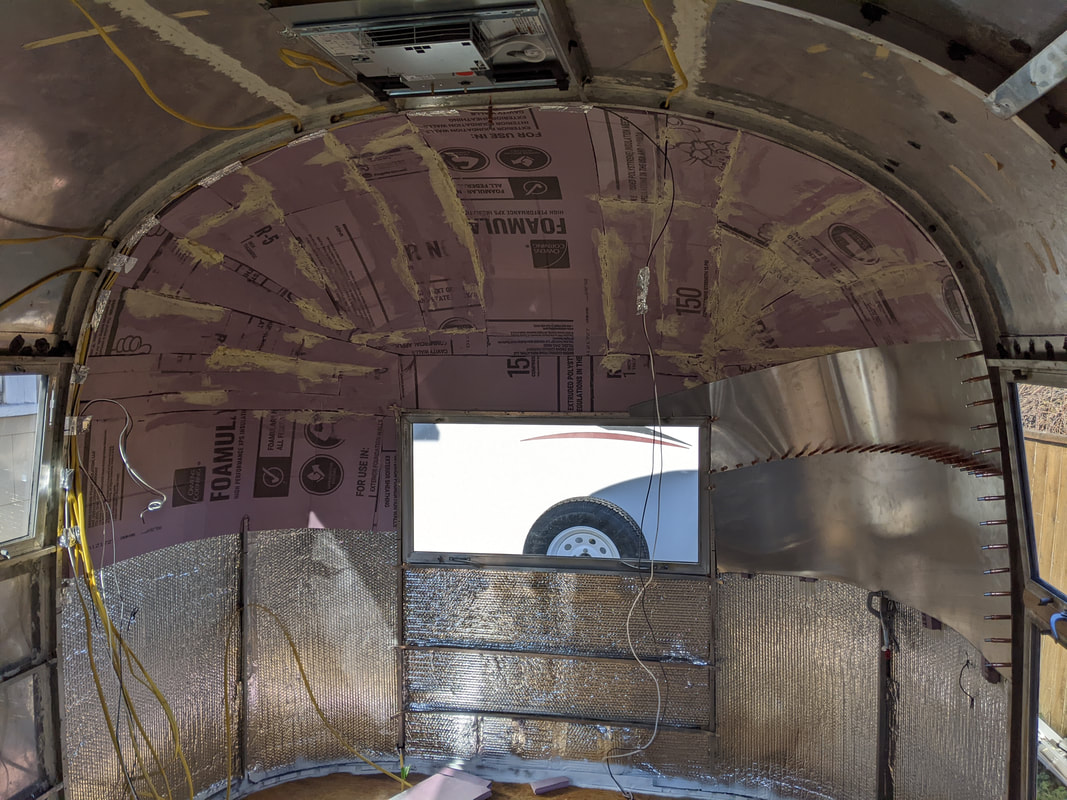
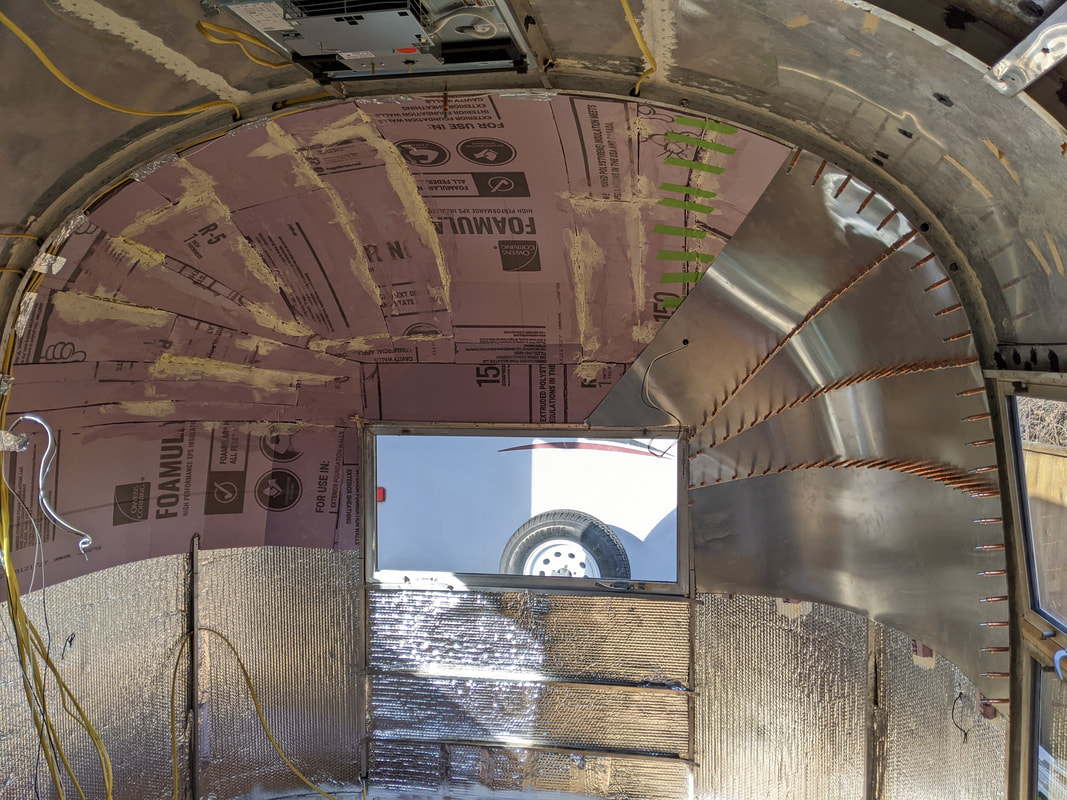
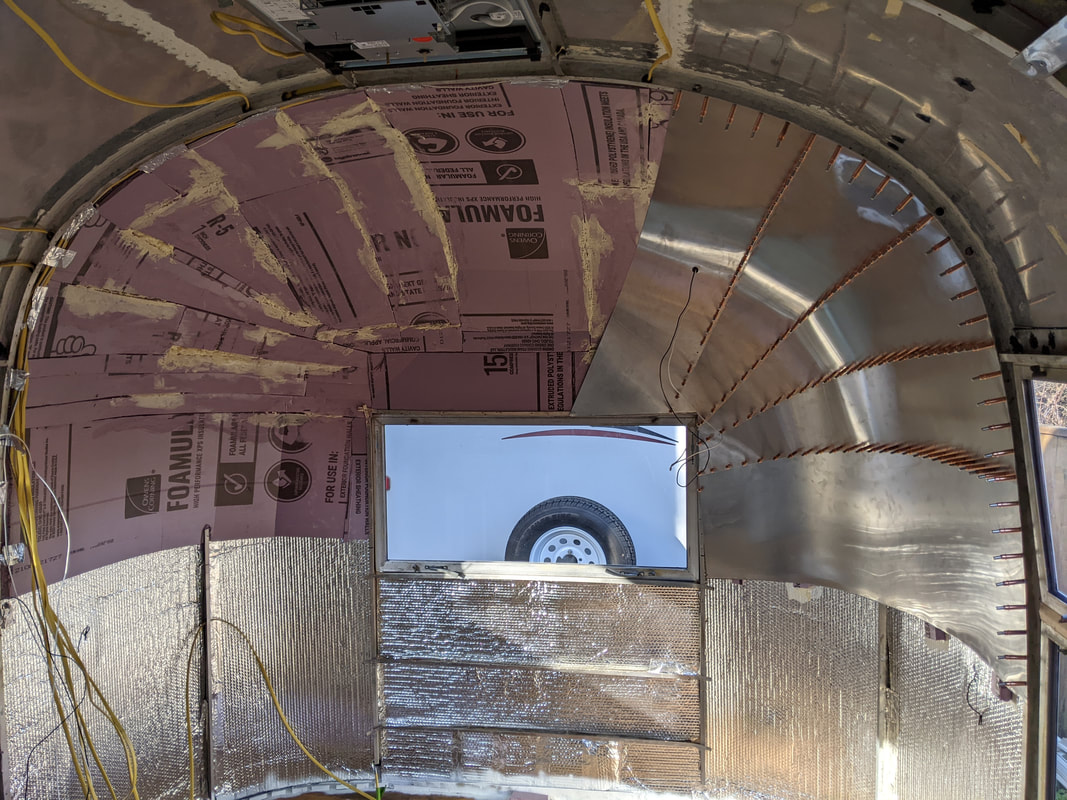
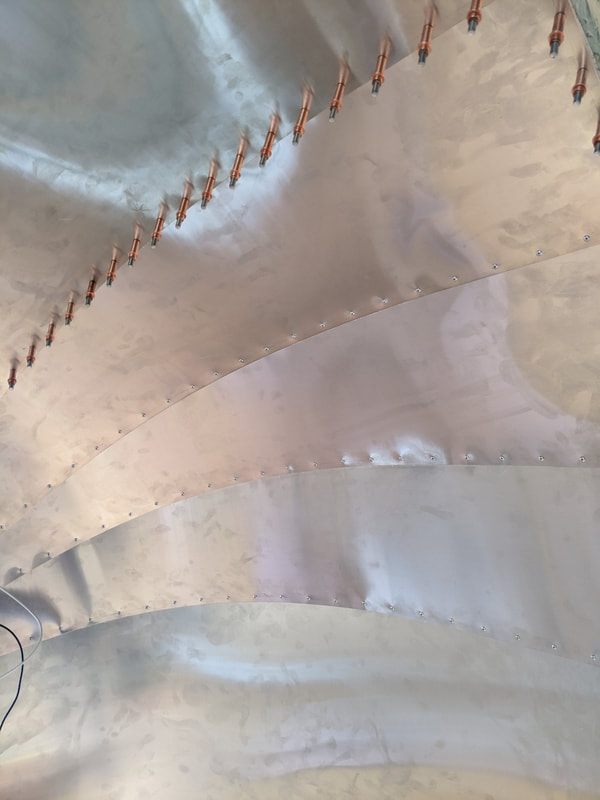
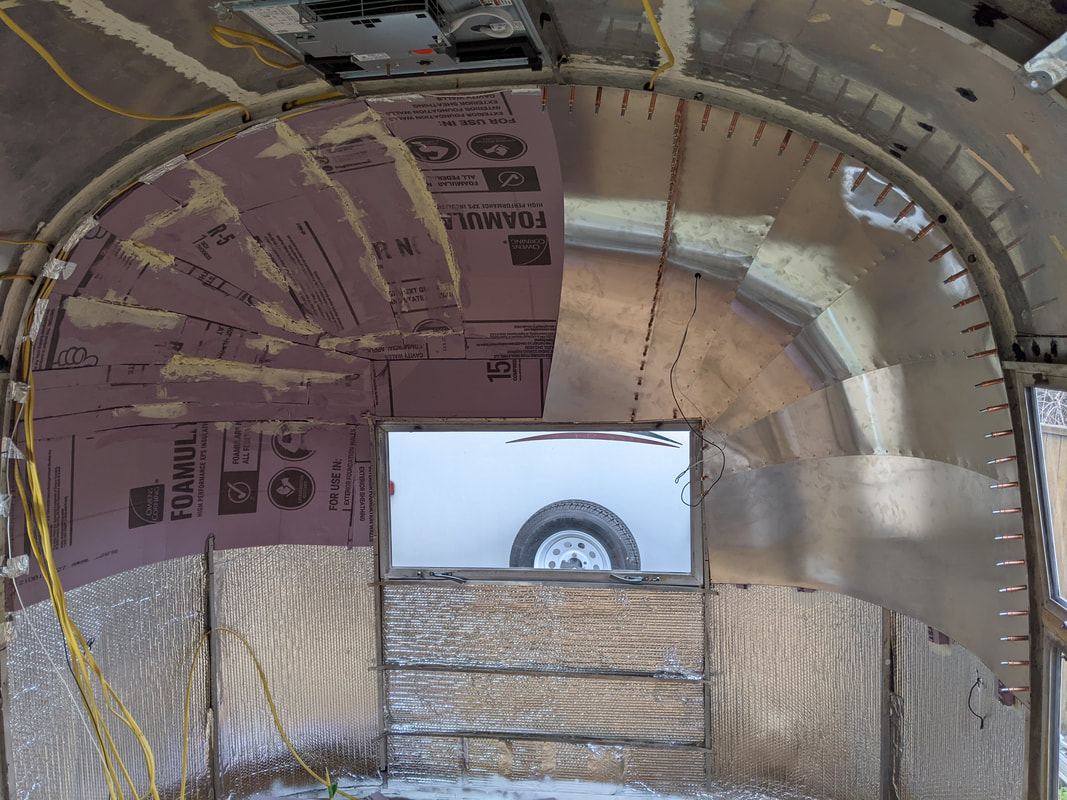
Once that first sheet was in place, the pieces started really flying into their new places! Except for the initial sheet, the pieces are all 11.5" wide. What you do is make sure that the edge of the sheet lines up with the rib and then press the aluminum into the curve. It NATURALLY creates this wedged look!
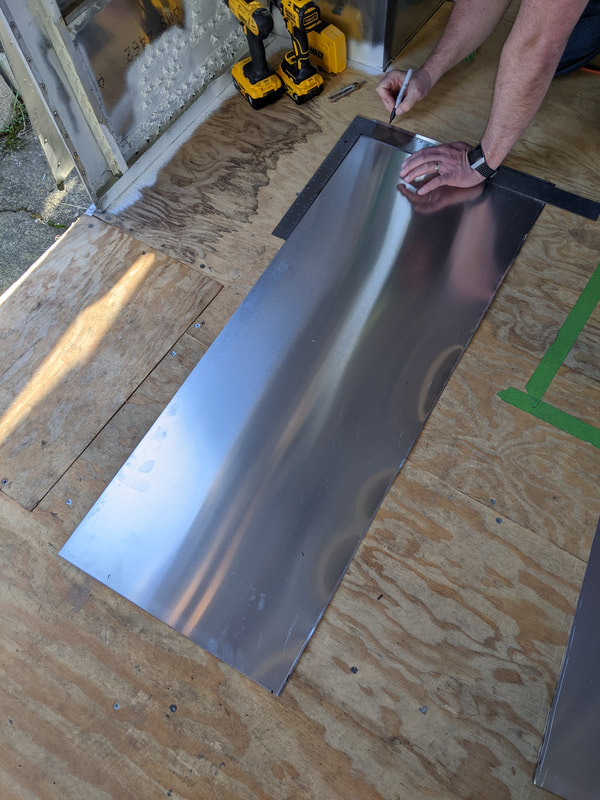
At the window end, you can see that each piece needs to be trimmed to fit around the window. It was surprisingly simple! Nothing a sharpie, a straight edge, and electric sheers couldn't take care of!
In these images, you can see we cut our first hole for wiring in the light fixtures! It was super simple and SUPER exciting! It was SO simple in fact, that we did it twice! LOL! We cut the first one, then as we were installing the next sheet, we realized the first hole was going to be covered with the next sheet! So we moved it ;)
We ran out of Clecos (the copper-colored stick-looking things ;) ) The Clecos go through the layers of aluminum sheets to keep them locked in place with the holes for the rivets lined up perfectly :) Once we were satisfied that everything was looking good and in place, we started riveting!! Isn't it BEAUTIFUL?
It was round-about here that we realized that we'd made a mistake. All of the videos had said that 11.5" was a good width for the sheets, so that's what I ordered. I don't know if our trailer is shaped a little differently? If we started a little low? If we had tried to calculate it out (I am NOT a spacial/math person!) we might have figured we needed different? But, it turns out we're going to be about 1 inch short on either side of the final, center sheet. But like I said in the beginning, with all of the problems we've had with Maude, this is one of the LEAST of our worries. We'll come up with a good-looking solution :)
At this point, we were ready to start on the other side! YAY!
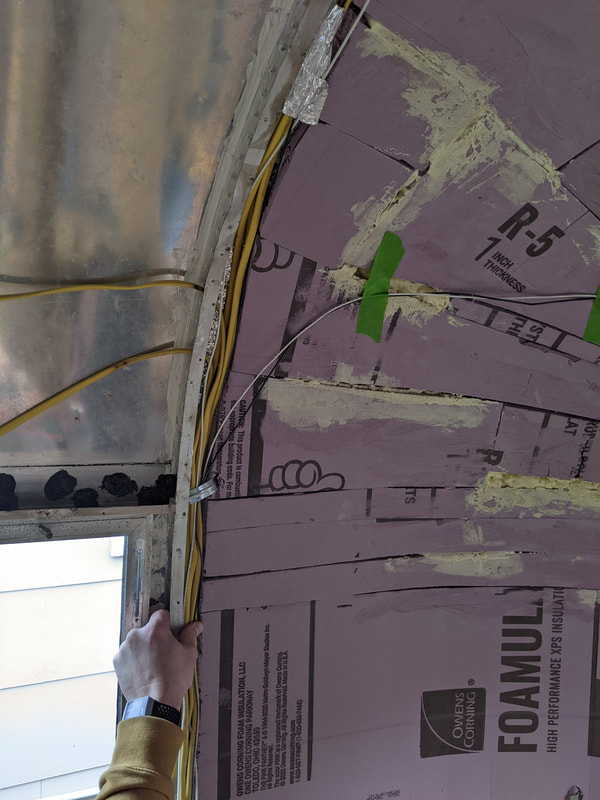
But first, we needed to make sure that the wires would all stay tucked into the gap between the rib and the insulation and not put pressure on the aluminum skin. If it did it would cause unsightly bulges. So we made a trip to the hardware store to find some brackets. We didn't find anything that would work directly, but Mike bent them into a new shape that works quite well!
Once we got this completed, we were feeling pretty done for the weekend. Believe it or not, it took about 7 hours to get this far!
We're pretty stoked with how it looks! It's nice to have a bit of a "win" with Maude for once ;) And for the next couple of weekends, we have relatively simple and rewarding work ahead of us as we finish this front end, and then repeat the process on the back end!
Until next time!
<3 Becca
