Cabbage Door? Well, I seem to have a brain-block around the name of this stupid door. My brain CONSISTENTLY wants to combine carriage- and baggage-door into Cabbage Door! Don't ask me! LOL
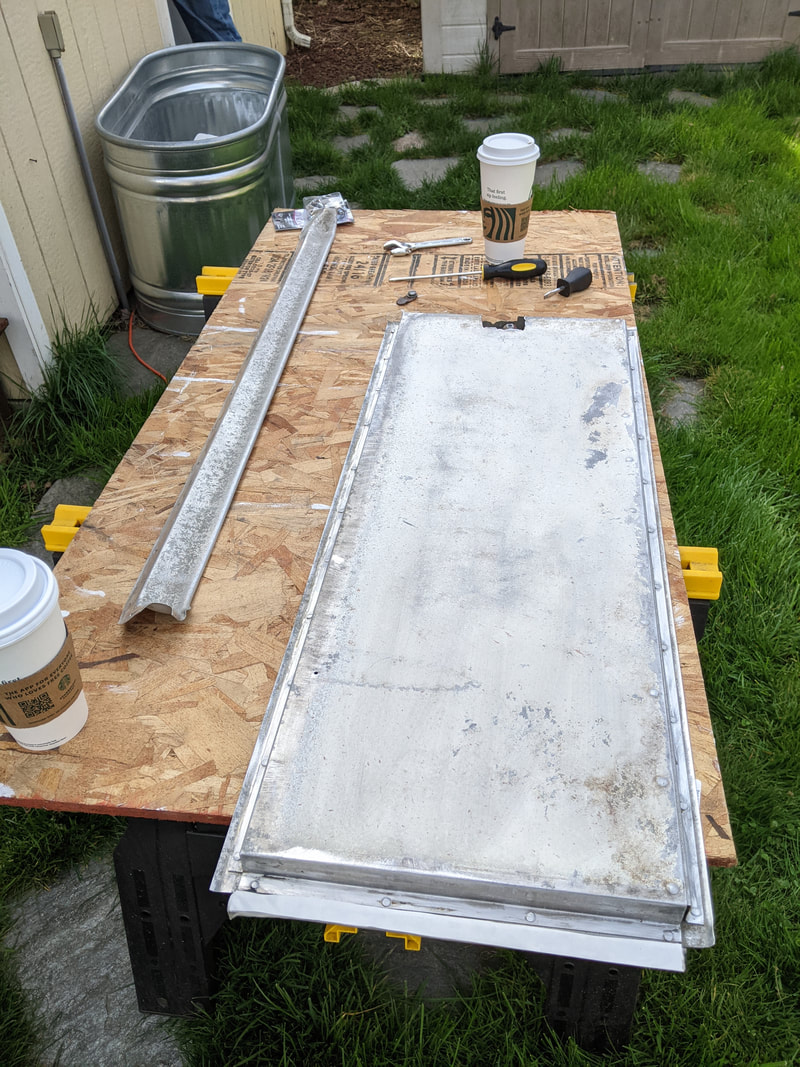
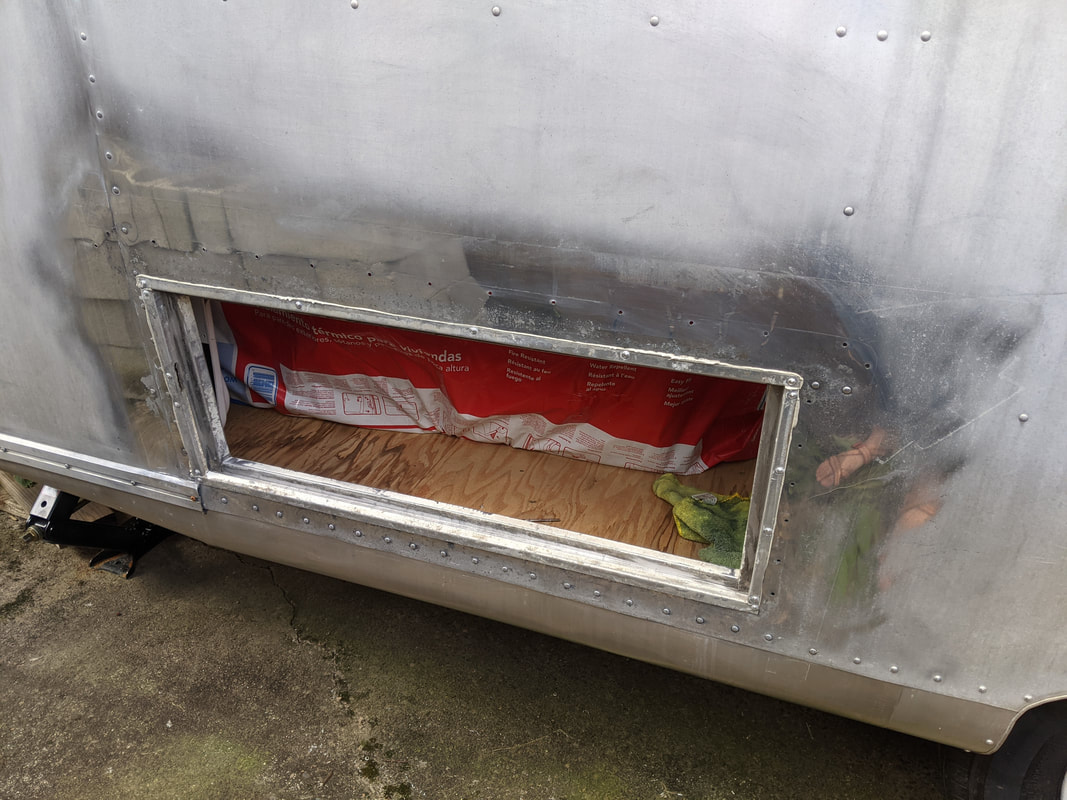
This is where we last left off with this door. We'd removed the door and supporting framework, cleaned everything and then realized we didn't have the correct seals to finish replacing it. This was clear back in October? November? Since then, the hole has been covered with a garbage bag and some duct tape ;)
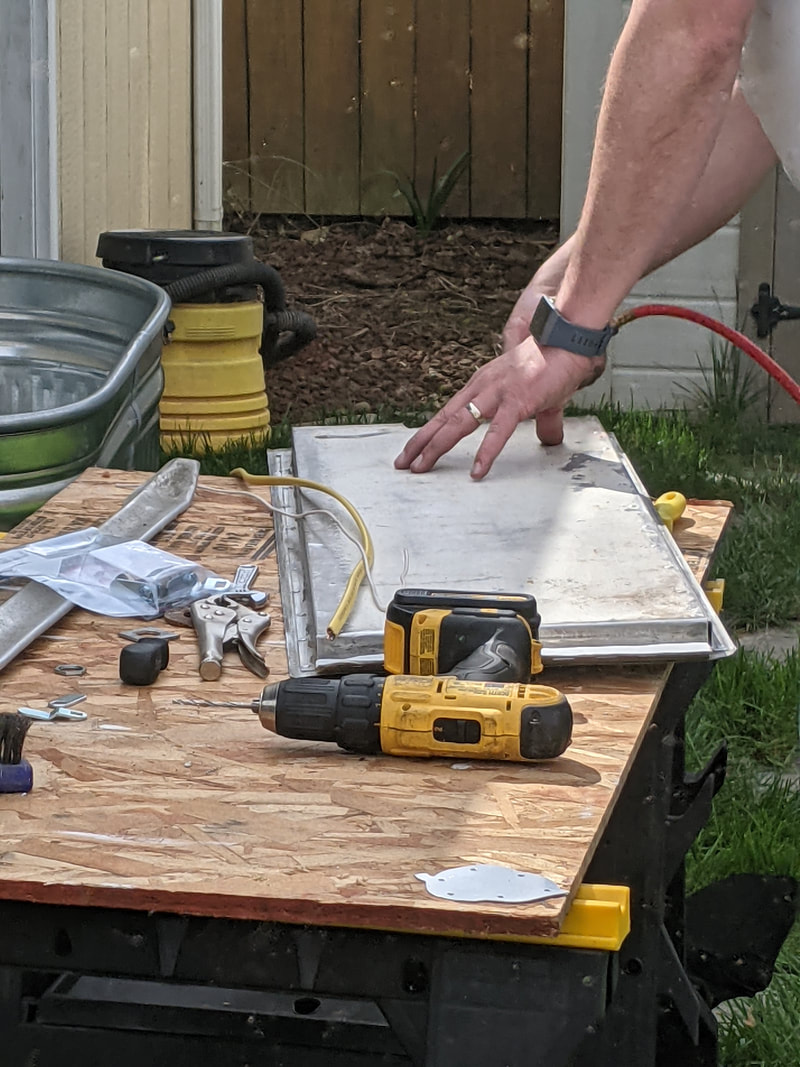
This weekend, we decided it was time (and that we HAD enough time!) to tackle this project :)
This weekend, we decided it was time (and that we HAD enough time!) to tackle this project :)
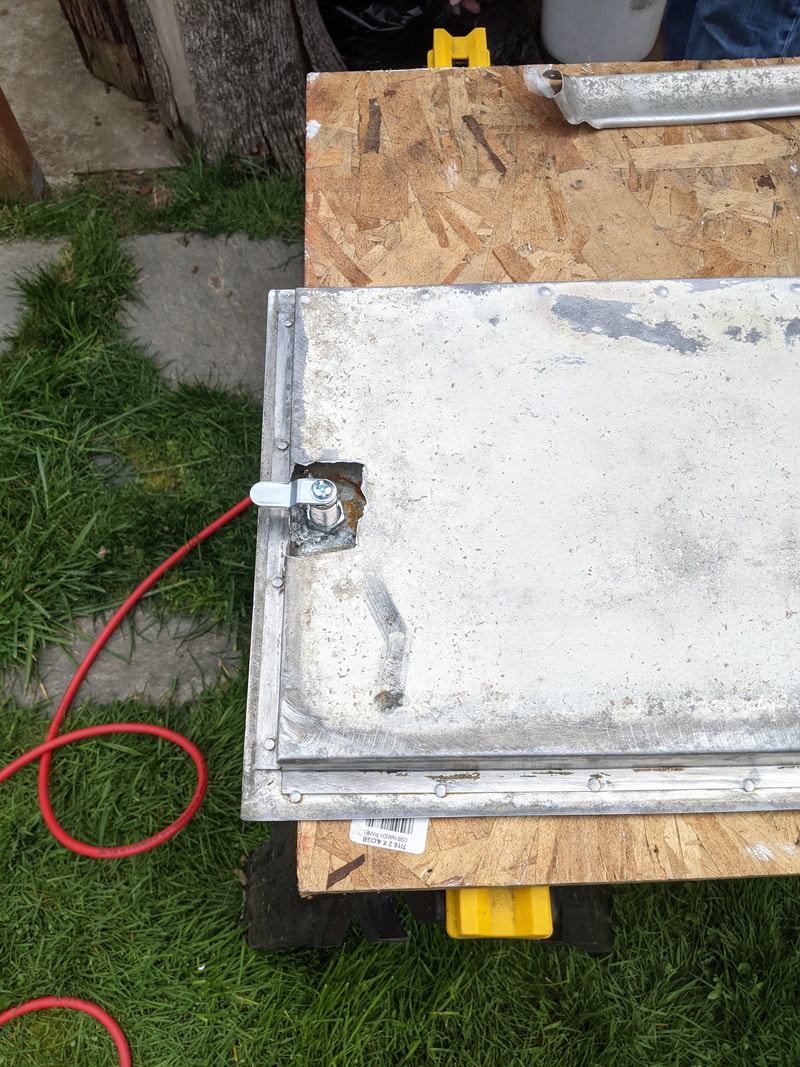
We removed the old lock, to which we had no key. Plus it was all rusty and nasty from all of the rodent urine. ;)
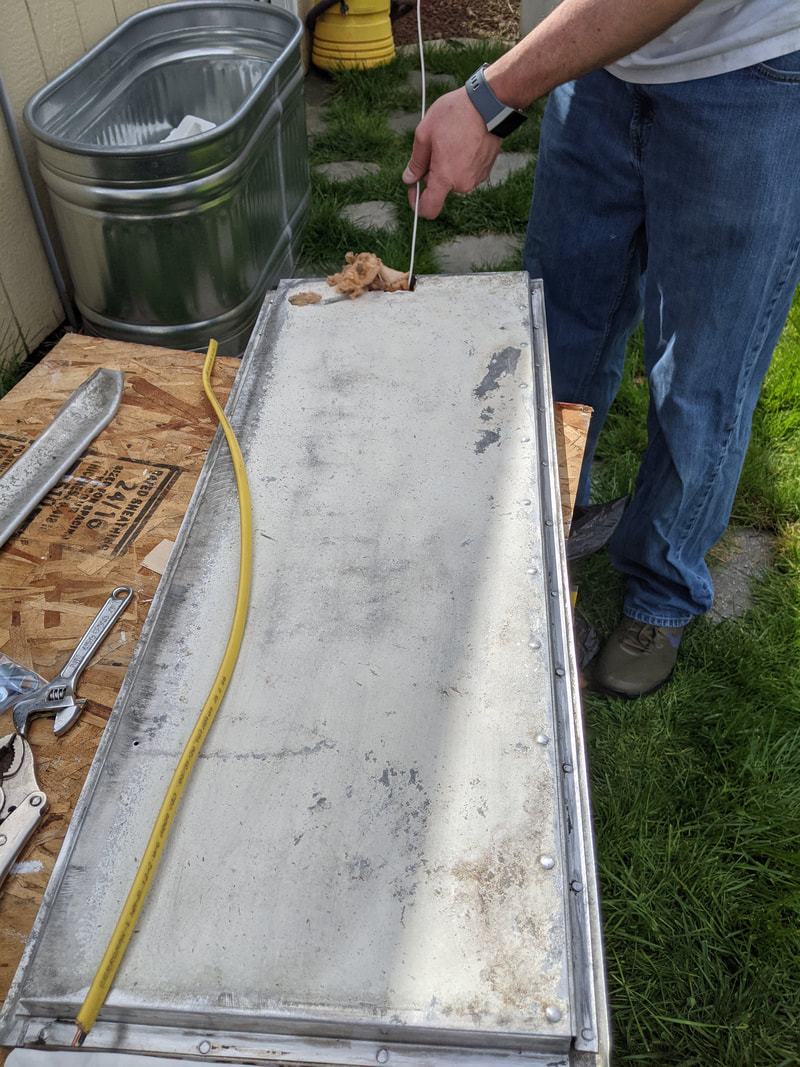
Then, we got rid of the gross insulation from inside the door. Mike used a bent piece of wire as a hook and then when he got the bulk of it, blew out the rest of it using the air compressor. (Yes, he wore PPE, 'cause this part was GROSSSSSSS)
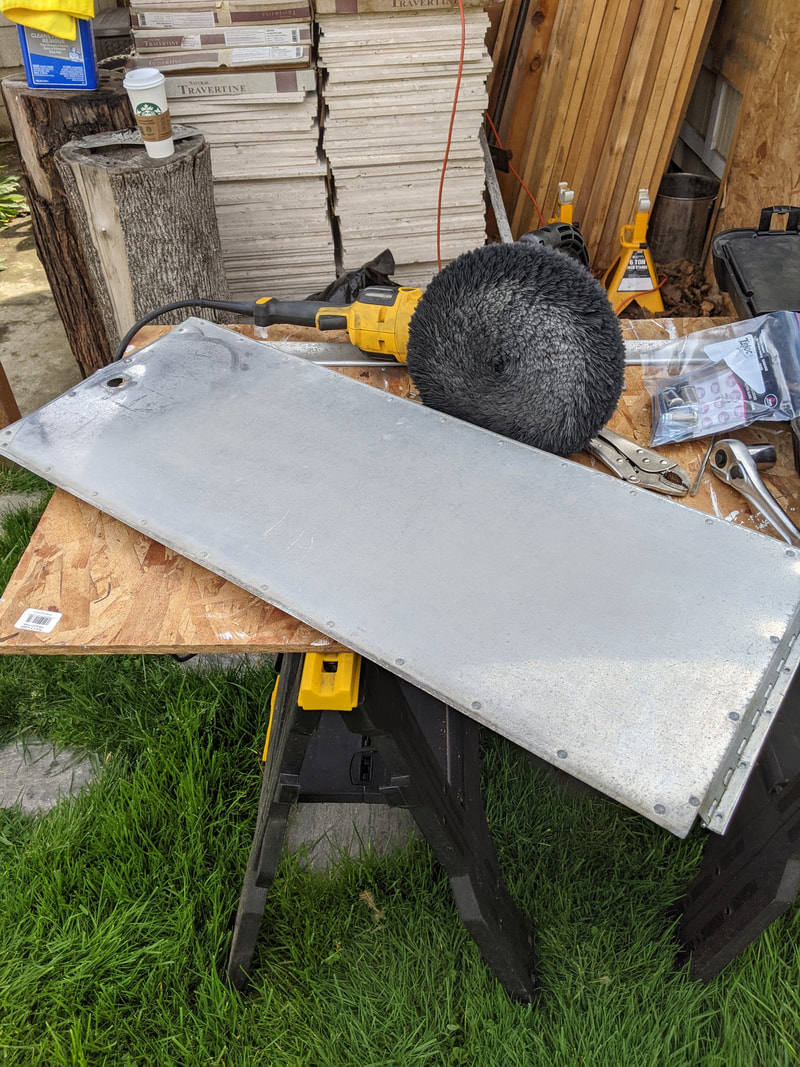
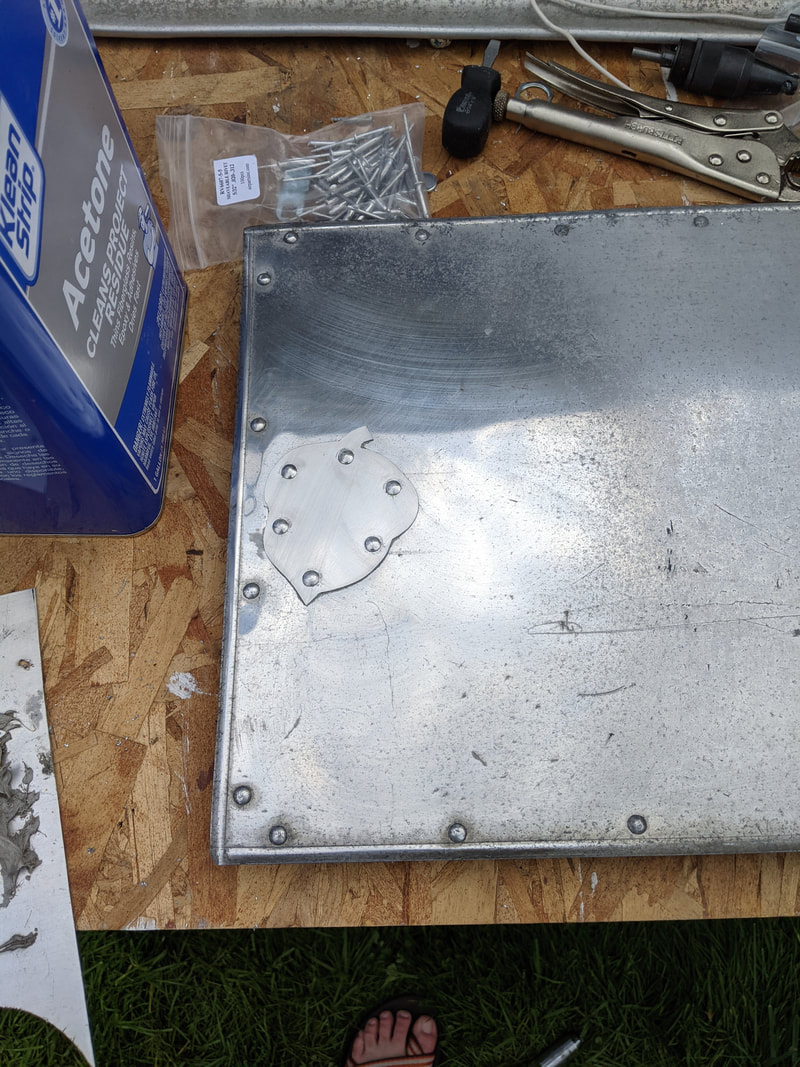
While Mike was doing that, I was making a patch for the lock area. The new locks that we got were smaller than the old one and would have pulled right through. Doesn't make for a very useful lock ;)
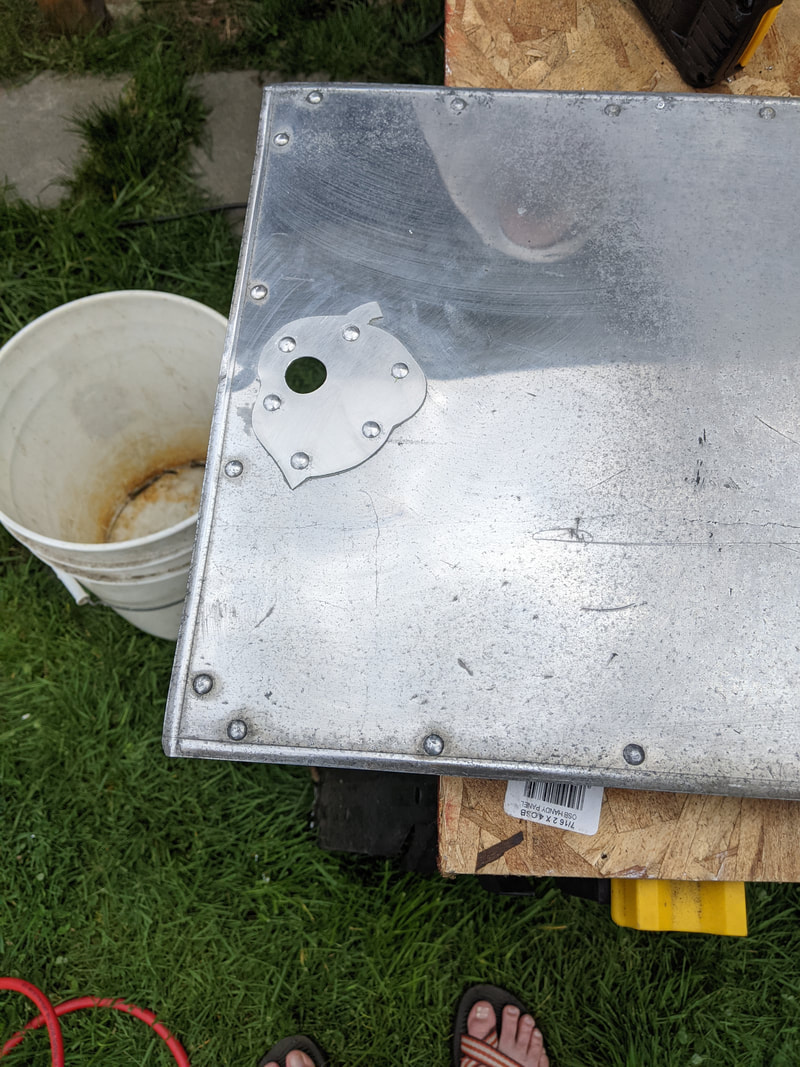
Mike HAPPENED to have a drill bit that matched the size of the new lock, so we didn't have to make a run to a hardware store on Easter! LOL YAY!
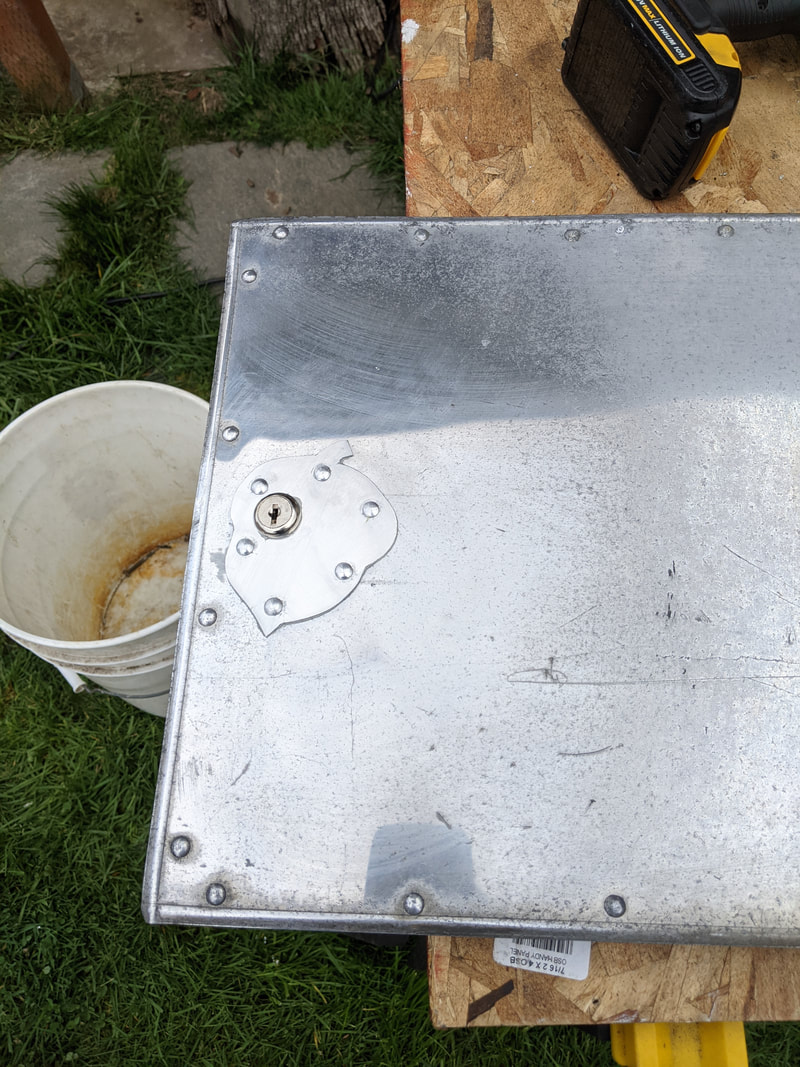
And here's the backside of the new lock :)
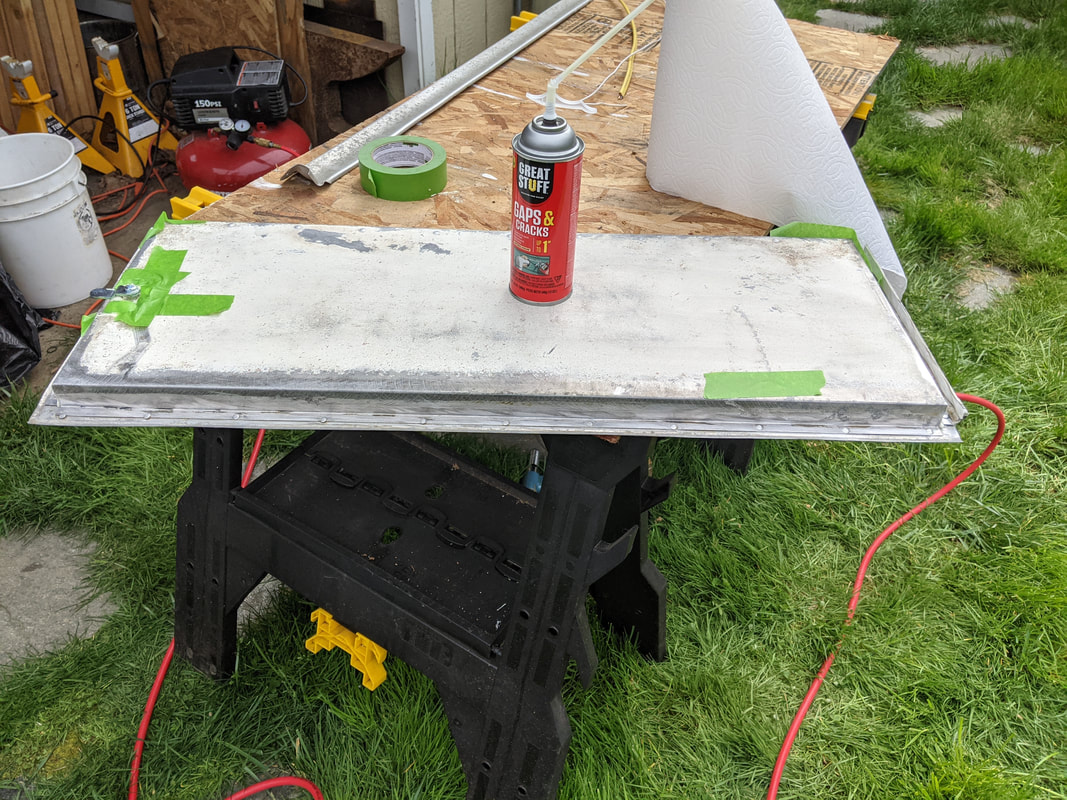
Sooo.... that part about not having to make a trip to a hardware store on Easter? Yeah... it didn't last long. We didn't have any spray foam for re-insulating the door. LUCKILY, the third neighborhood hardware store that we checked was open! We taped off the holes in the door while the foam set up.
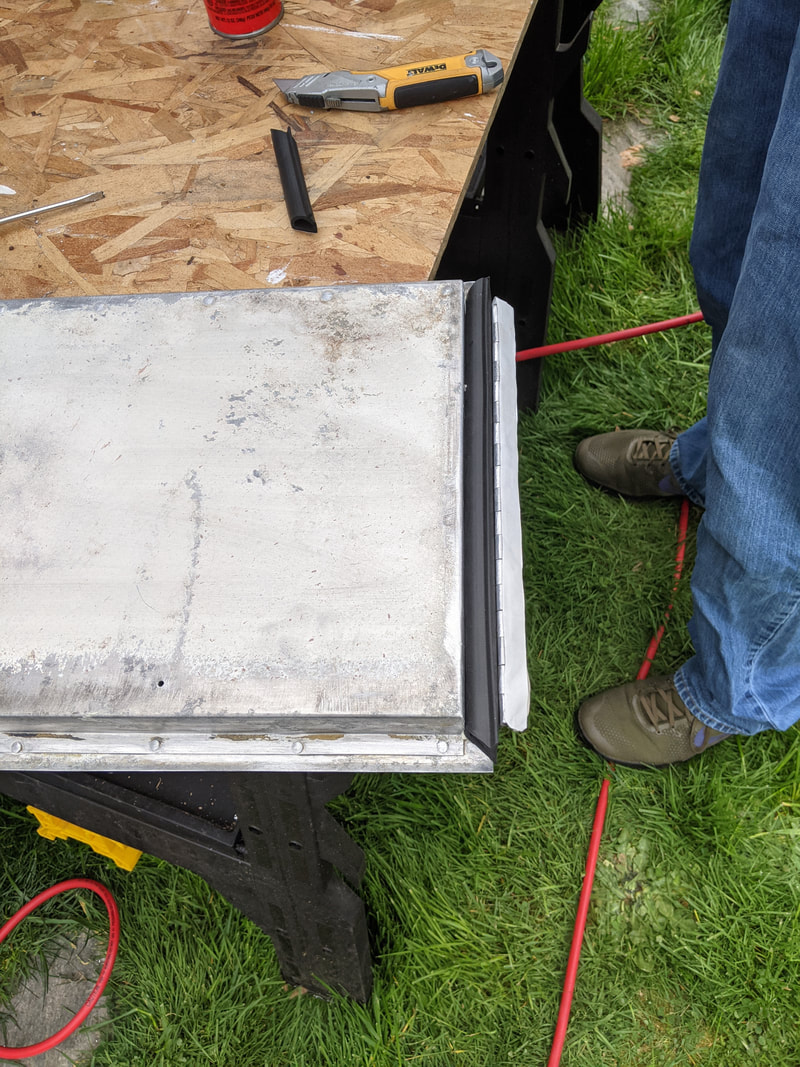
After the foam had a chance to set, we added sealing strips (only 1 side shown above, but I assure you, we did all four sides of the door ;) ) It turns out that we were able to use the same sealing strip that we used on the main door!
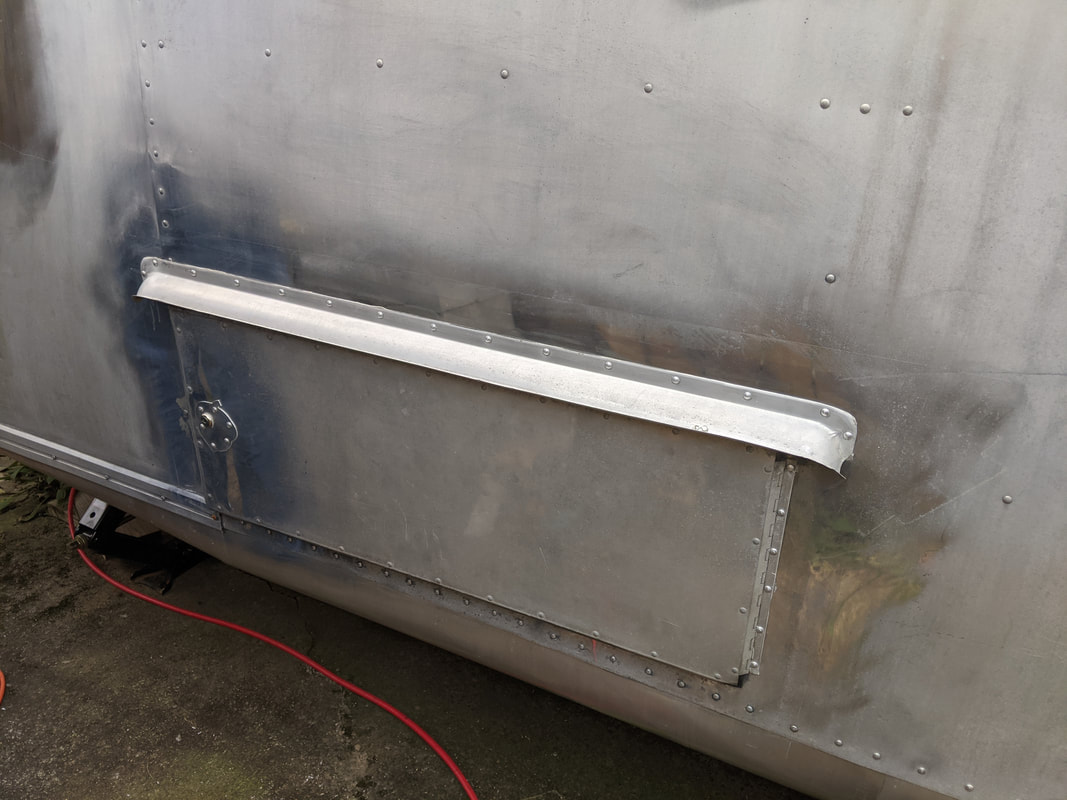
And here it is, all reinstalled with fresh rivets and tons of caulk! (surprise! LOL) It took a little bit of work to get the lock to latch properly, but we finally got it and it looks great!
I'm sick of these emblems. Trying to figure out how to fix the issue has been a comedy of errors! LOL
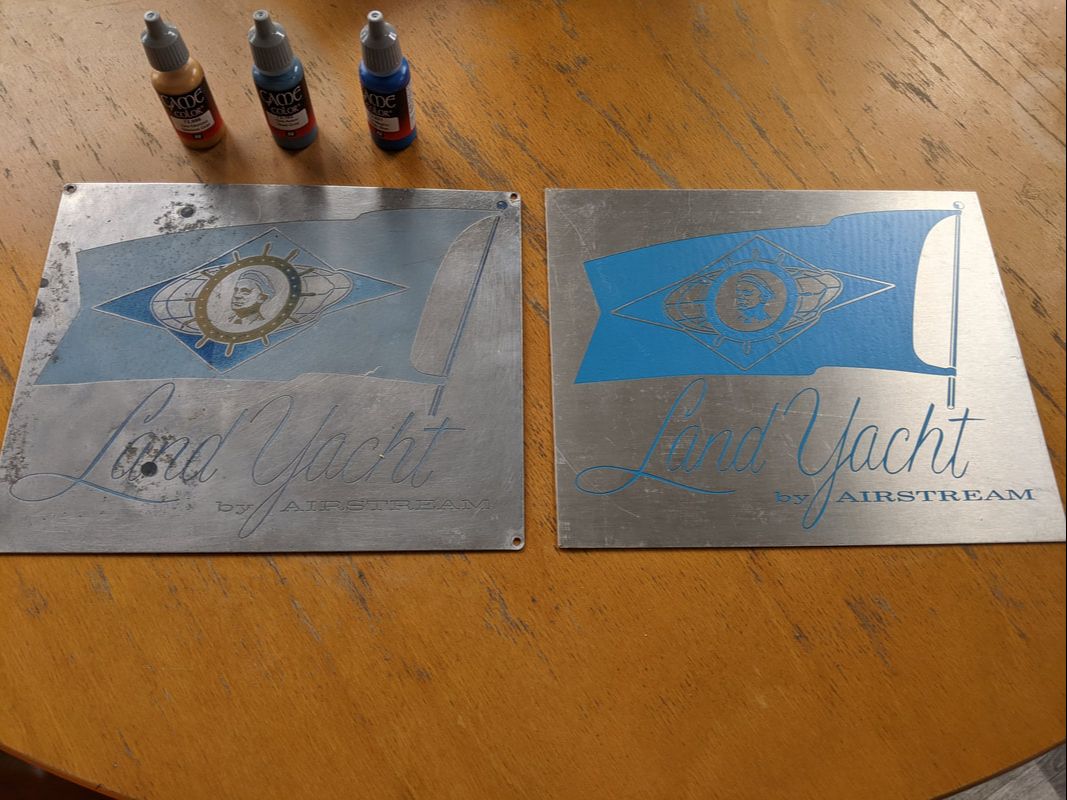
So the one on the left was the original. It had holes drilled in it by some previous owner who had installed a latch for a padlock. We've since filled the holes with a metal putty. I've been trying to avoid having to hand-paint it to restore the colors, because I'm just not confident that it will look alright.
Enter the emblem on the right! I found it on EBay! And for only $12.99! It's not tri-color like the original, but I was okay with this!
Then, on one of the sunny, warm days recently, we noticed all of the blue on the new one was super wavy! We looked at it and determined that it was just a vinyl sticker! UGH! I can't put that on my trailer!
So we went and got model paint so I could just do my best to hand-paint the original and hope that people don't look too closely at it!
Except that we got home with the paint and I was taking a look at the new one and noticed that there was a protective cover - OH. MY. GOD. It's not a vinyl sticker, it's actually painted!
So now I have a different decision to make LOL! Which do I use? Was the paint a waste? Or was the new plaque? It's tough being a dumbass ;)
Until next time, <3 Becca
