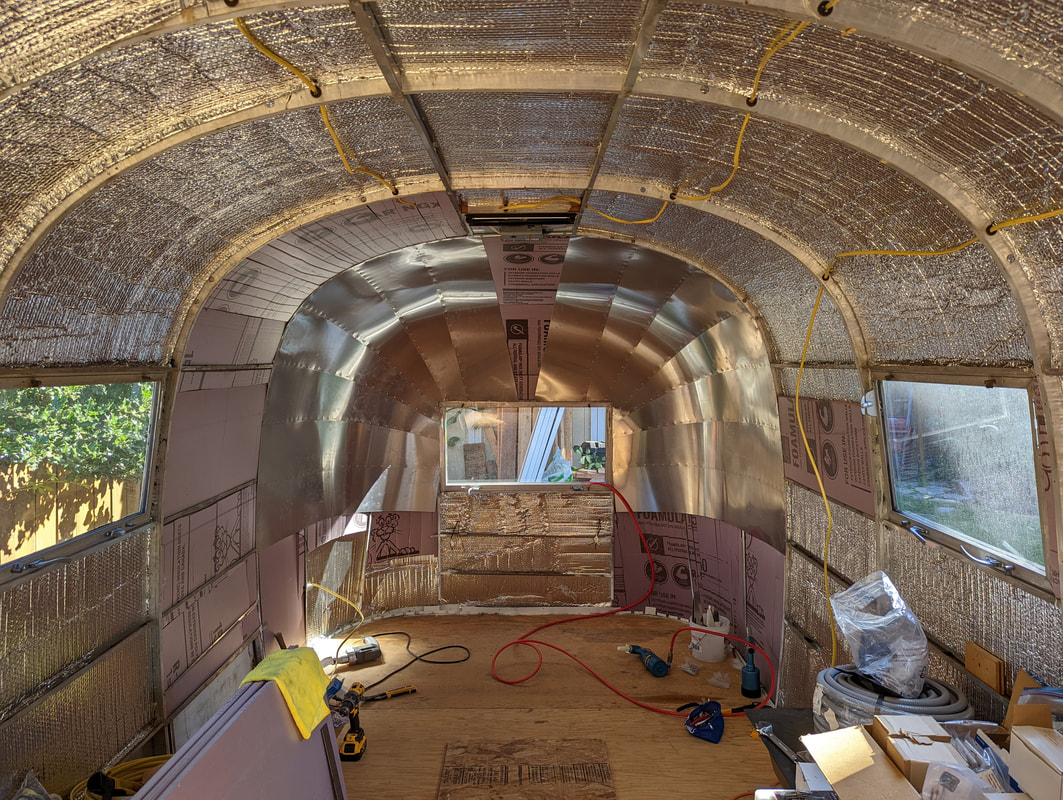
These end caps have been a real trial. We've been working on them for almost a year at this point! We've certainly taken on some side projects during this time, but the end caps have been our main focus.
Here's where we started this weekend:
Here's where we started this weekend:
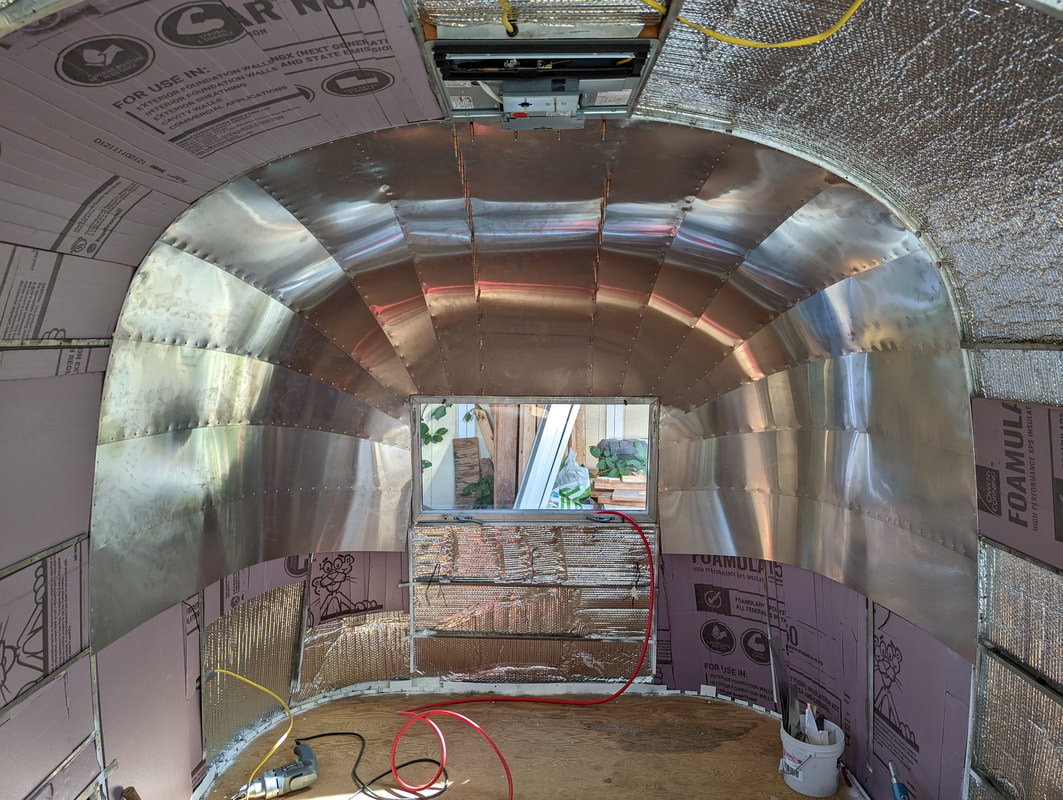
One. Panel. Left.
If you'll recall, last weekend we had to cut our own new panel, because the one we ordered was about an inch shy width-wise. Here it is being installed! Last panel held into place with Clecos!
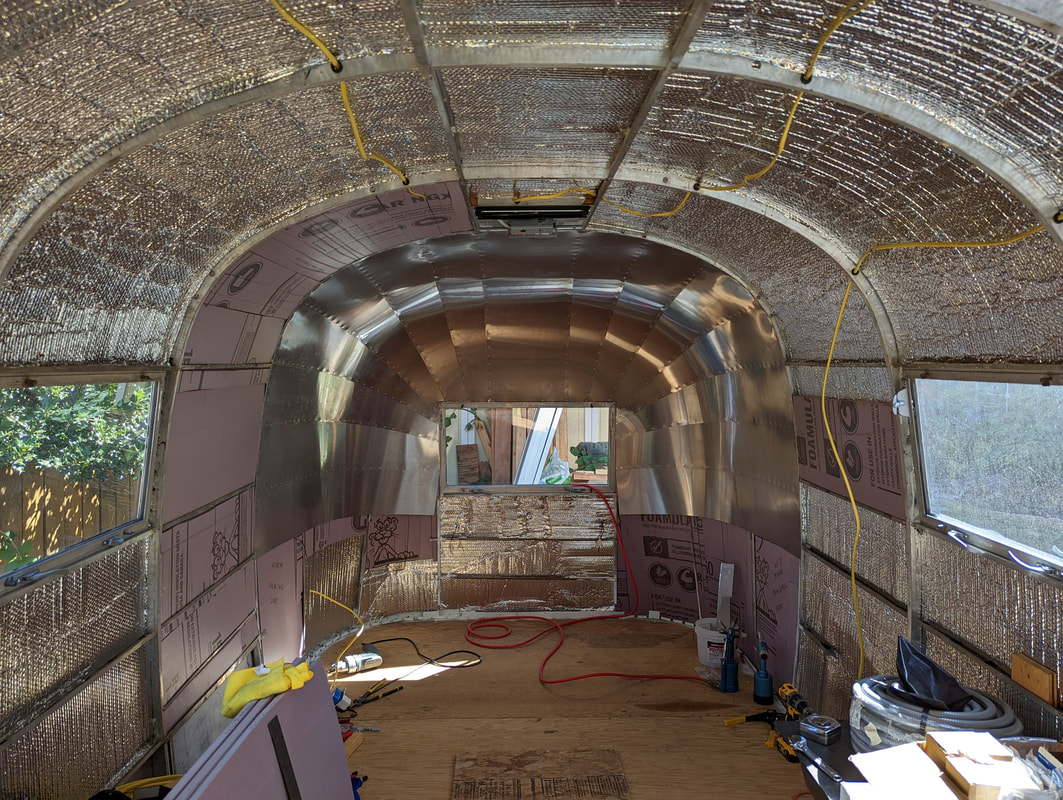
ALL. DONE!!!!!! It was a quick last panel (we've gotten PRETTY efficient with our panel installing skills! ;) ), this one took right about an hour. It turned out so beautifully!
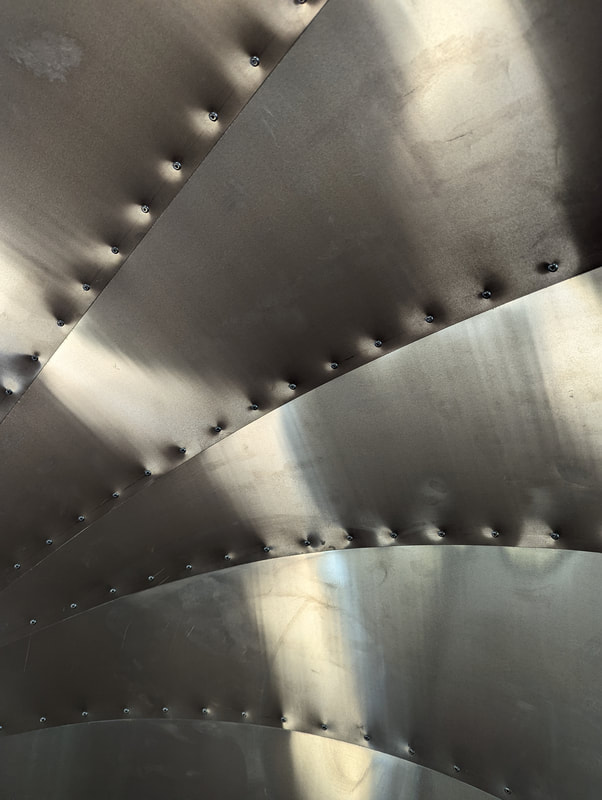
I just love the way the panels curve and angle in the end caps :)
I'm very excited to move onto the next project(s). We need to finish up the 12-volt wiring, installing the purple insulation and then we're ready to replace the inner skins! Once the inner skins are installed, then it's time to build out the interior!
Here's to finally moving past the end caps LOL!
Until Next Time! <3 Becca


