It's really nice having a project to work on that feels like progress! Though it makes for boring blogging, in that the second half of the end cap is the same process as the first, just mirrored ;)
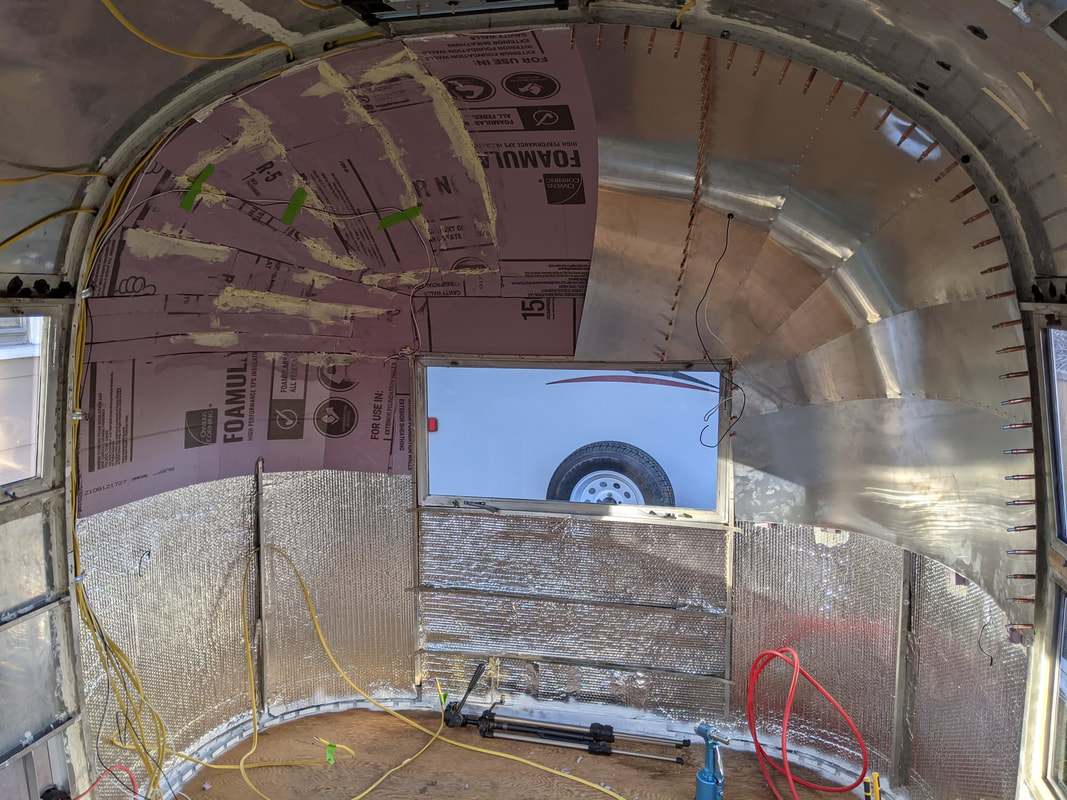
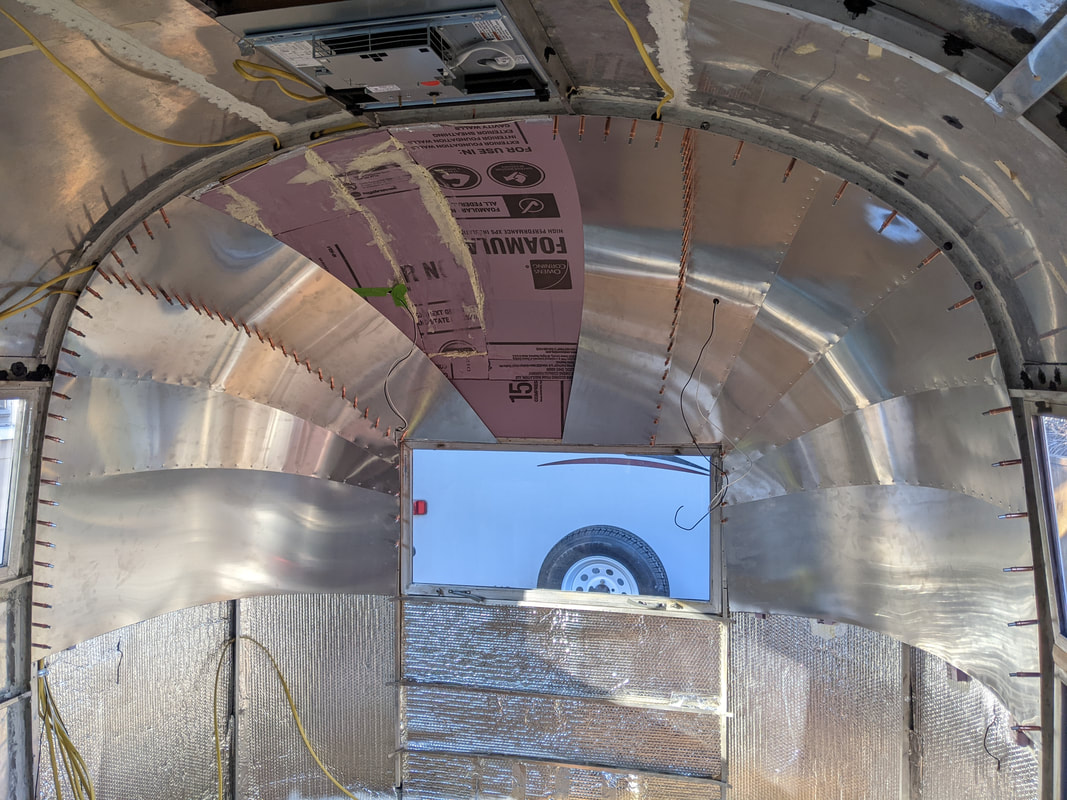
Here's where we started this weekend:
Here's where we started this weekend:
Mike is a freakin' genius. He took this project as an opportunity to purchase a "toy" he's wanted for a while now. We've used it a couple of times already, but it's showing to be exceptionally useful in Maude with all of her curves!
What is this awesomeness of which I speak?
A laser level.
It helped us level the trailer. It also helped us find the starting point for the other side of the end cap :)
What is this awesomeness of which I speak?
A laser level.
It helped us level the trailer. It also helped us find the starting point for the other side of the end cap :)
Even with the laser level, you can see that there are going to be some minor imperfections due to Maude's imperfect shape ;) In the photo above, the initial piece of aluminum on the second side actually overlaps the front window a bit more than on the first side! We took some moments to reassure ourselves it was Maude's irregularities, not irregularities in our thinking/planning/etc. We have those too, but not in this case LOL
 |  |
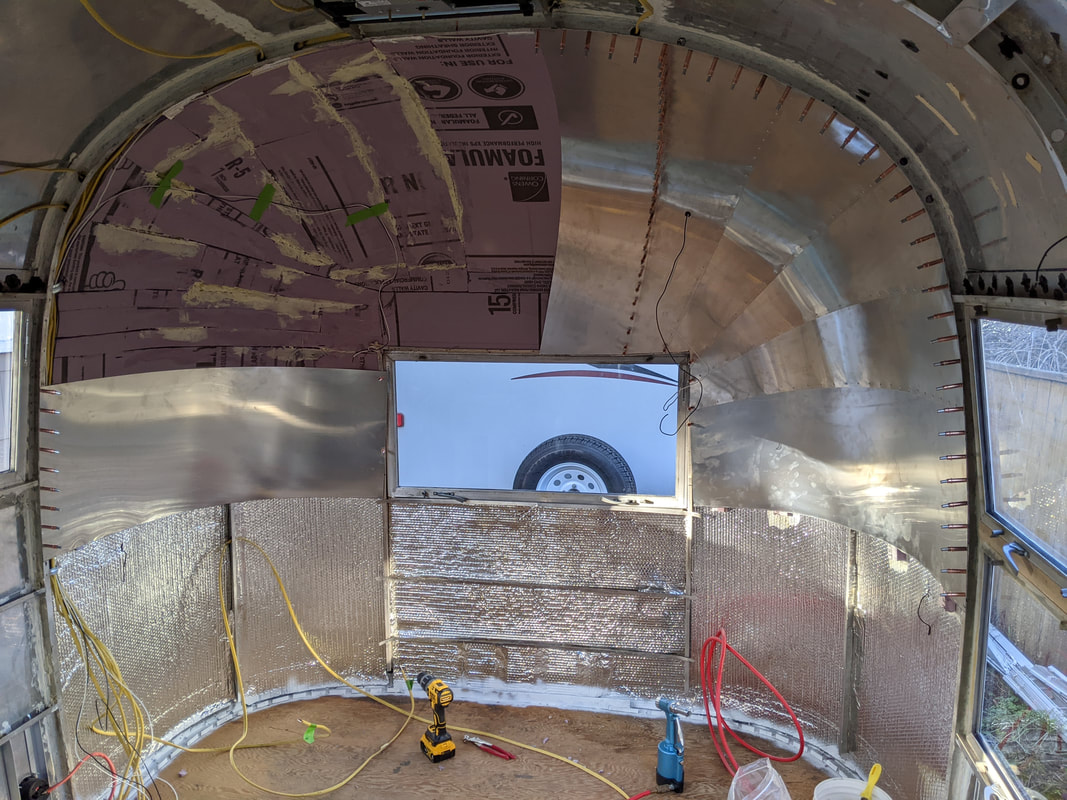
Moving forward!
 | 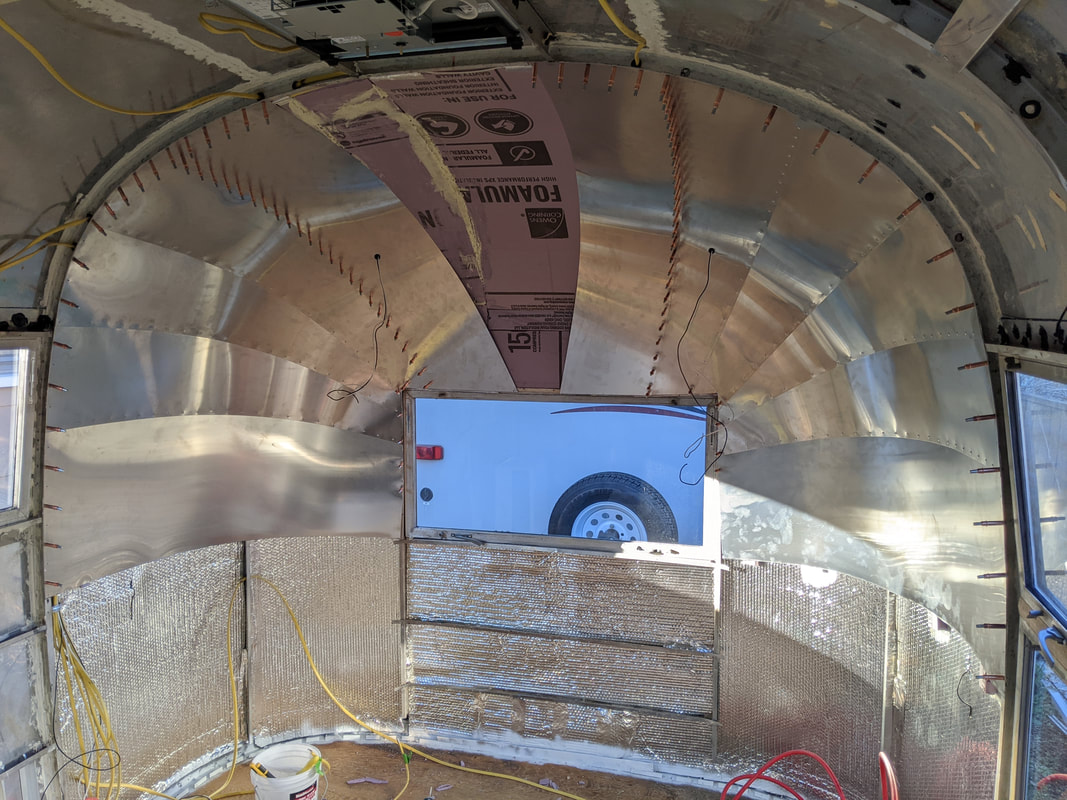 |
We again used the laser level to position the wiring for the second sconce! THANK GOODNESS FOR THIS TOOL! With all of her curves, it's REALLY hard to either "eyeball" or measure the positioning of things!
With the laser level, we first found the horizontal for the first sconce. Then we placed a piece of tape along that line on the left side. Then we turned the level to create the vertical line (the sconces align with the edge of the window!) and marked the spot where the two crossed on the aluminum with a sharpie! SOOOO simple! Though, you'll notice that it looks wonky, since I took the photo from an angle. The curves are SO deceiving!
With the laser level, we first found the horizontal for the first sconce. Then we placed a piece of tape along that line on the left side. Then we turned the level to create the vertical line (the sconces align with the edge of the window!) and marked the spot where the two crossed on the aluminum with a sharpie! SOOOO simple! Though, you'll notice that it looks wonky, since I took the photo from an angle. The curves are SO deceiving!
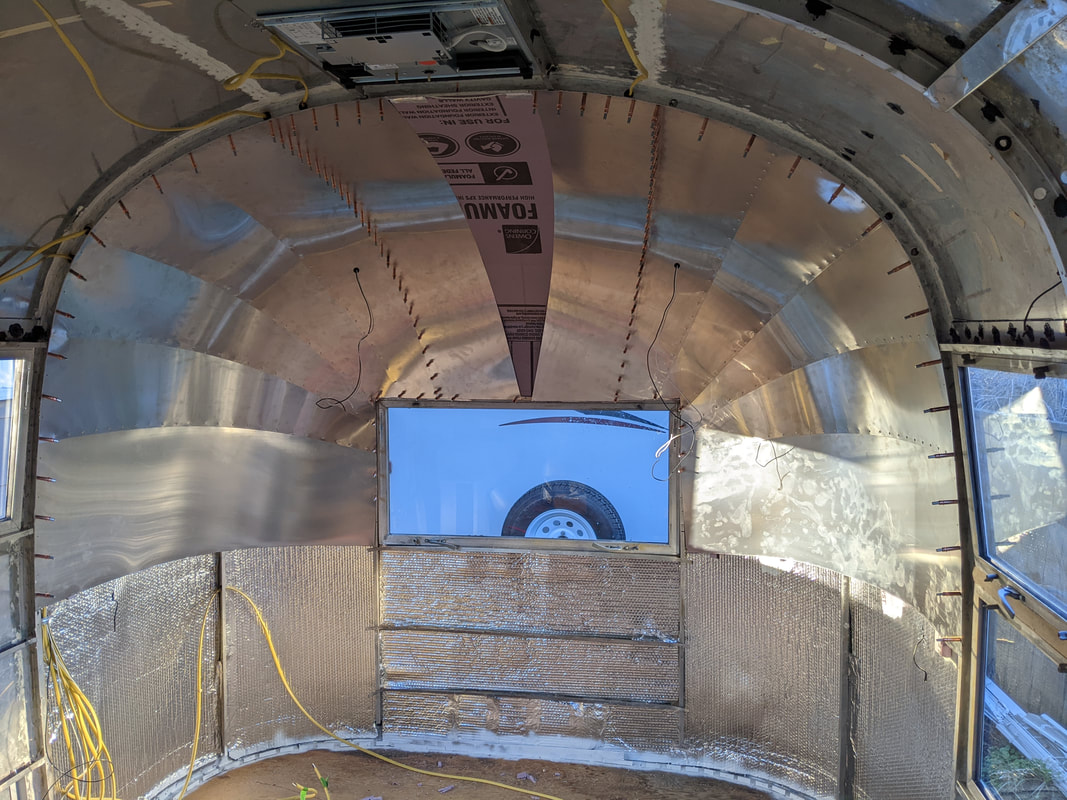
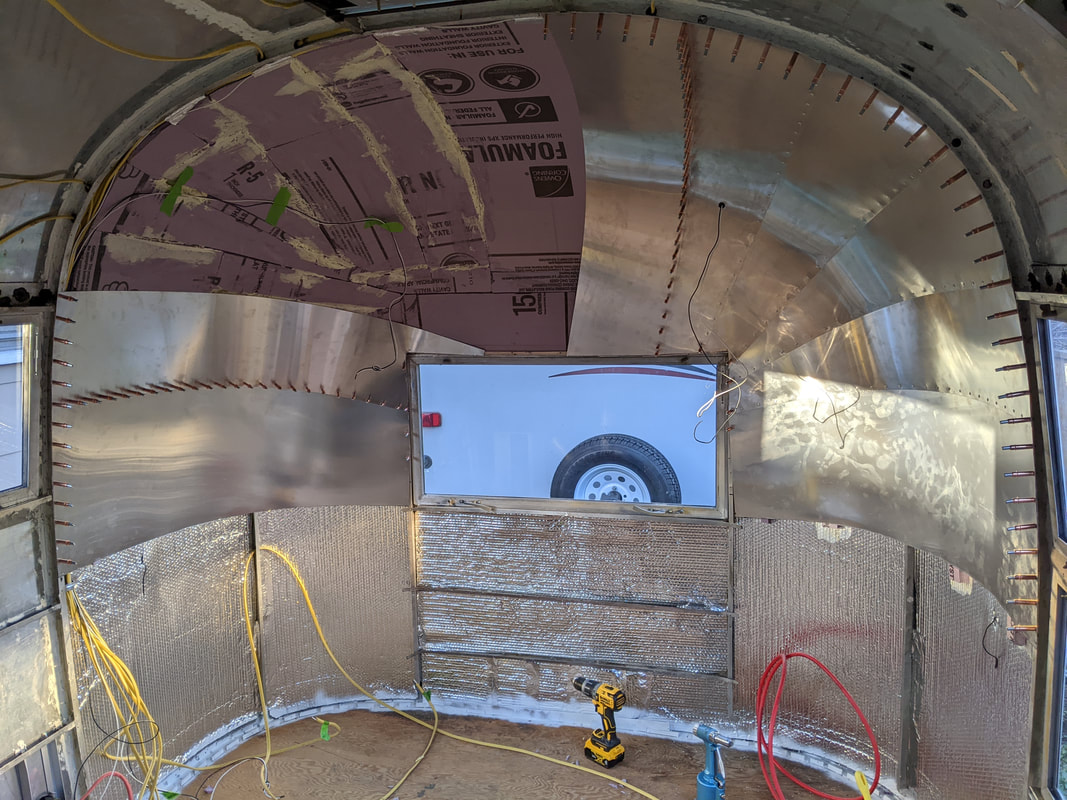
We did it! Well......... almost. I mentioned it last time, but our 11.5" wide sheets aren't wide enough for the final piece. We have a 14" gap at the top! But in the realm of complications with Maude, this is super minor. It'll cost a bit extra (which is a bummer), but we'll just purchase a new piece of the appropriate width.
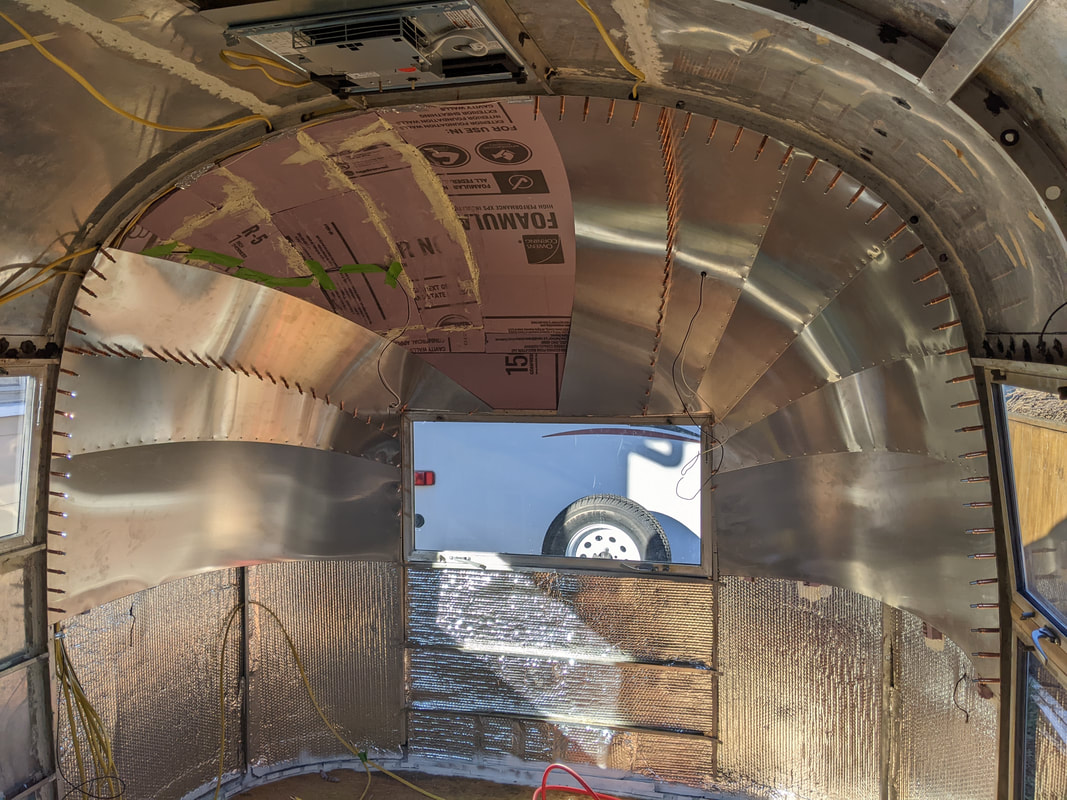
When we watched YouTube tutorials on this process, several people suggested that it took them 10-12 hours to build an end cap. It took us 10 hours to get this far, so we're right in that window! Yay!
Next weekend, we'll start work on the other end <3
Until then! Becca
When we watched YouTube tutorials on this process, several people suggested that it took them 10-12 hours to build an end cap. It took us 10 hours to get this far, so we're right in that window! Yay!
Next weekend, we'll start work on the other end <3
Until then! Becca
