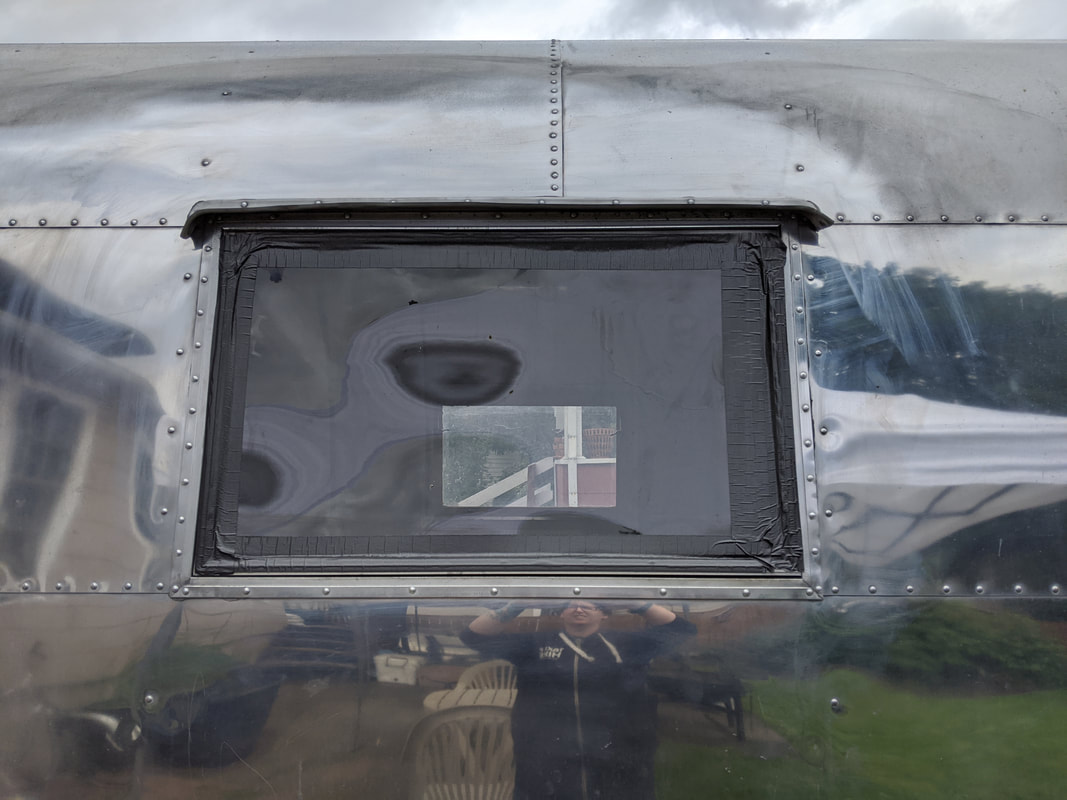
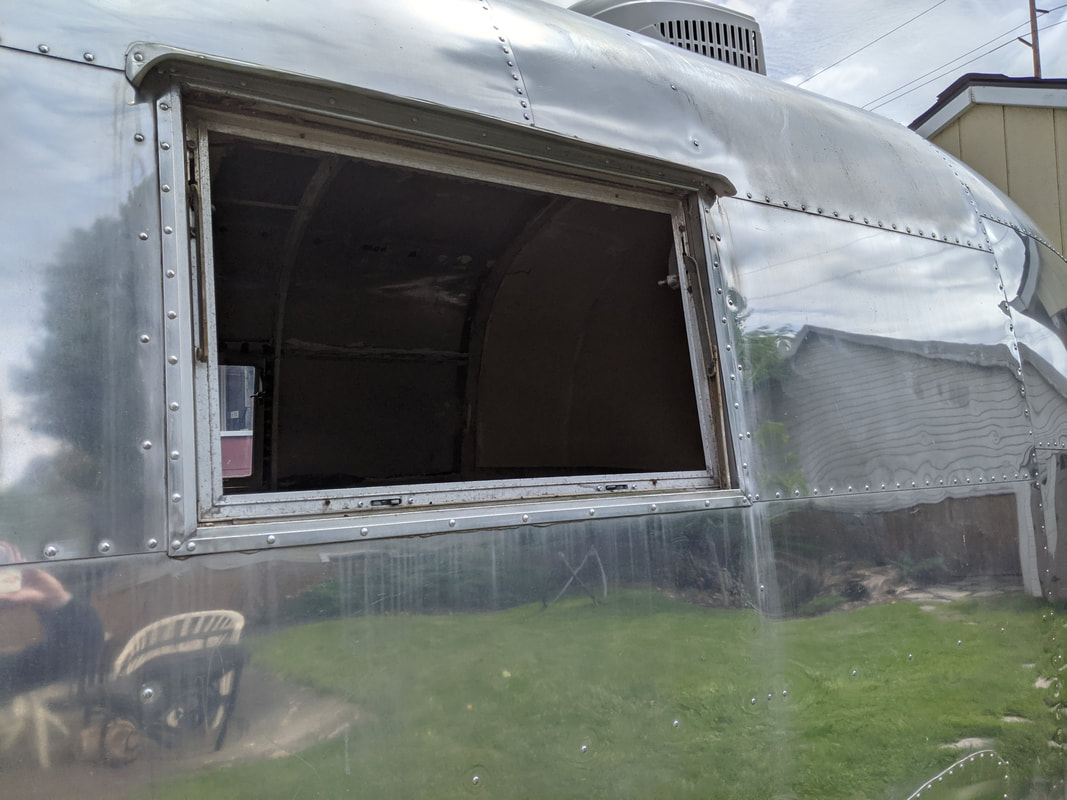
This week we decided to start reglazing the windows. This particular window had no glass pane at all when we got her, so we used plexiglass and duct tape to help waterproof her until we could get to this point.
This is where we started!
The windows are pretty cool on an Airstream. You remove all of the hardware, open the window as far as it will go and then slide it off to the side! Here, the pane was already removed (sorry, taking the window off was REALLY fast and easy - so much so that I forgot to get a picture! LOL!).
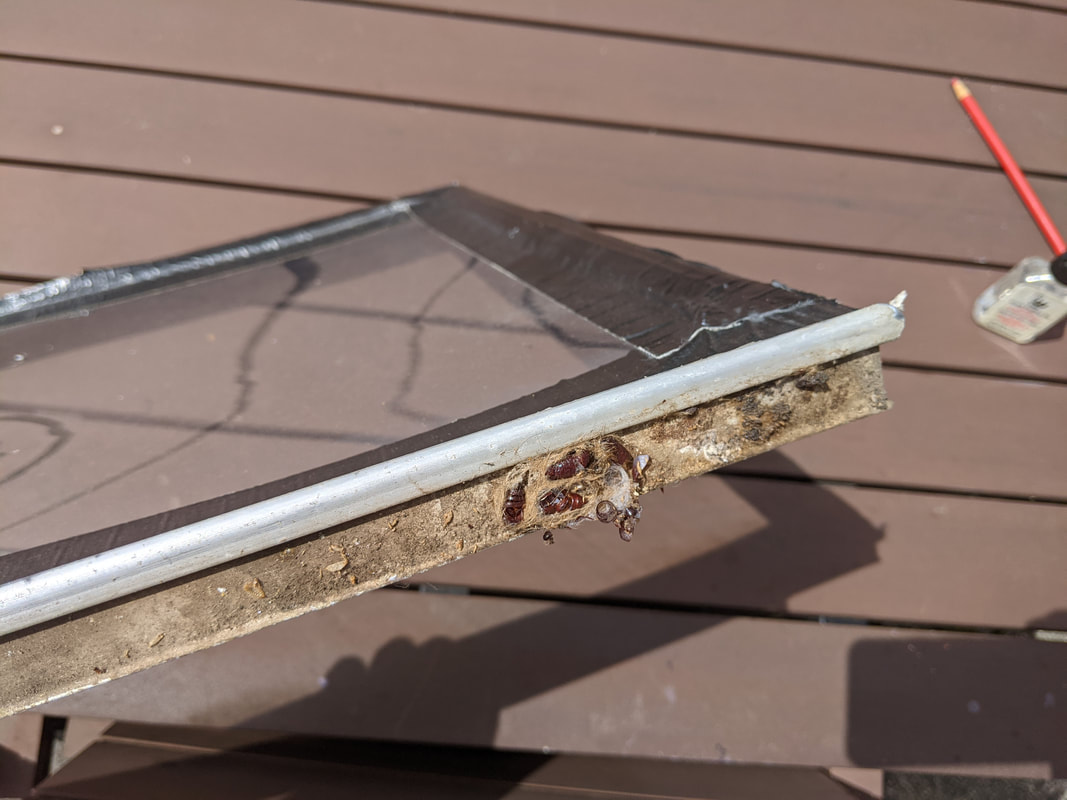
Fun surprises still await us in each of the windows, apparently! ;) BLECH! (those are dead insects)
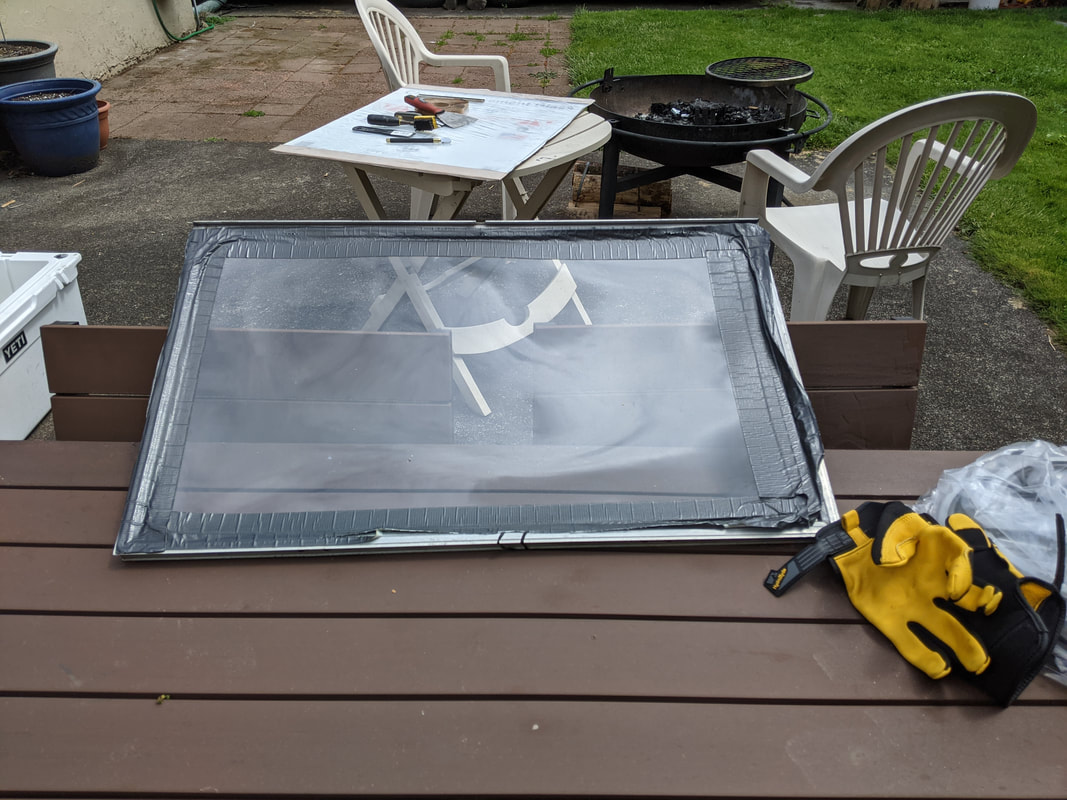
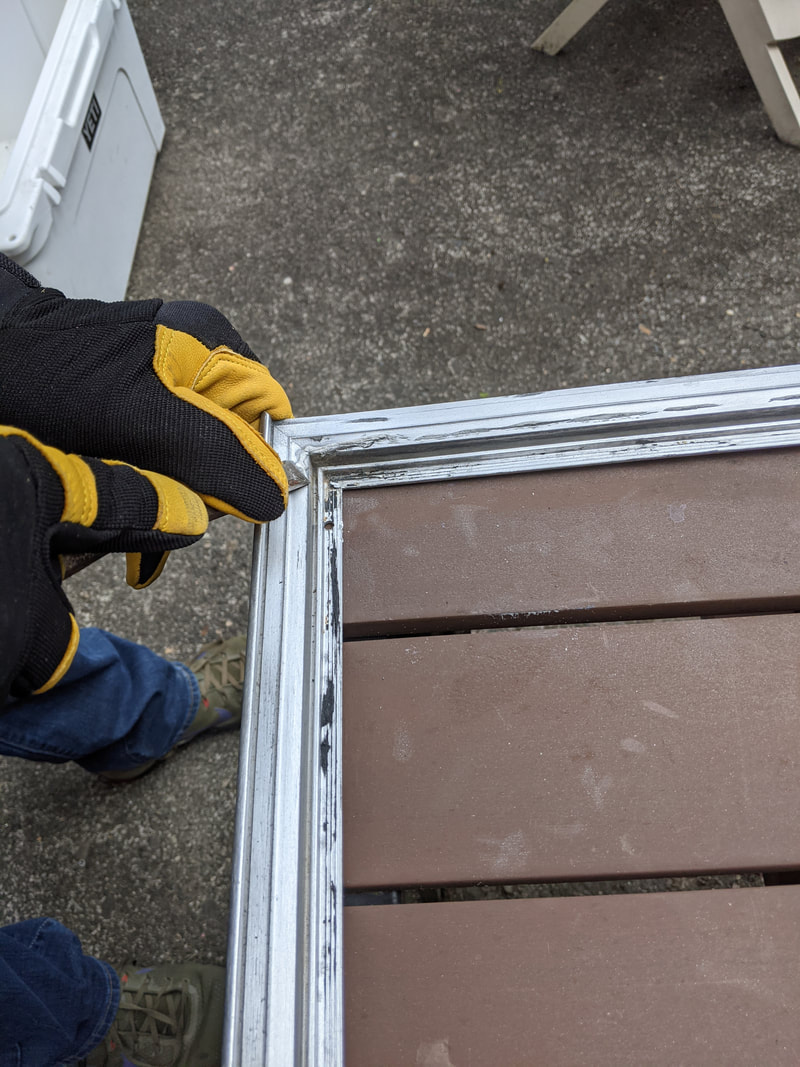
So, this is what we were starting with!
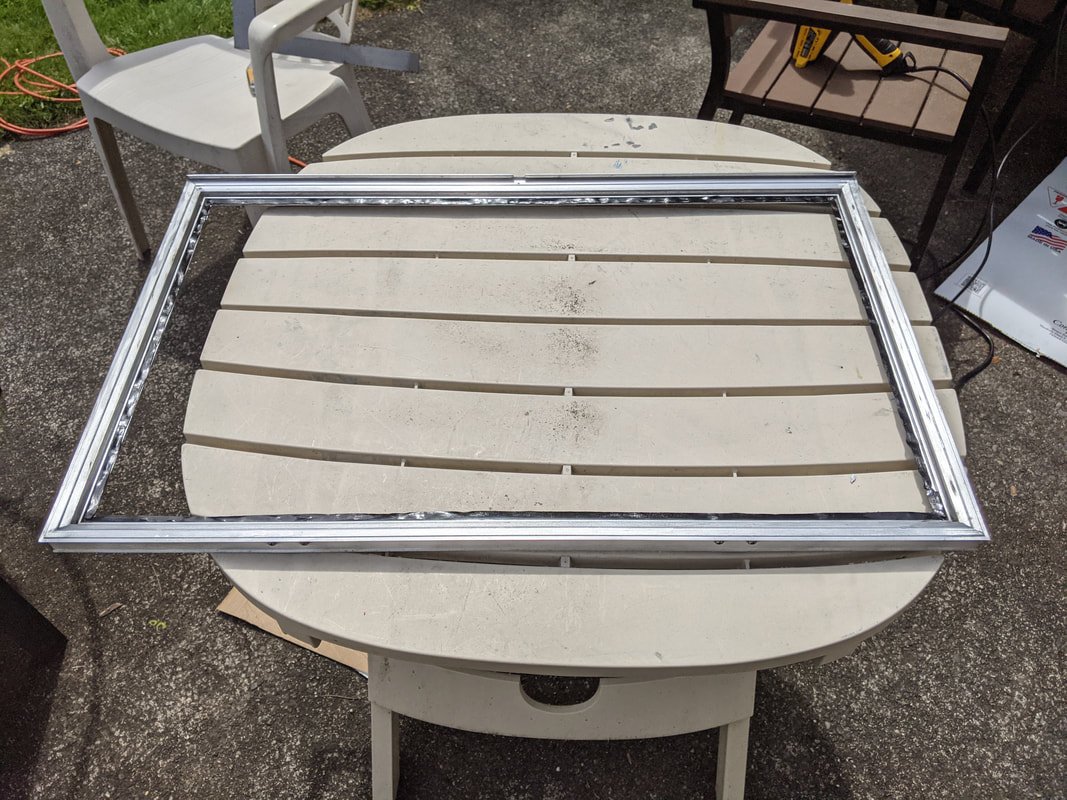
Some previous owner had used something SUPER hard to try to reseal the leaking windows at some point (prior to be there being no panes, I assume ;) ) We tried scraping it off with a chisel. It didn't work so well.
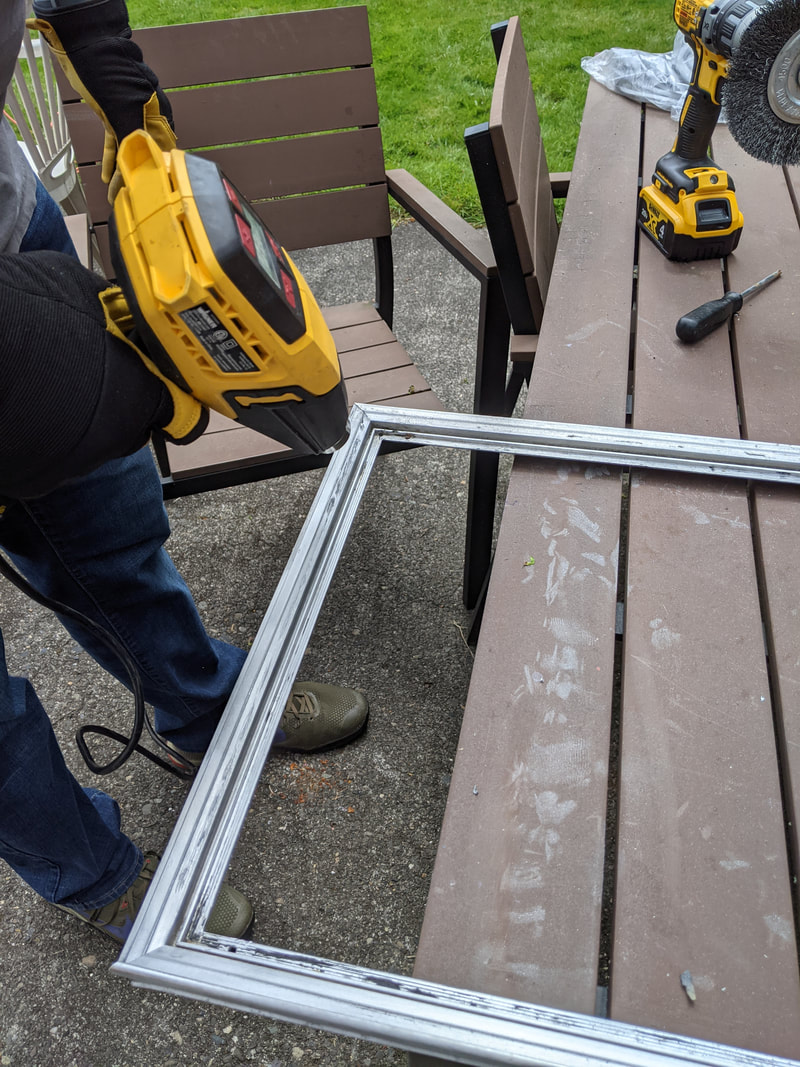
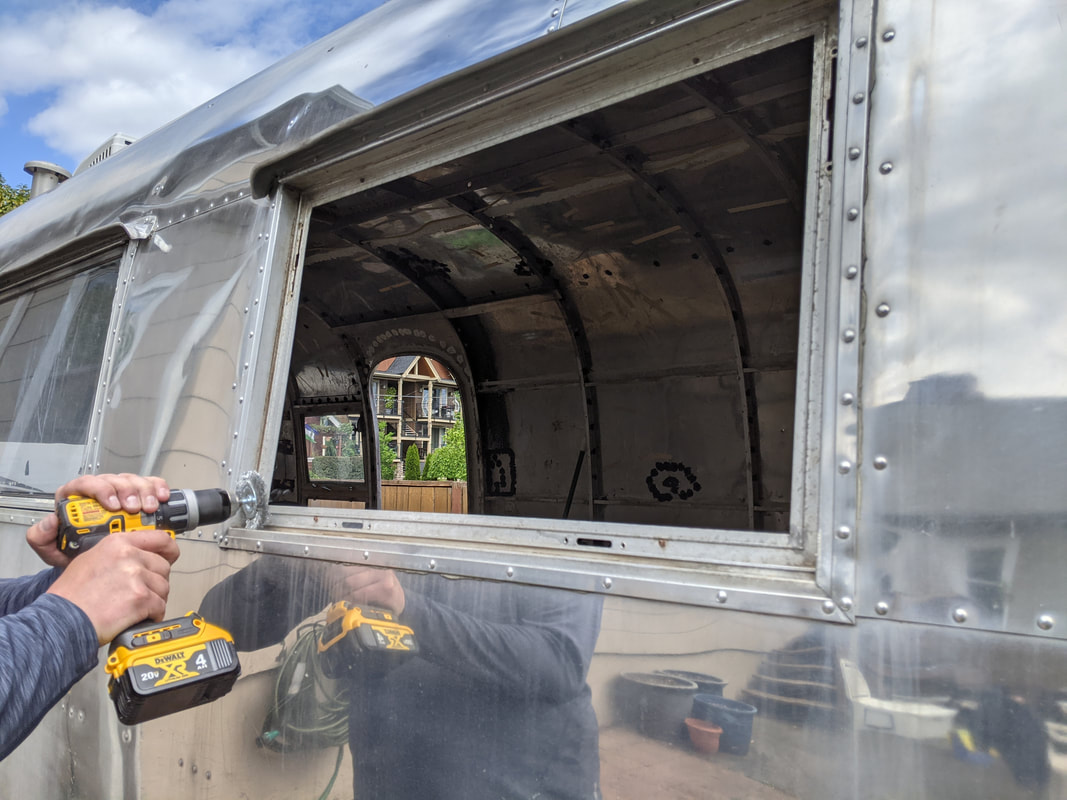
So we broke out Ye Olde Heat Gun (TM) to see if that would melt it enough to be able to budge it. This worked really well, particularly when we combined it with the wire wheel (not shown, again, it went pretty fast and I slacked on getting a photo!)
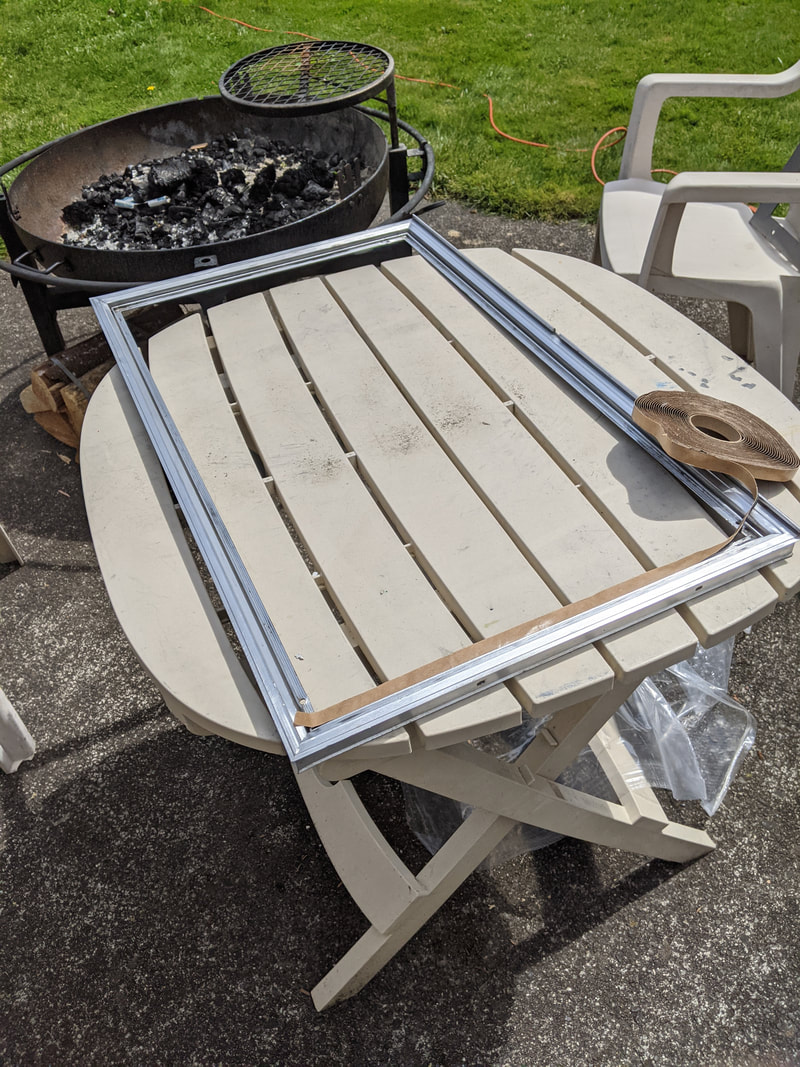
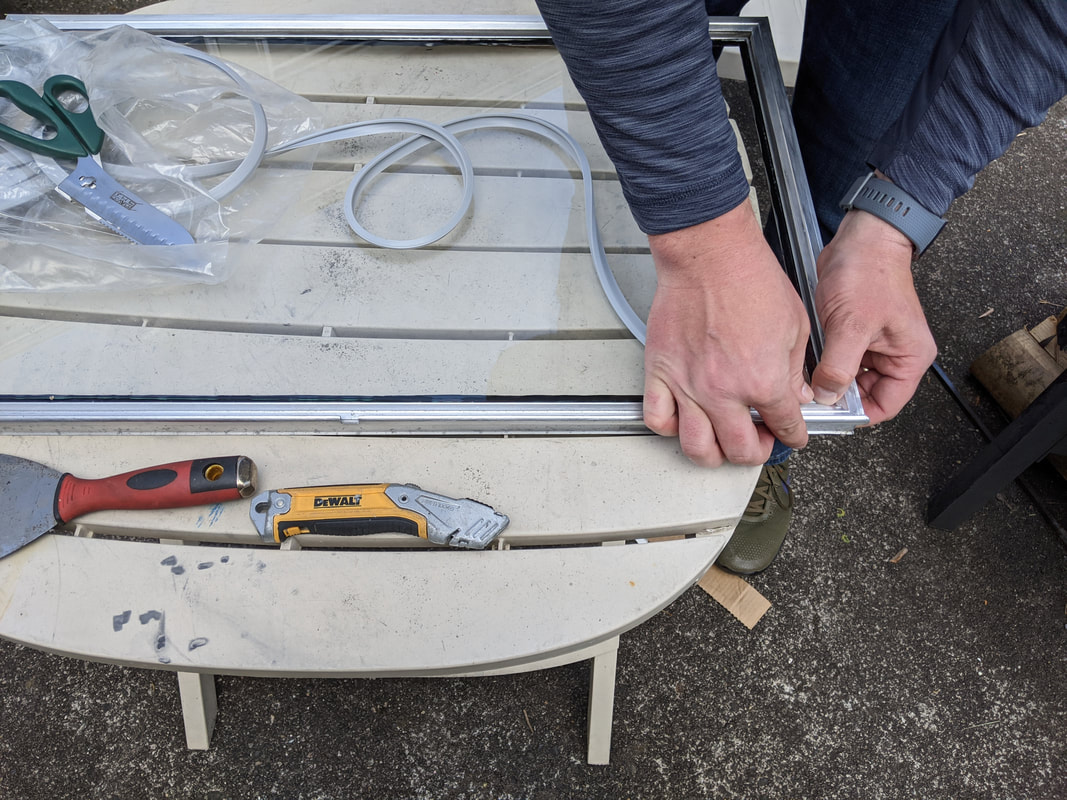
Beautifully clean! Yay! Shown here is a roll of black sticky stuff that we placed along the rim of the window. Later, the pane gets put into place and sticks/seals really well to the frame. The brown paper gets peeled off after application ;)
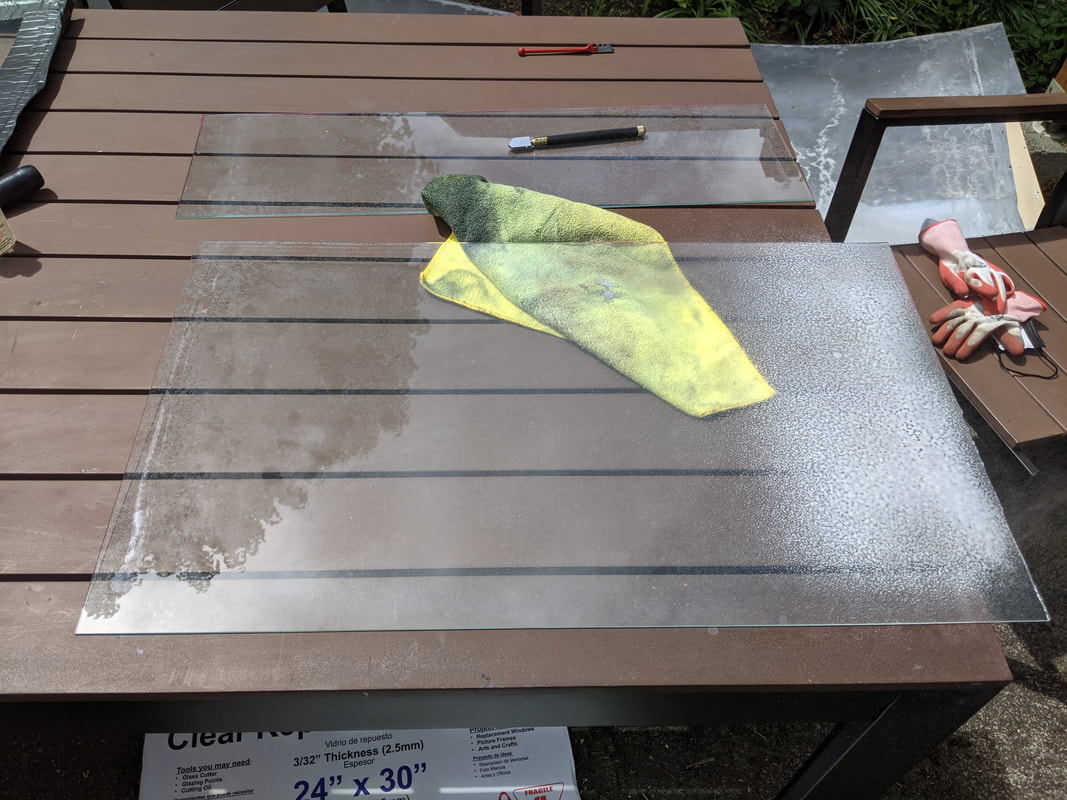
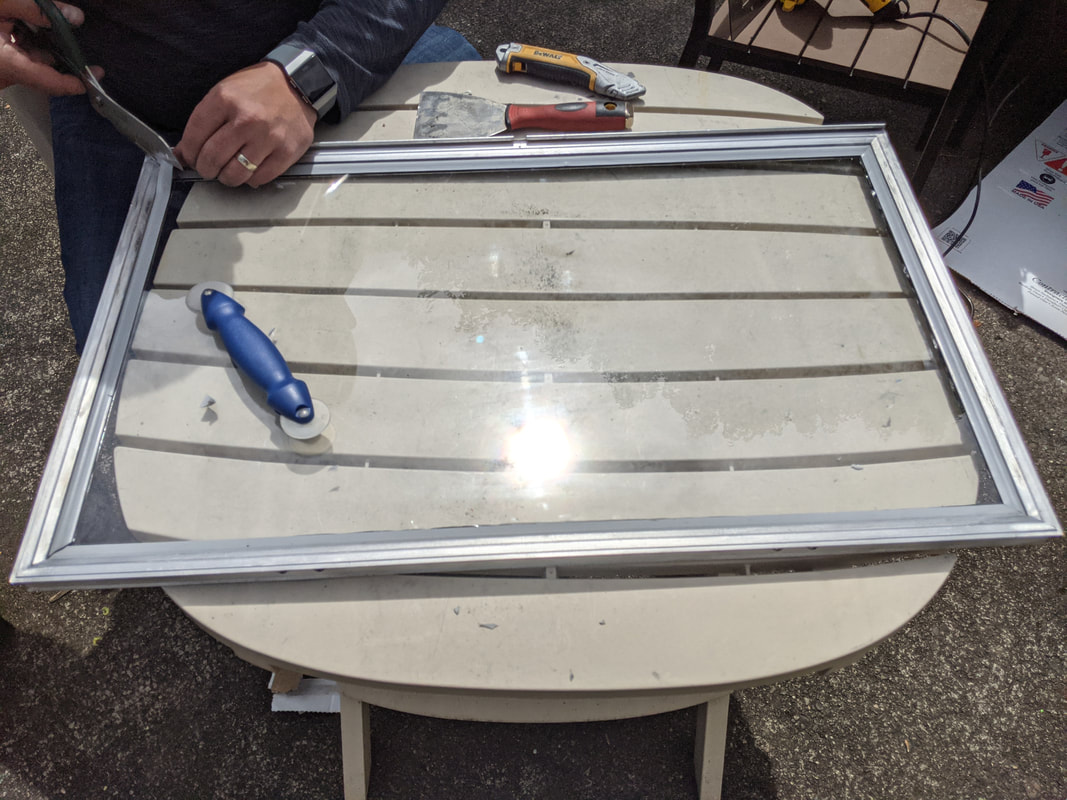
This here is Mike's pride and joy! We've replaced glass in our house plenty of times, and it usually takes several tries (and panes of glass) because it's pretty easy to break it when you're trying to cut it to size. NAILED IT on the first try! I guess practice DOES make perfect? ;)
The glass is in place in the frame! You can see the black sticky stuff better in this photo :)
With the black adhesive and the pane in place, you then press this silicon glazing strip into the frame and it locks it all into place while also waterproofing it all :)
Cleaning the frame using the wire wheel! It really is a great way to clean this stuff ;)
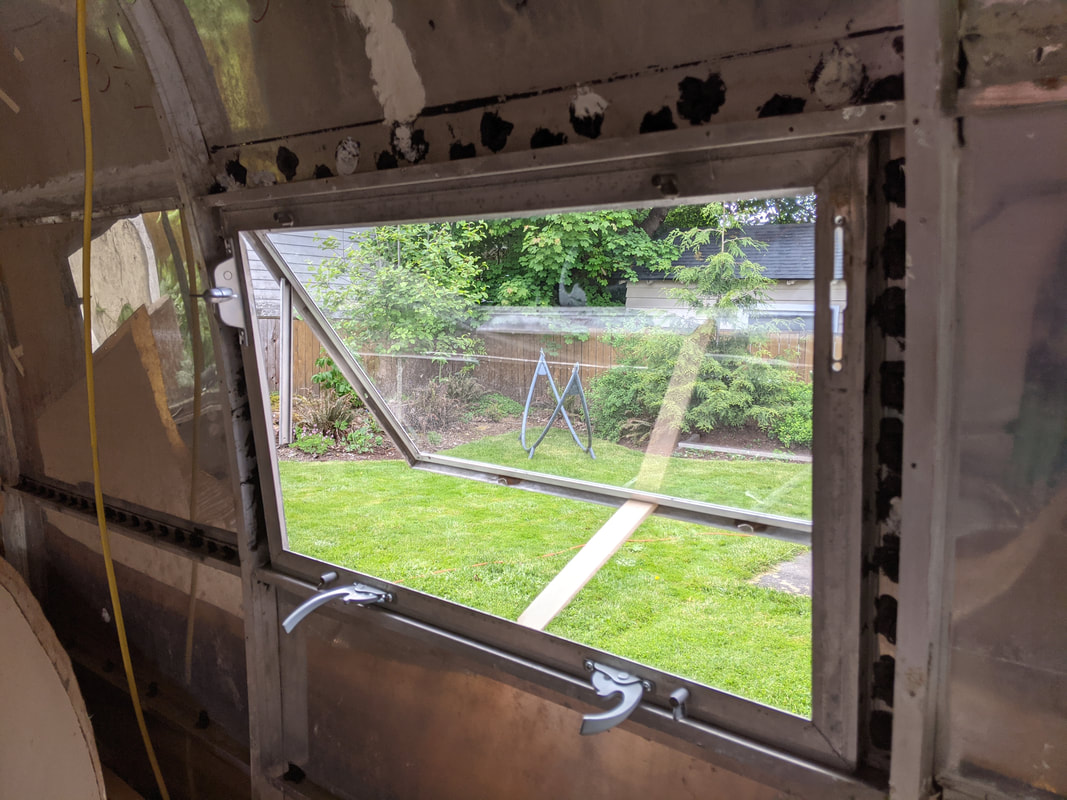
And here's the window pane back in place! We started reinstalling hardware, but the replacement crank (left side of the window) that we bought was missing a part specific to our setup. We're going to need to try to problem-solve this ;) That's for another day, though! In the meantime, the window latches shut!
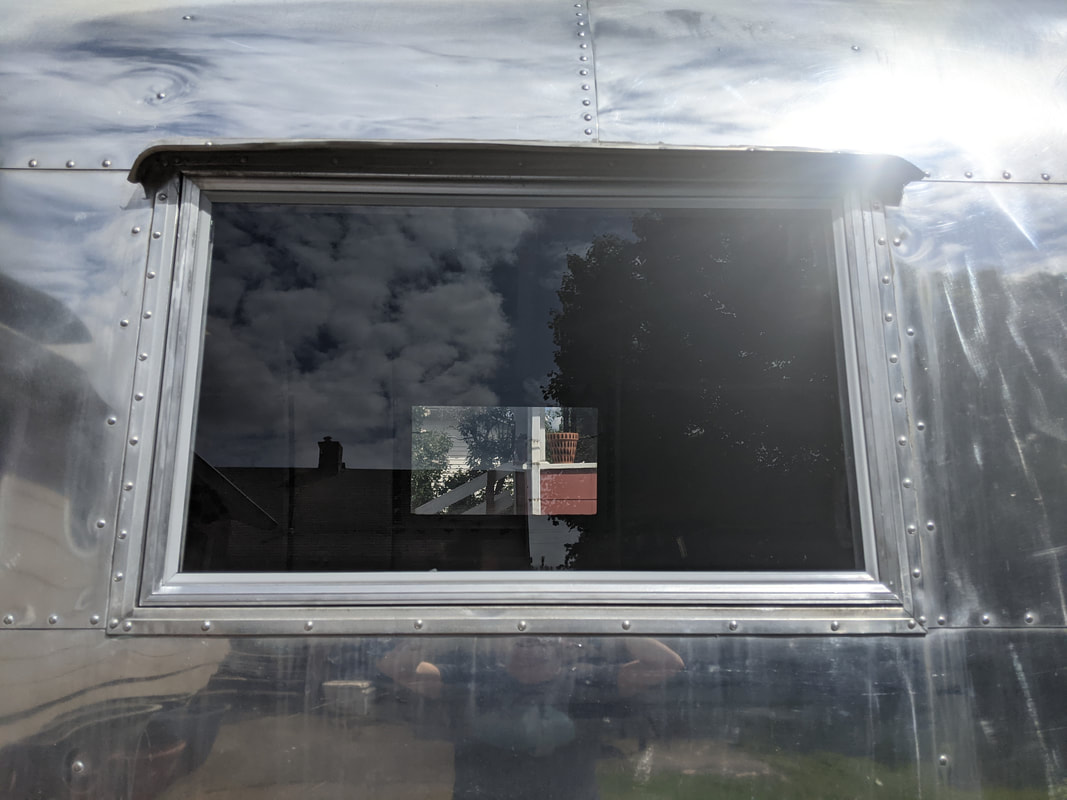
And voila! I keep staring at this window! It's beautiful! It's funny how this detail has really felt like we've accomplished something. So many projects on Maude don't look that different than when you started. This one is NOTICEABLE!
On Sunday (Mother's Day), we bought some new plants for our all-native backyard, and as we were admiring how beautifully everything is filling in, we decided to tackle a smaller project on Maude ;)
On Sunday (Mother's Day), we bought some new plants for our all-native backyard, and as we were admiring how beautifully everything is filling in, we decided to tackle a smaller project on Maude ;)
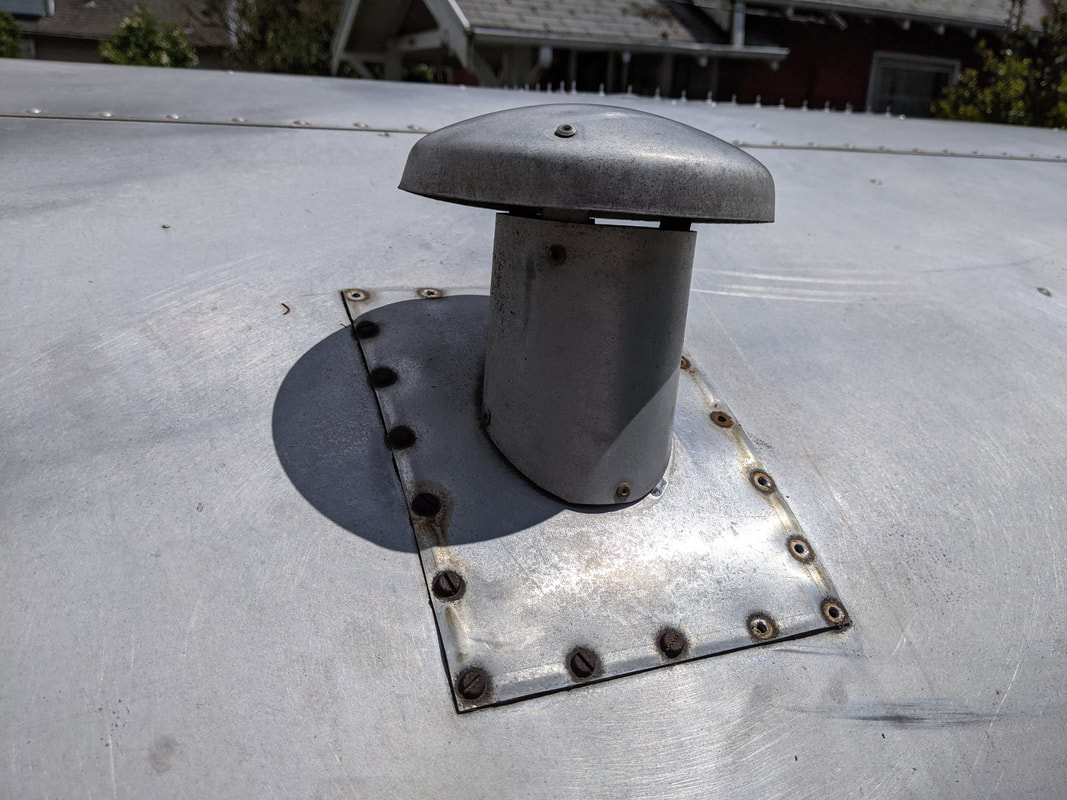
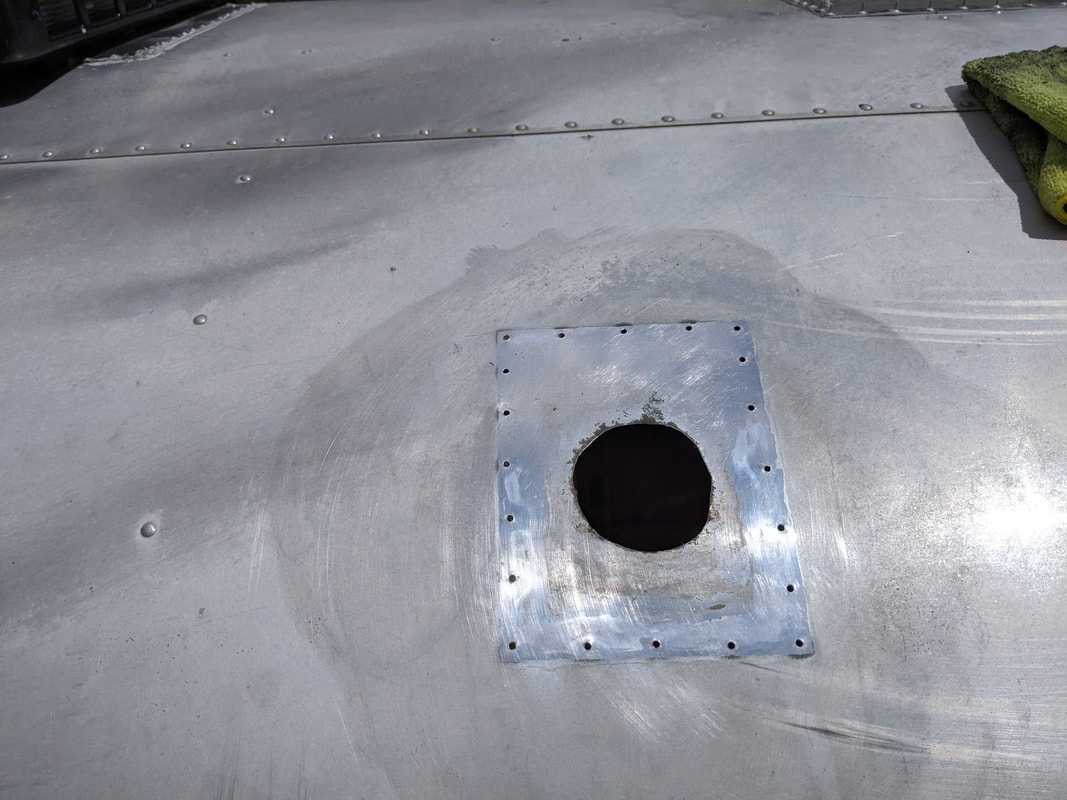
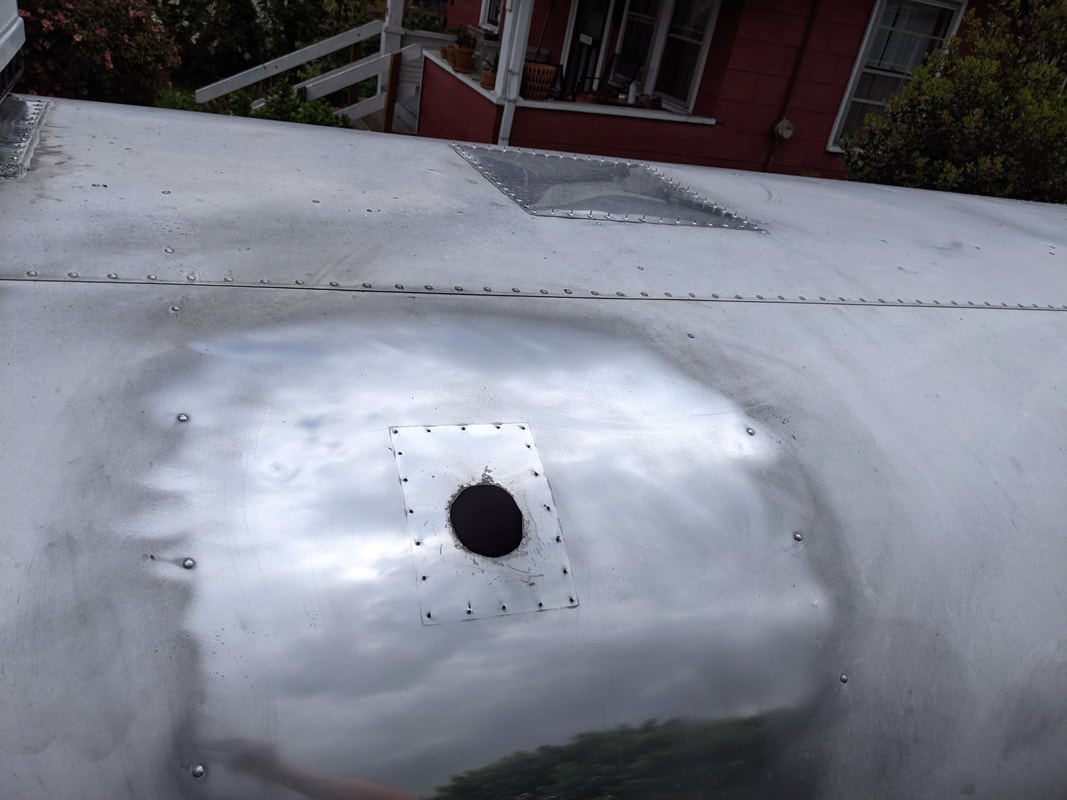
Once Upon A Time, this was the vent for, I think, the stove. We'll be installing an electric stovetop, so it's not needed for that. Originally, the bathroom was in the rear of Maude, but we're moving the bathroom to the center. This vent will be PERFECT to repurpose for the toilet vent! Time to reseat the vent cap so we know it's waterproof and all pretty ;)
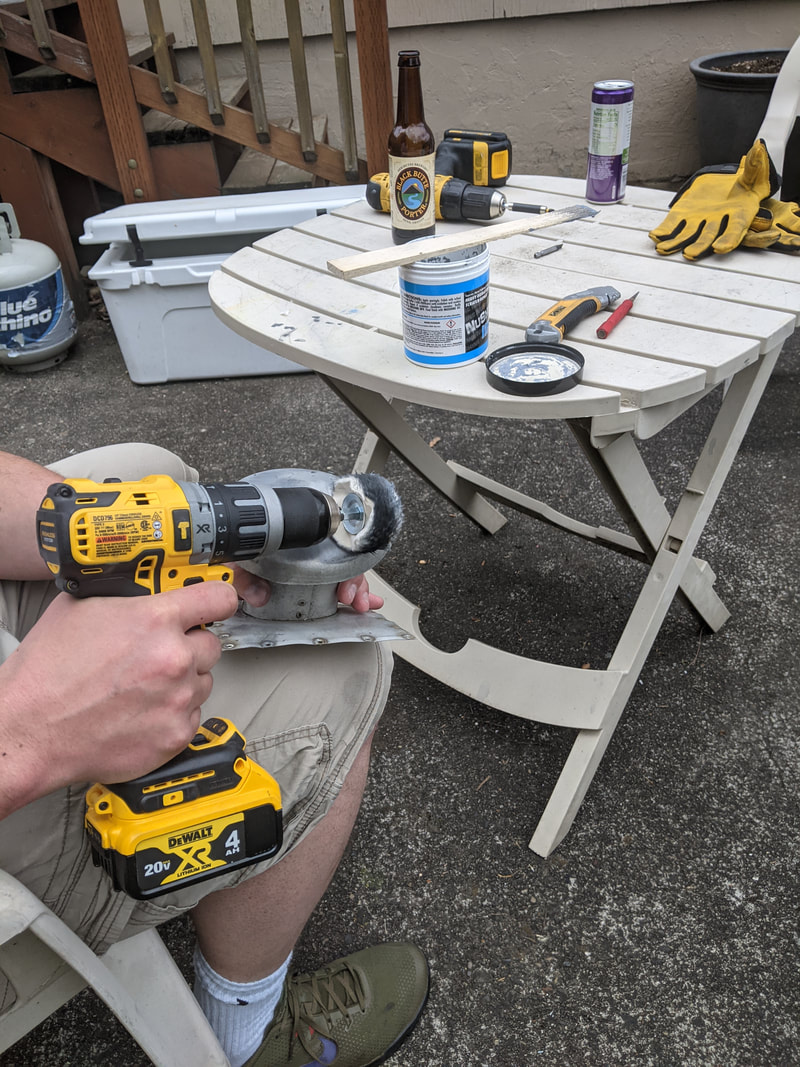
Removed and polished for reseating!
Polishing it up a bit now so that it's not so tedious later!
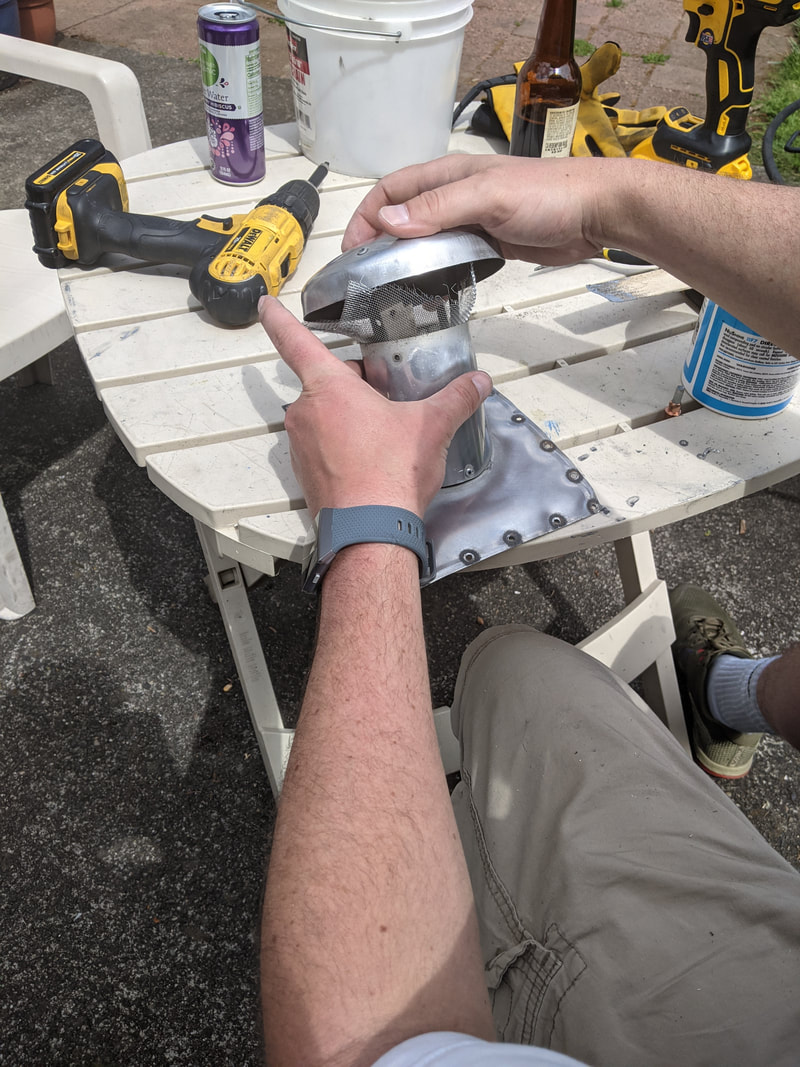
I've read TONS of horror stories about insects building nests in vents, so we added some window screening to prevent them from making it all the way down to the toilet LOL!
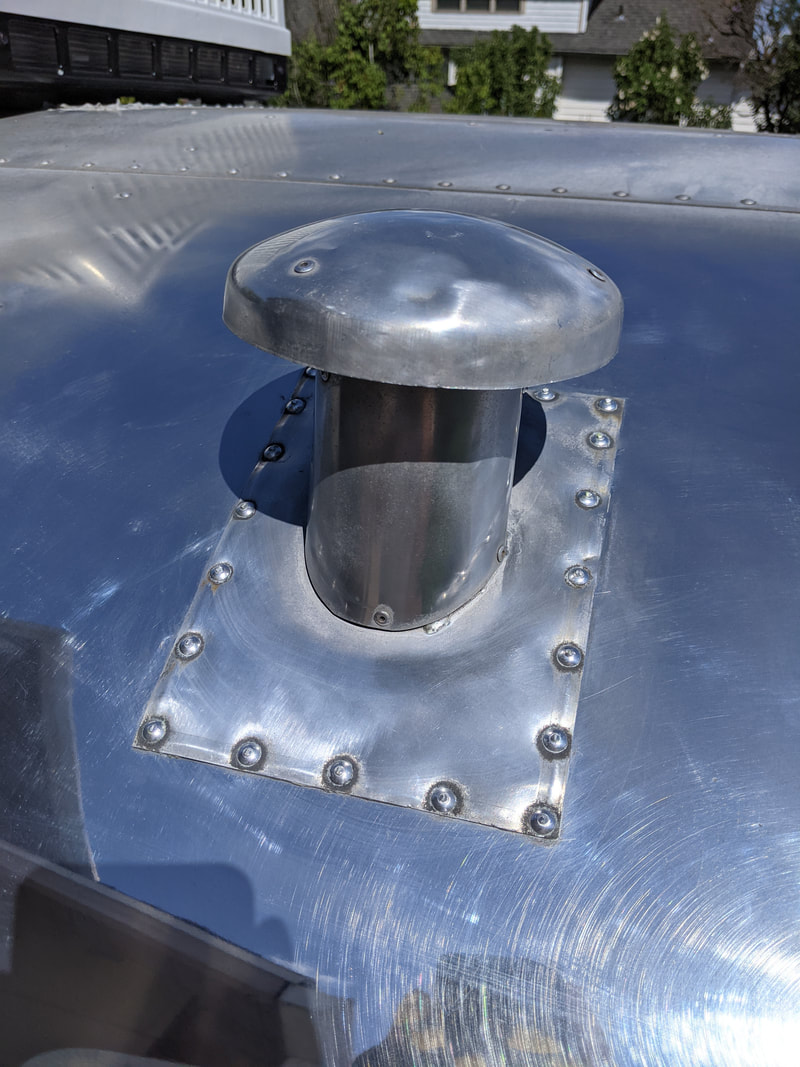
Obviously, some steps are missing here, but you know the drill by now - butyl tape around the edge to seal the vent cap to the shell and rivets that are caulked into place, trimmed and shaved.
Lookin' good, Maude!
Until next time, <3 Becca
Lookin' good, Maude!
Until next time, <3 Becca
