OMG, it felt great not to have to work on another window! LOL
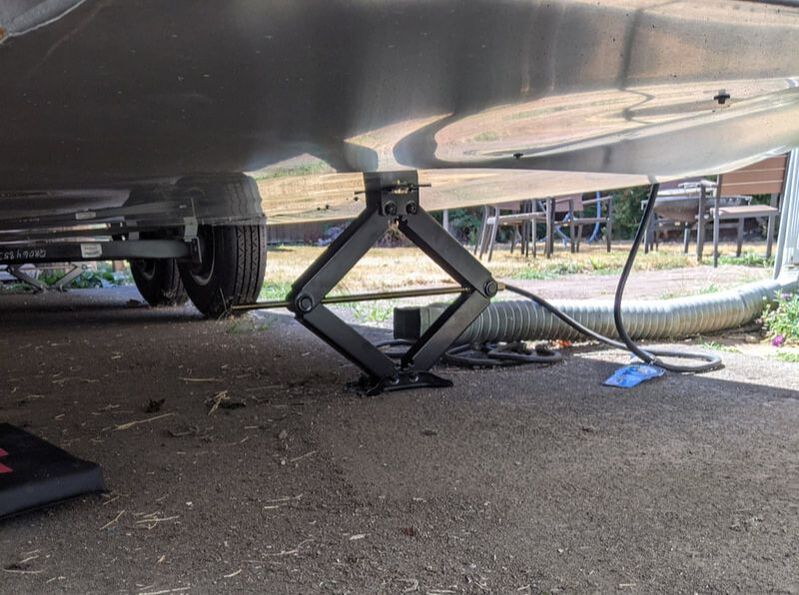
On Saturday, we started trying to decide our next steps. It was a long, rough week, so we decided to pluck some low-hanging fruit. As we go along, I add tasks to a list. These are typically little details that, for whatever reason, we didn't finish with the original project. For example: the hardware that opens/closes the windows and finding suitable replacements is on that list ;) Another thing on that list was getting the front two stabilizing jacks installed.
Mike had installed the rear two stabilizers last summer. But we didn't have great tools to do it, so he was pretty frustrated by the project, and dropped it. We've since gotten the proper tools, and HOLY COW! The right tools made the job SO much easier! And Maude is super stable now! THIS trailer ain't a-rockin'!
Not shown: We also snipped some pieces of the belly pan off that we'd been meaning to since we did that project LOL
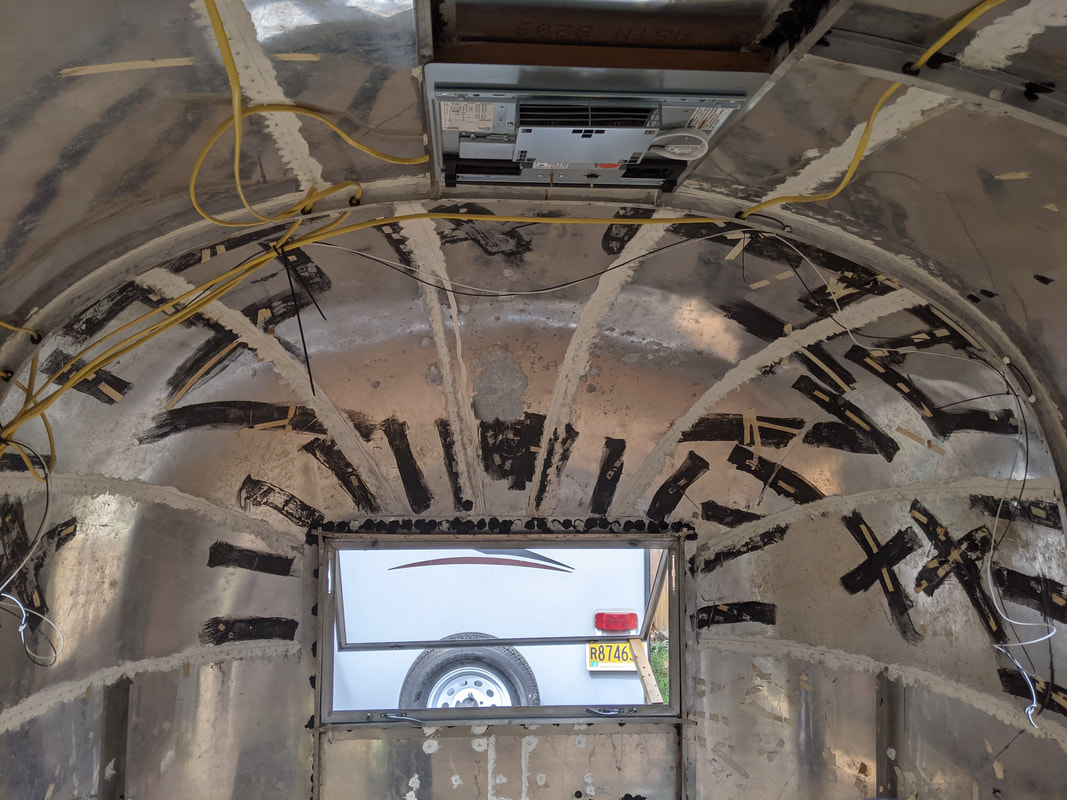
On Sunday, we again hemmed and hawed about what project we wanted to tackle next. We landed on getting the front end cap installed. If you'll recall, the rear end cap was NOT FUN. It took weeks and weeks of pushing and shoving and reshaping the end cap, and in the end we accidentally cracked it (repairing the fiberglass is on the list! LOL)
But really, the front end cap needs to be installed so it'll be out of our way for moving forward with just about any other project in the trailer. Here's what we started with!
But really, the front end cap needs to be installed so it'll be out of our way for moving forward with just about any other project in the trailer. Here's what we started with!
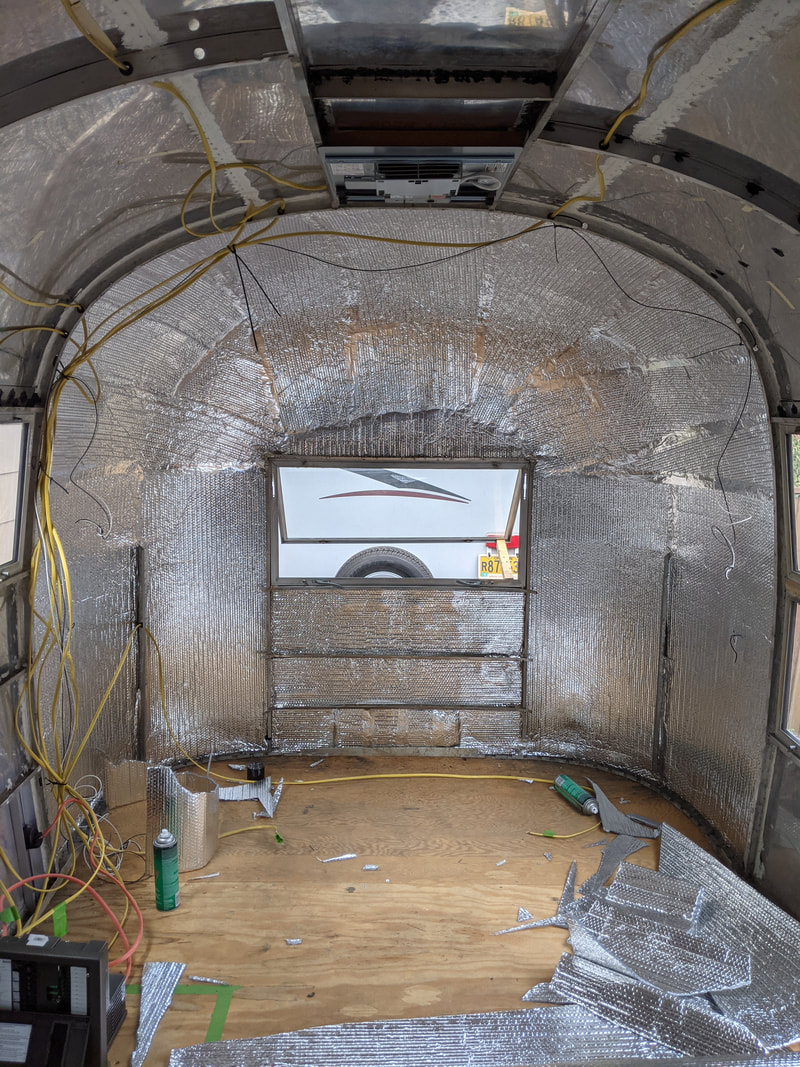
We got Reflectix insulation installed in the front curve. I'm kind of in love with spray adhesive! It went really smoothly :)
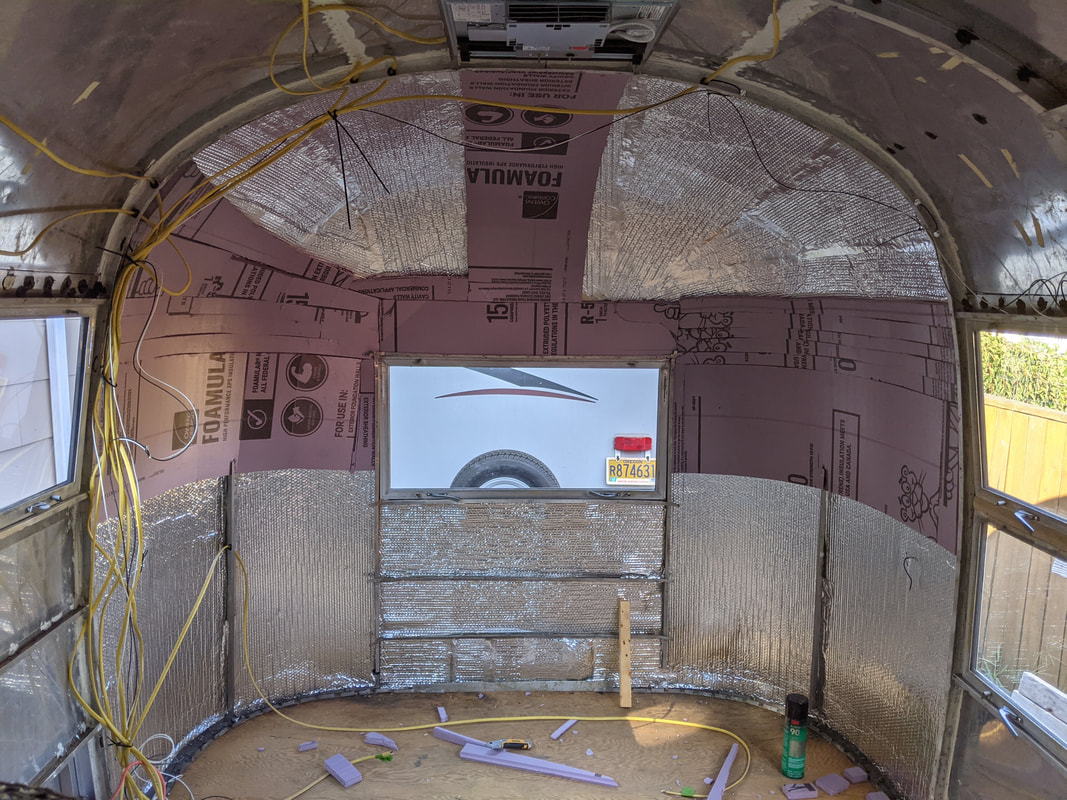
For the rear end cap, we insulated with Reflectix and Rock Wool. Even though we cut the Rock Wool batting in half (it comes 3 inches thick), it still felt too thick for the 1.5" space between the outer skin and the end cap. We decided to change materials and bought the 1" purple insulating foam you see above.

The difficulty with the foam board is that it's flat. Airstreams are NOT ;) In order to help the board flex into the curves, we scored the back side. It worked fabulously! Gaps between the pieces of foam board will be filled with spray foam insulation.
We only got as far as the picture above shows, but we're excited for next weekend to finish up the insulation and to start getting that end cap installed!
Until next time! <3 Becca
We only got as far as the picture above shows, but we're excited for next weekend to finish up the insulation and to start getting that end cap installed!
Until next time! <3 Becca
