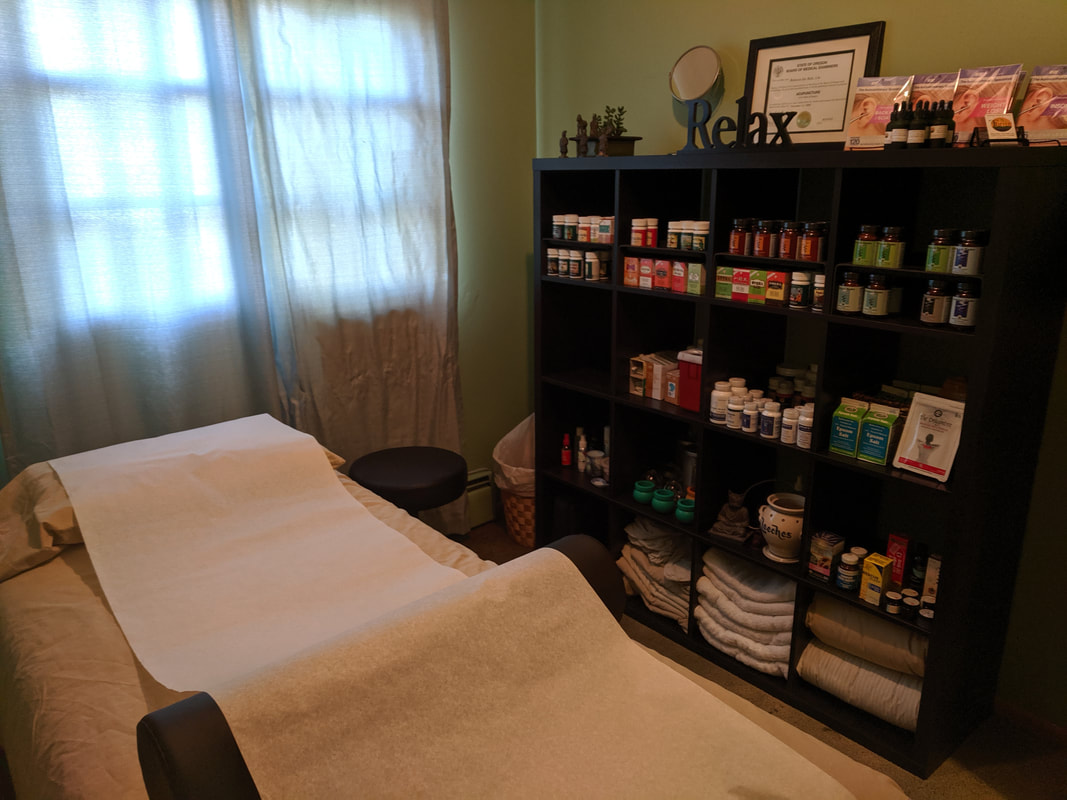
This week was a little less productive on the Maude Front, as I moved my practice this weekend! I'm all settled in at my new space, and if I do say so myself, I think it's lookin' pretty cozy!
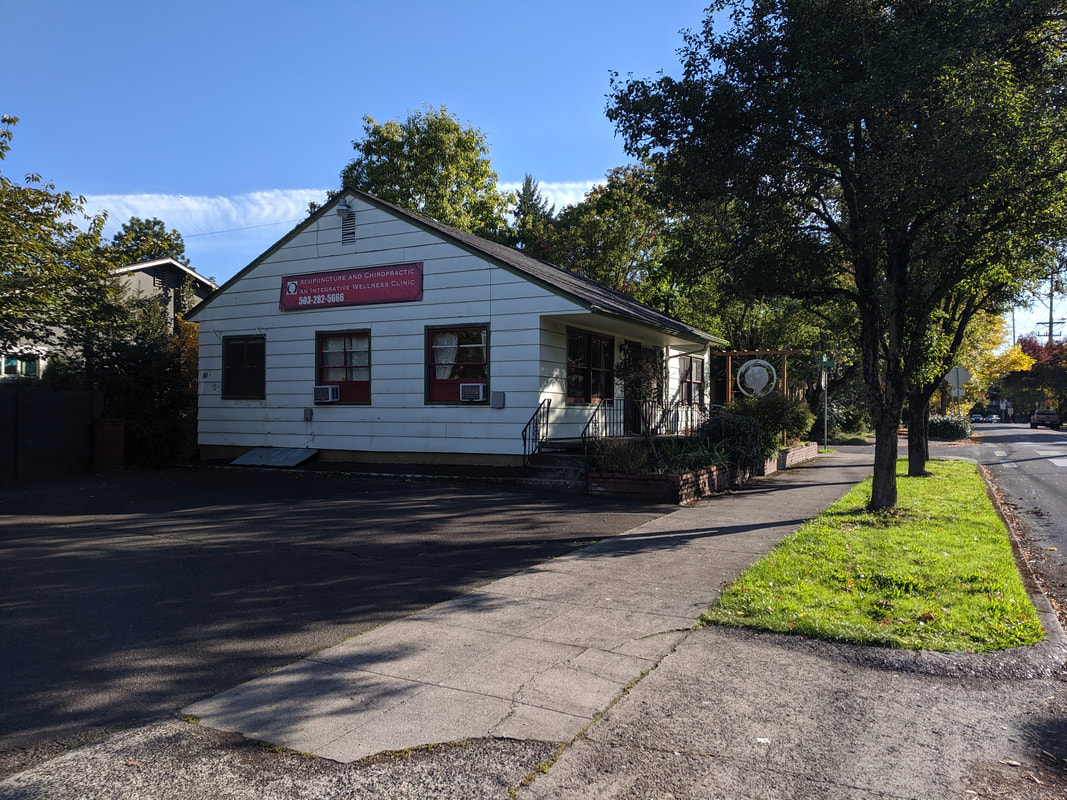
My new address is:
3133 NE Prescott St.
Portland, OR 97211
We have plenty of parking! Come visit me :)
3133 NE Prescott St.
Portland, OR 97211
We have plenty of parking! Come visit me :)
Alright, so now on to the Maude Update!
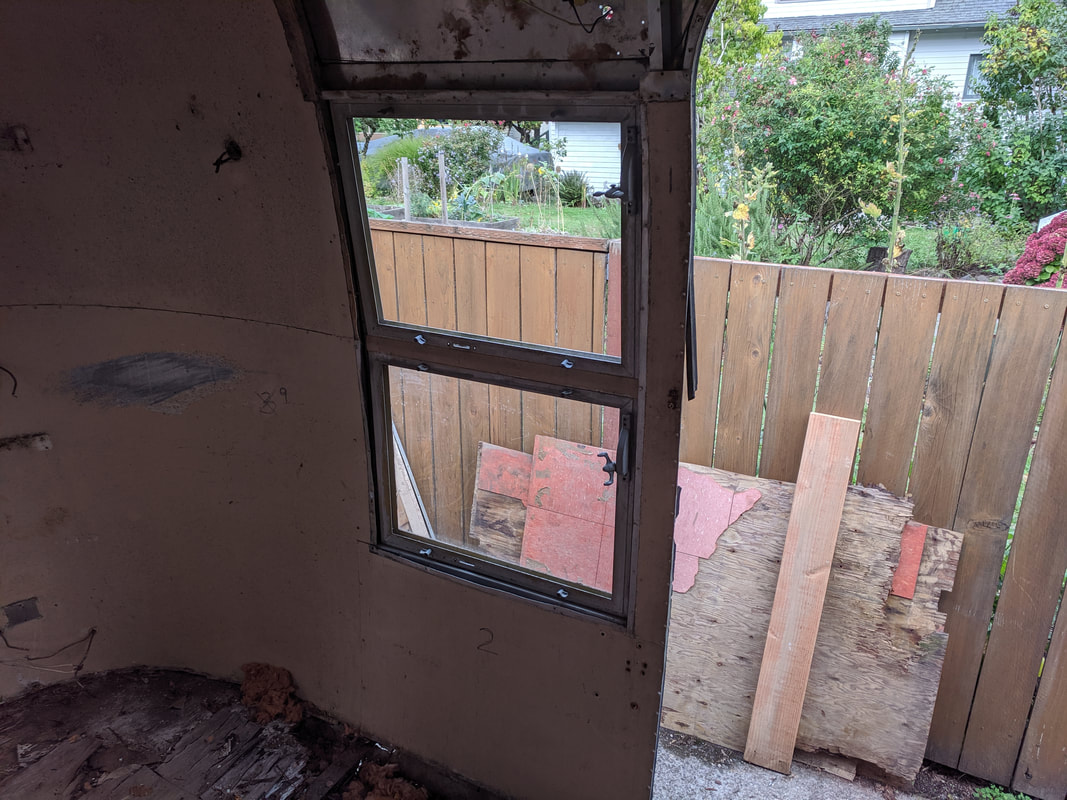
Maude's inner skin is all aluminum except for the end caps, which are made of fiberglass. You'll see them a little later :) The aluminum sheets overlap and are riveted into place. So we drilled out a TON of rivets! But before we got too far, we had to make sure we would know where each of the panels belong once we start putting her back together. We numbered them in the order they had to come off/go back on in. We had to correct our numbering a couple of times - see the panel below that was once numbered 3, but got changed to 9 ;)
Maude's inner skin is all aluminum except for the end caps, which are made of fiberglass. You'll see them a little later :) The aluminum sheets overlap and are riveted into place. So we drilled out a TON of rivets! But before we got too far, we had to make sure we would know where each of the panels belong once we start putting her back together. We numbered them in the order they had to come off/go back on in. We had to correct our numbering a couple of times - see the panel below that was once numbered 3, but got changed to 9 ;)
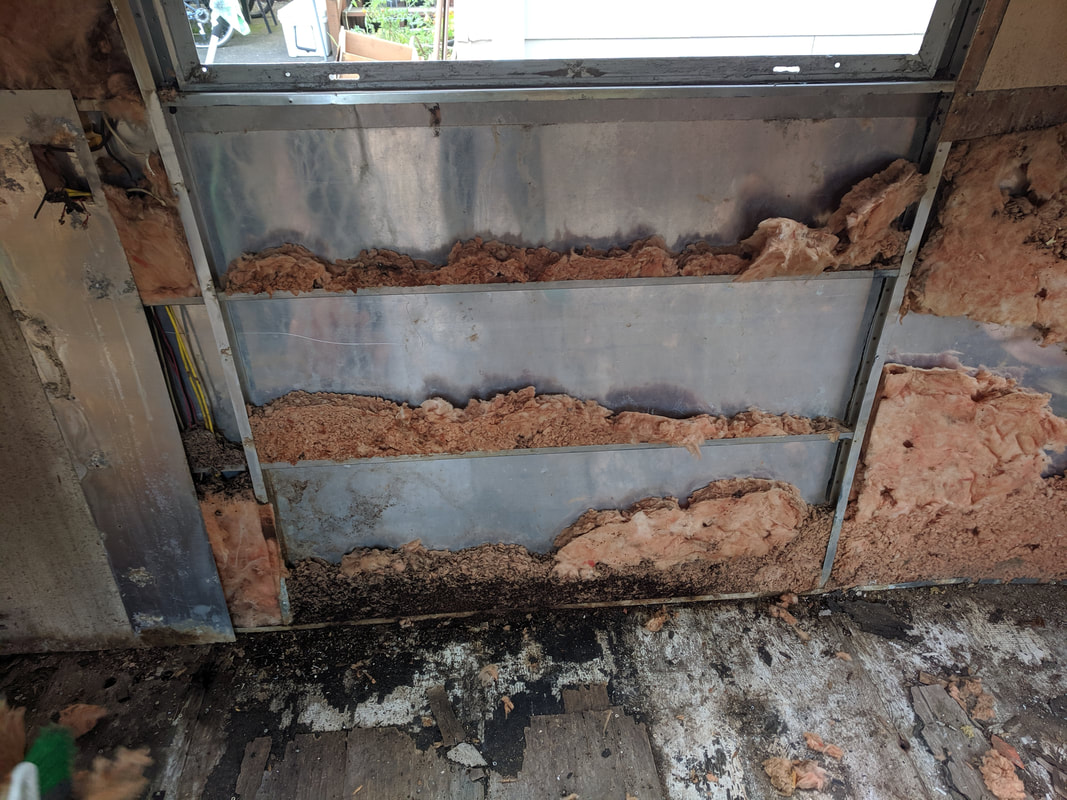
Oh my god, you guys. The insulation was SOOOO disgusting! And pretty useless! Over the years, mice had tunneled through the walls and the insulation had settled and degraded. Maude is going to be super cozy once she actually has insulation! And CLEAN insulation at that ;)
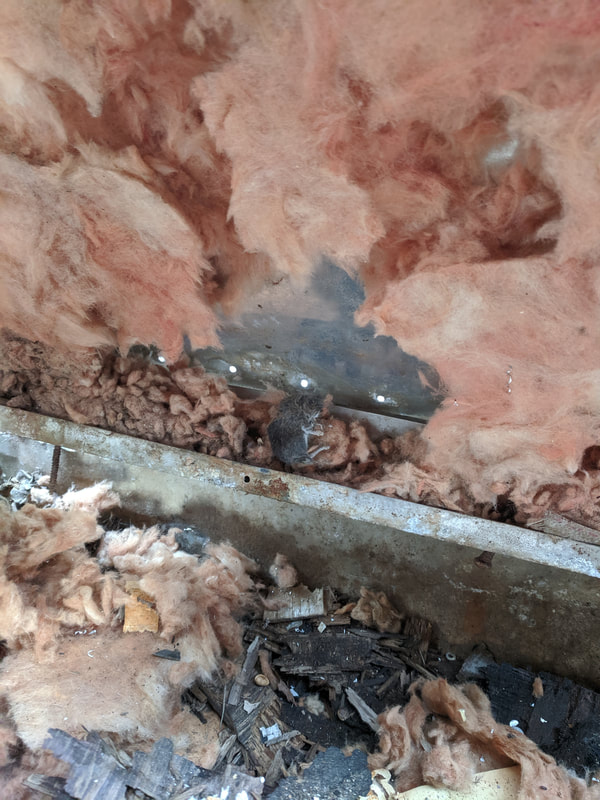
Poor schmousey!

In this picture, you can see where the mice had gathered plastic and aluminum to help make their nests. I suppose the insulation is probably pretty itchy to them, too?

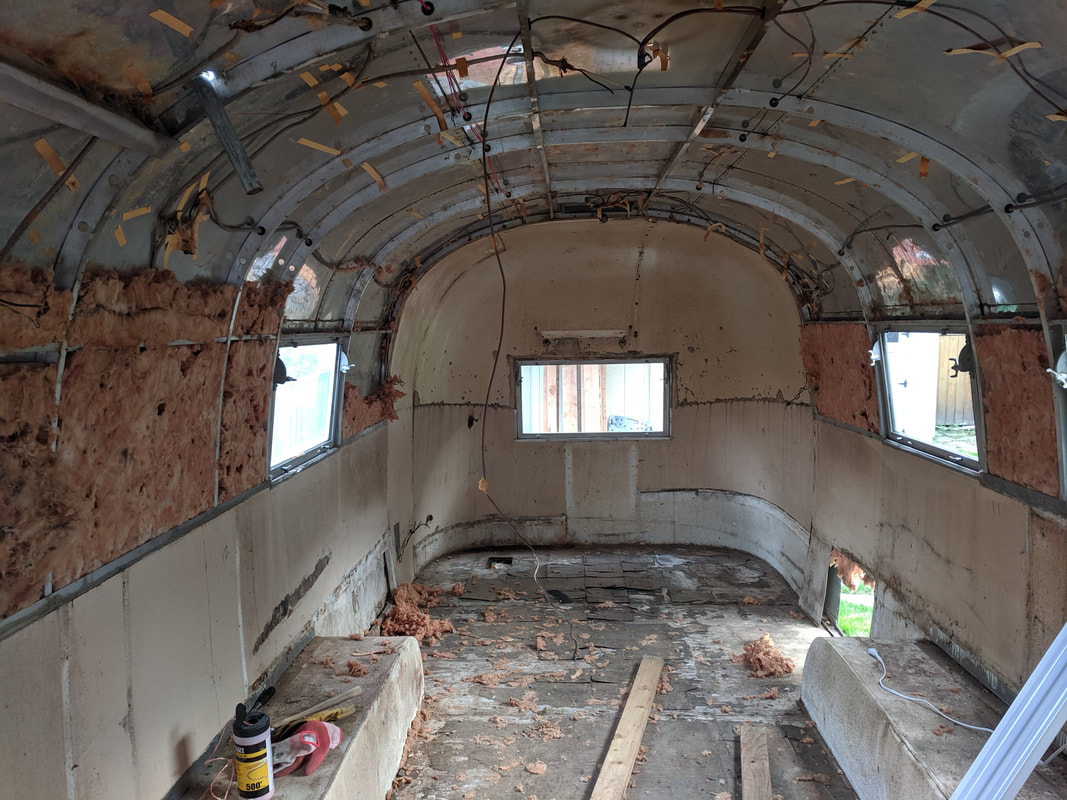
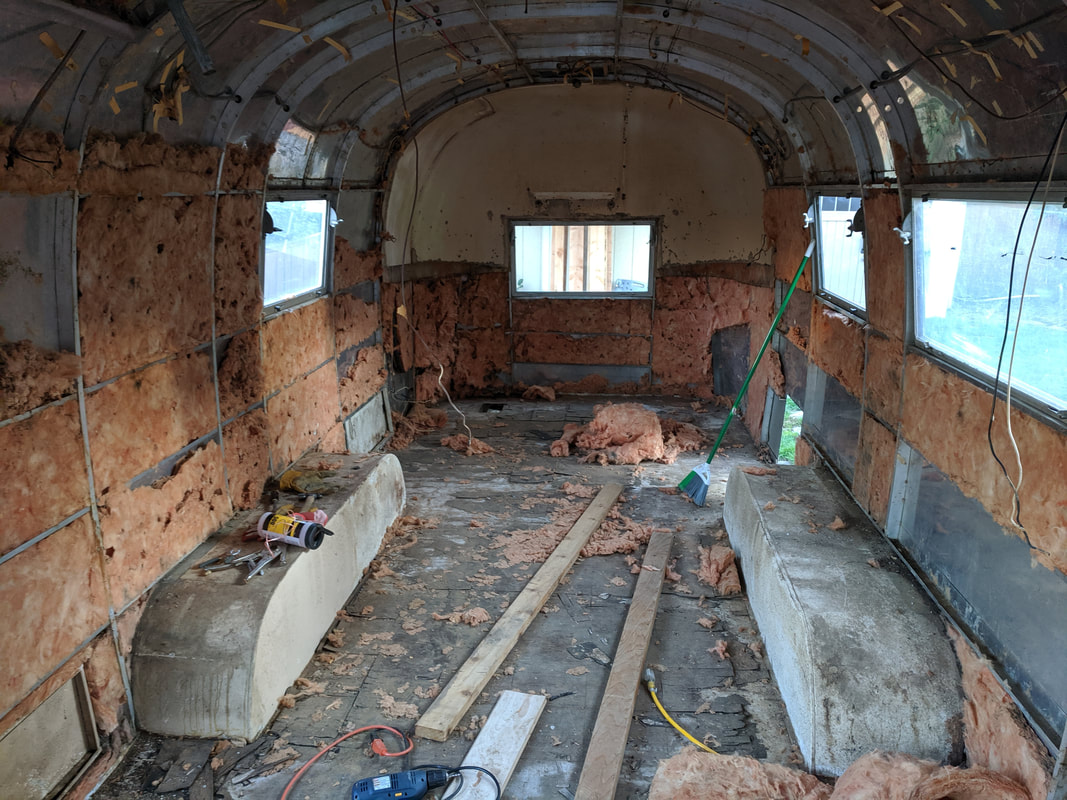
And here's Maude with all of her inner skin removed and insulation GONE! Here you can see the fiberglass end caps I mentioned earlier. Mike and I weren't able to work on her at the same time this week, so we've left them until we can, so that we don't break them! Not sure how we'd replace them if we did!
Not shown: I spent quite a bit of time punching out stuck rivets. Once we drill off the front of a rivet, we can pull off the skin, but the back half of many of the rivets stayed stuck in place in the frame. I used a punch and hammer to dislodge them, so that when we're ready to put her all back together, the holes are open and ready to go!
Also not shown: On Sunday we took a HUUUUGE load to the dump! I rented a utility trailer and loaded her up! We had thought that except for the floor that we haven't removed yet, we'd be able to fit it into one trailer load. NOPE. But that's alright, since we still need to make another dump run anyways!
Thanks for continuing to follow along on our adventures with Maude the Acu-Trailer! <3 Becca
