The last couple of weeks have been all about getting Maude waterproofed!
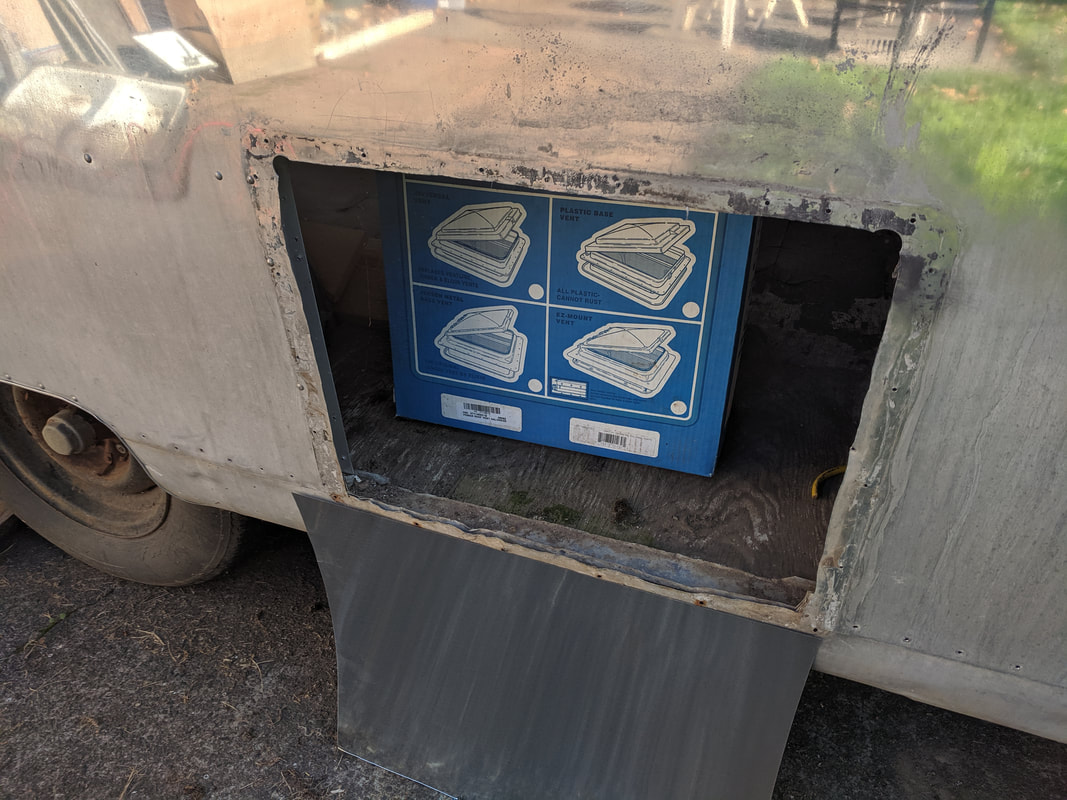
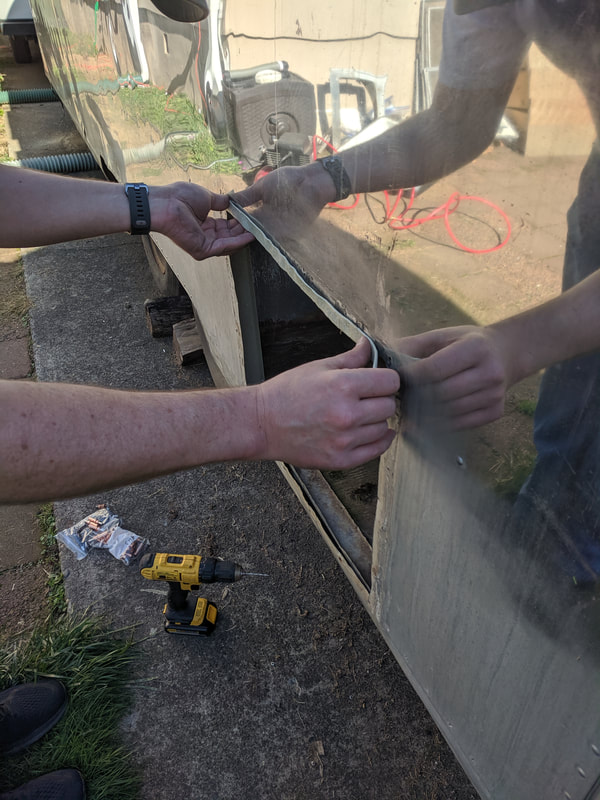
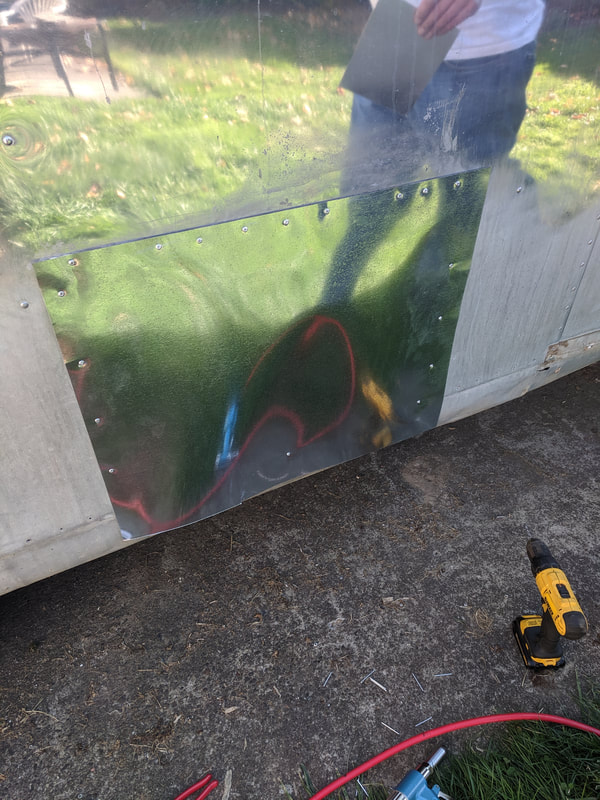
This is a huge hole in the side of Maude that used to be a vent for a water heater. We don't need the hole anymore, so we're going to cover it up! In reading about patching holes in Airstreams, we've found that many people are getting creative with the shapes of their patches, which I thought would be totally fun!
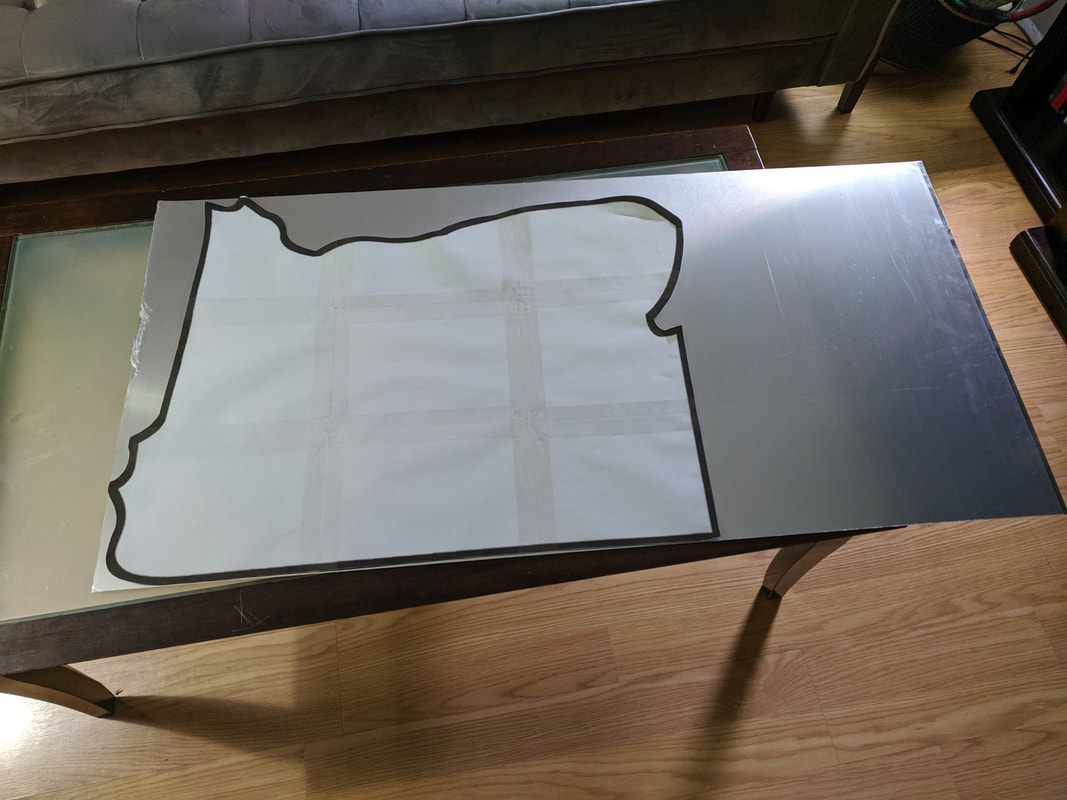
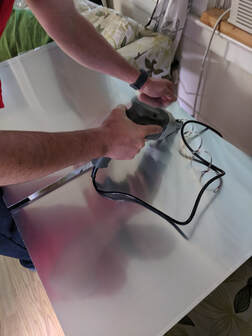
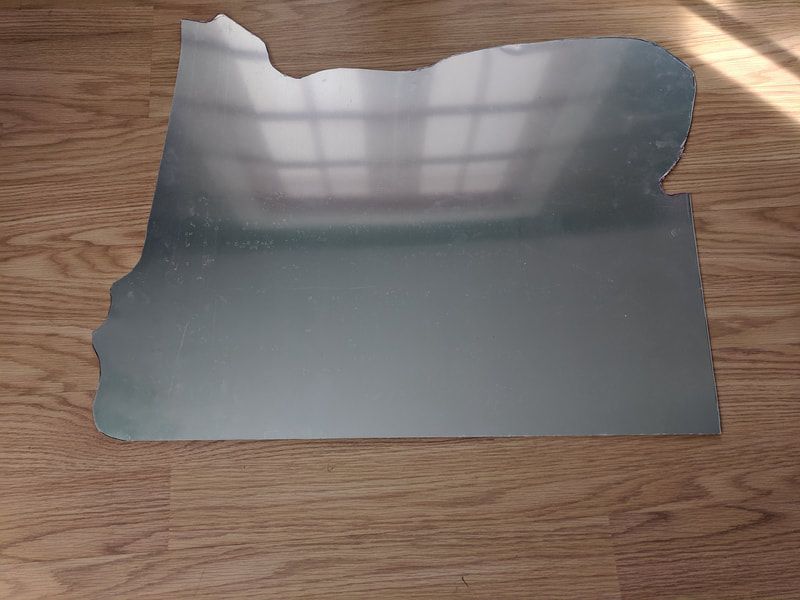
It took several tries to get the template in the outline of Oregon to be the right size for our patch. I think this was try #4 - finally, success!
After we got the patch to the right size, we realized that because it would have to attach to the bellypan, and since the bellypan is next on the list of pieces to remove and repair, we should wait to install it. Oh well! Oregon will just hang out with the rest of our tools and supplies for later use!
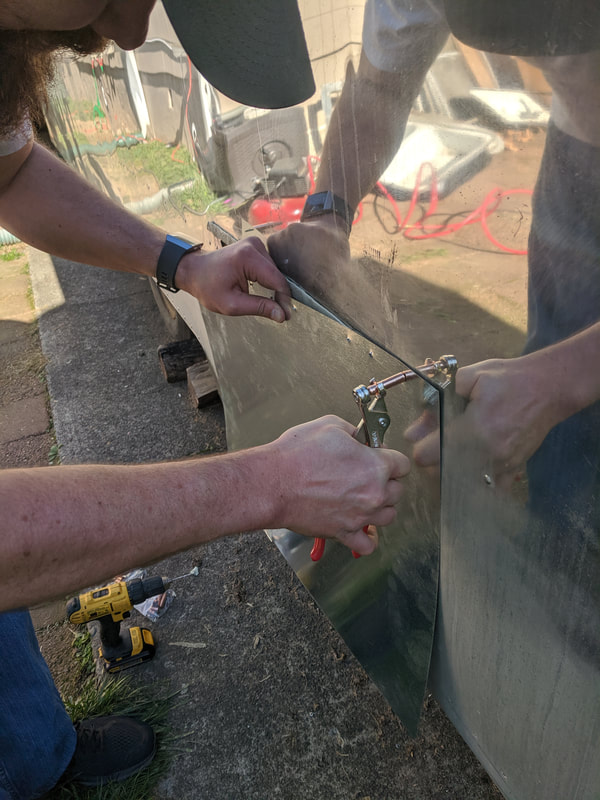
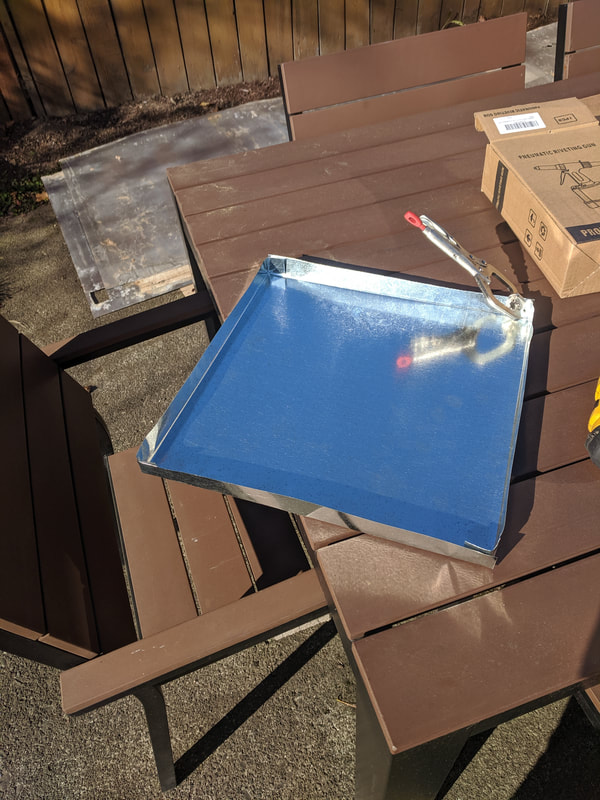
In the meantime, we got a cheap piece of sheet metal to make into a BORING patch so that Maude could still become waterproof!
In the meantime, we got a cheap piece of sheet metal to make into a BORING patch so that Maude could still become waterproof!
Here's Mike applying a seal for the patch.
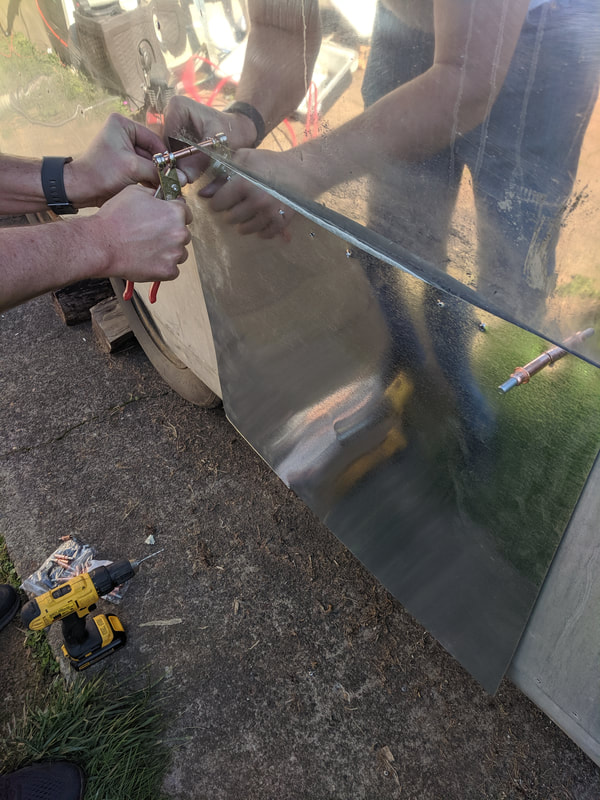
Okay, this tool here, I think is going to be a LIFESAVER. It's called a Cleco fastener. It holds pieces together to line up all of the rivet holes! This little patch probably wouldn't have been a huge deal, but once we get to the point where we can put Maude's inner skin back on, I think we're going to be SO glad we made the investment! It was definitely fun to try out the new toys!
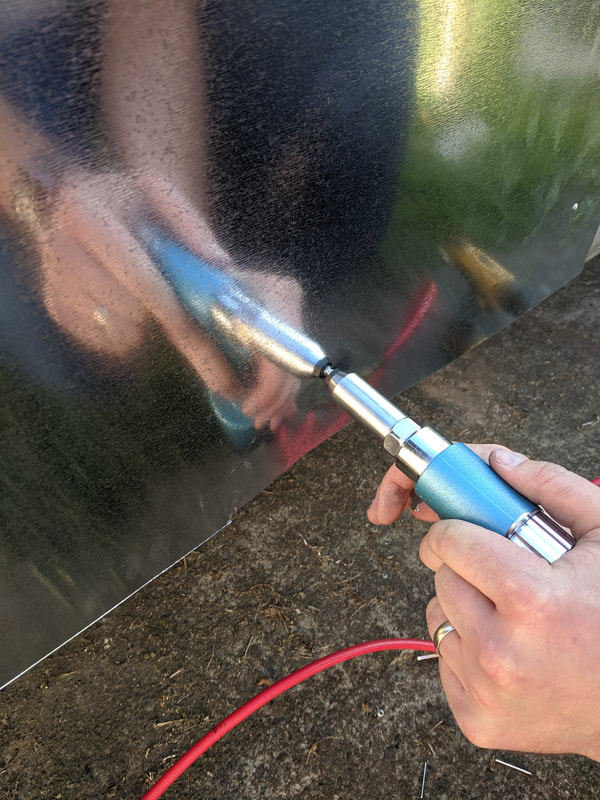
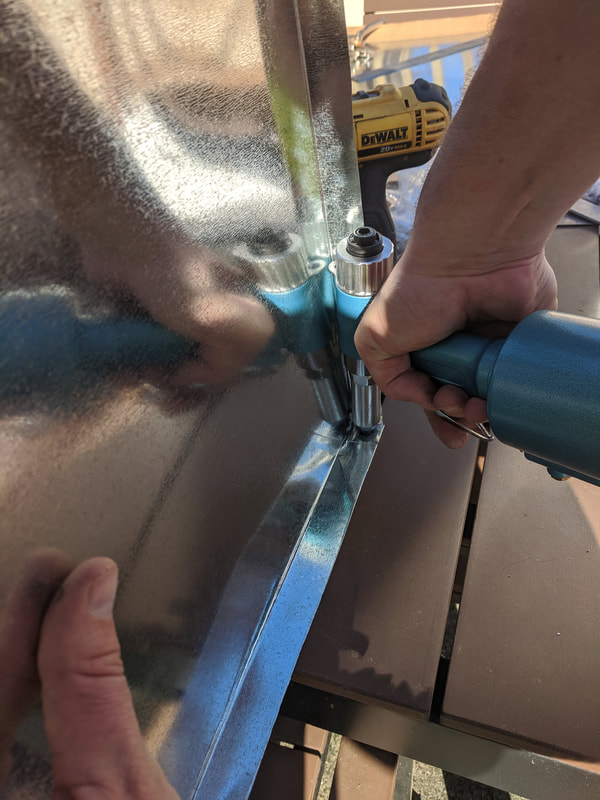
SPEAKING OF NEW TOYS! That's our pneumatic rivet gun!! Holy cow, riveting is a blast! You guys can just call me Rosie now, K? ;)
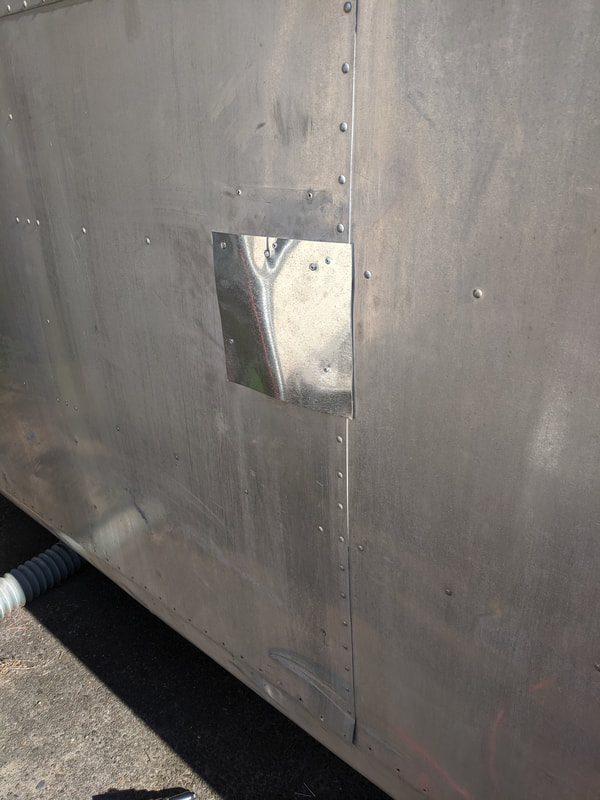
And here's Maude all patched up! The second, smaller, one was a kitchen vent. It, too, is just temporary and will get a fun shape! I haven't decided what shape it will be yet, but a simple beaver outline is a possibility! We struggled a bit with this second patch, as pop rivets (the type of rivets we're using for the temporary bits) aren't quite as sturdy as the Olympic rivets that we'll be using for the permanent patches. Because the sheet metal needed to flex a bit, some of the rivets kept popping loose! Once we get the Olympic riveting tools and rivets, I'll try to explain a bit about the difference between all of the types of rivets you'll be seeing on Maude ;)
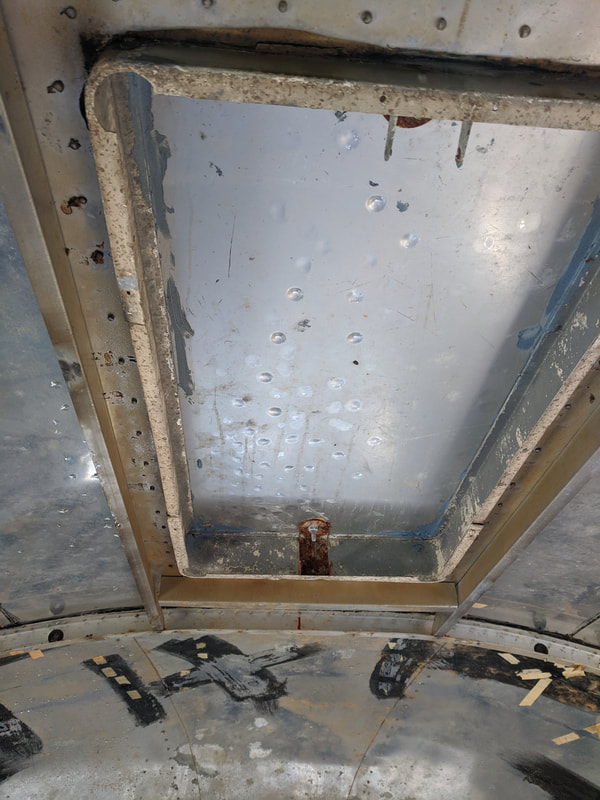
Maude is getting waterproofed enough that we're seriously restricting the airflow that she used to have - condensation is building up! We'll definitely have to figure out a plan for keeping moisture from becoming a problem for poor Maude.
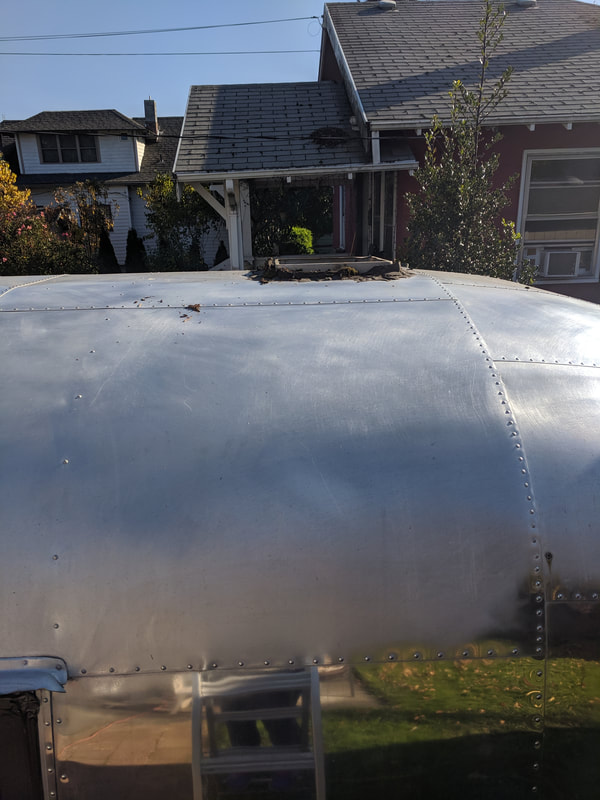
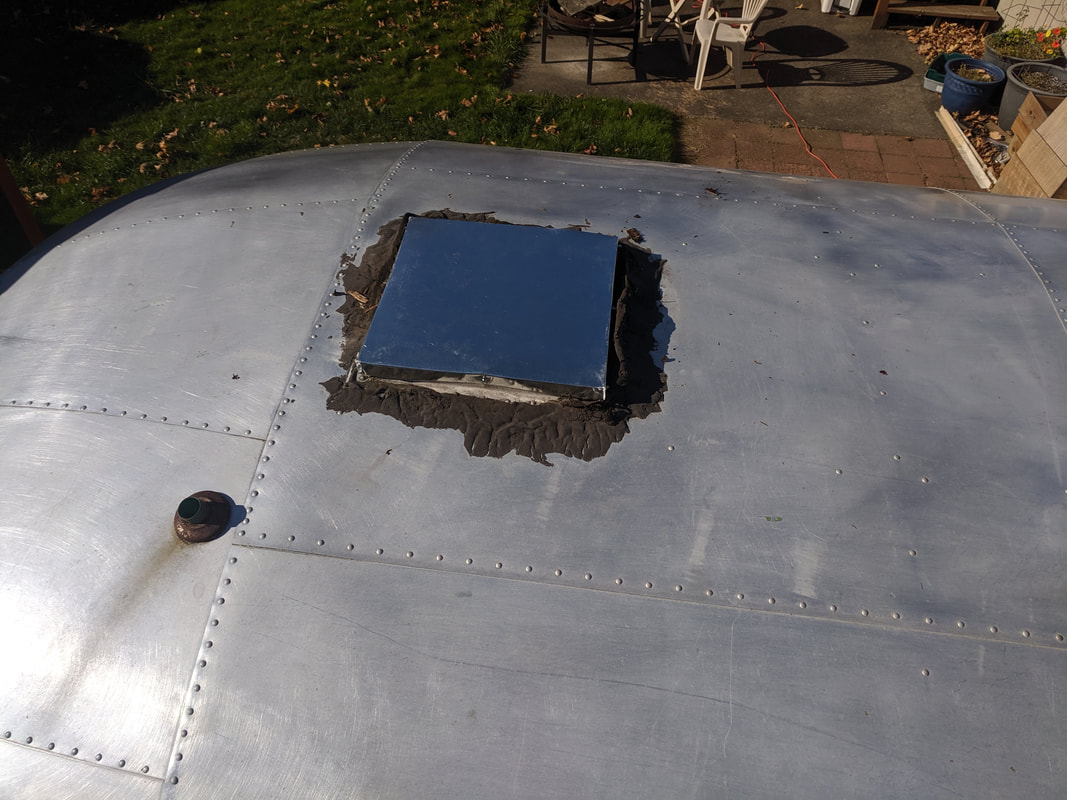
Our final project for the last two weeks was making a temporary cover for one of her roof vents. Eventually, it will be covered by an air conditioning unit to keep us all nice and comfortable in the summer. We don't want to be doing Bikram Acupuncture during the summers ;)
Our final project for the last two weeks was making a temporary cover for one of her roof vents. Eventually, it will be covered by an air conditioning unit to keep us all nice and comfortable in the summer. We don't want to be doing Bikram Acupuncture during the summers ;)
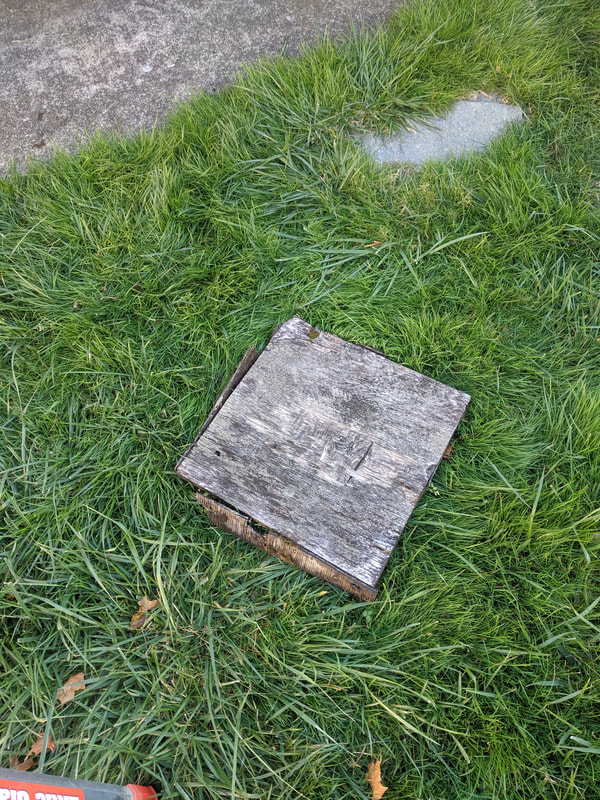
Here's the vent hole. It would normally have had a metal or plastic "lid" that could open to allow for air flow. Somewhere along the line, someone used some plywood to make a little cap to replace the missing one.
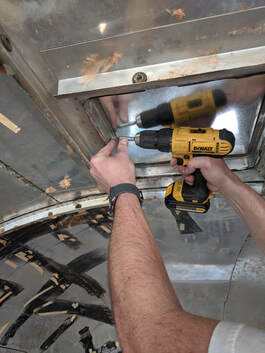
Got to use our rivet gun some more!
Mike's attaching Maude's little hat. What you see around the vent cover on the roof is some sort of material that is hard as rock and is NOT wanting to budge. We'll deal with it when we deal with the a/c unit and/or polishing.
As always, thanks for checking in on Maude's progress! Have an awesome week :) <3 Becca
As always, thanks for checking in on Maude's progress! Have an awesome week :) <3 Becca
