We ended up not working on Maude on Saturday. After putting in so many hours over the last several weekends, we were needing a little bit of a break ;)
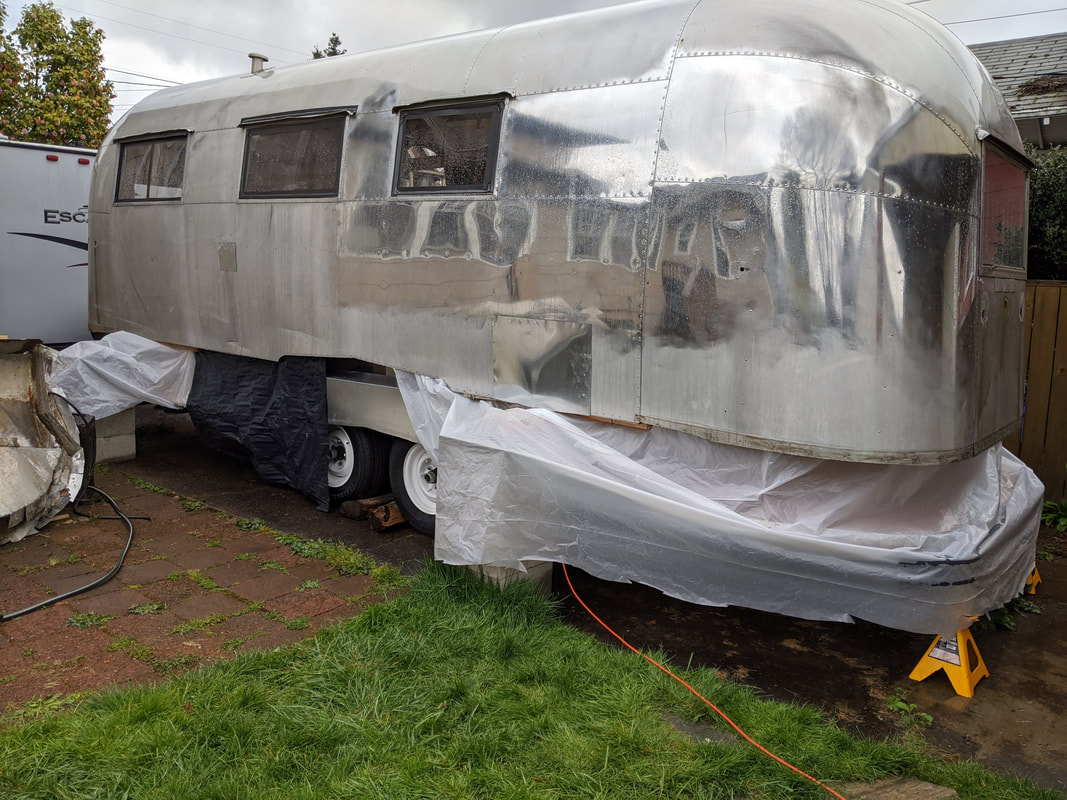
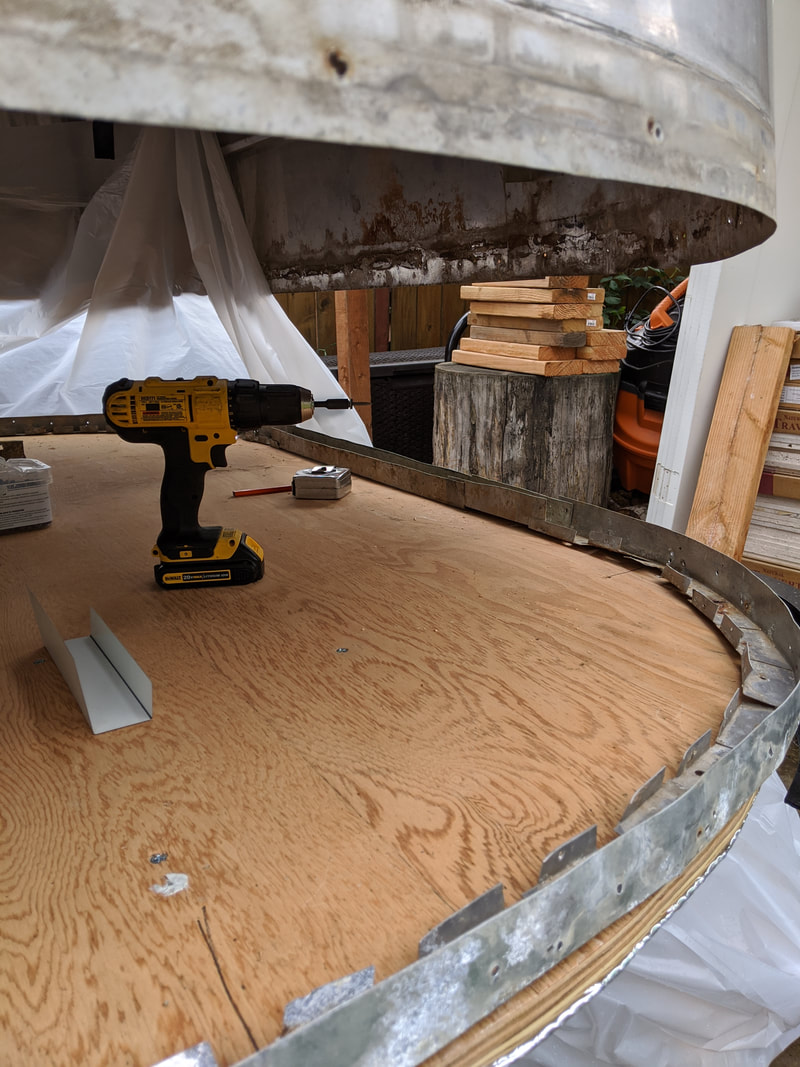
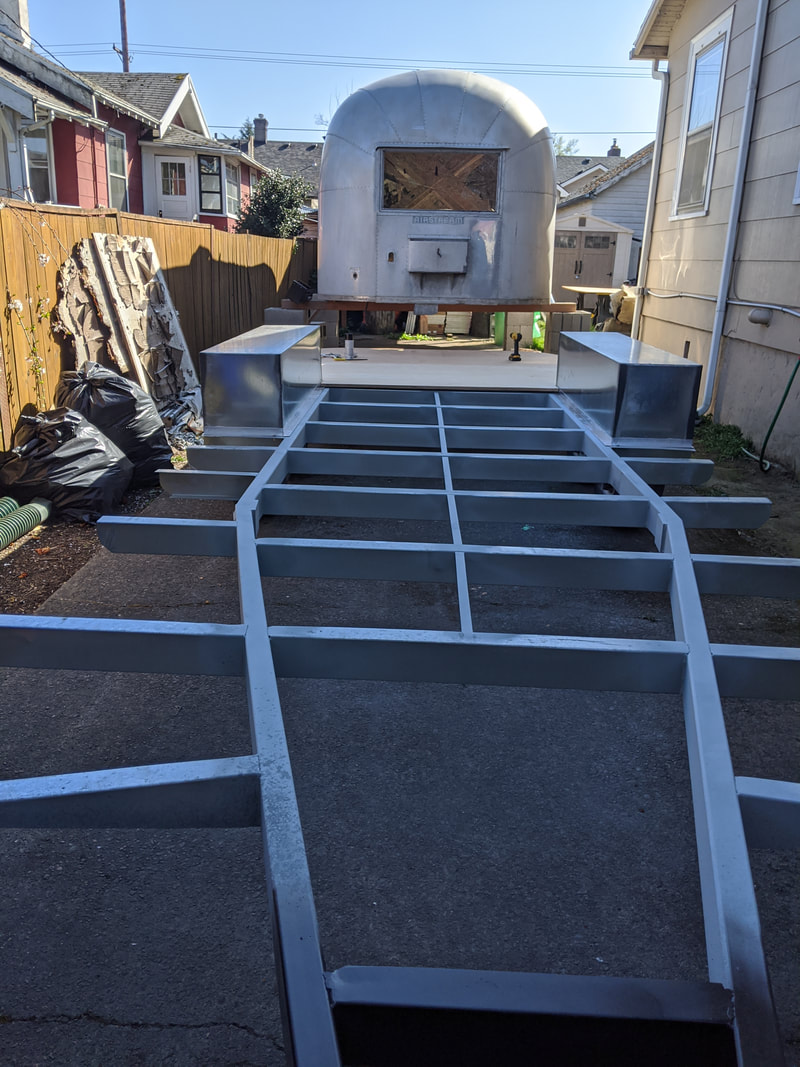
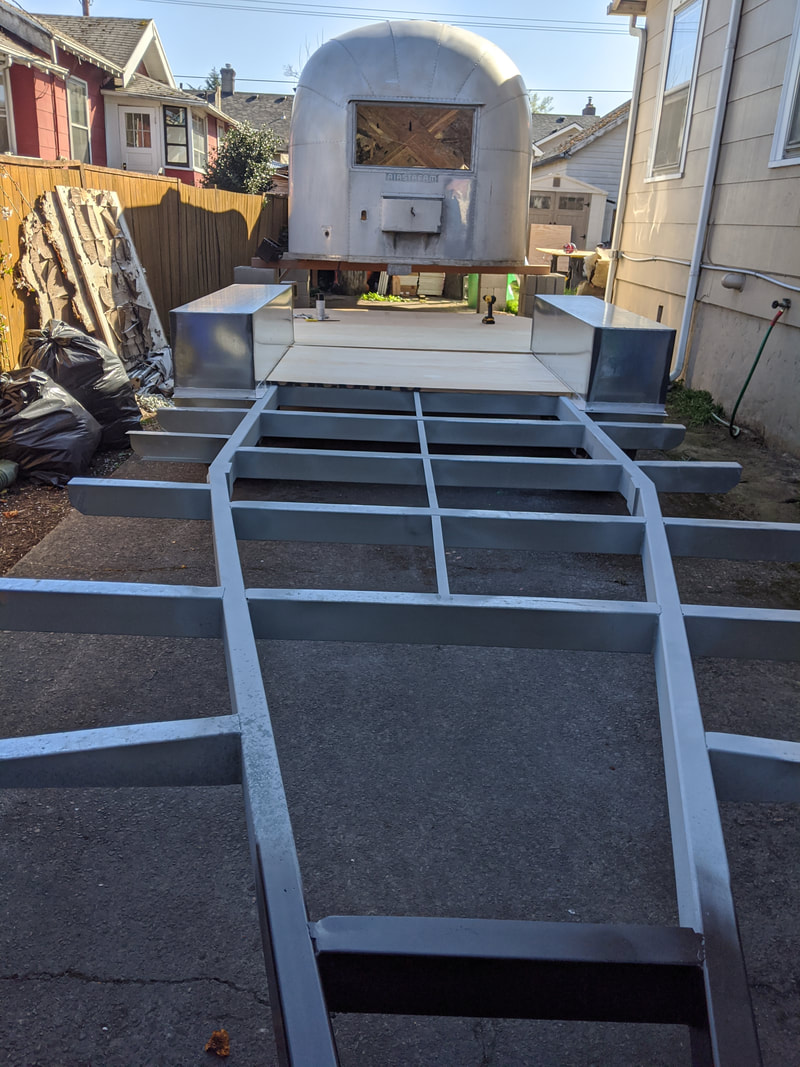
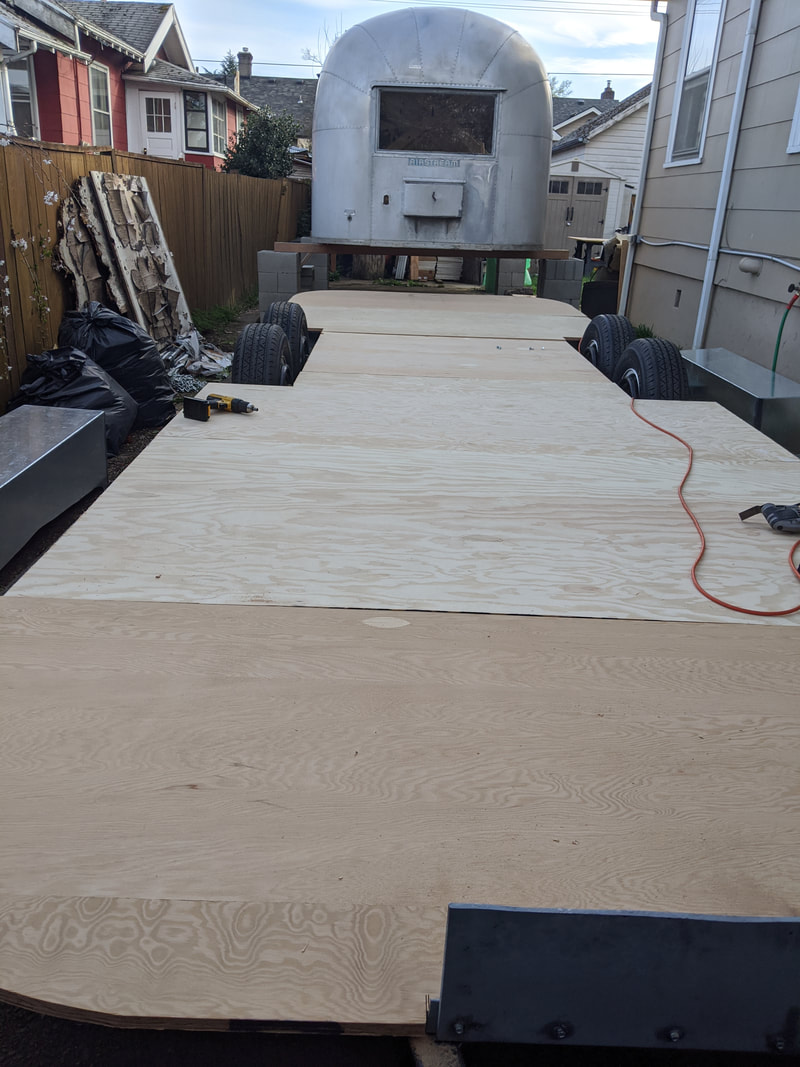
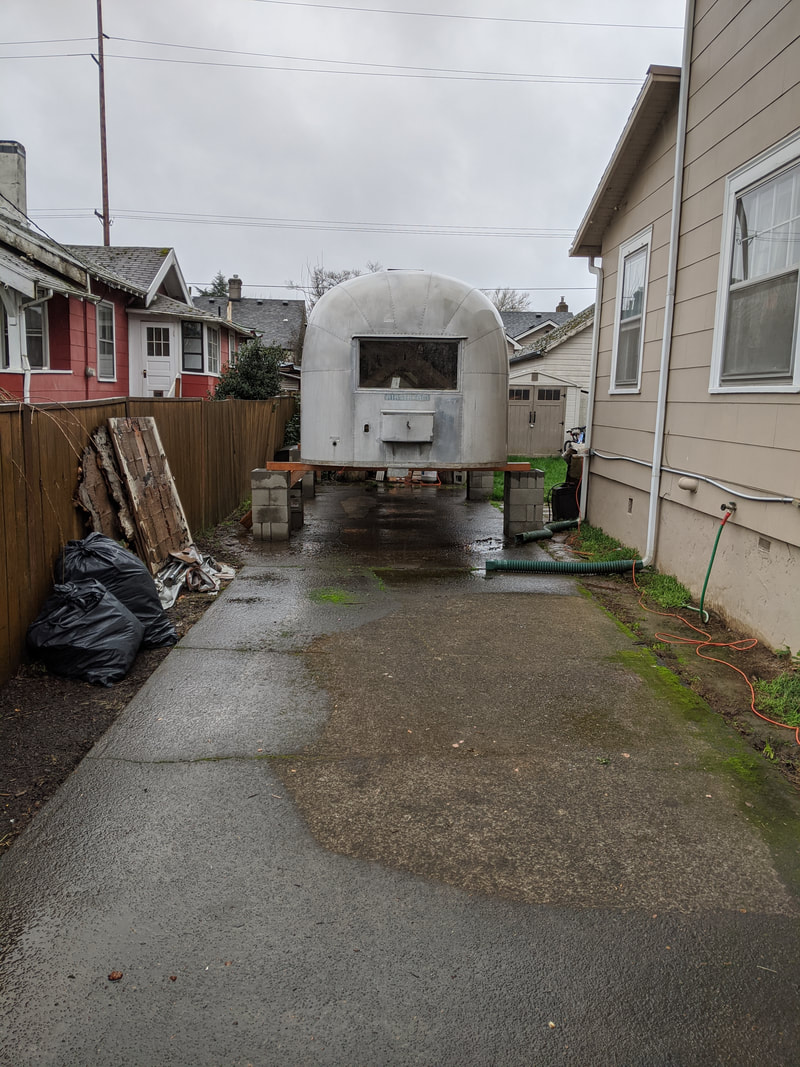
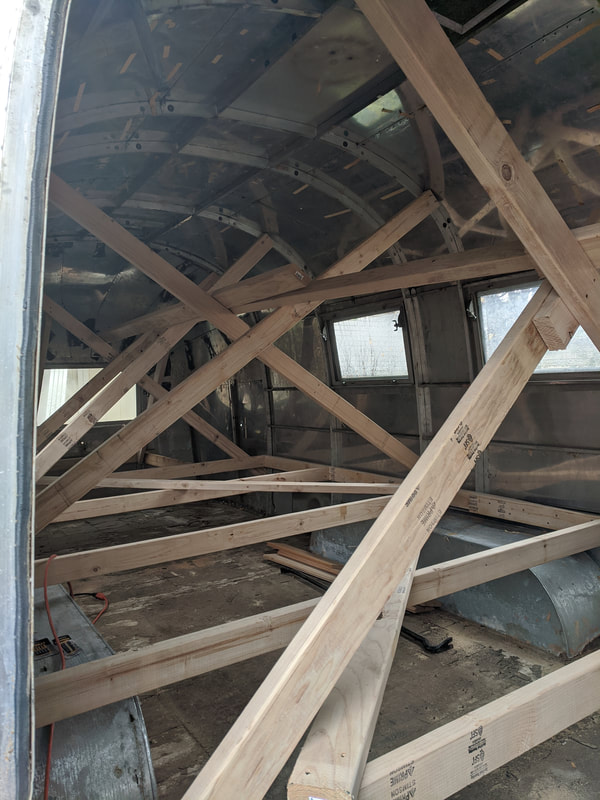
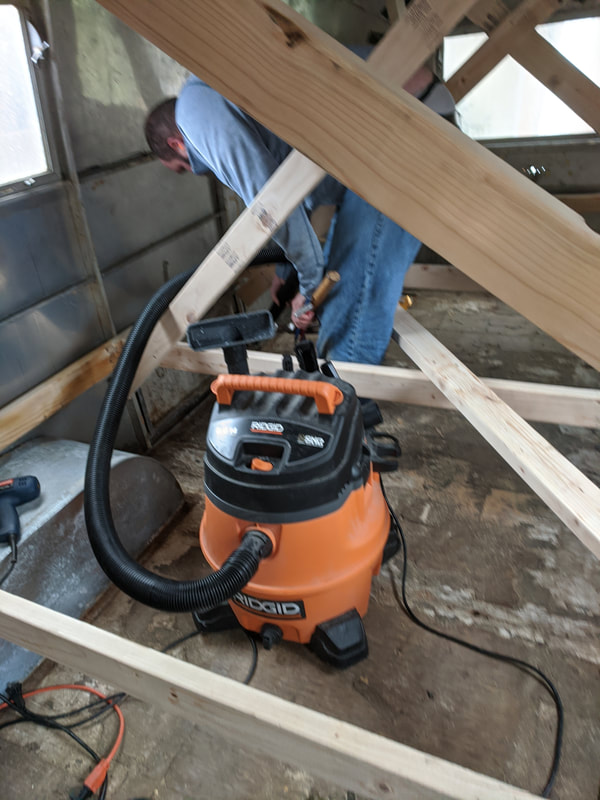
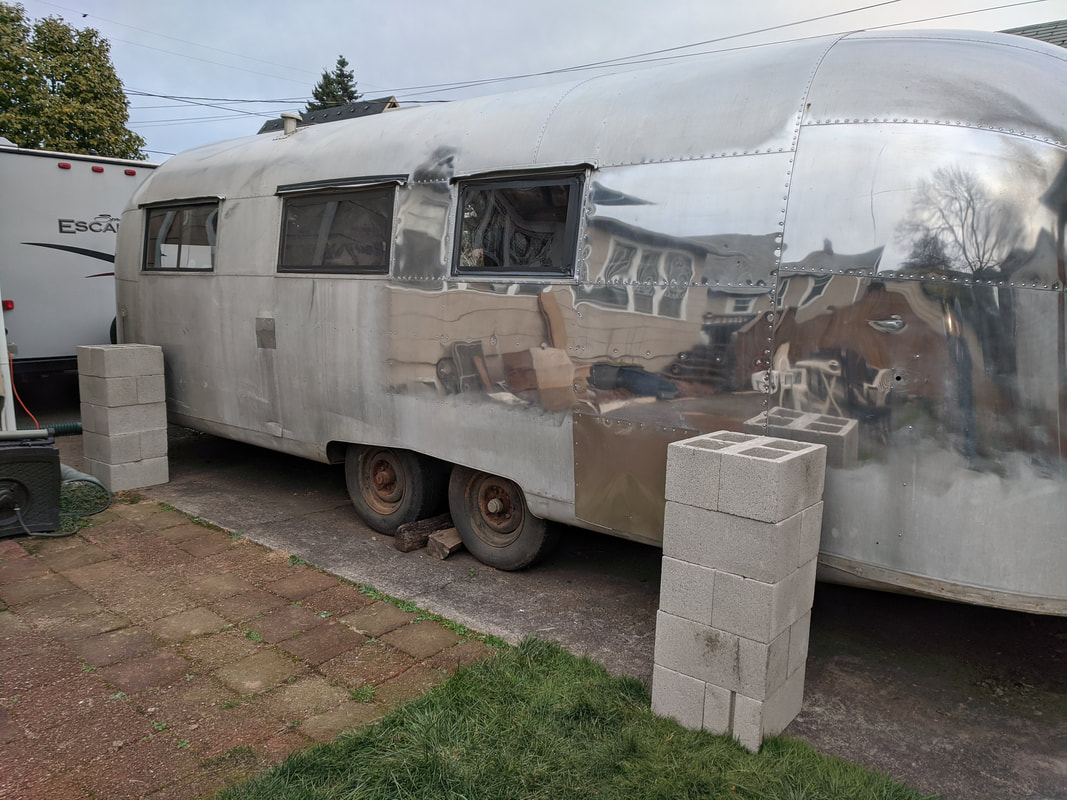
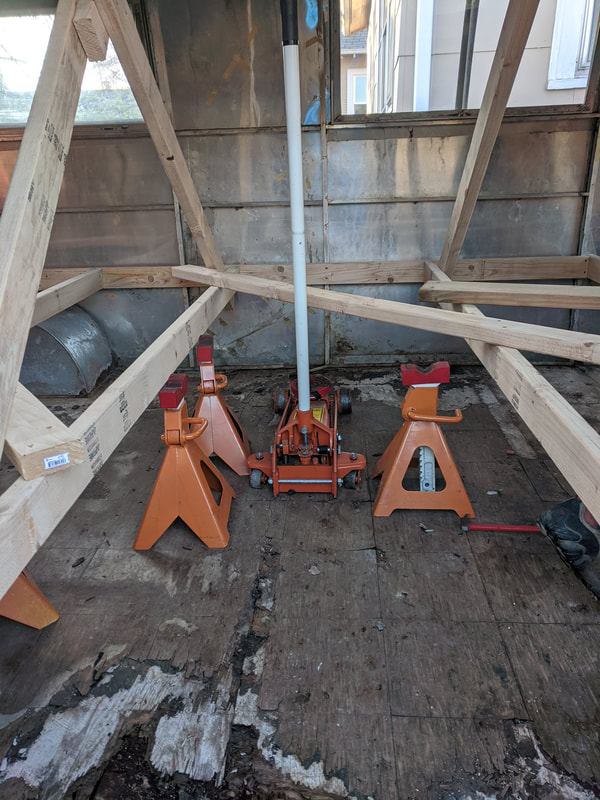
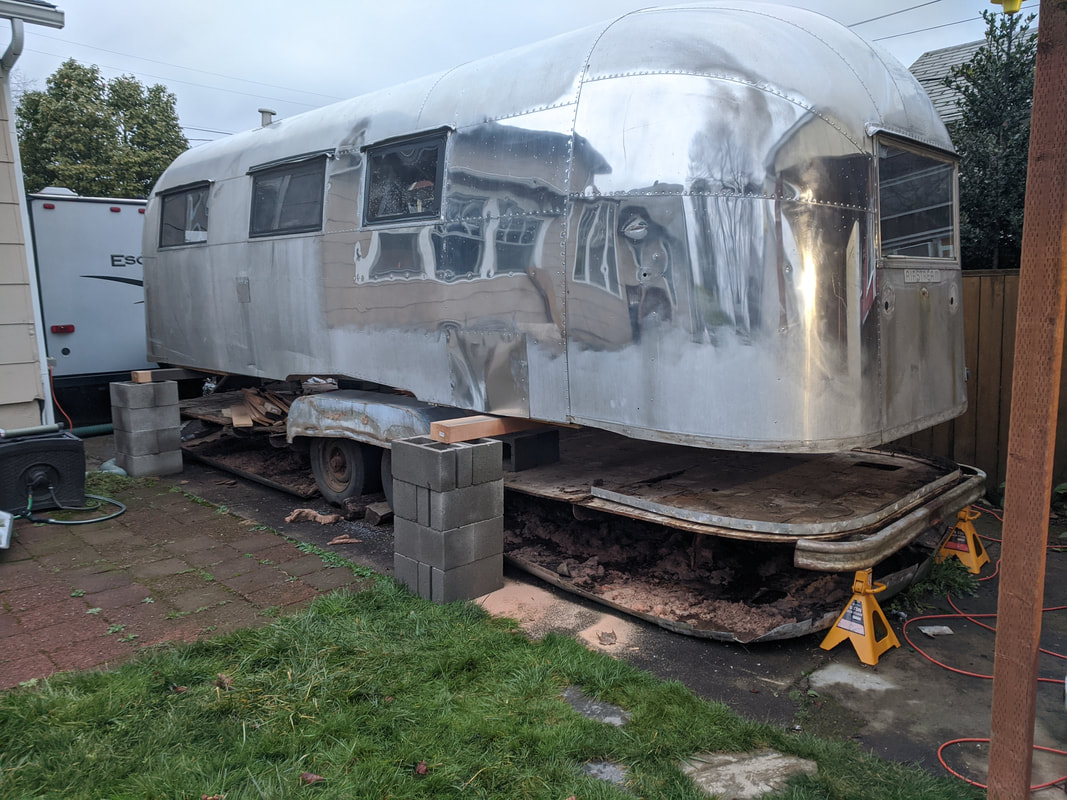
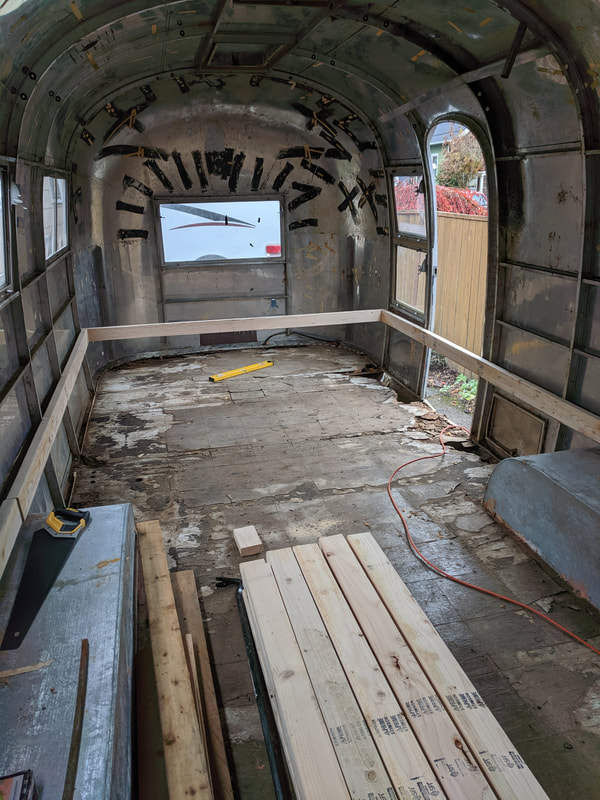
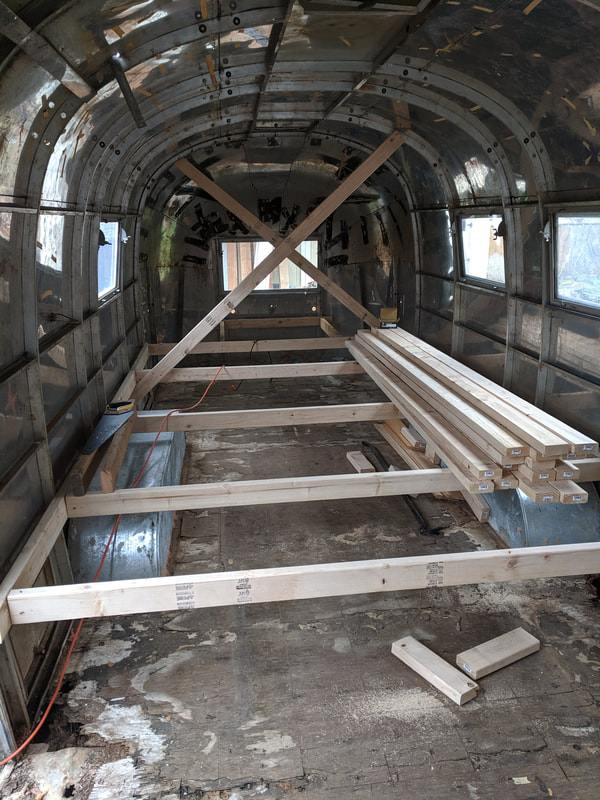
On Sunday, our motivation returned! With Maude's top lowered into place, we've started the long, tedious process of getting her sealed up against the weather!
On Sunday, our motivation returned! With Maude's top lowered into place, we've started the long, tedious process of getting her sealed up against the weather!
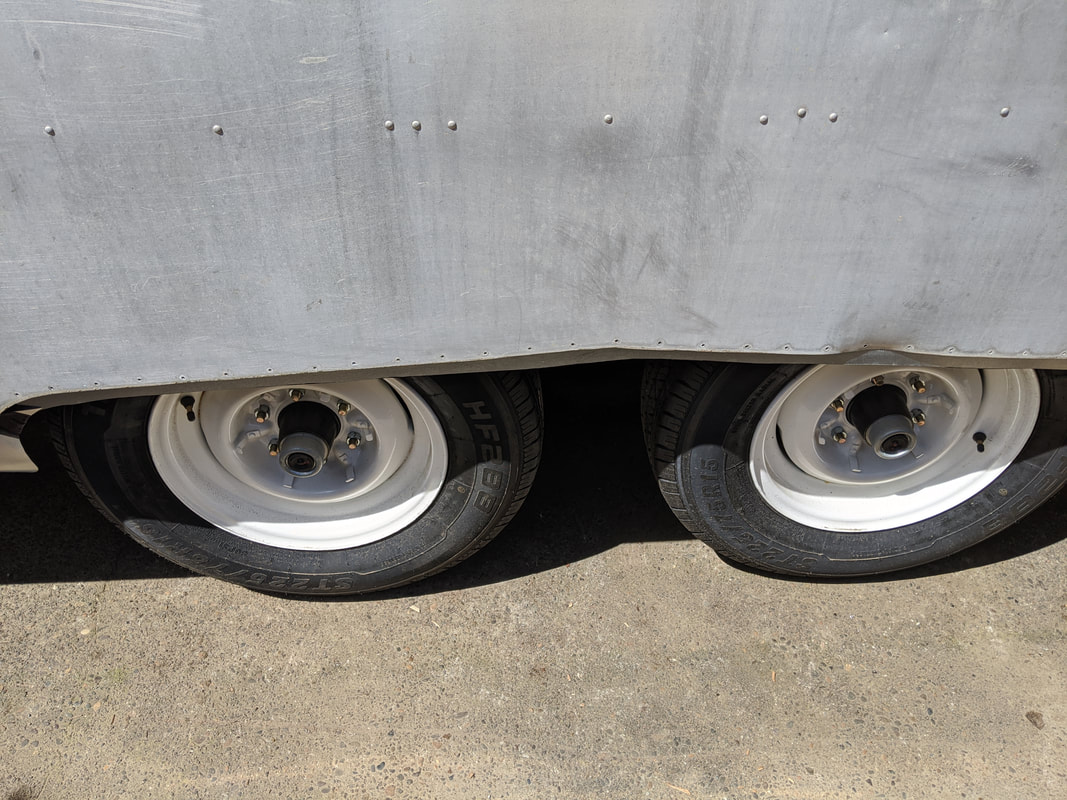
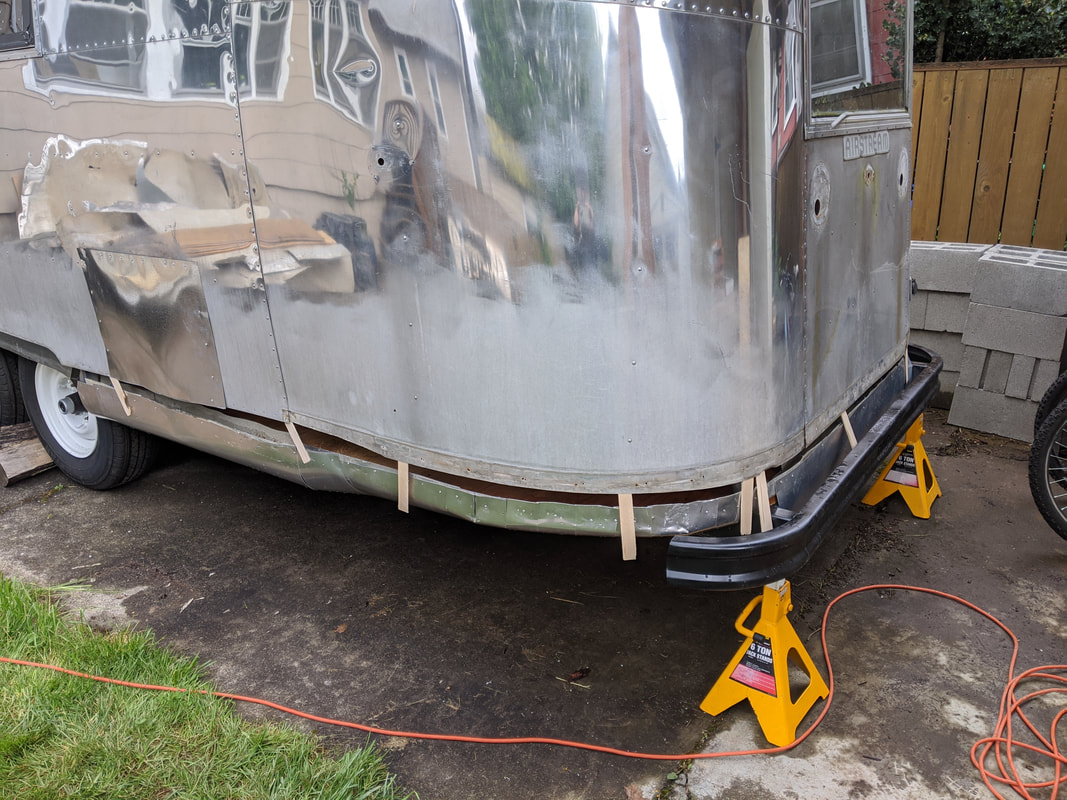
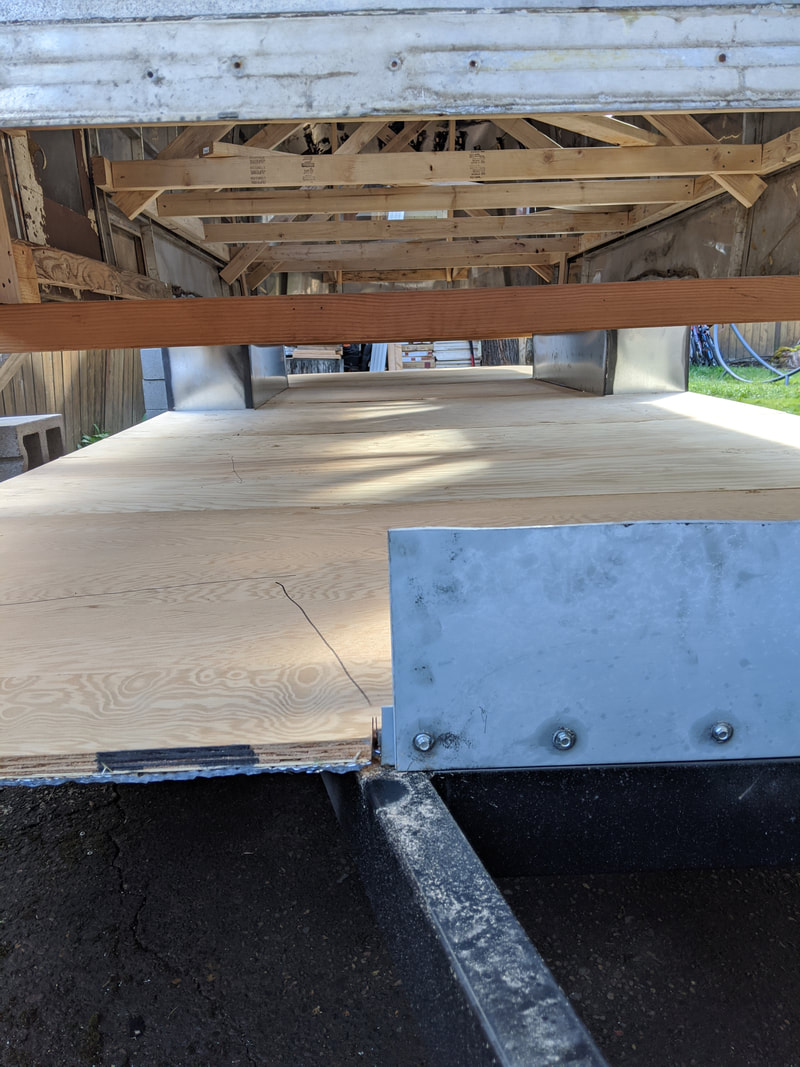
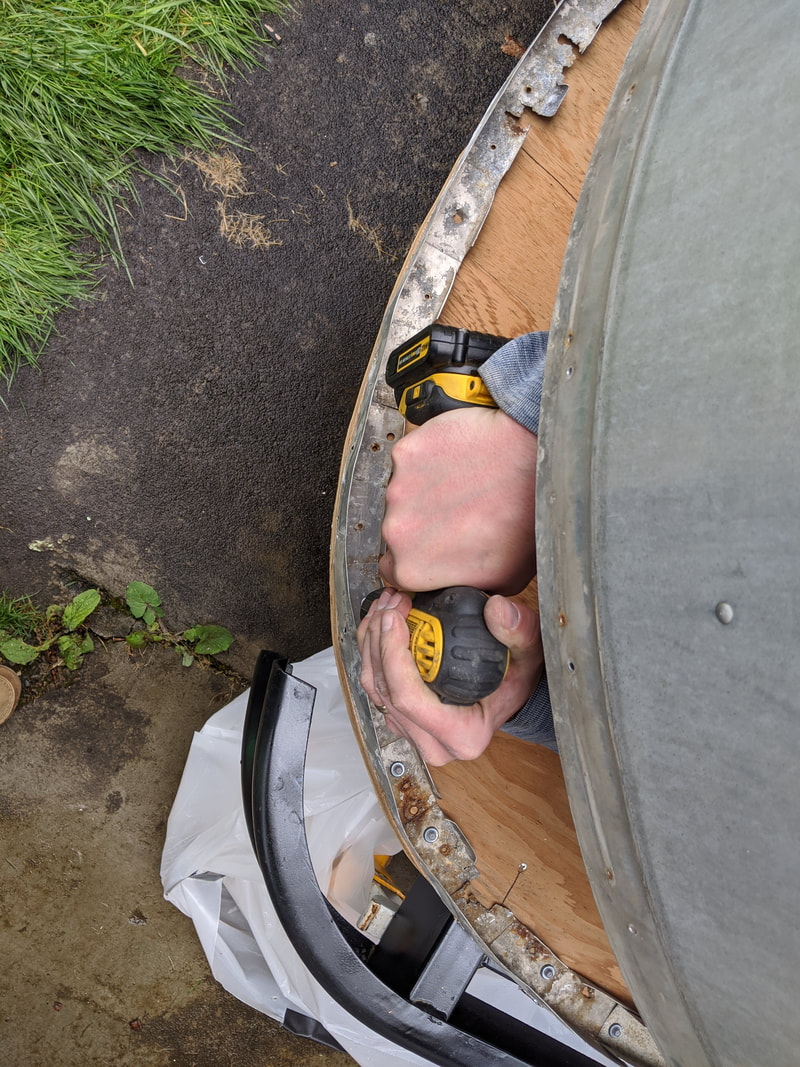
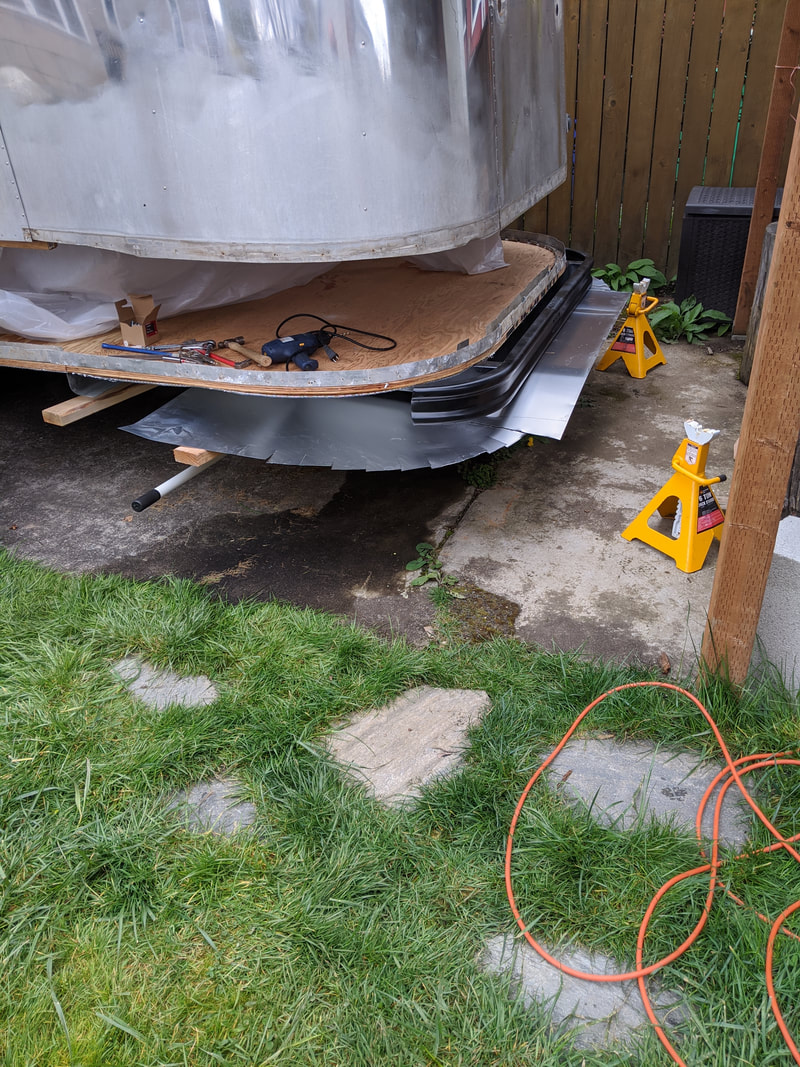
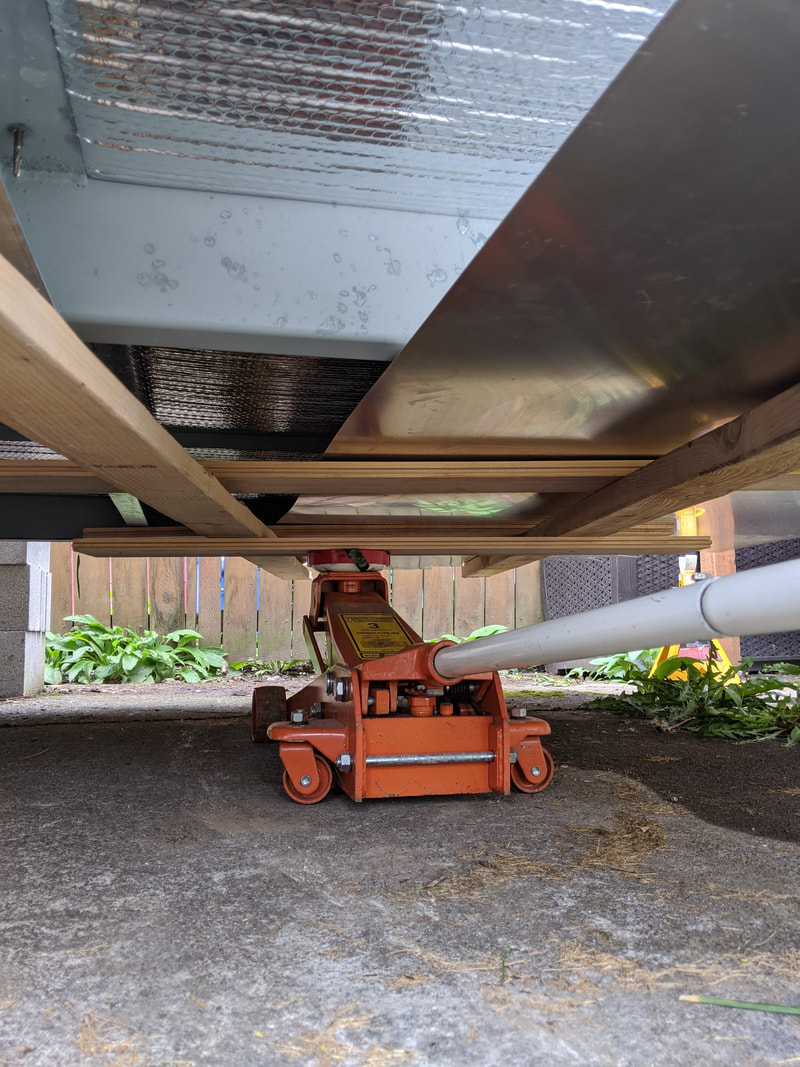
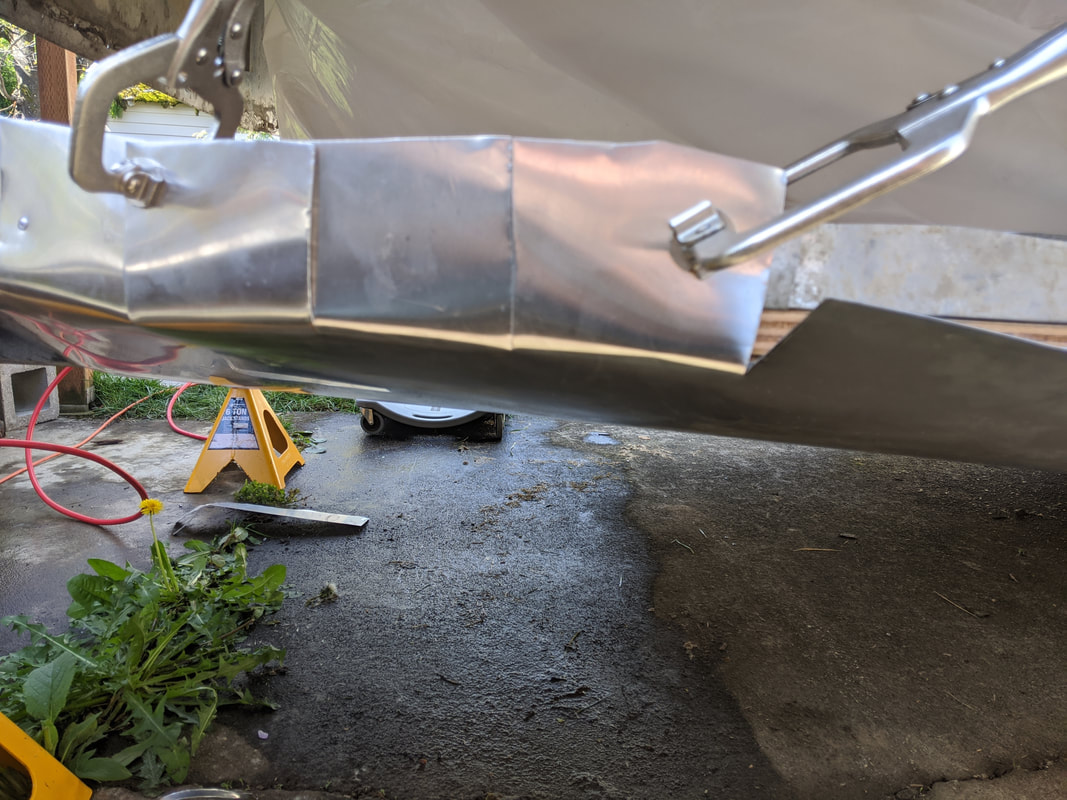
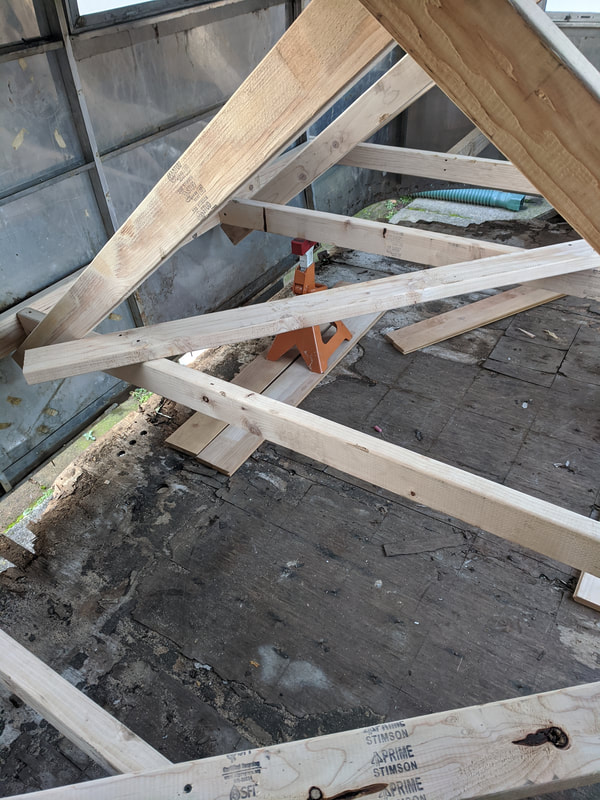
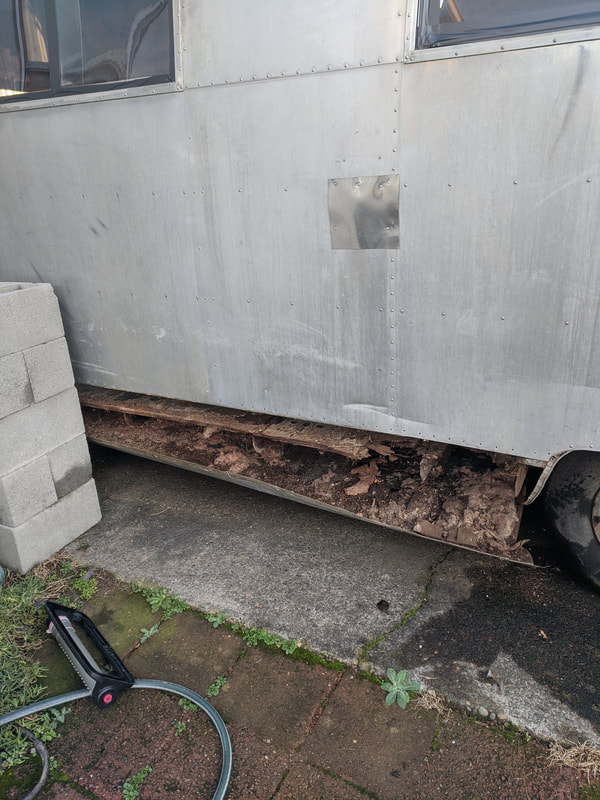
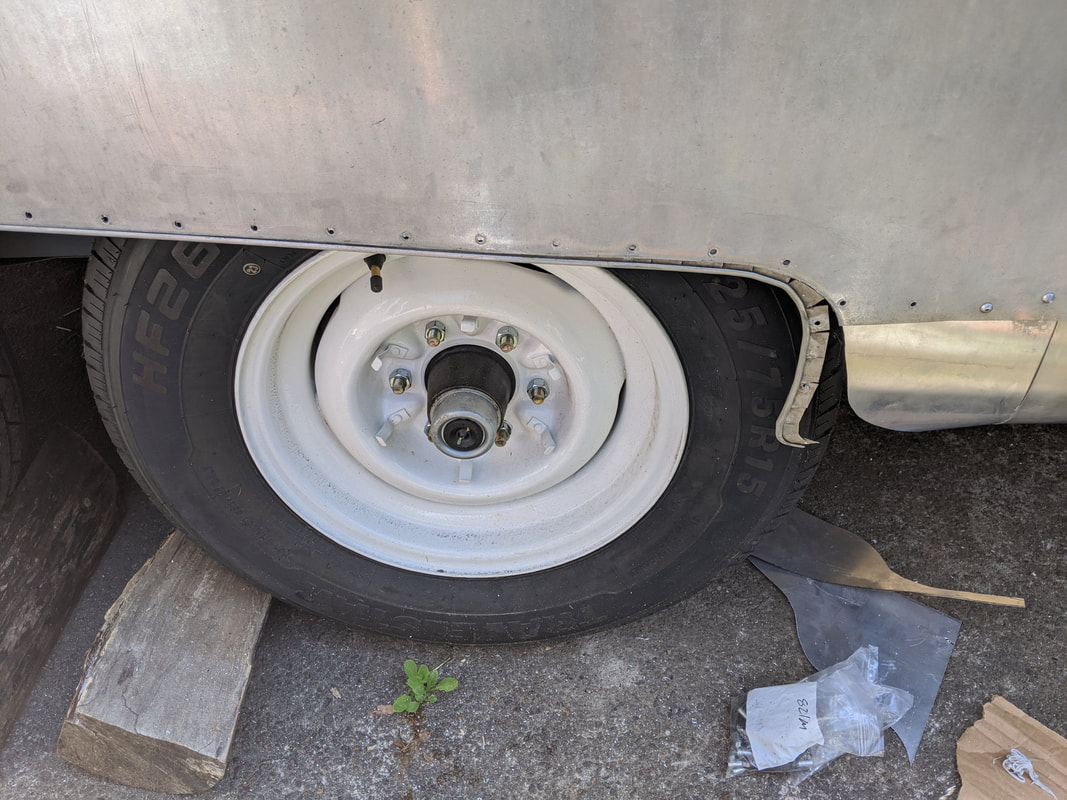
We started by fixing the wheel wells. We had used the old wheel wells as a template to cut this arch-shape onto the new wheel wells. BUT turns out the new axles make the frame sit a little differently, so they're about an inch off! LOL! Sure is perfect for the way this trailer renovation is going - close, but not quite! ;) Above is the trimmed-but-not-lining-up wheel well.
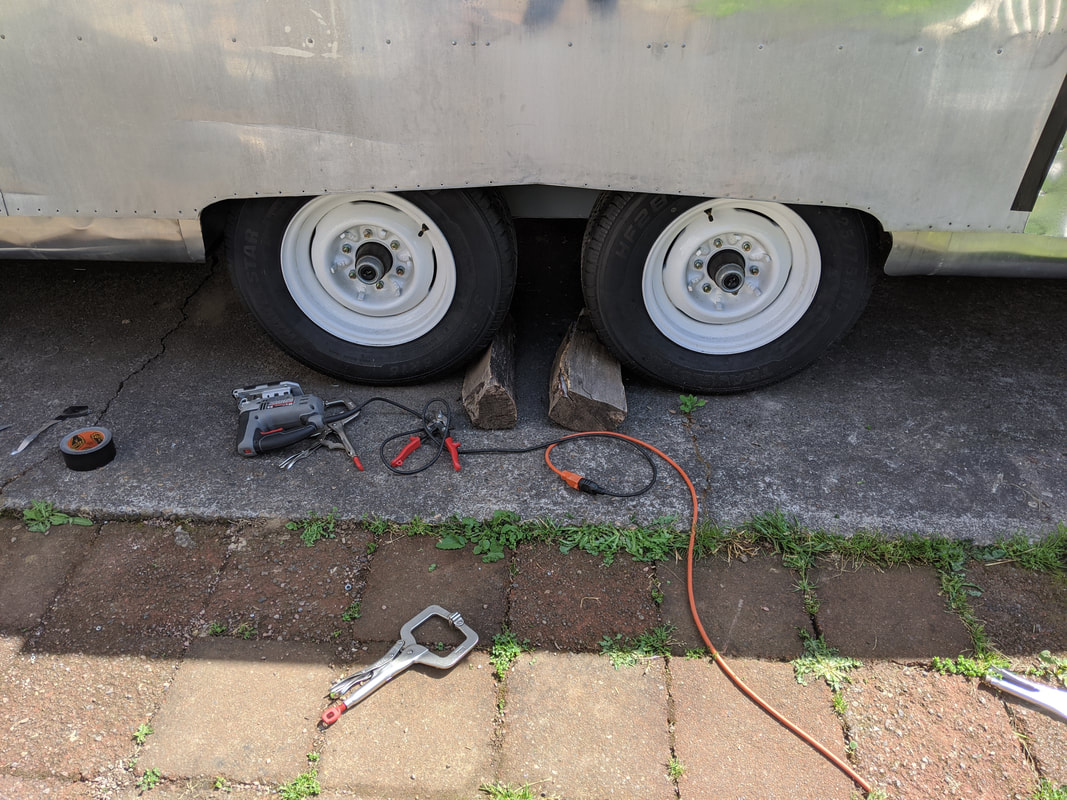
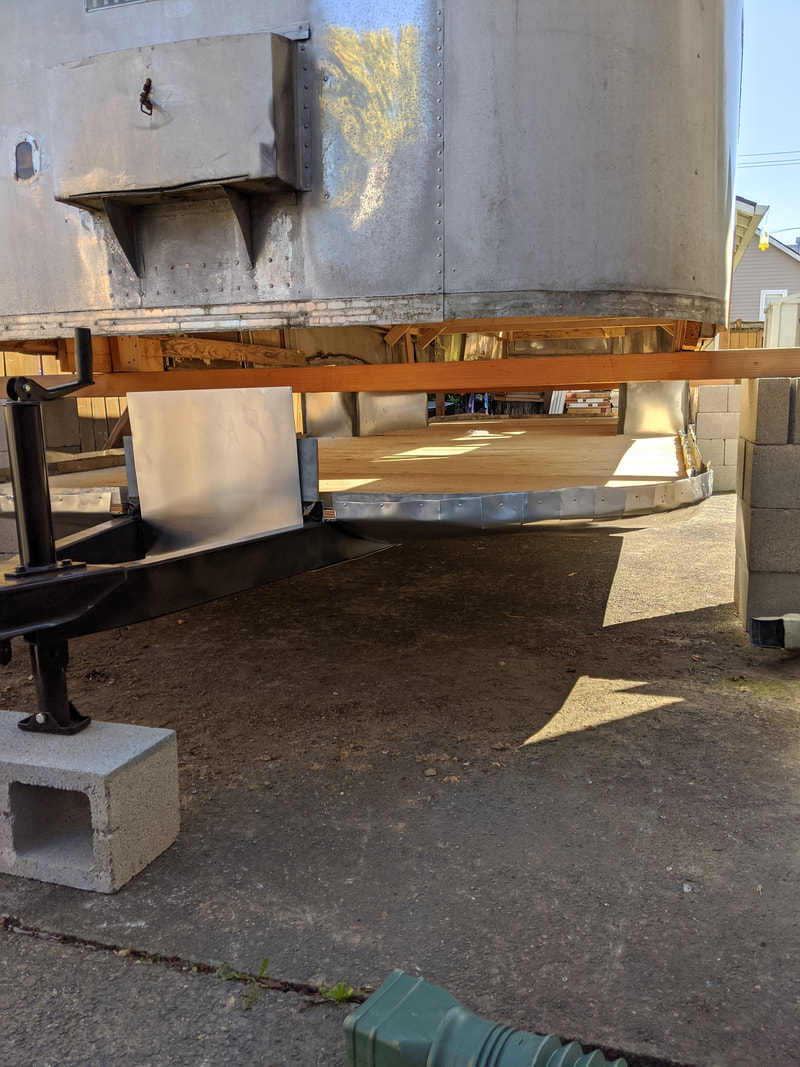
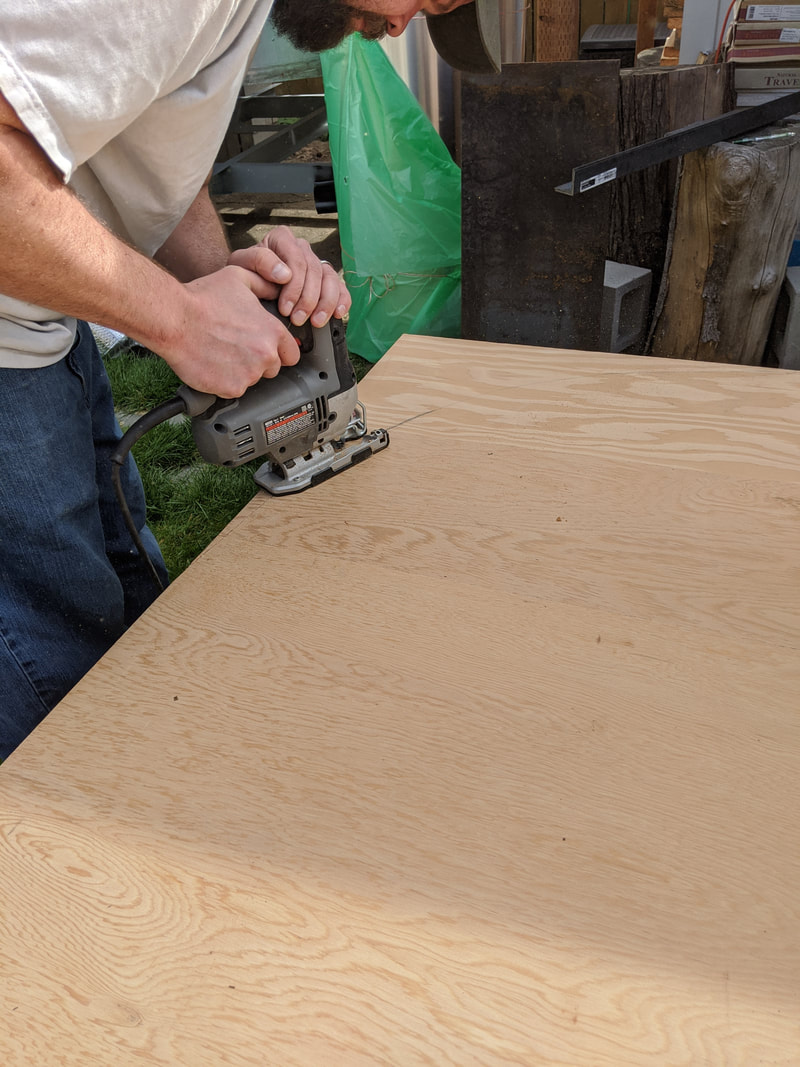
And here it is all trimmed up! Maude got an at-home haircut, just like the rest of us during this pandemic! We used a jigsaw to trim it out.
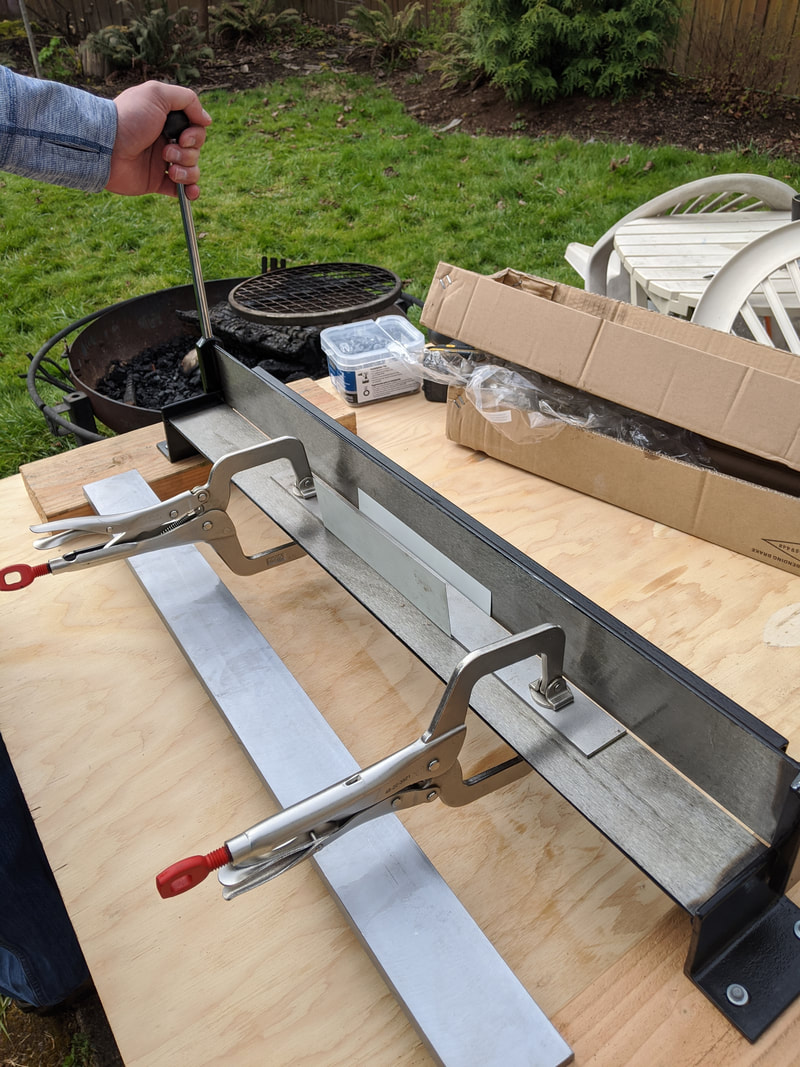
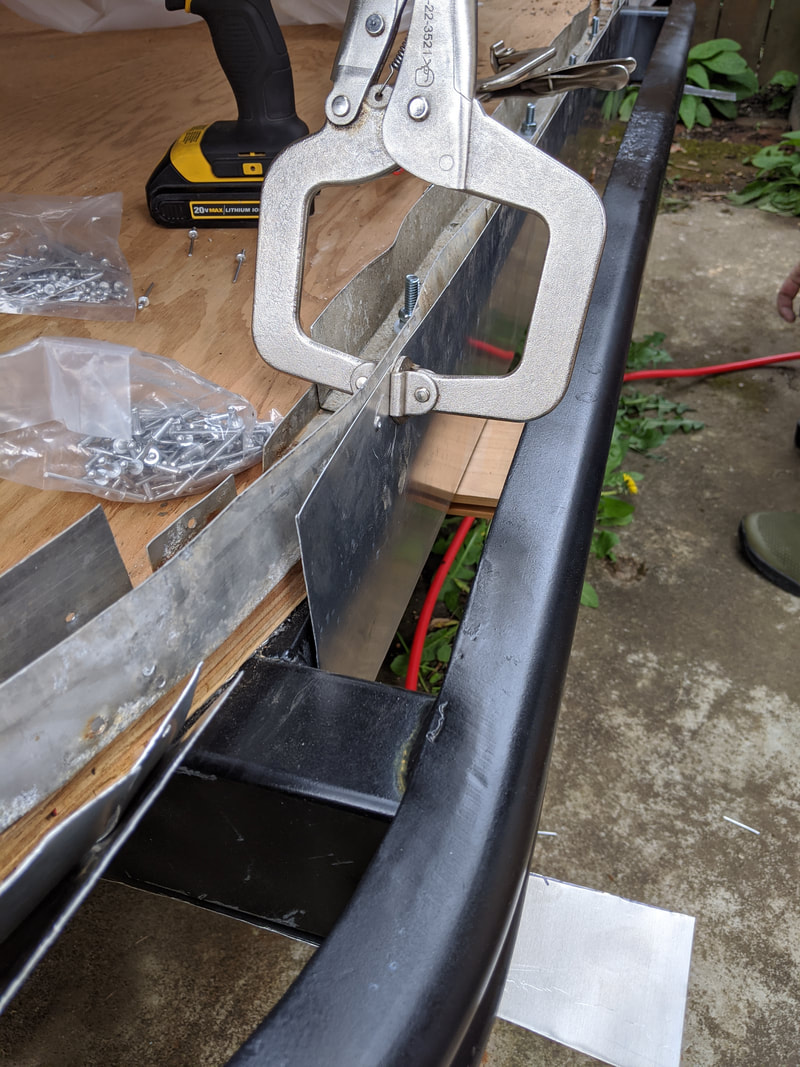
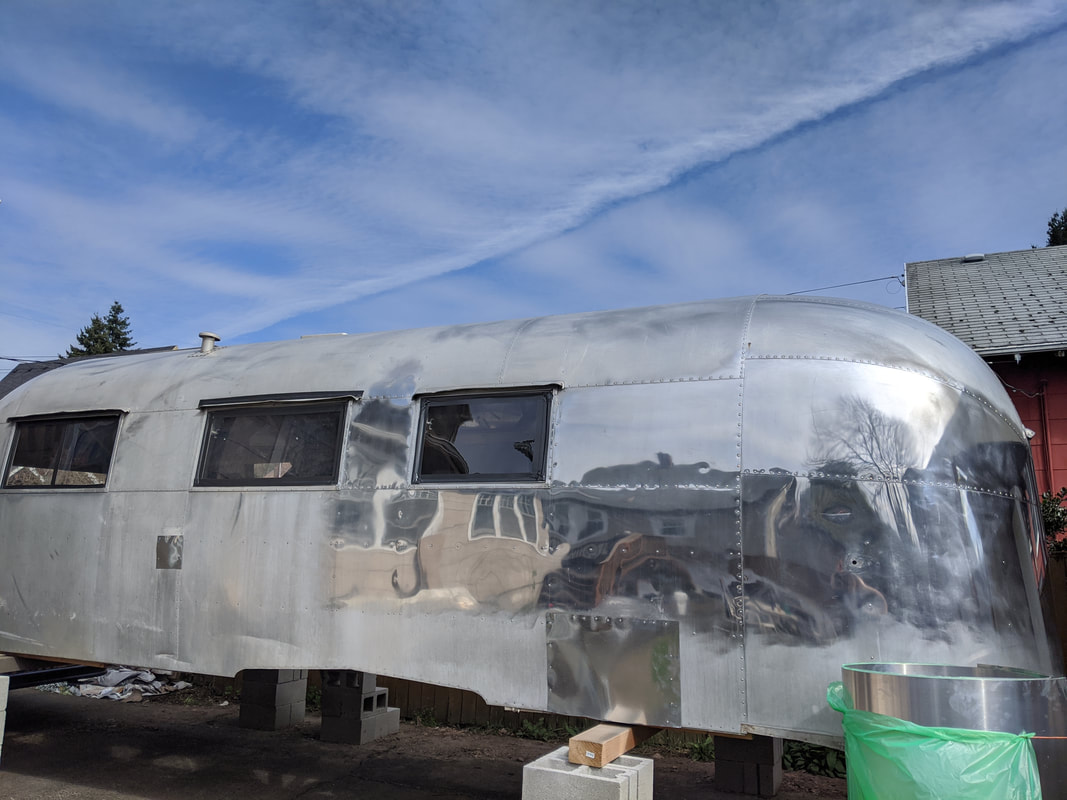
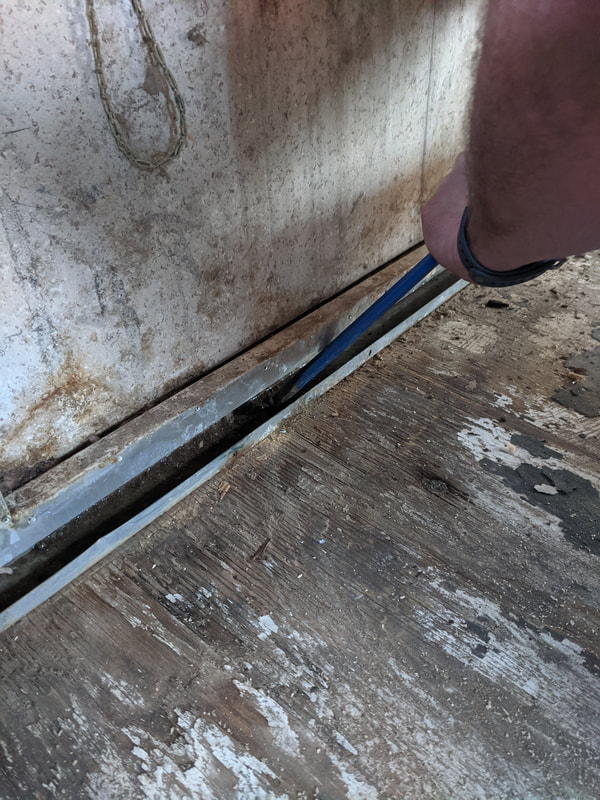
Next, we slid this original piece of trim into place between the wheel well and the outer skin. While we were looking for other parts, we found replacements for these - at $50 each! SO glad ours were in decent shape!
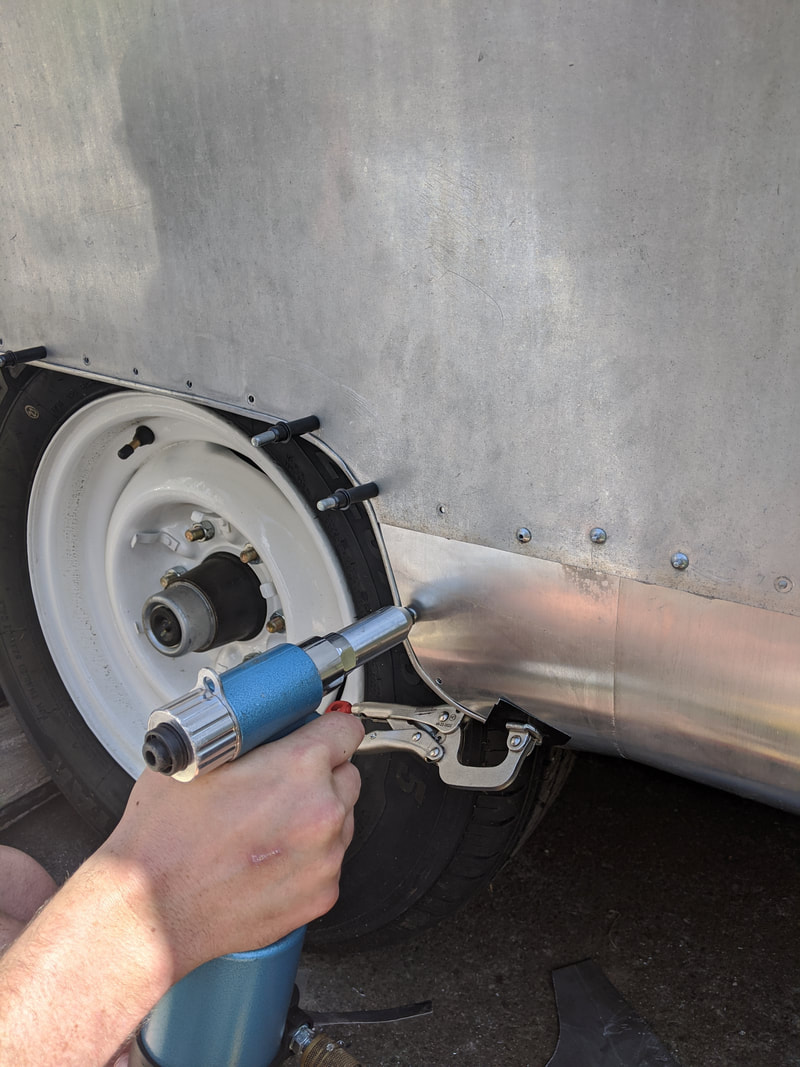
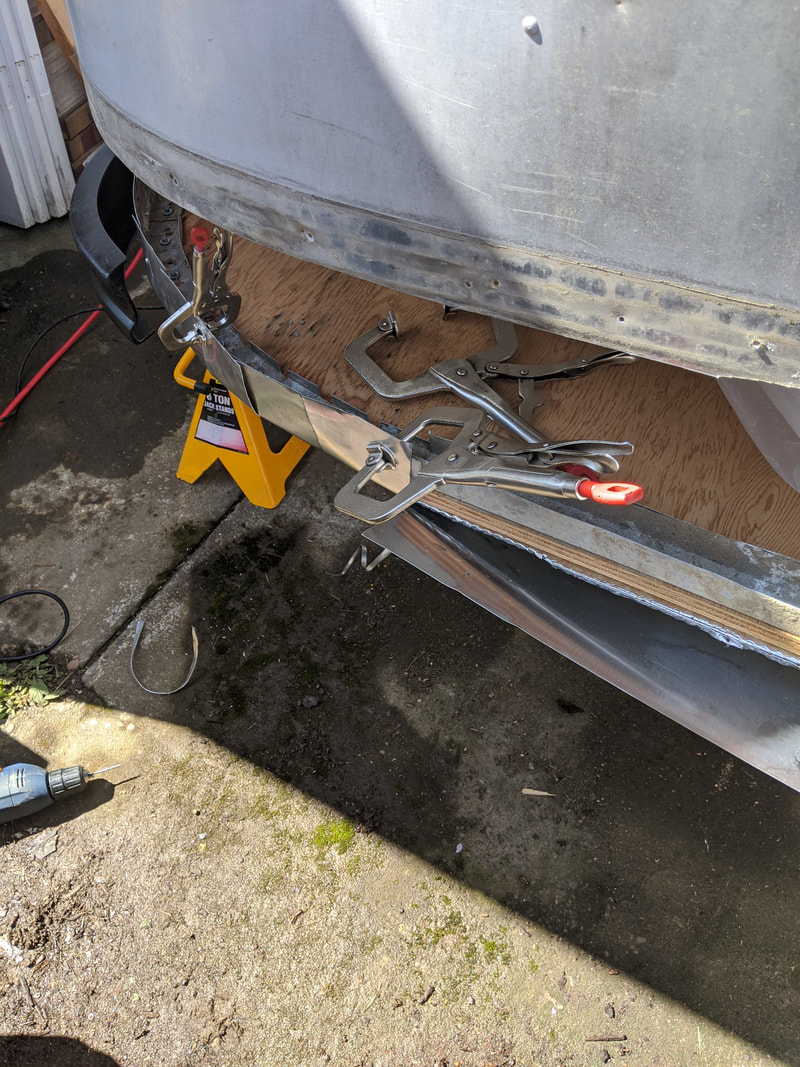
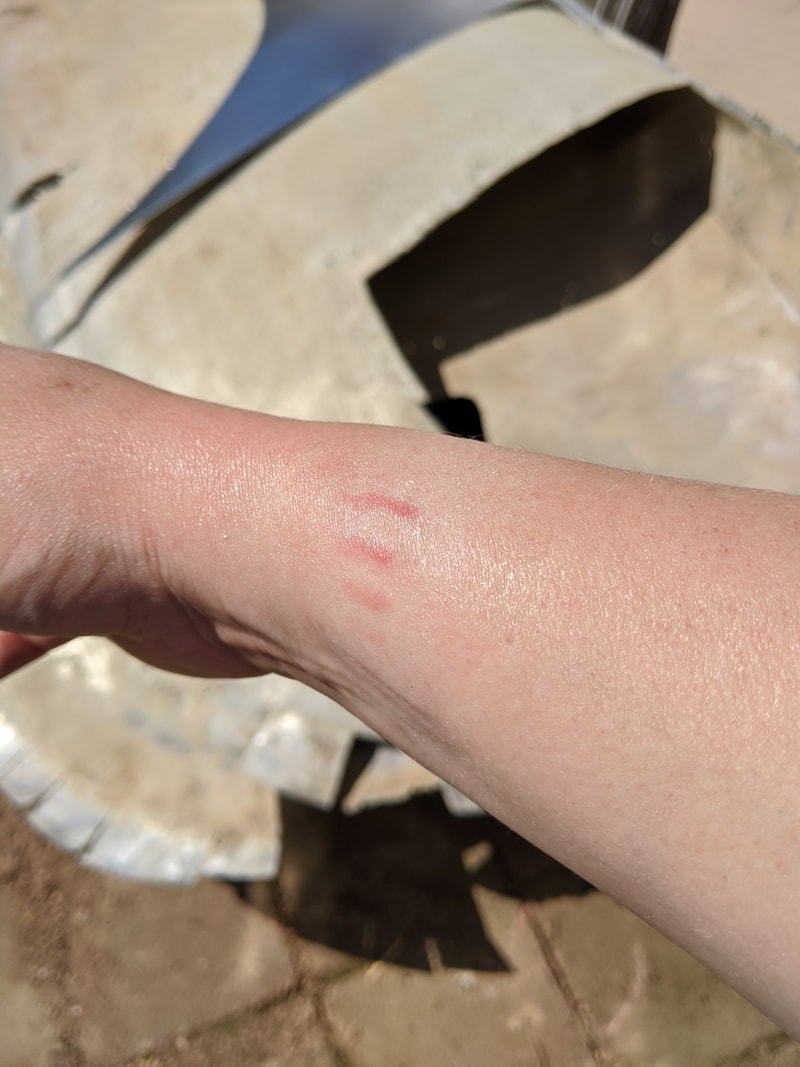
Next, we got to rivet it all together! We're using Olympic rivets. They're a rivet that can be put in place when you only have access to one side of the project, but are super strong and LOOK like the original buck rivets that were originally used. Buck rivets take two people who know what they're doing. We have two people... but not the knowledge! ;) What you can barely see here on the right is that when you place an Olympic rivet, it leaves a little nub sticking out. You go around afterwards and trim those off, then you use a special tool to shave down the surface of the rivet so that it looks smooth - like a buck rivet! We're studying up on how to do that part, so right now Maude has a whole ton of little spikes sticking out. I've been calling her "Battle Trailer Maude." And teasing her about how punk she is! Yep, I'm entertaining myself during this pandemic ;)
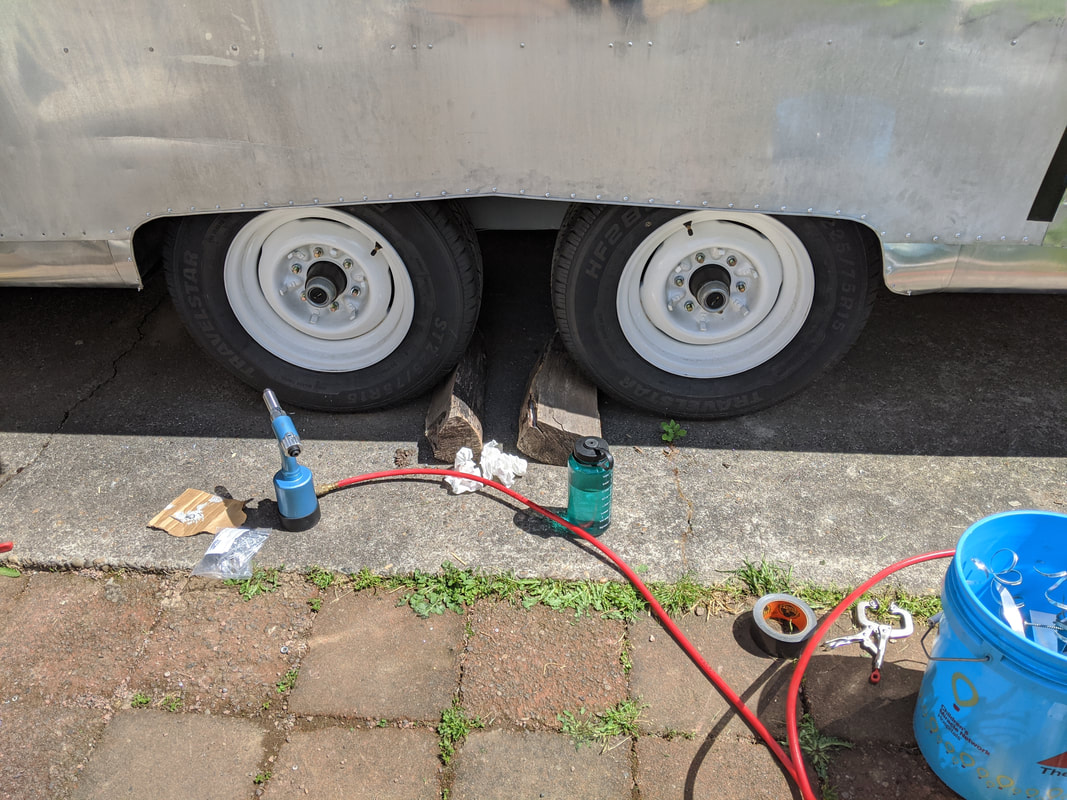
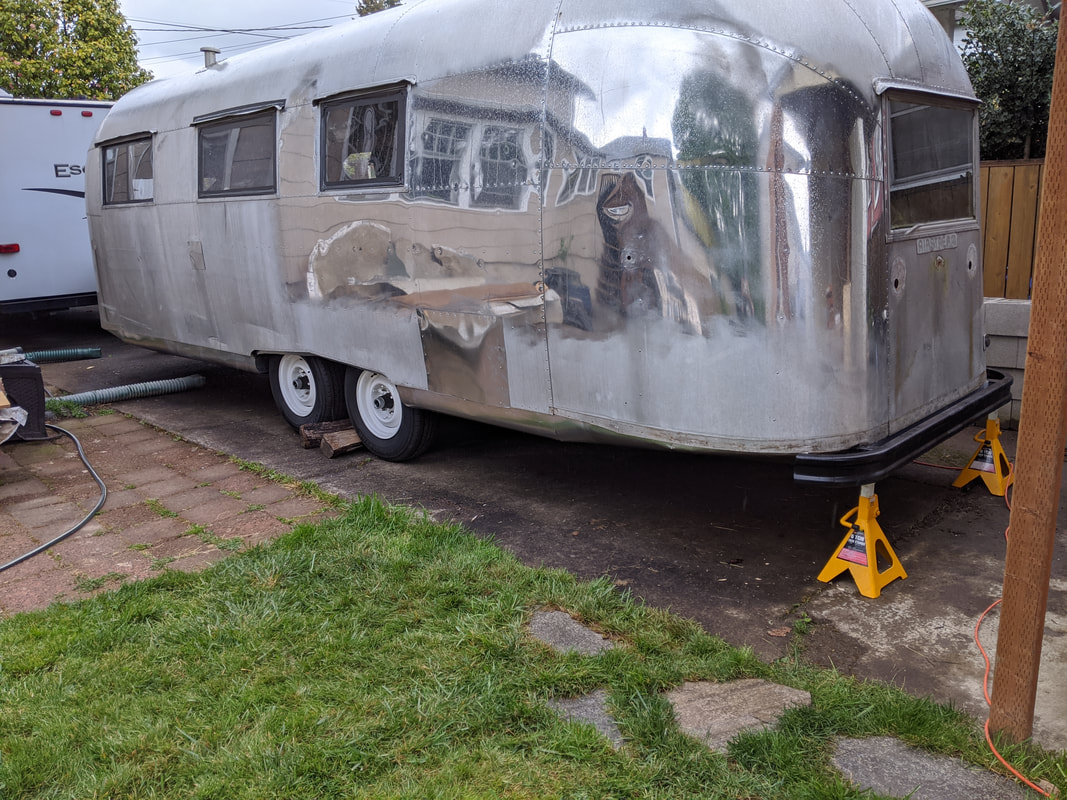
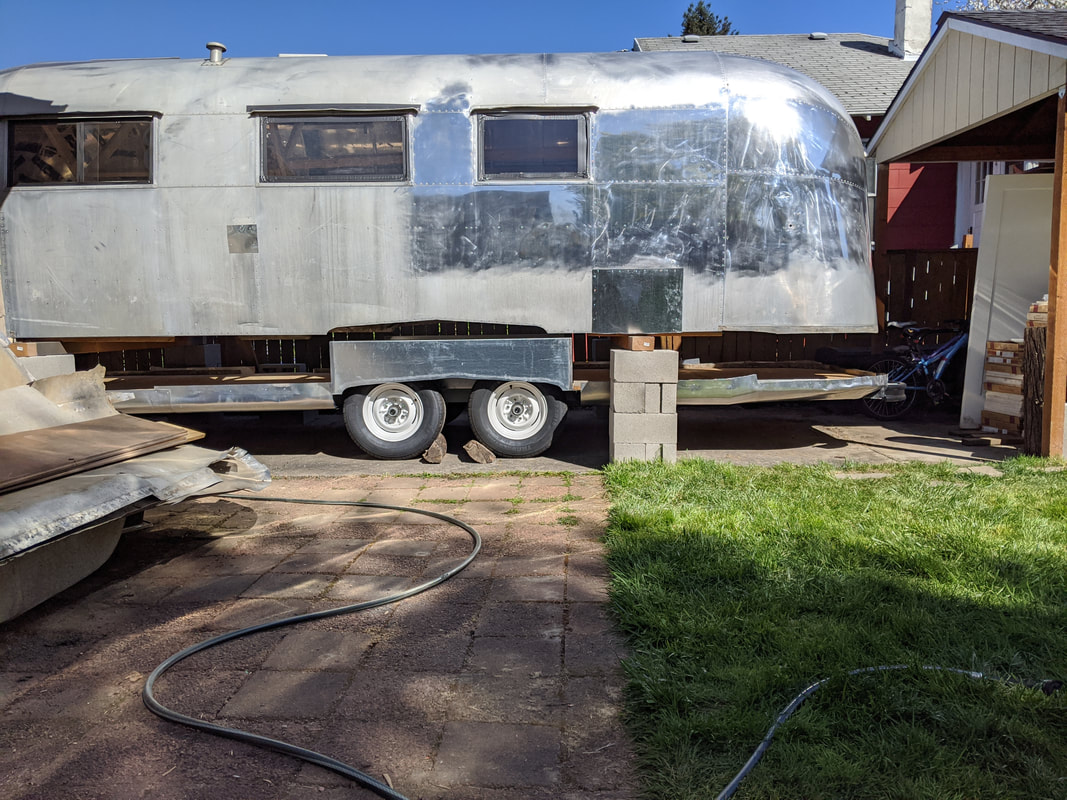
And here's the wheel well all done! That trim makes a HUGE difference in how she looks! Just a little bit of work after not feeling motivated to work on her the day before went a LONG way to renewing our Maude-Fixing Souls :)
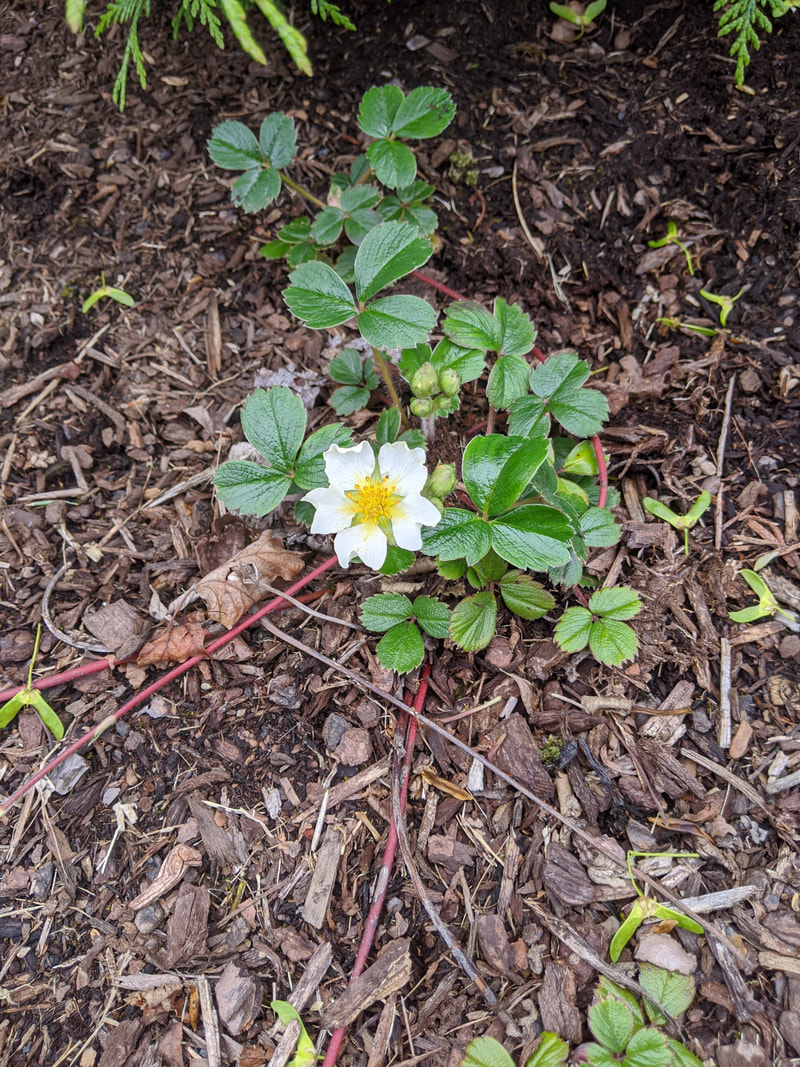
And that was all we got done this week! This is a picture of one of the native strawberry plants we planted in our back yard last year :) It made me super happy that it was so happy!
Stay healthy guys! <3 Becca
Stay healthy guys! <3 Becca