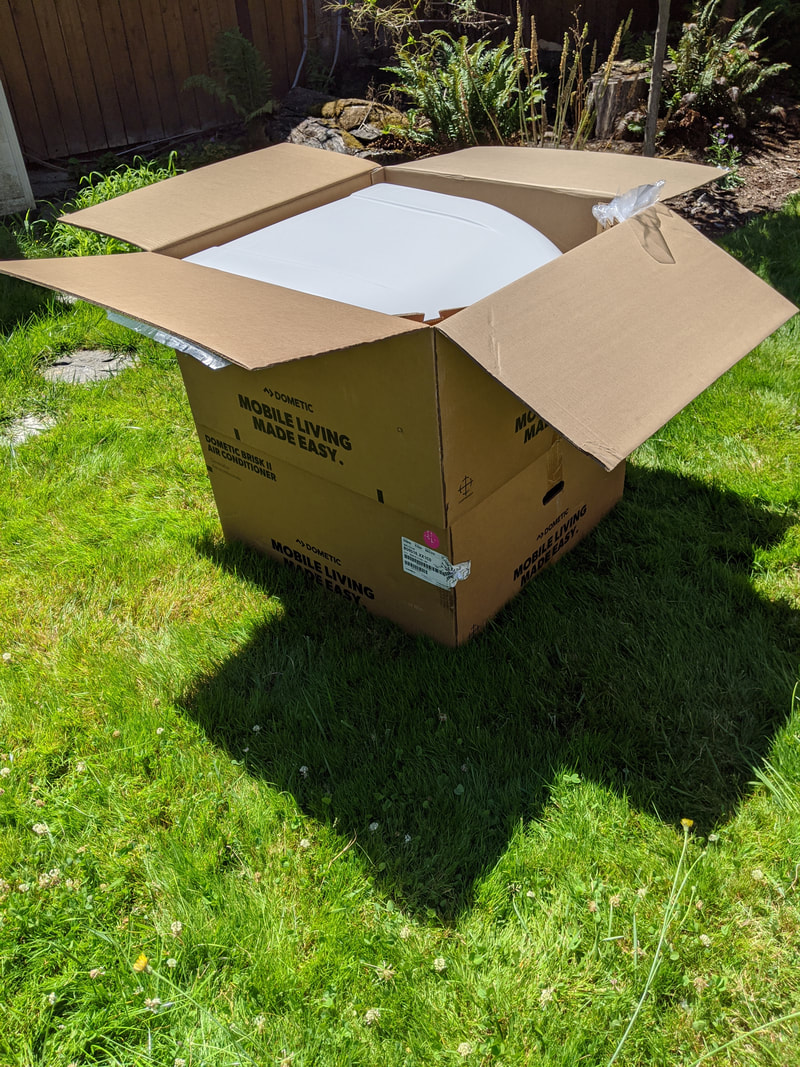
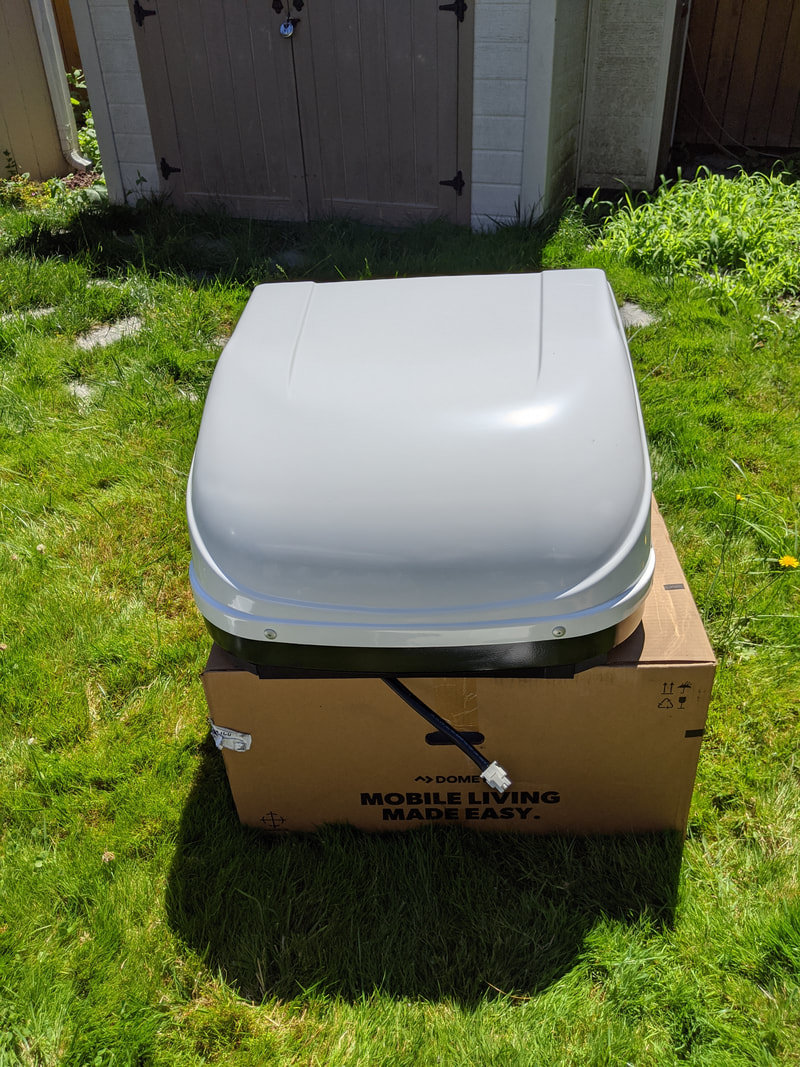
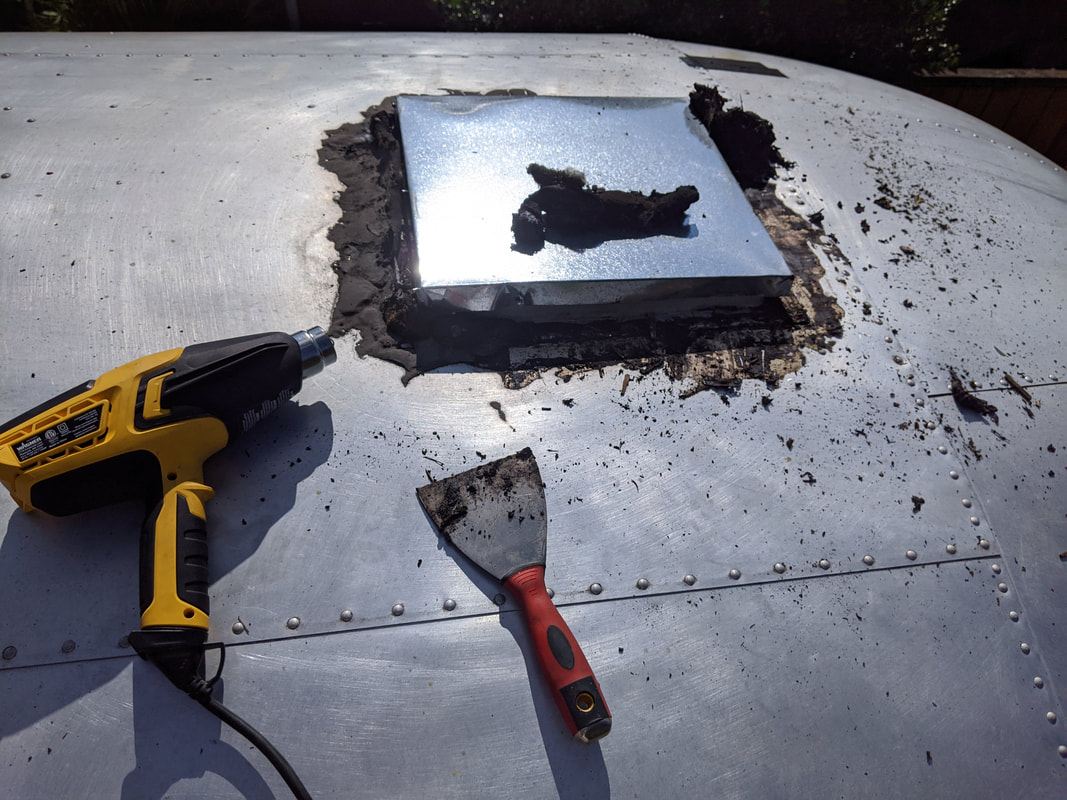
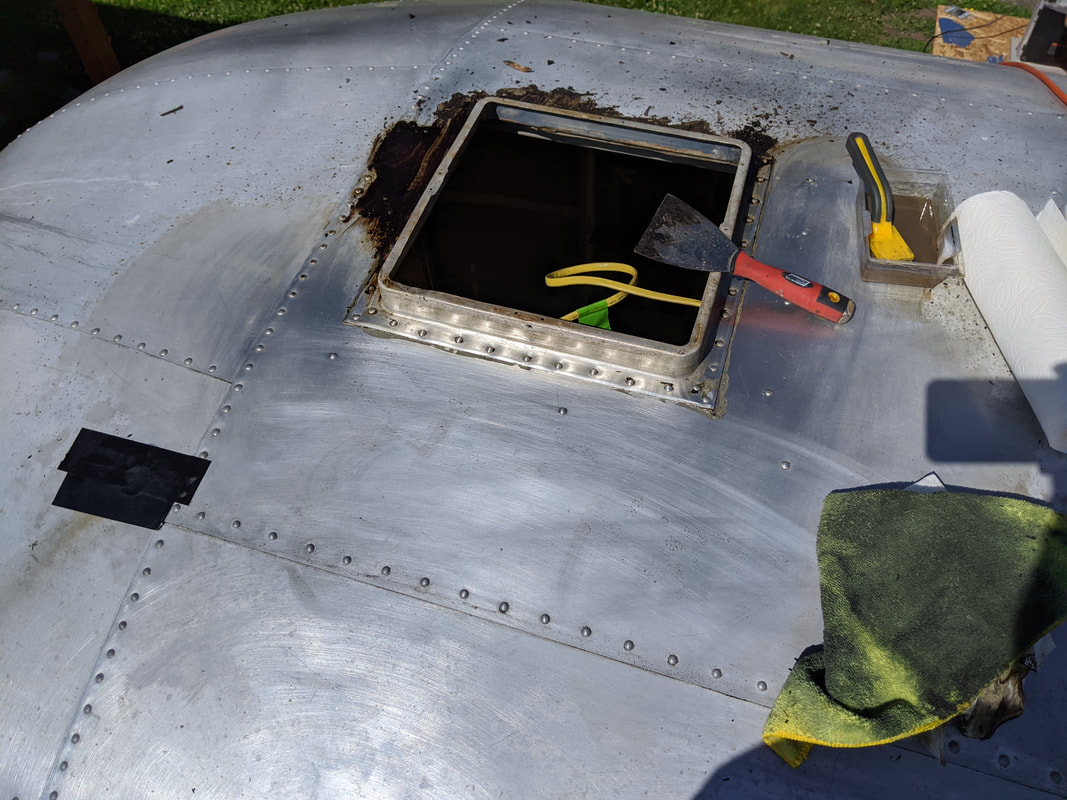
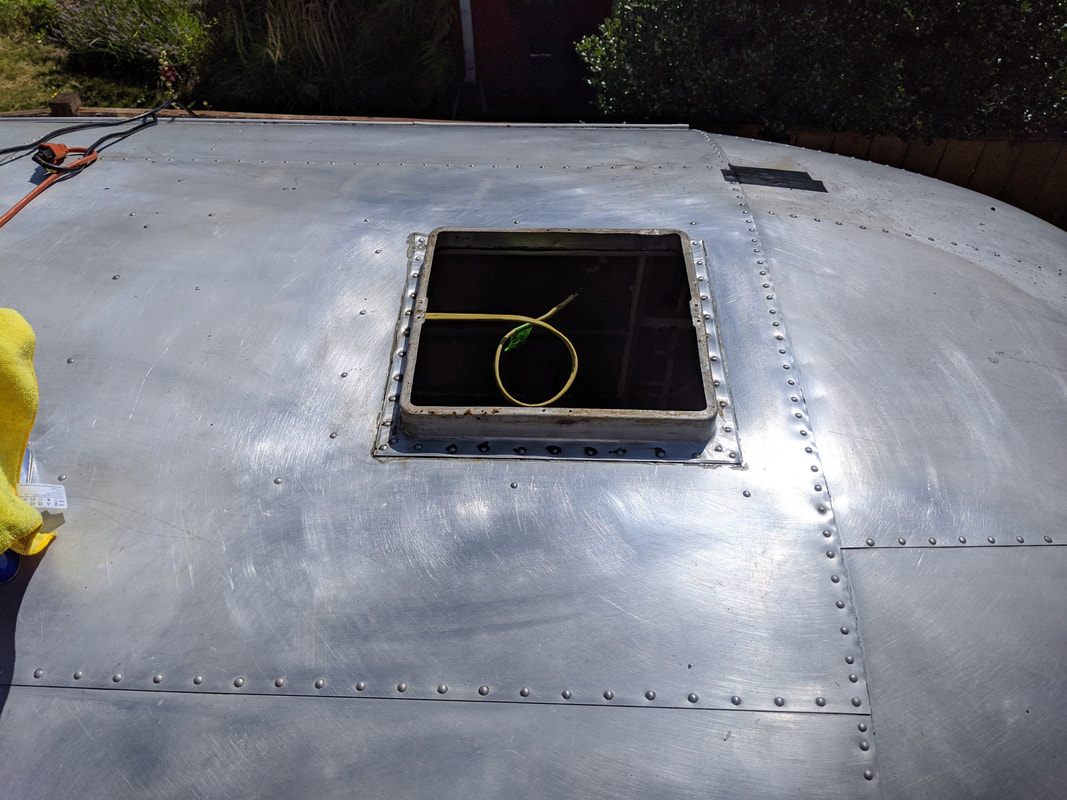
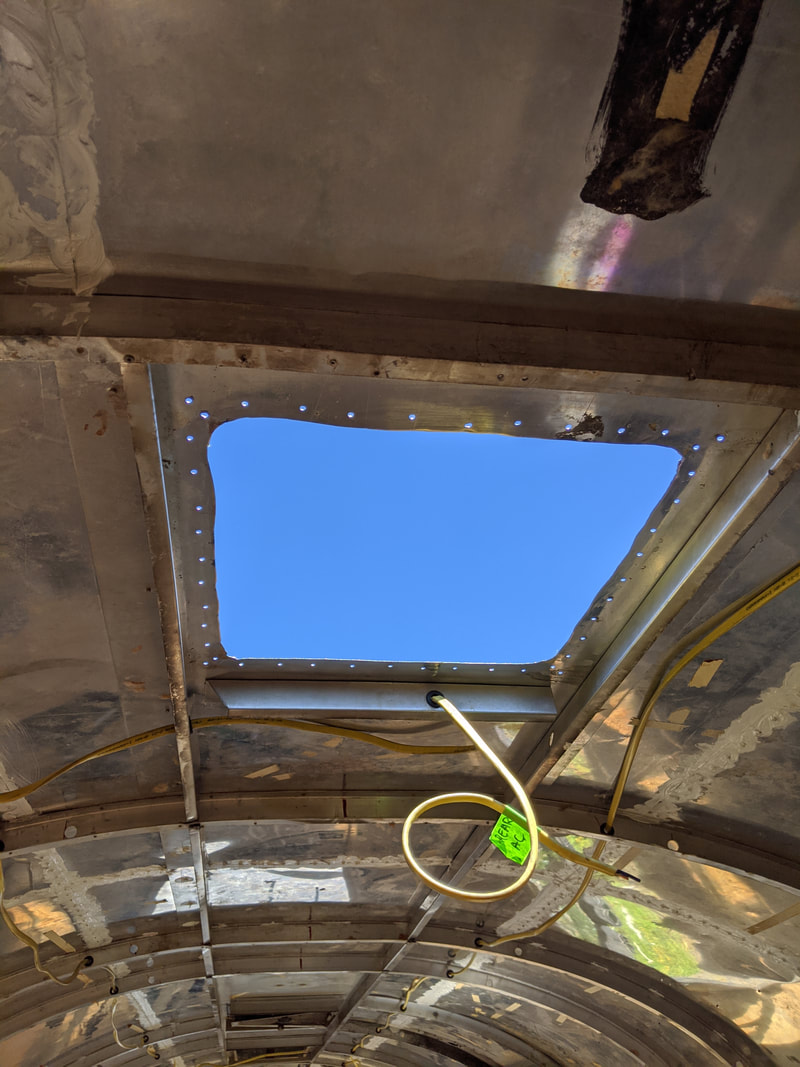
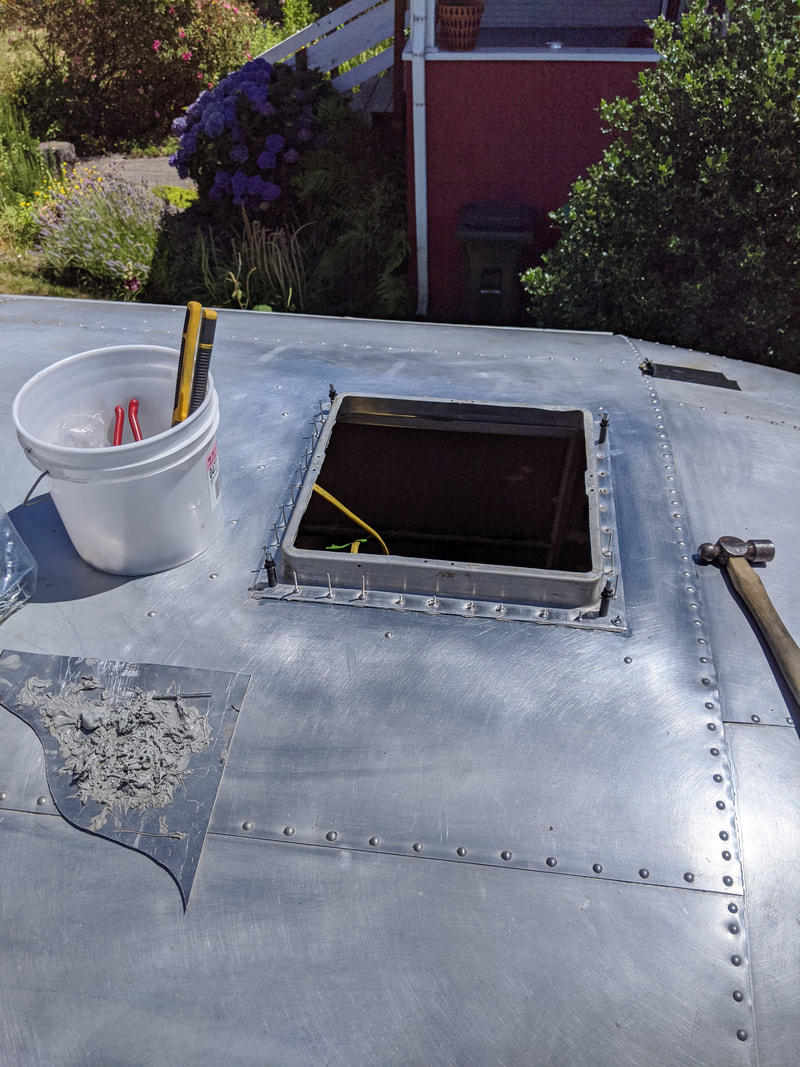
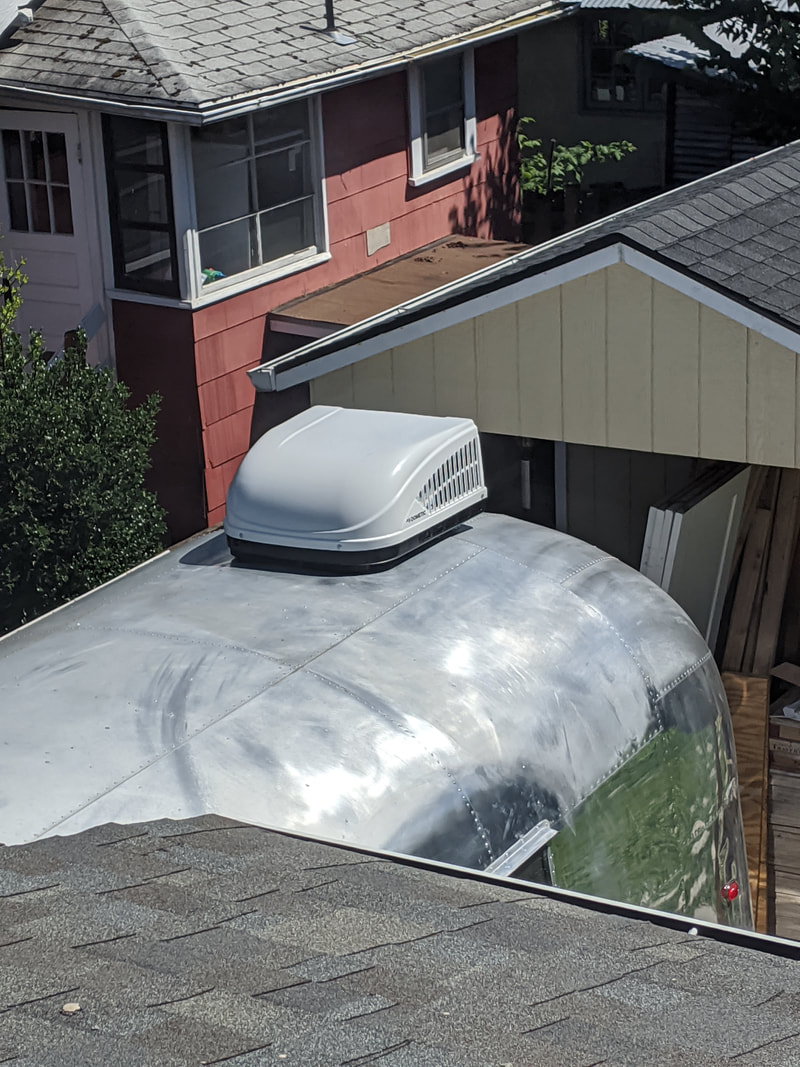
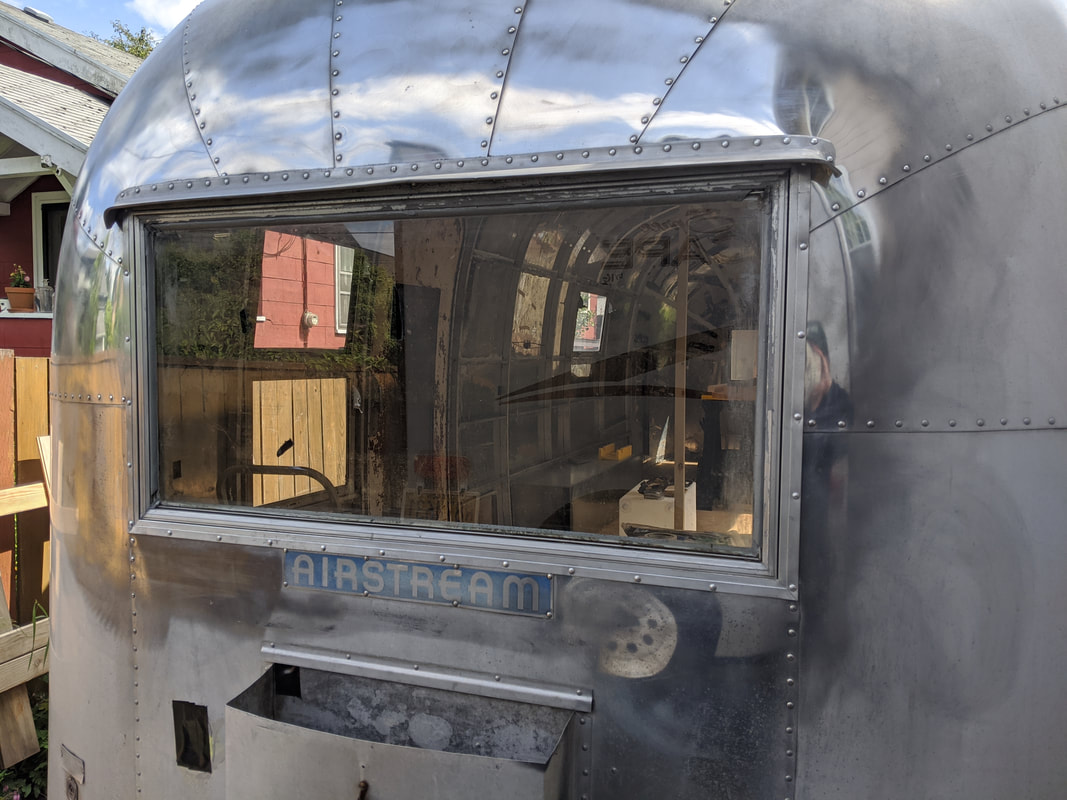
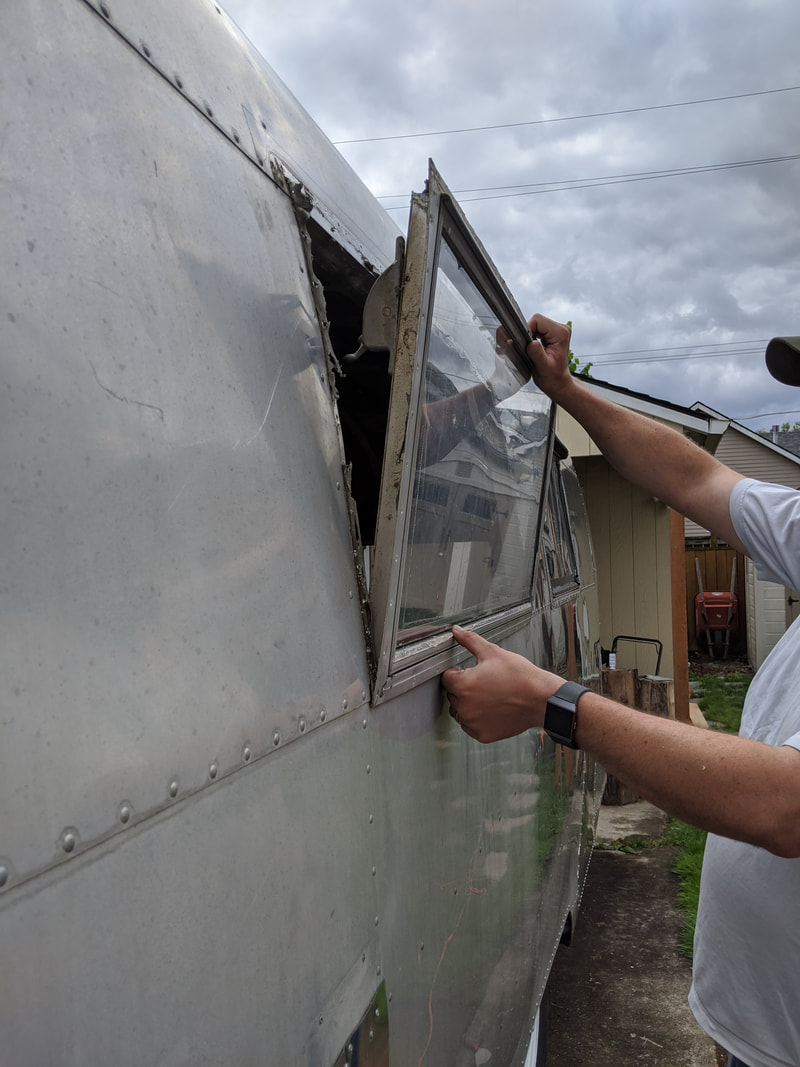
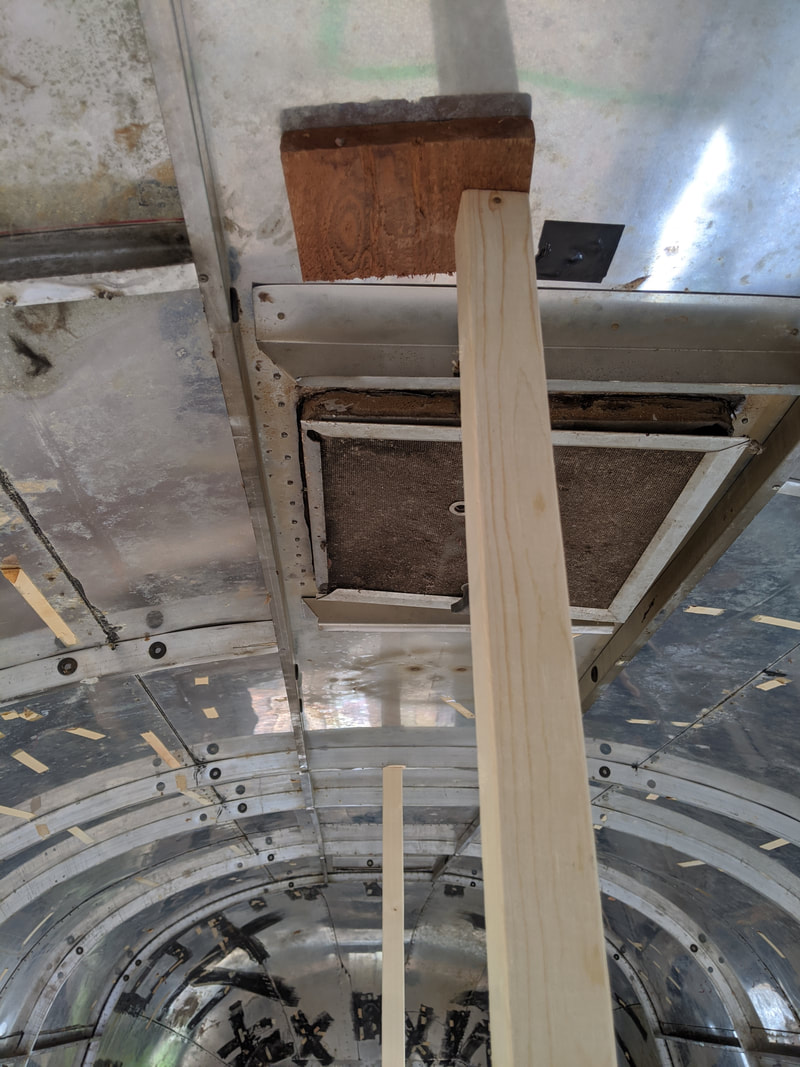
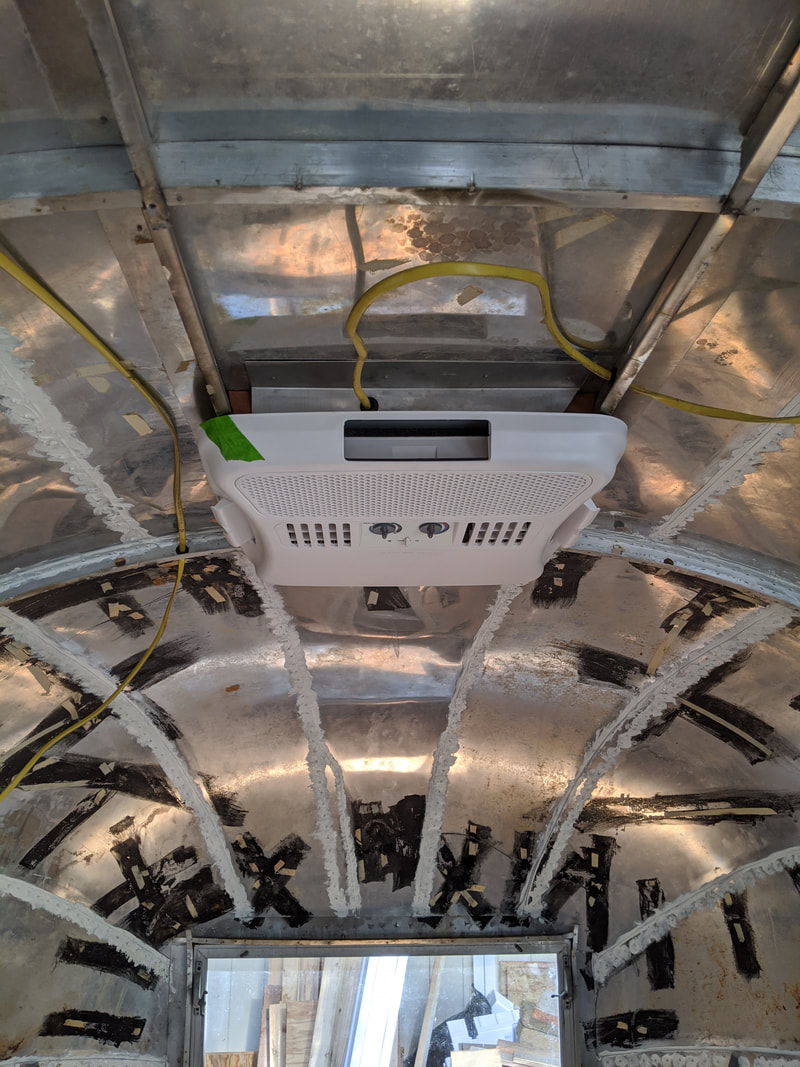
Last week, we got the air conditioner put into place on Maude's roof.
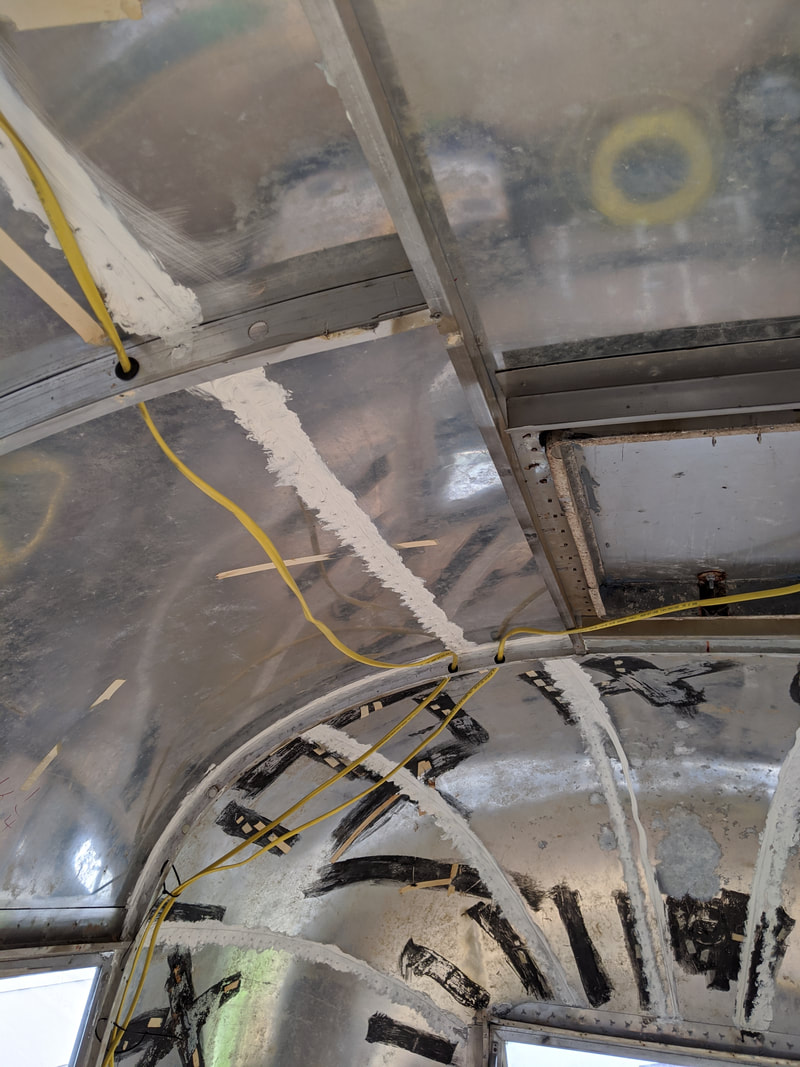
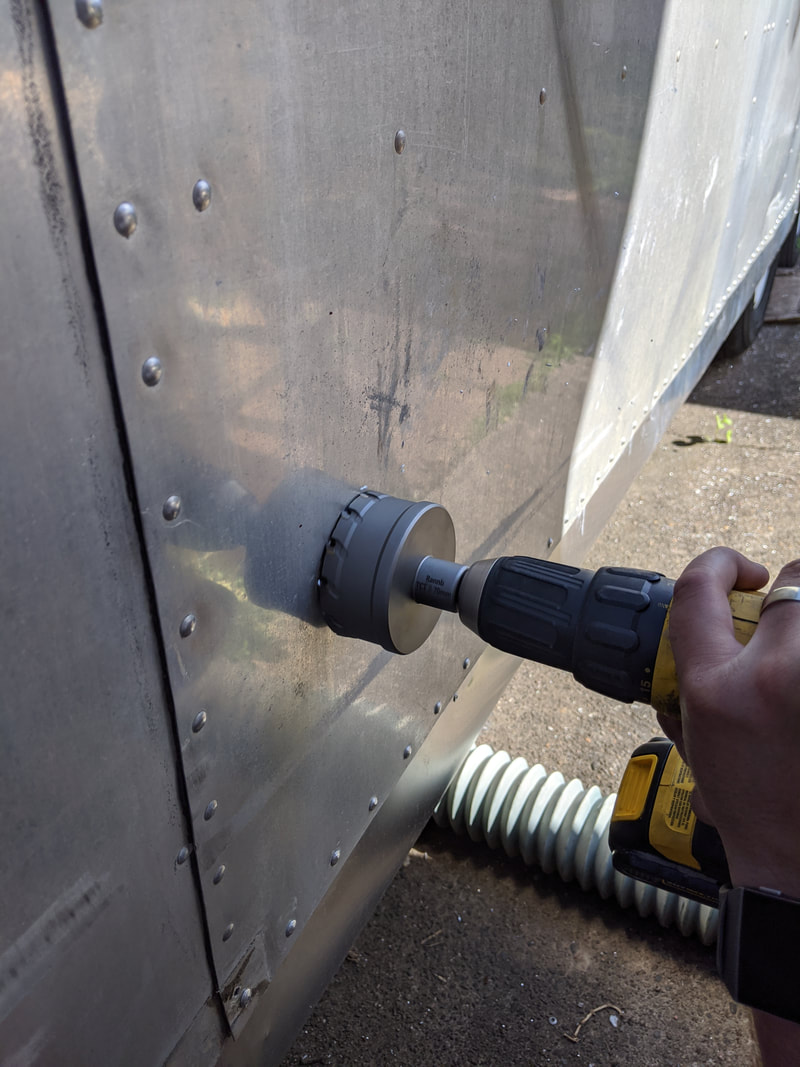
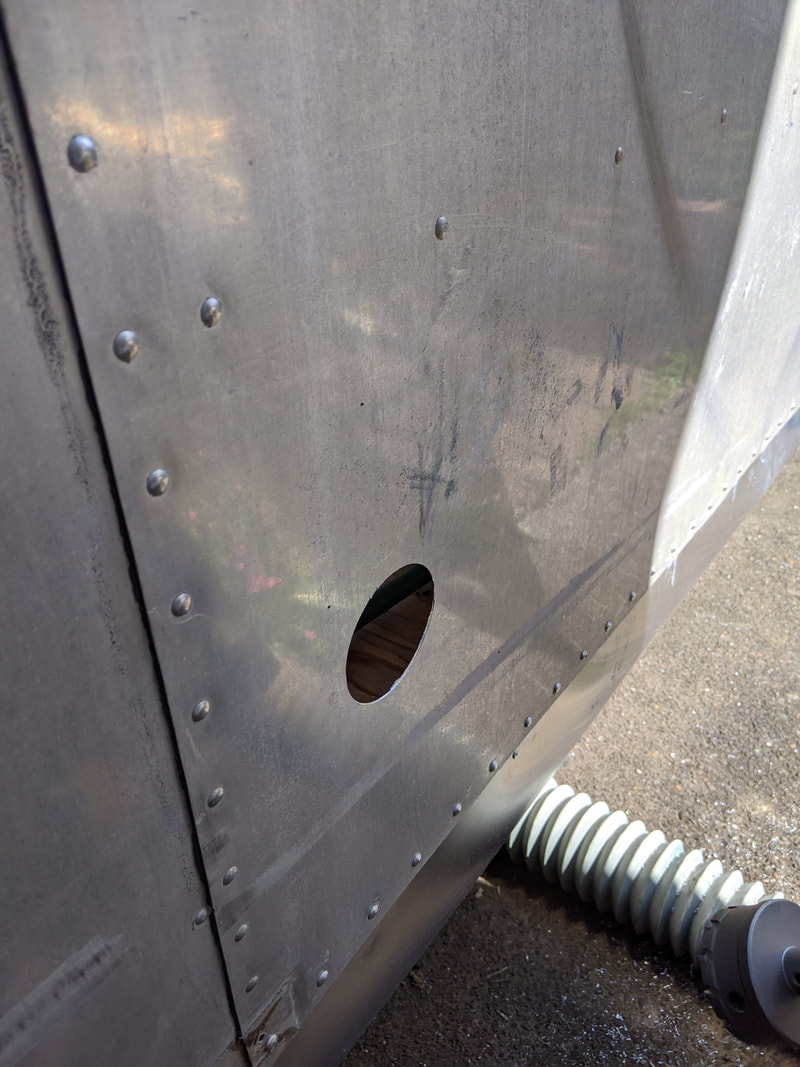
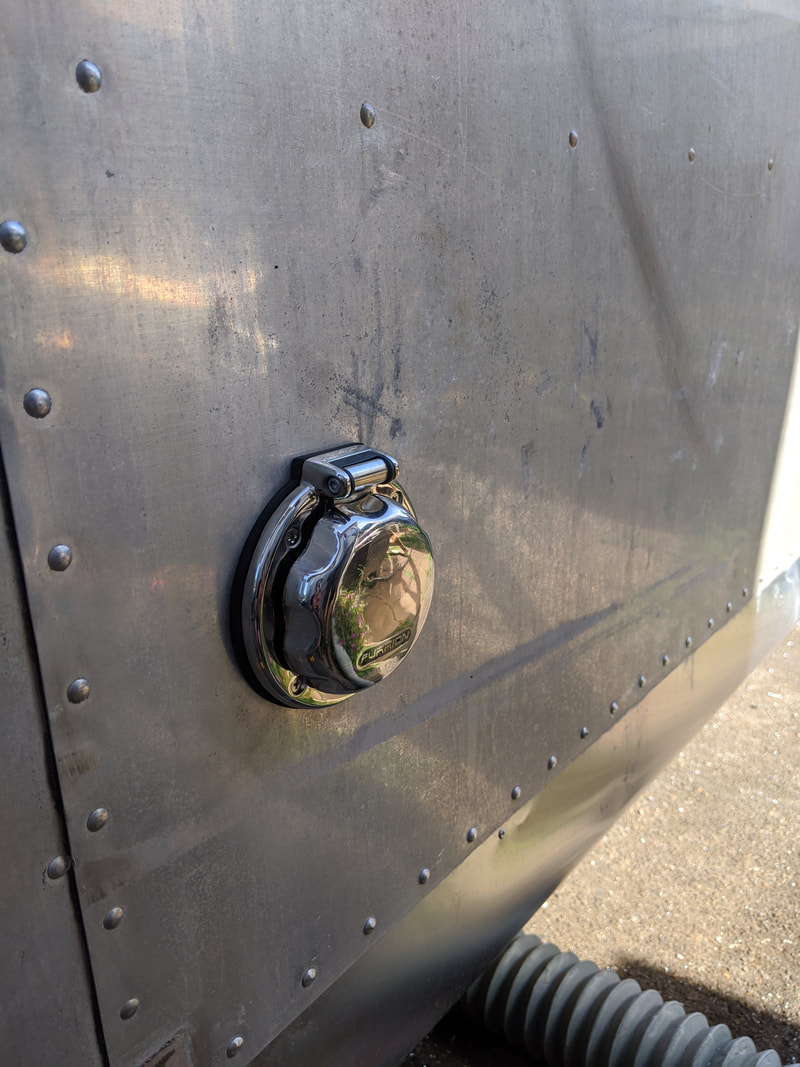
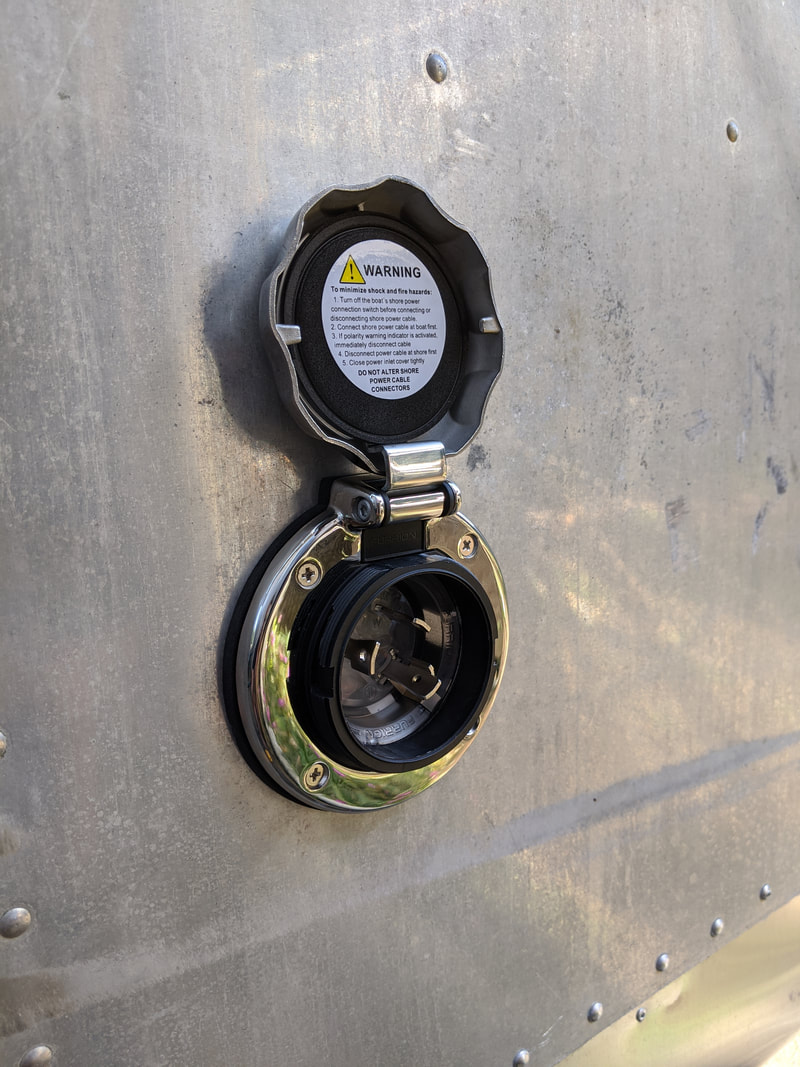
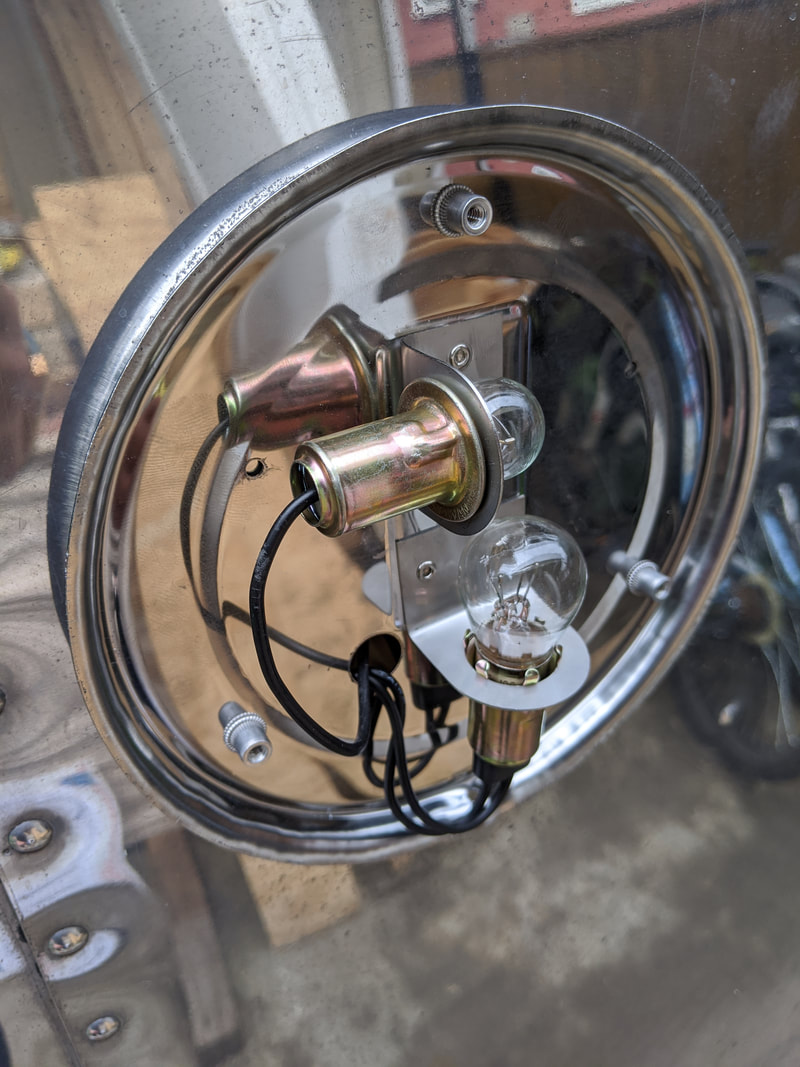
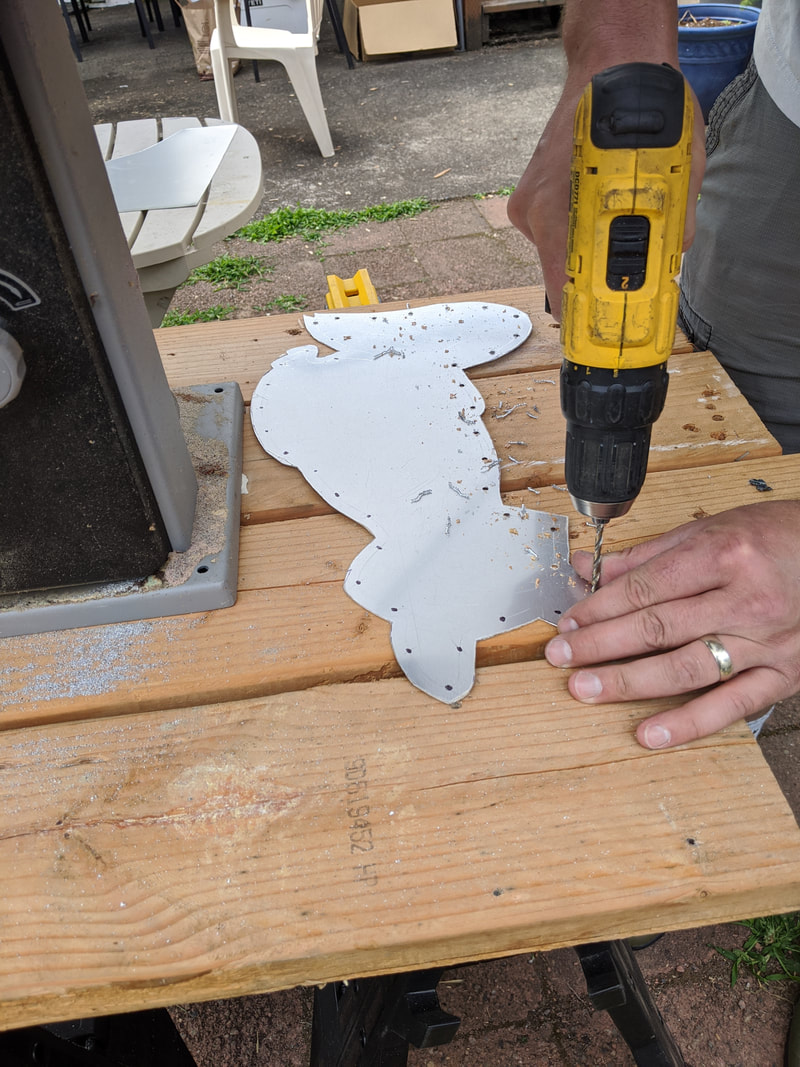
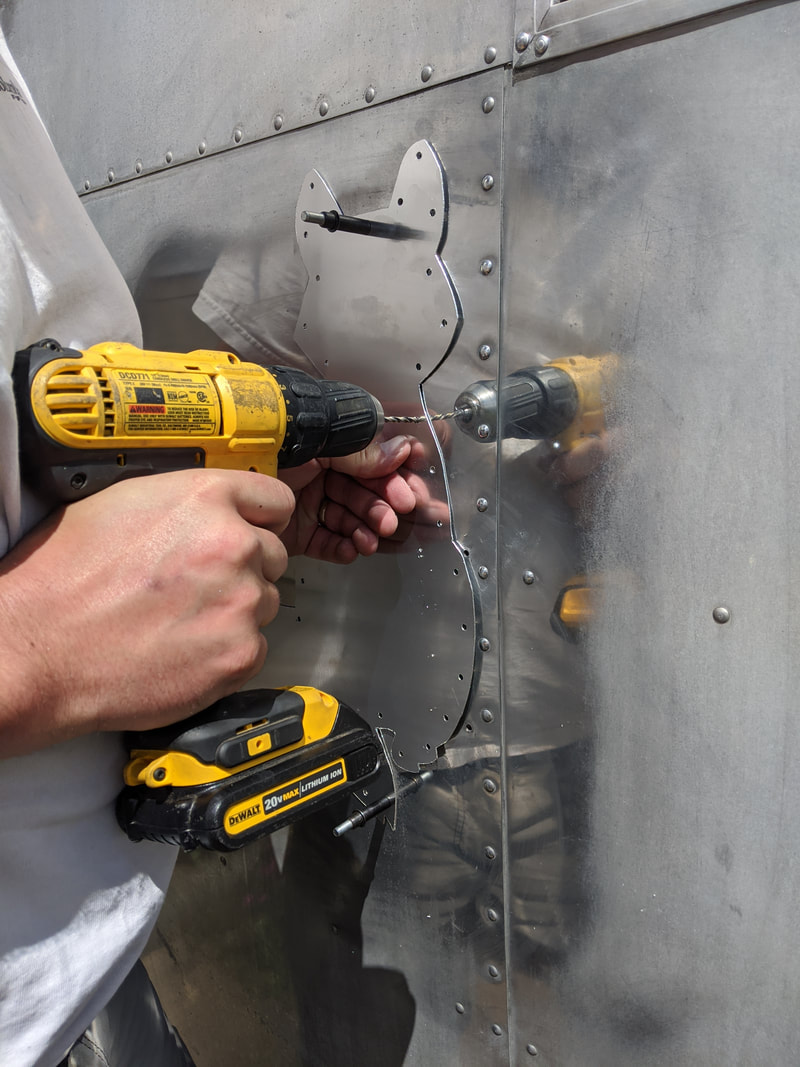
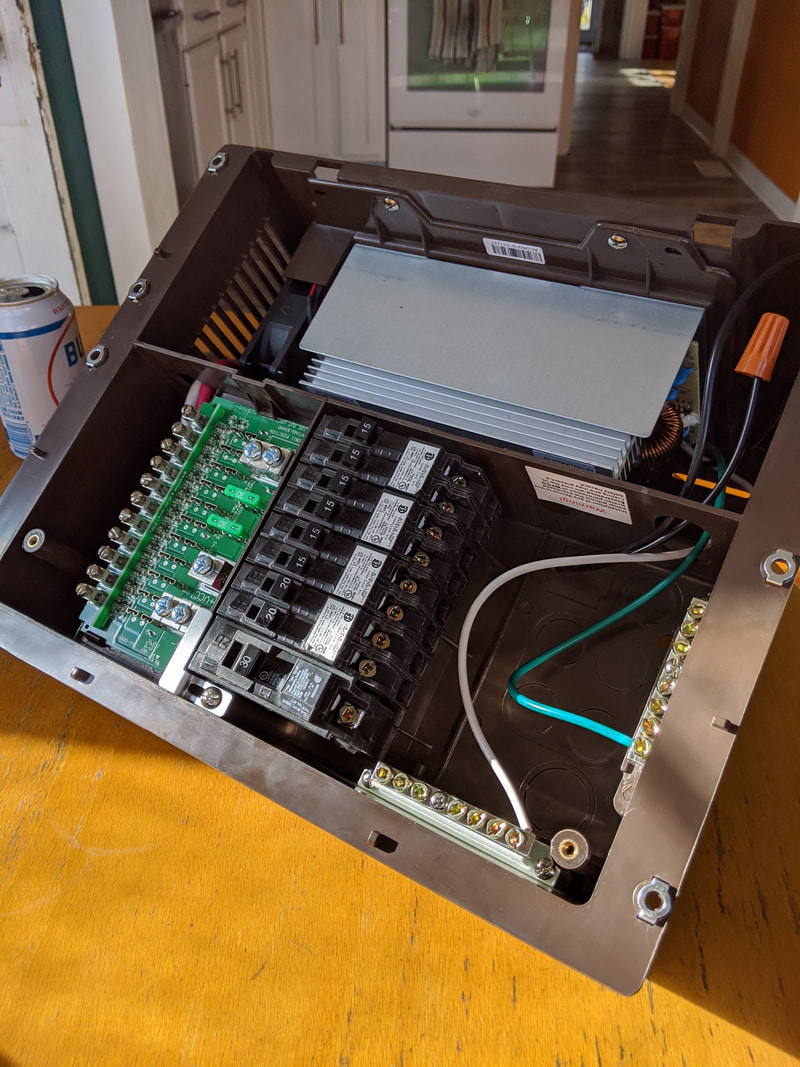
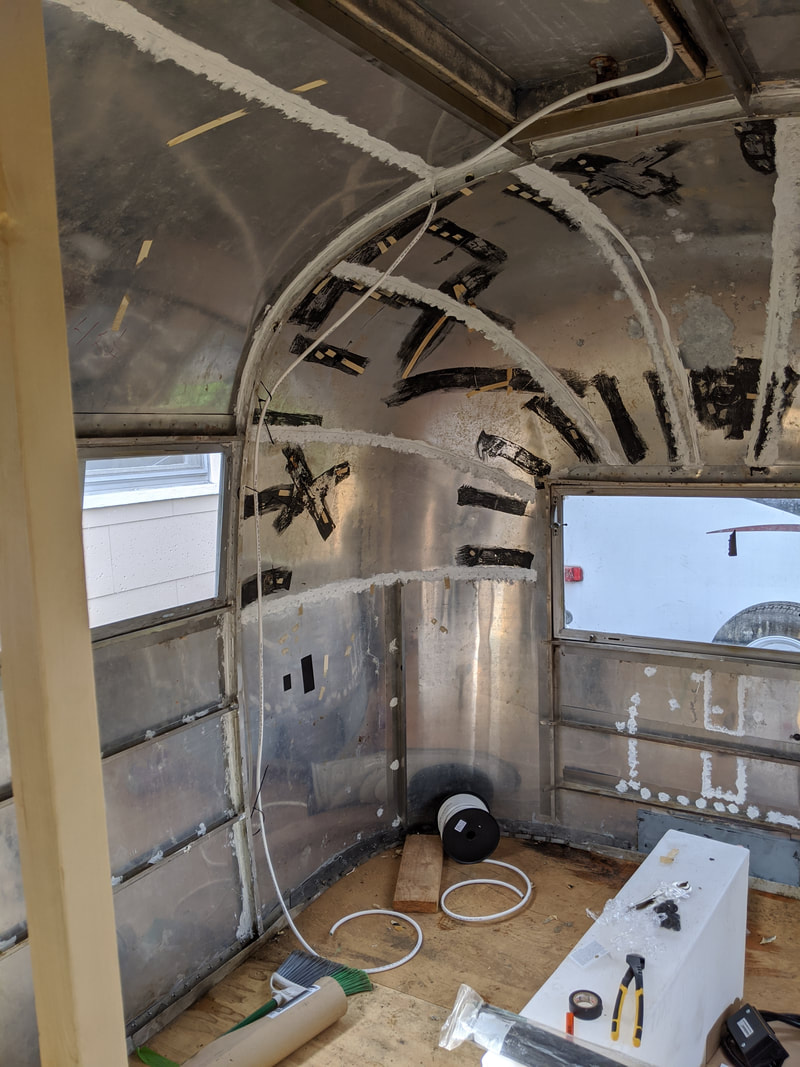
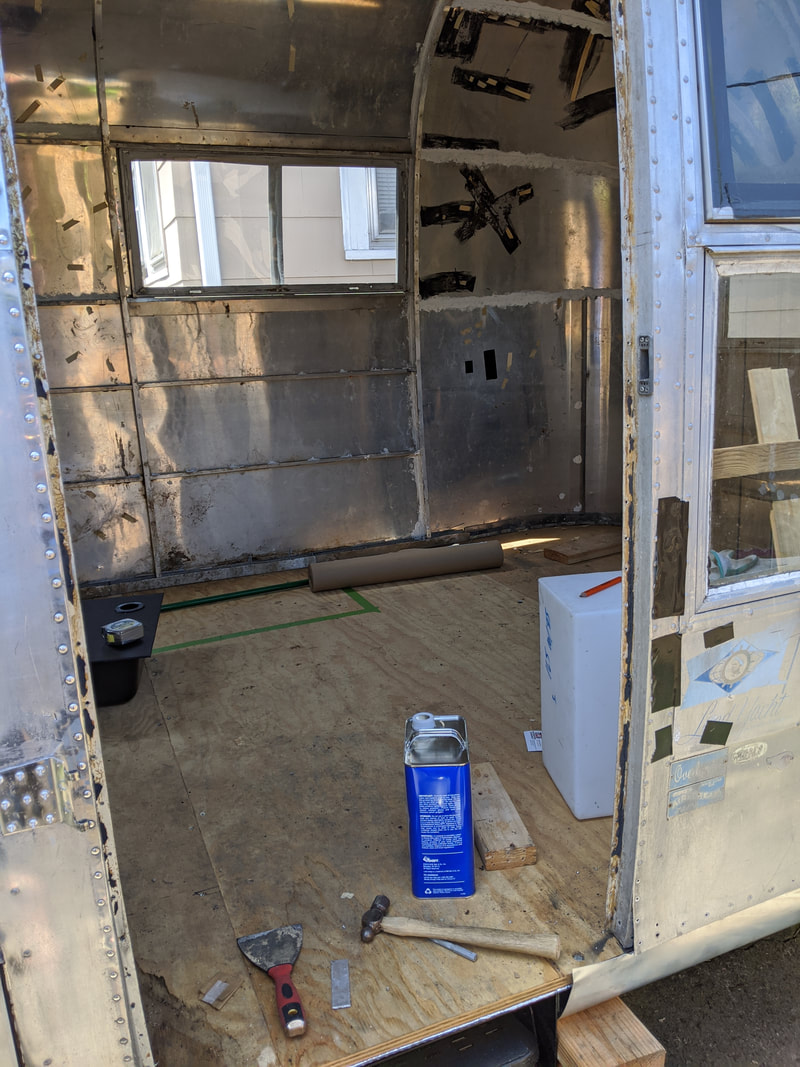
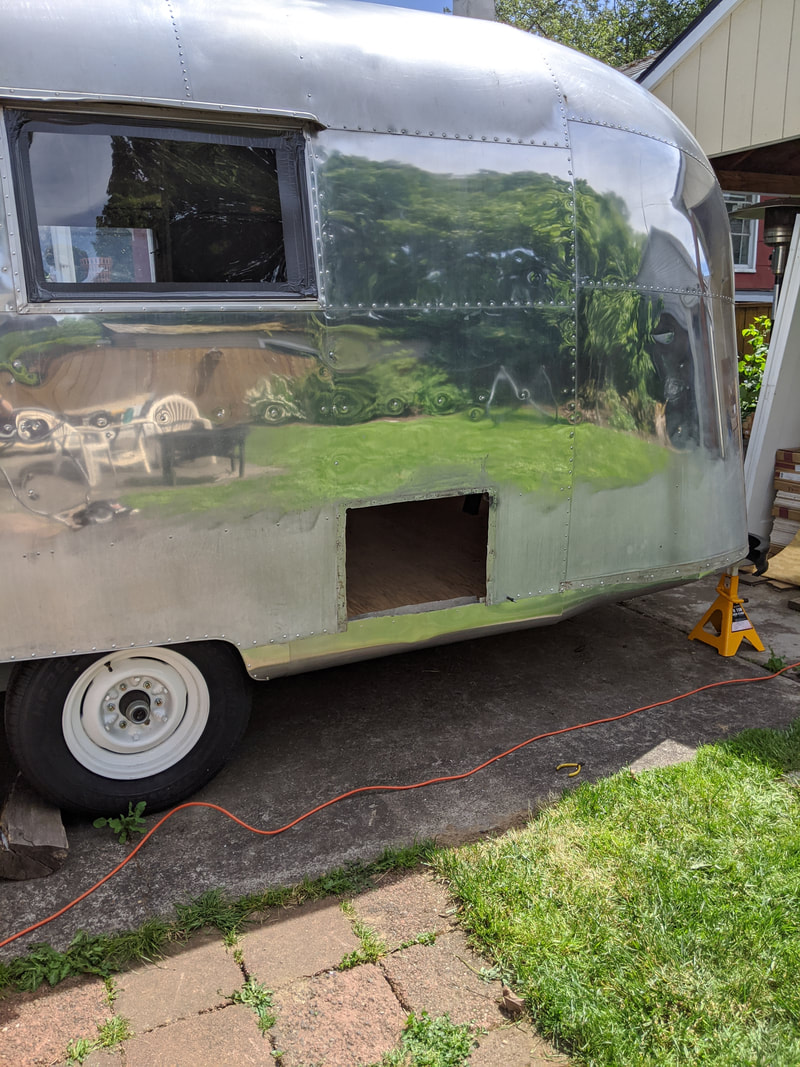
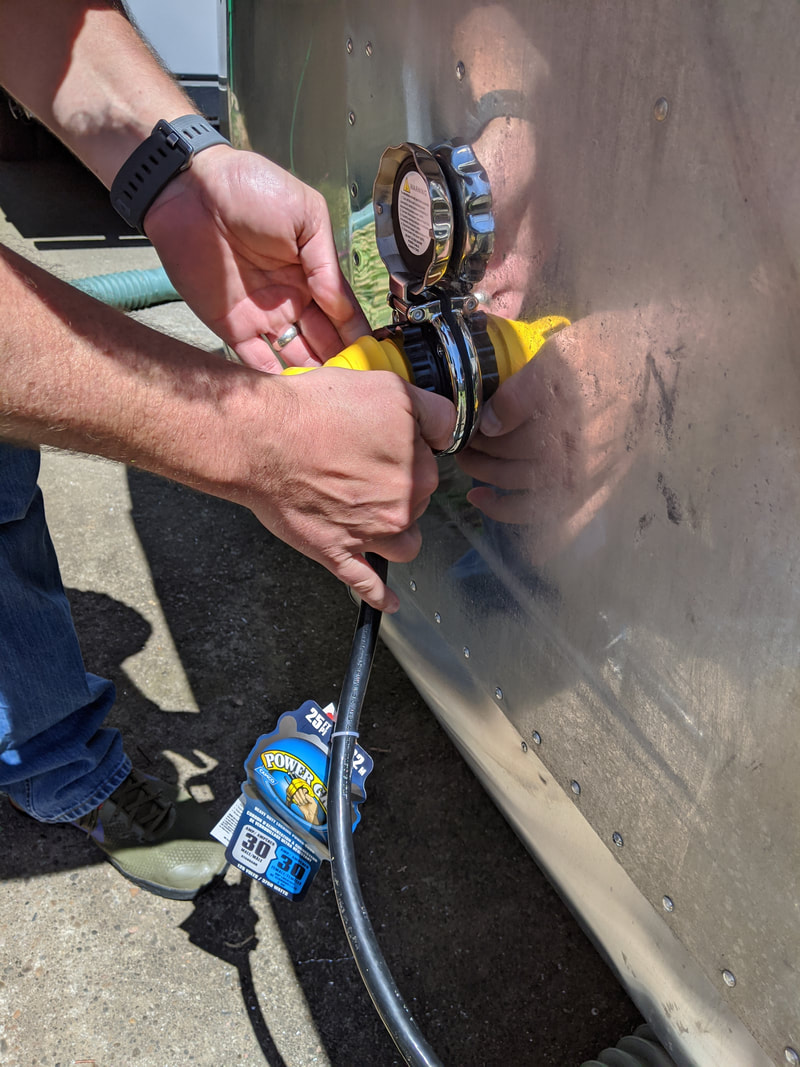
It was super hot again this weekend, so we got started super early in the morning, because even at only 70 degrees outside, Maude's interior becomes unbearable as a workspace ;) We started this week by wiring the outside plug to the fuse box (orange wire). Don't worry, these pictures are a little bit out of order: we didn't plug Maude into the electrical source until all of the wiring was done and we were ready to test the AC ;)
It was super hot again this weekend, so we got started super early in the morning, because even at only 70 degrees outside, Maude's interior becomes unbearable as a workspace ;) We started this week by wiring the outside plug to the fuse box (orange wire). Don't worry, these pictures are a little bit out of order: we didn't plug Maude into the electrical source until all of the wiring was done and we were ready to test the AC ;)
 | 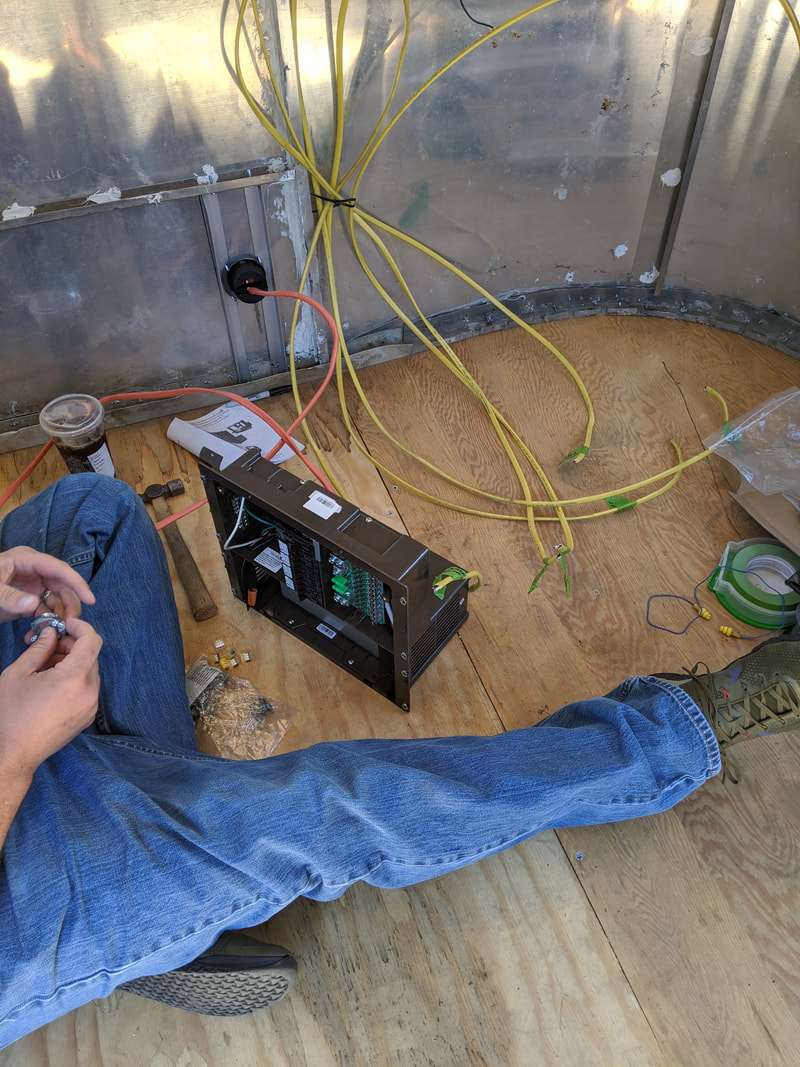 |
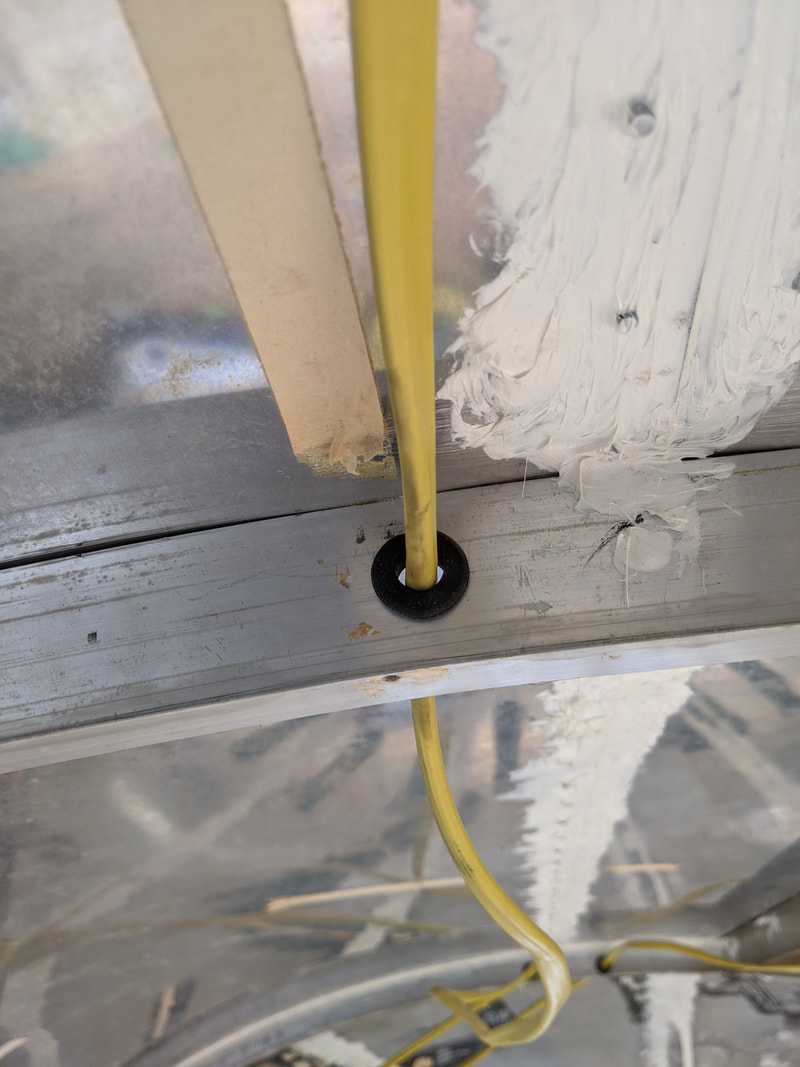
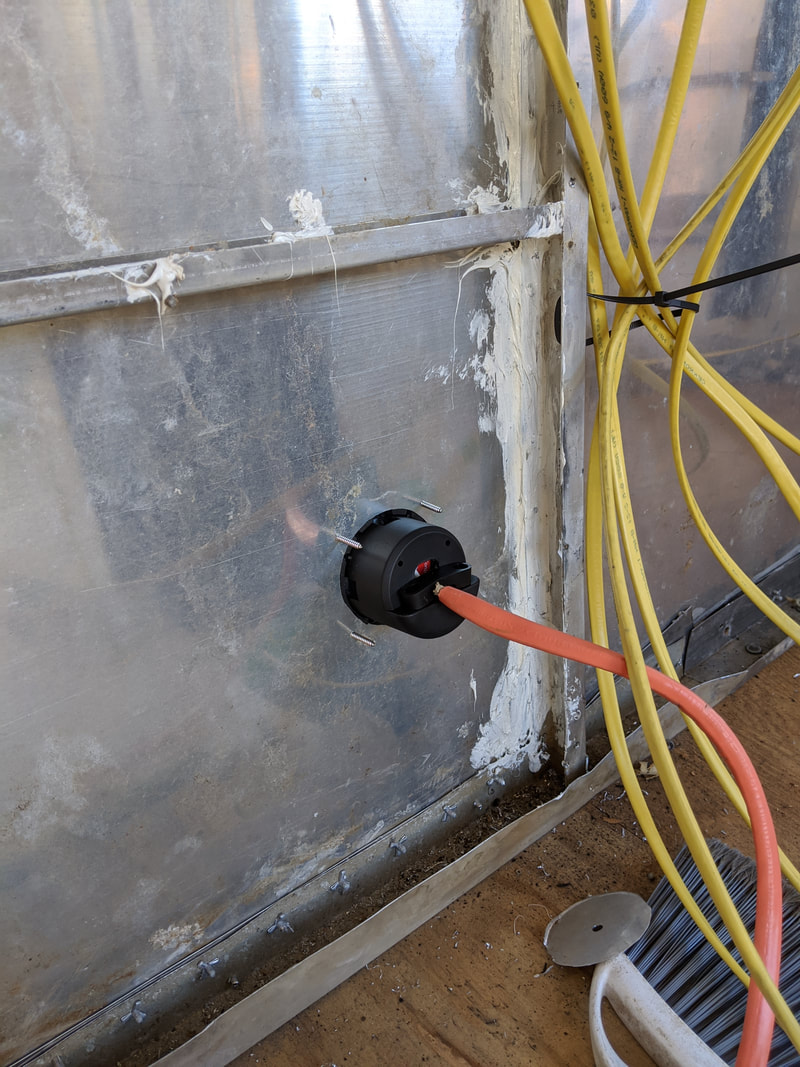
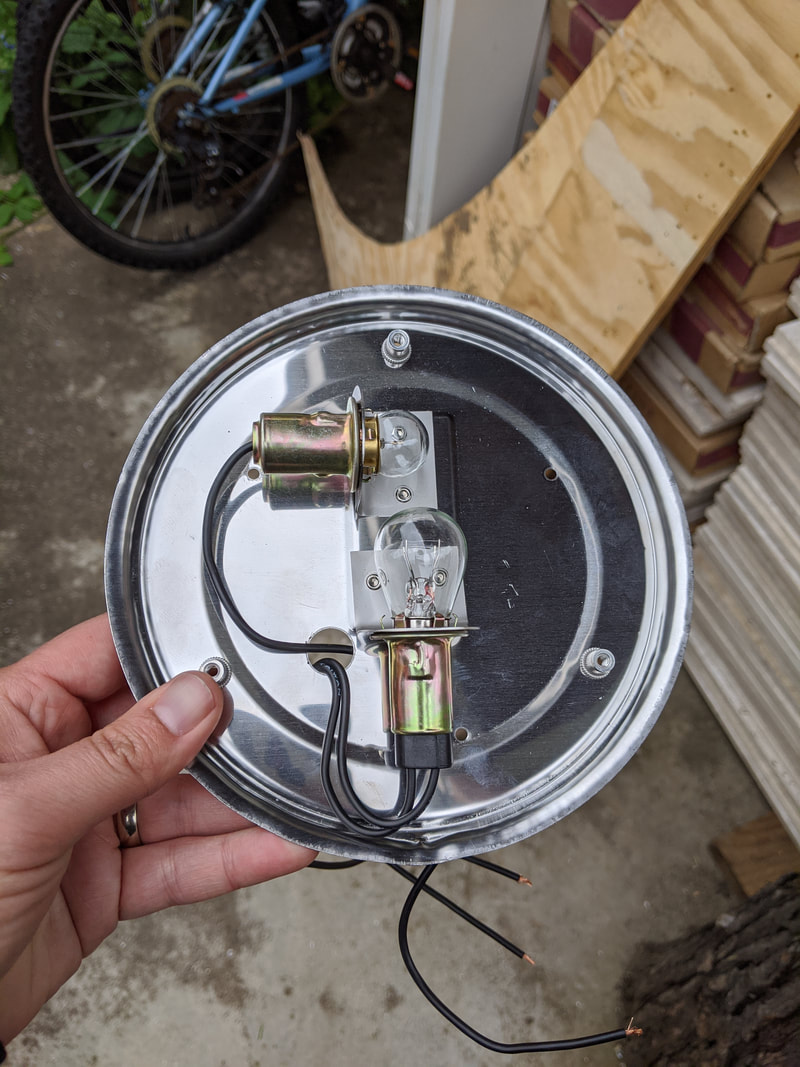
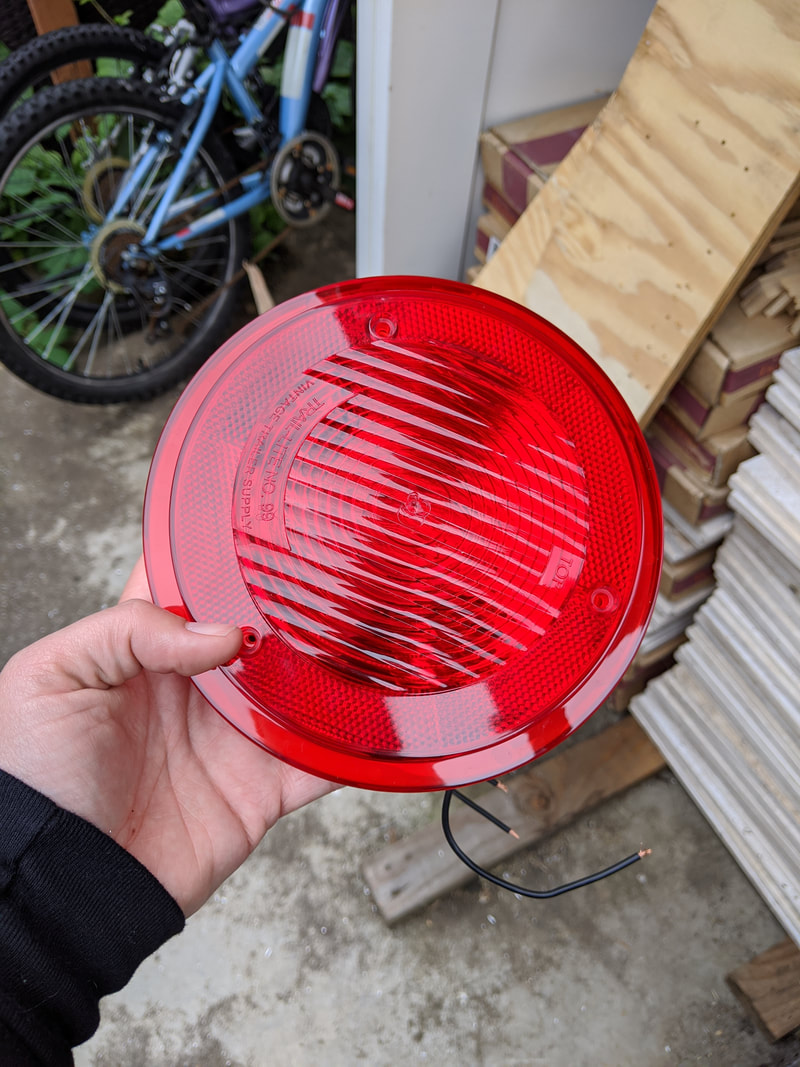
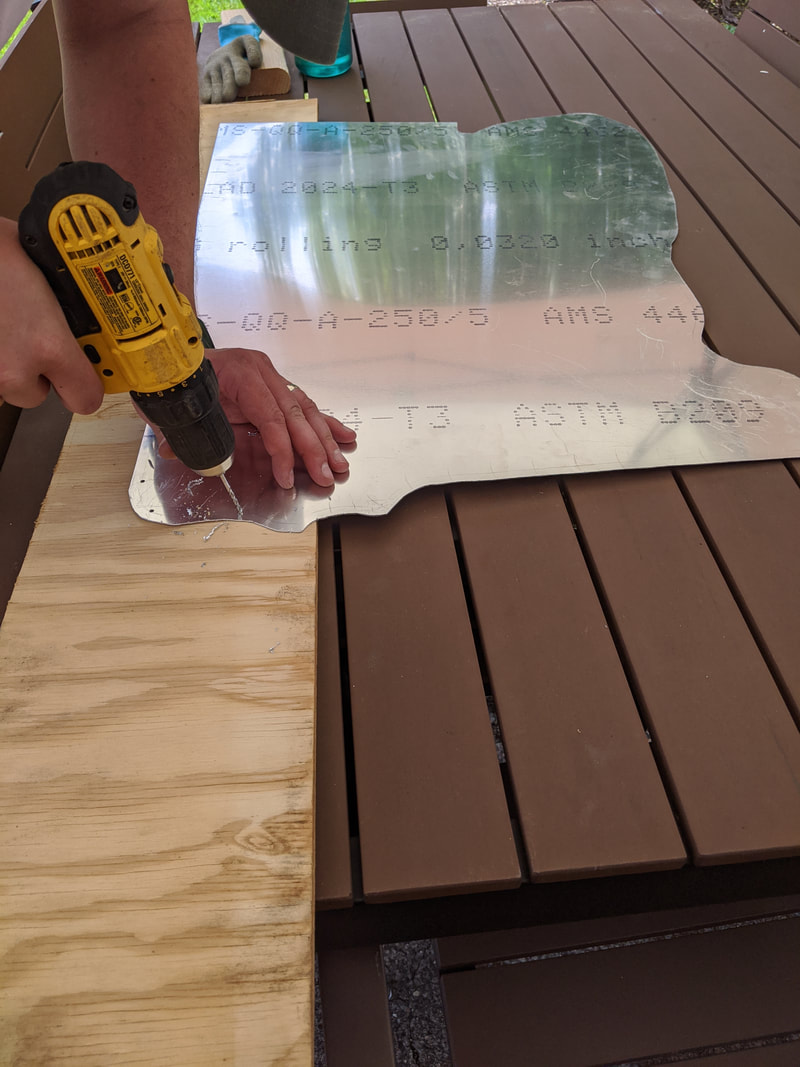
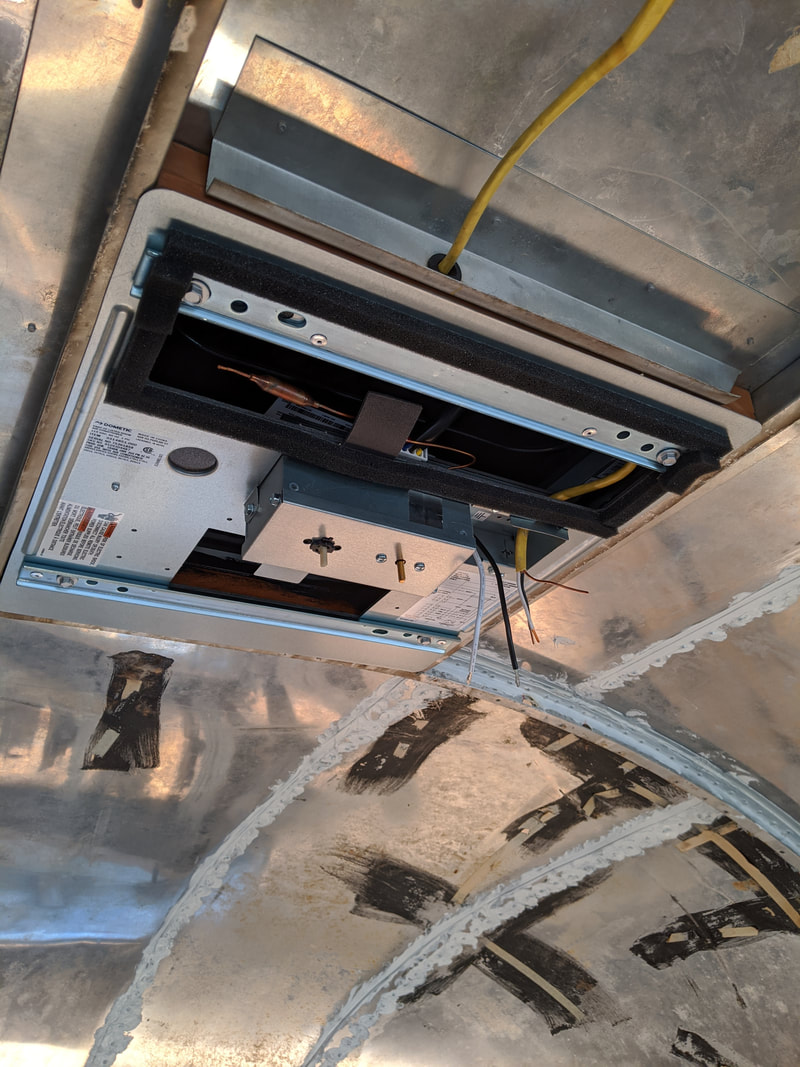
Then we connected the yellow wire to the fuse box and to the AC unit. Not shown: a heater module was also added to the AC unit, so we'll have heat as well! We tested the heat JUUUUST long enough to know that it was working, then switched it to AC ;) It was SUPER exciting to feel that cool cool air blowing on us!
 |  |
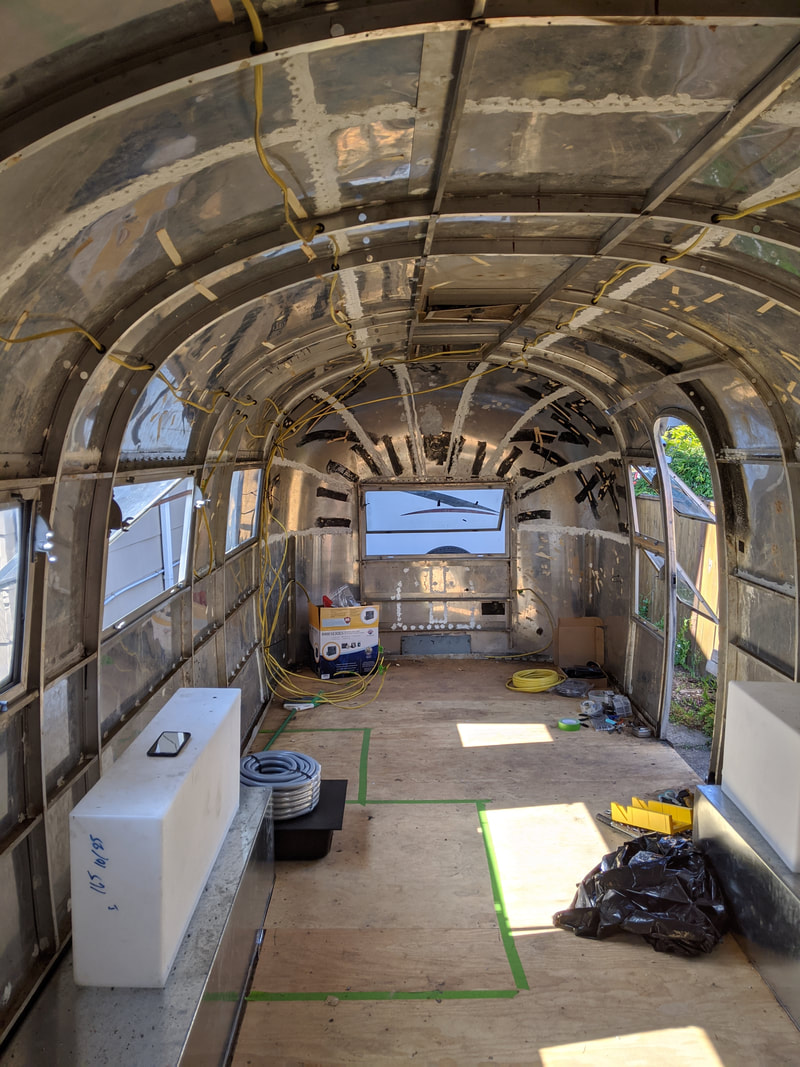
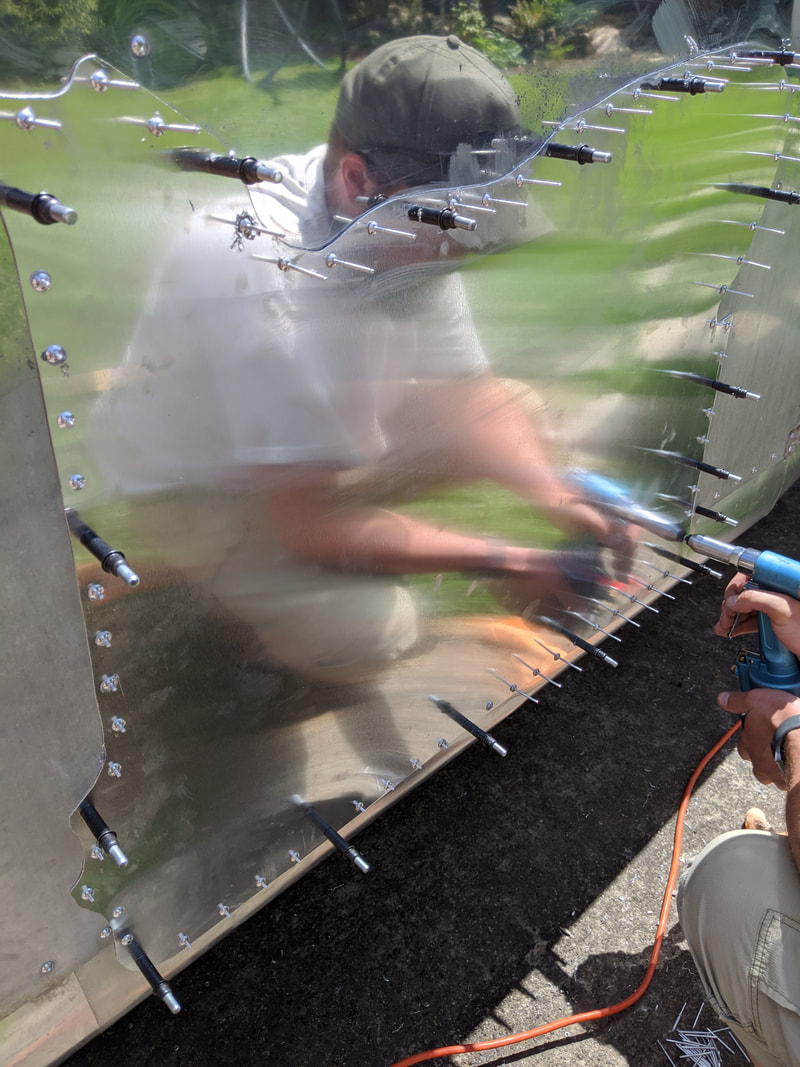
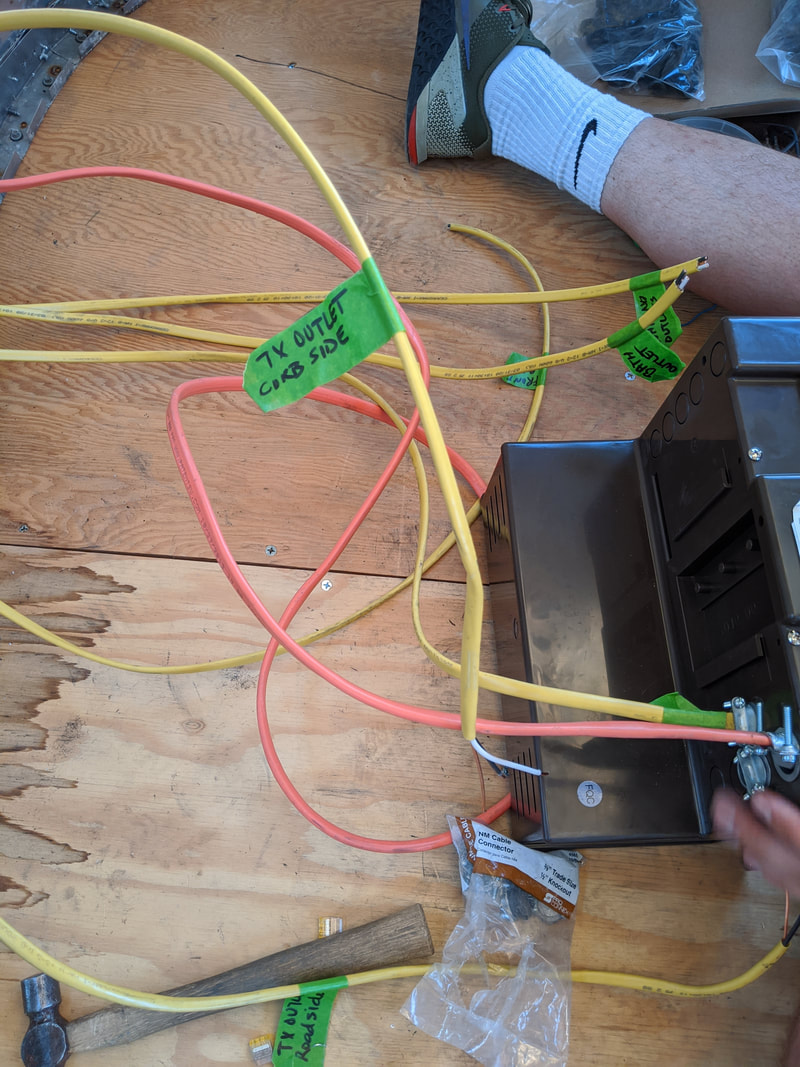
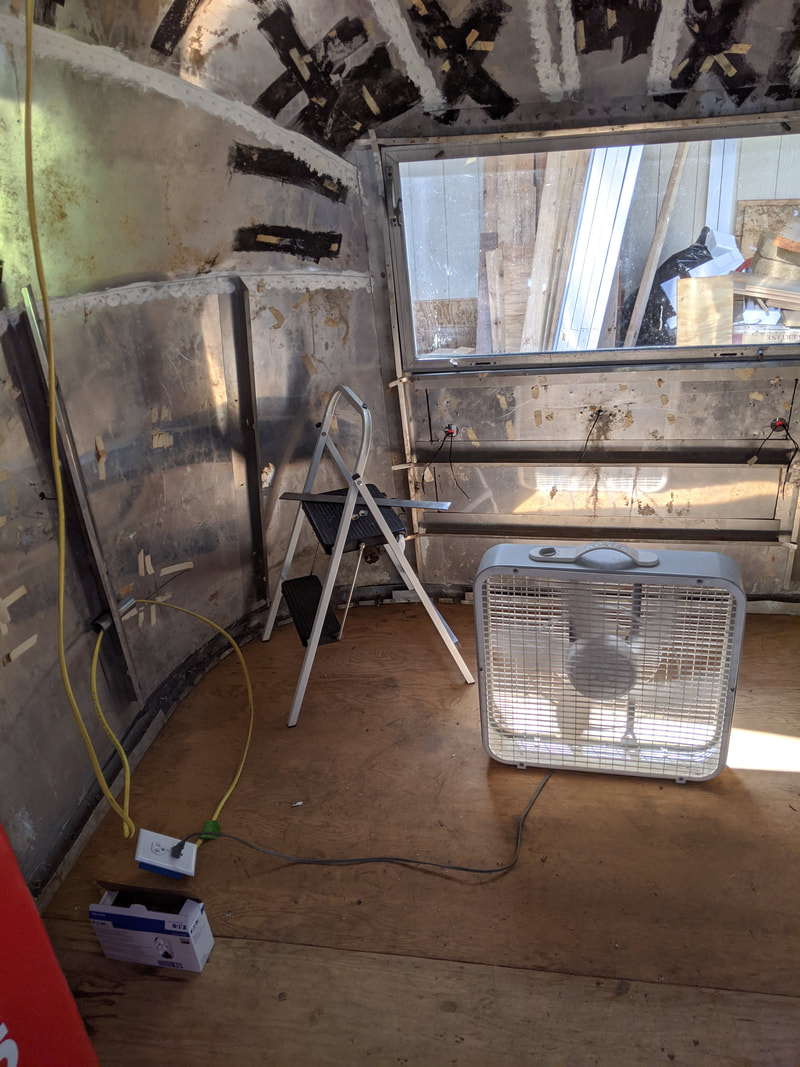
On Sunday, we decided to wire the outlets for the treatment room so we could run a fan to help circulate the cold AC air. This is the first time I've done electrical work myself! Mike wired one outlet, while I did the other - no fires or sparks, so it must be good to go ;)
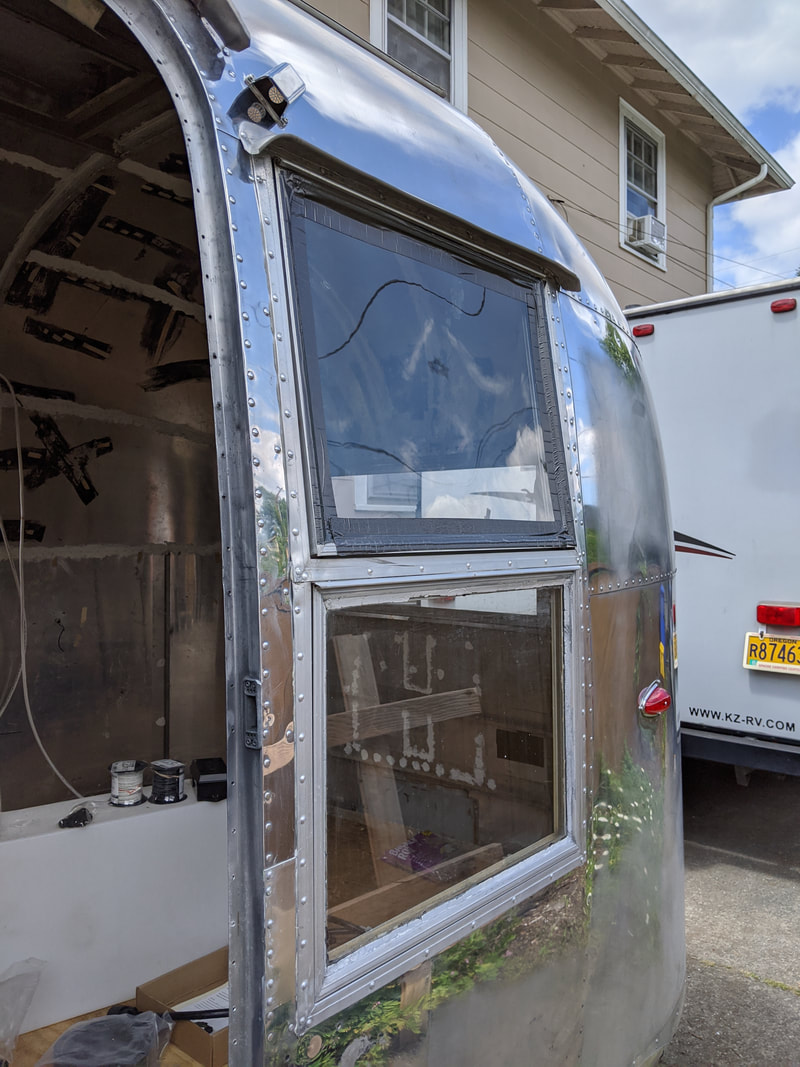
With the AC and the fan running, it got pretty comfortable in Maude's interior! Eventually, we'll be adding a second AC/heater unit and she'll be insulated, so she should be pretty cozy year-round! :)
Stay cool! (We will ;) ) <3 Becca