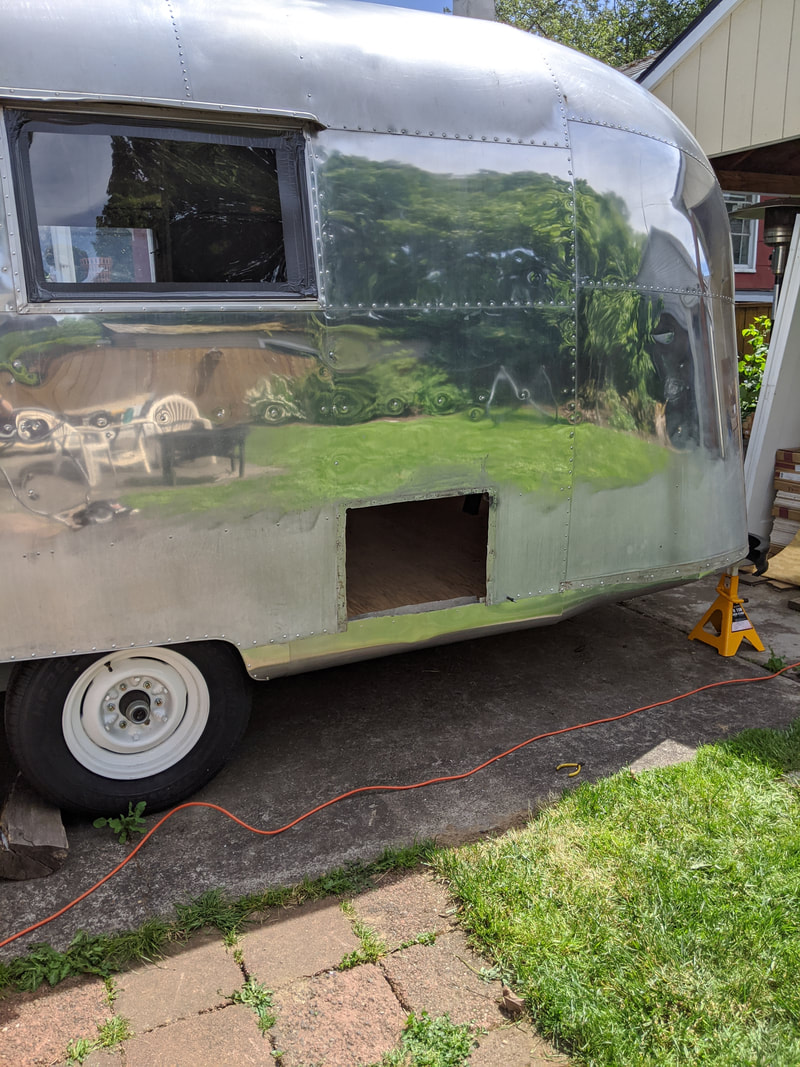
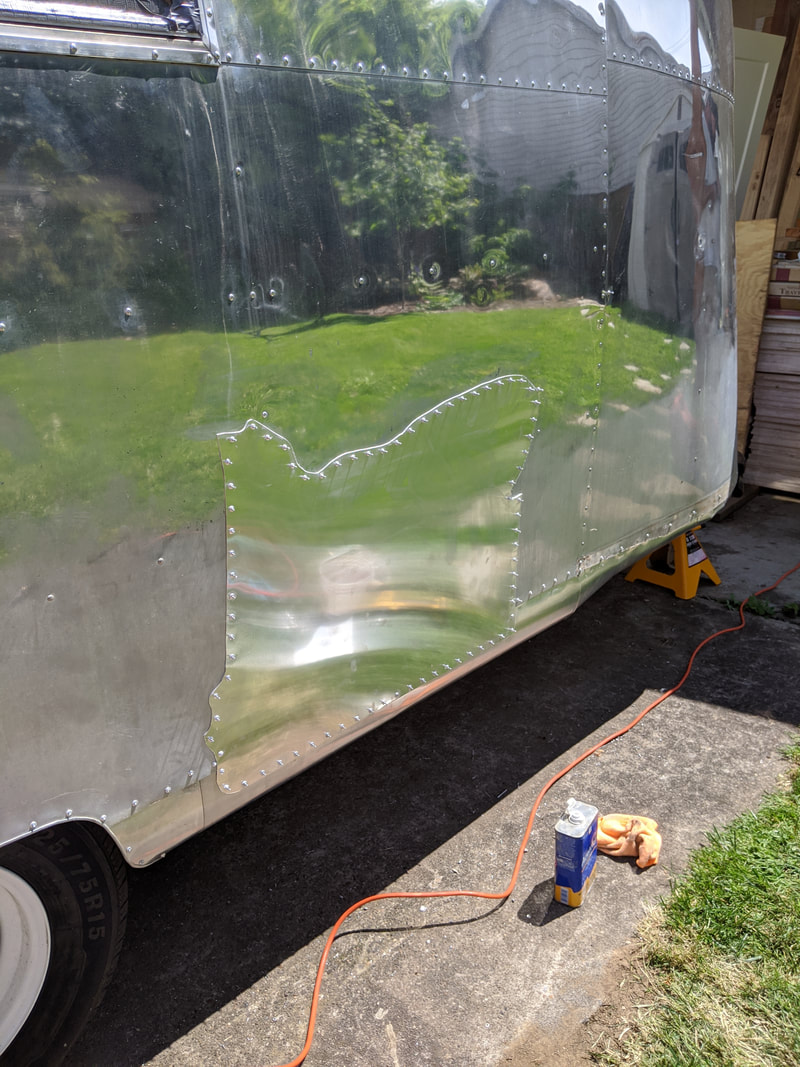
You may remember that back toward the beginning of our Maude Adventures we created a patch for this large vent hole in Maude's backside. We decided that it would be better to wait on installing it until after we had the shell lifted and placed back down. Well, here we are!
Here's the hole we covered up. It's where the old water heater vent was. We're moving the location, so this hole has to go!
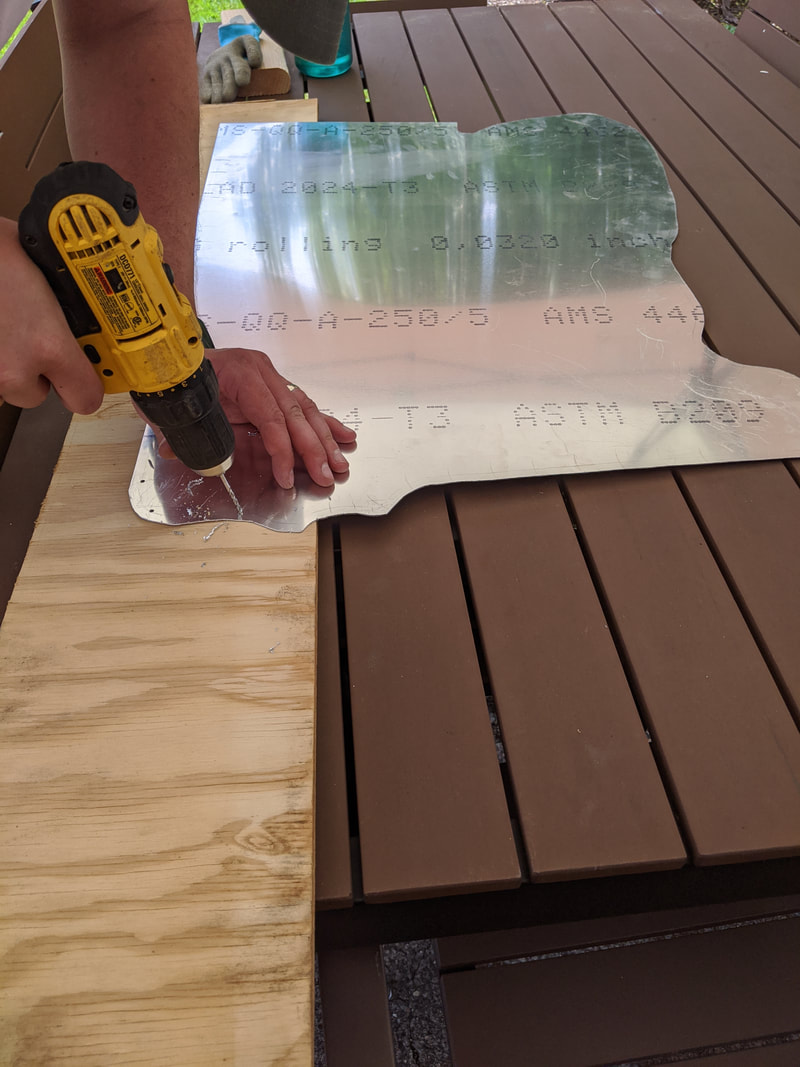
First, we drilled holes in the Oregon-shaped patch we made. These holes are what we riveted through to attach the patch to the trailer!
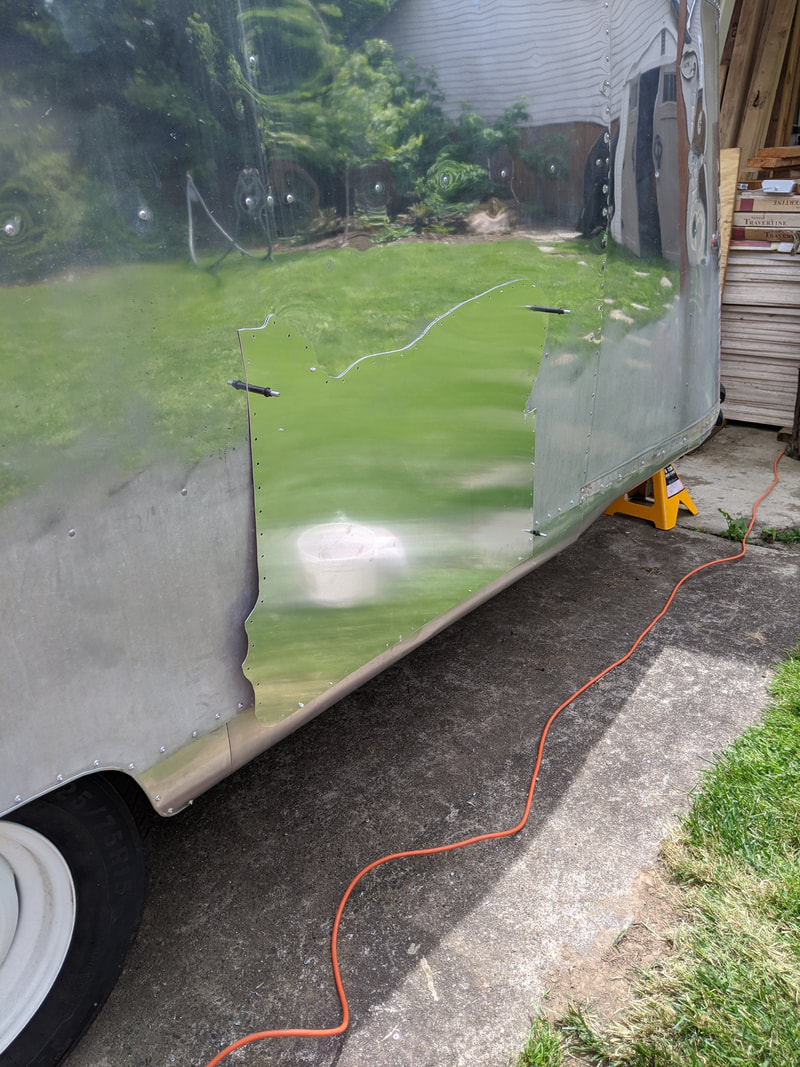
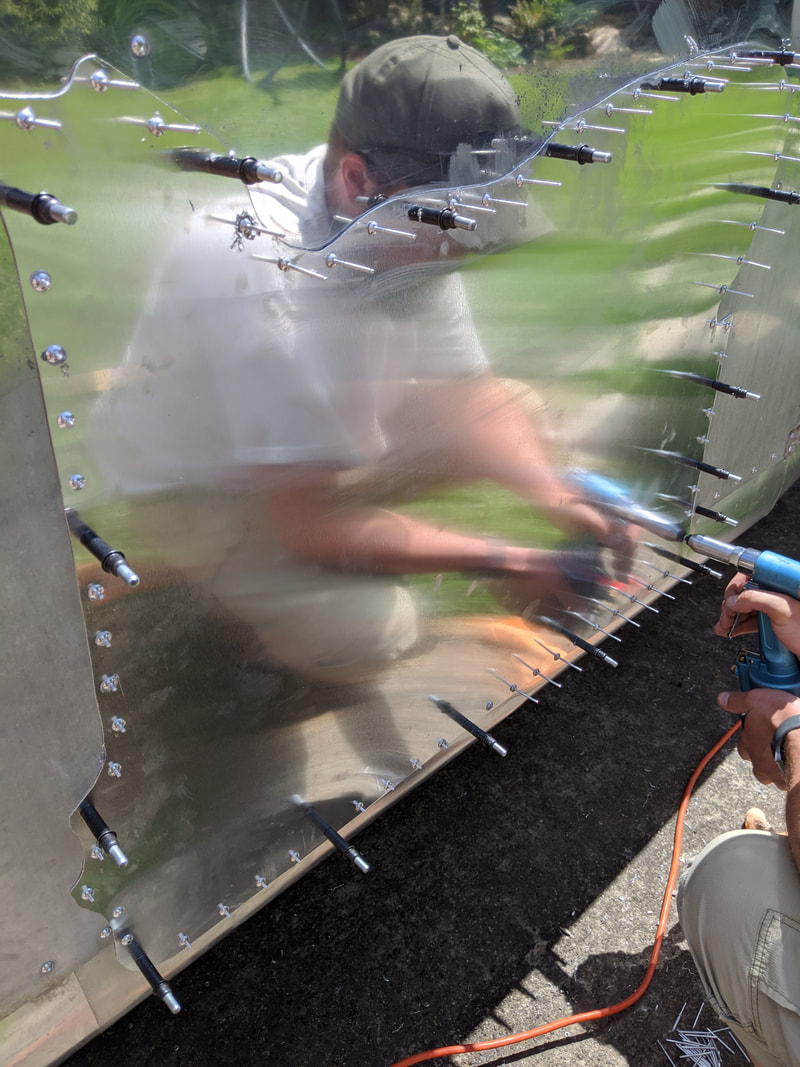
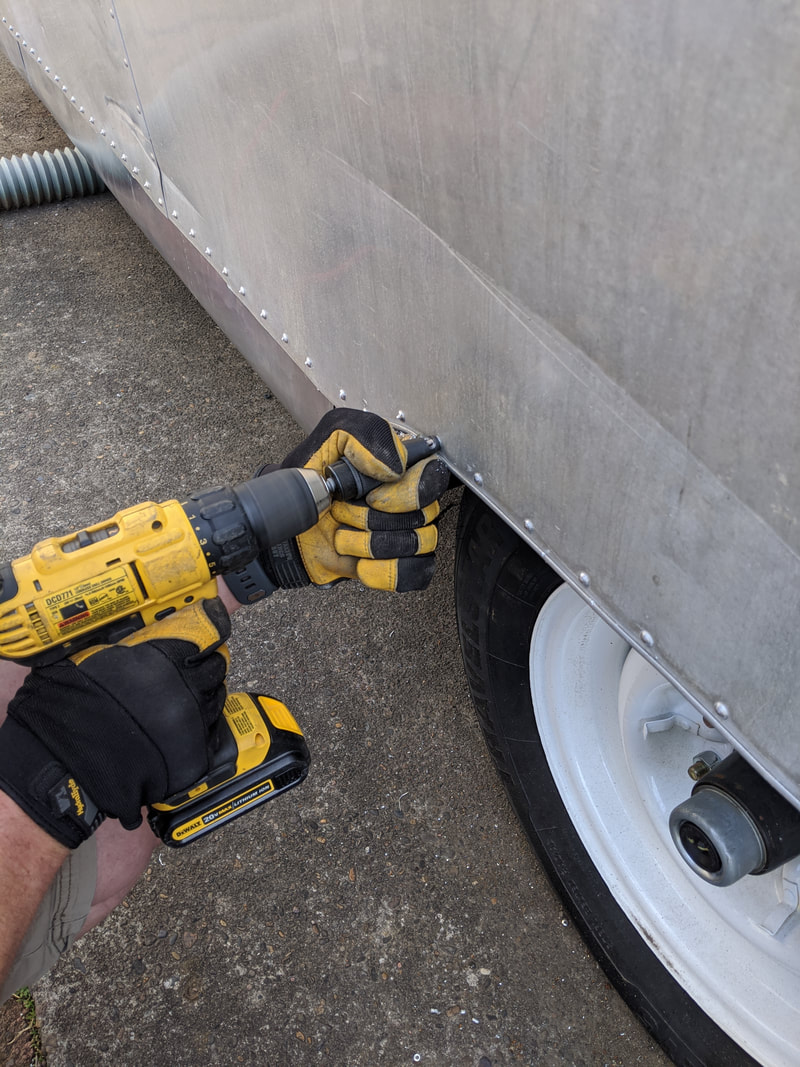
We caulked the heck out of the backside of the patch to ensure that it will be nice and waterproof. Those little black "sticks" coming out of the side are called "Clecos." Once we've drilled holes in the shell and through the patch we can hold it all together using the Clecos. You use a special tool to insert the Cleco through all of the layers, then when you let it go, it springs shut and holds it all nice and tight!
Here, you can see the progression, we spaced out the Clecos to hold the patch, then we placed rivets with a bit of caulking to seal the holes. Then we went around and installed the rivets! Then we removed the Clecos and placed rivets in their locations :)
And here's Maude's patch fully installed! It looks to awesome, you guys! We've been calling it her "tramp stamp" because of the location ;)
We also went around and shaved off all of the Olympic rivet heads so they look all nice and smooth and like the original rivets! Poor Maude is no longer our battle trailer!
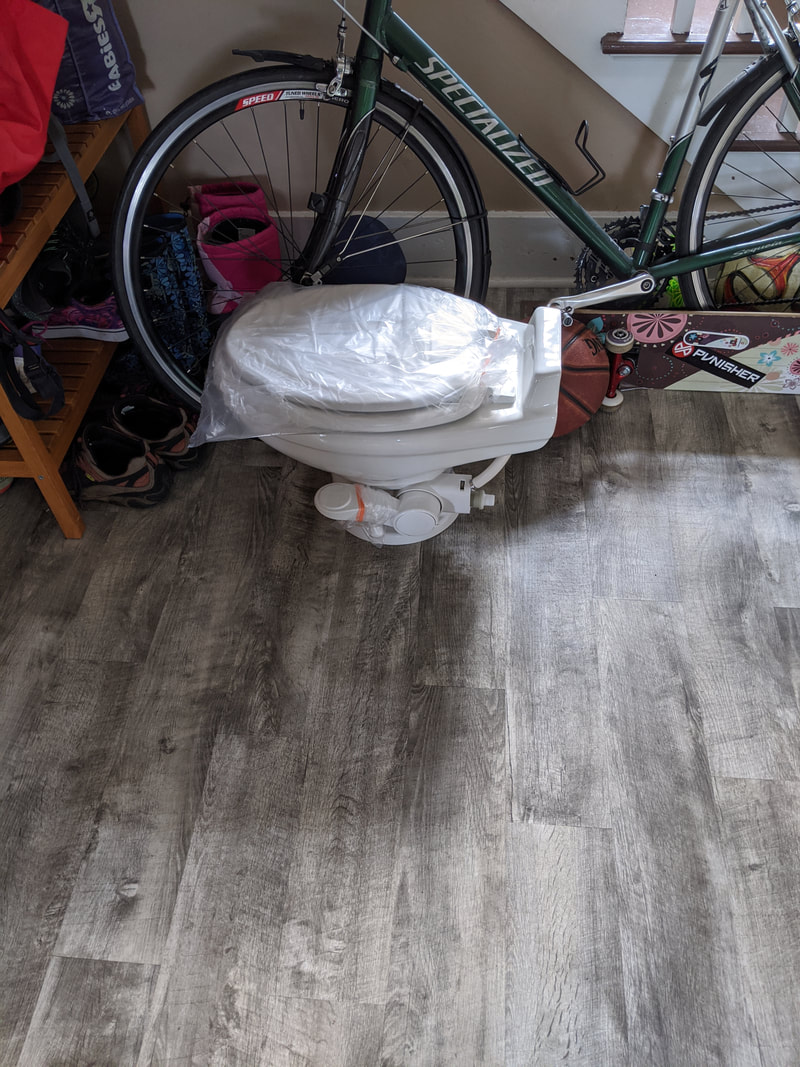
Lastly, we've been on a bit of a shopping spree! Above is the new toilet for Maude's bathroom! While still an RV toilet, it looks and feels more like a home toilet! Only the best for my patients! ;) Not shown, most of the electrical work, sinks, faucets, cooktop, fridge, light fixtures and more!
It's been super exciting thinking about the specifics of Maude's interior!
Until next time, <3 Becca
It's been super exciting thinking about the specifics of Maude's interior!
Until next time, <3 Becca
