Until next time! <3 Becca
So last update was... depressing ;) But I've hit the bottom of that dip in the roller coaster that is working on Maude, and I'm back to being stubborn and we're forging ahead! 
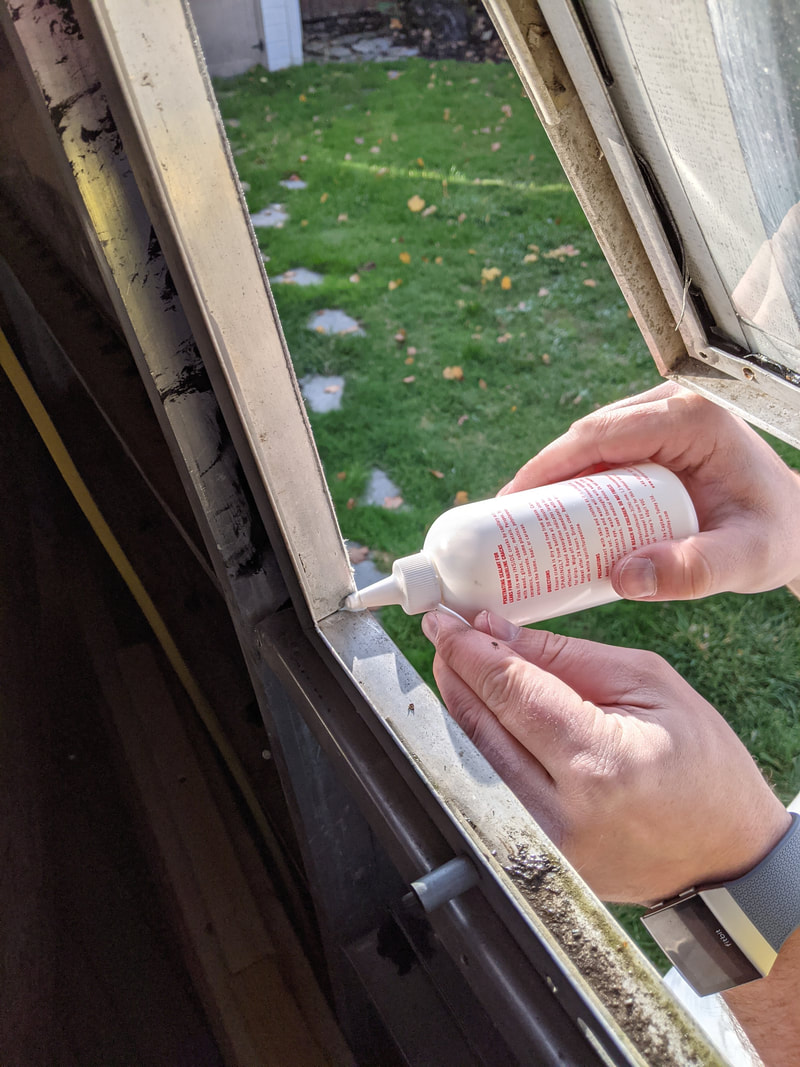
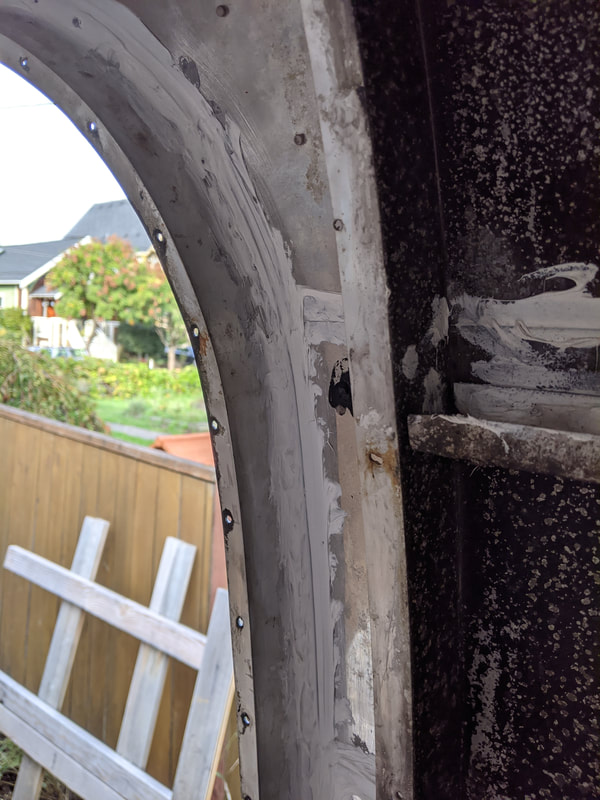
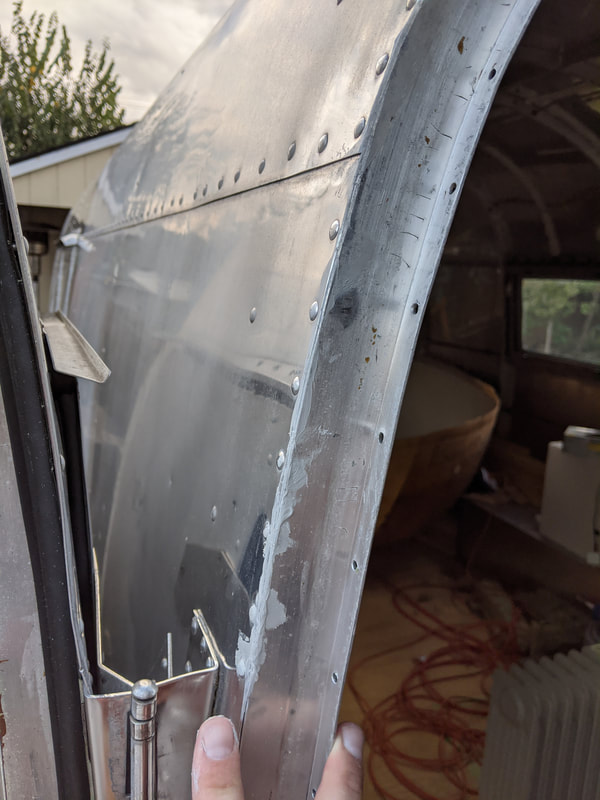
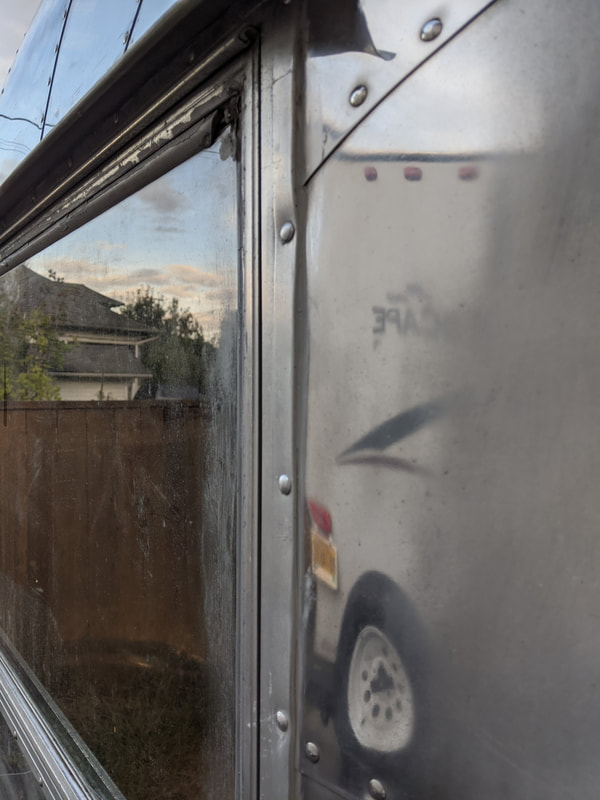
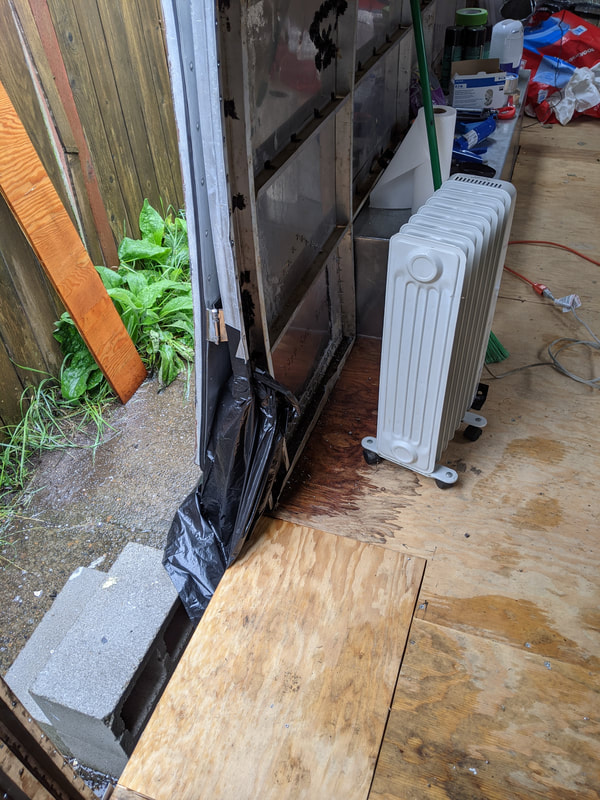
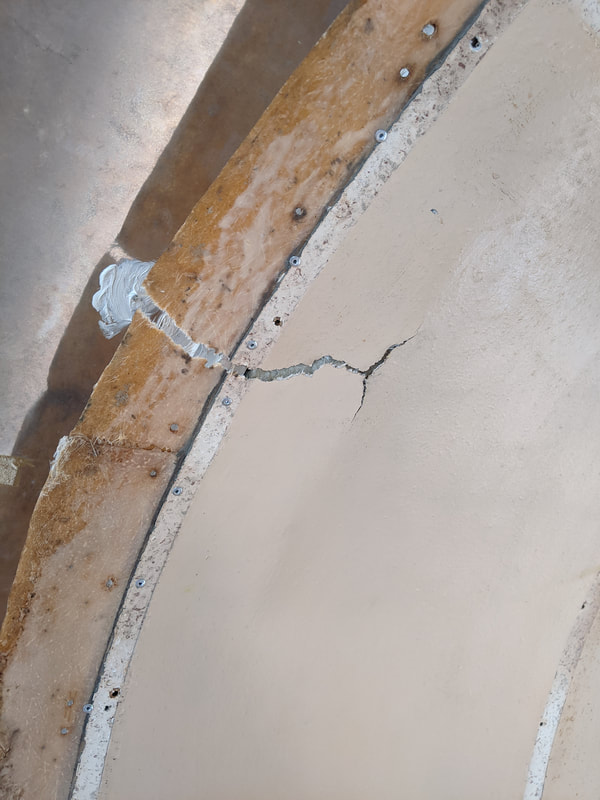
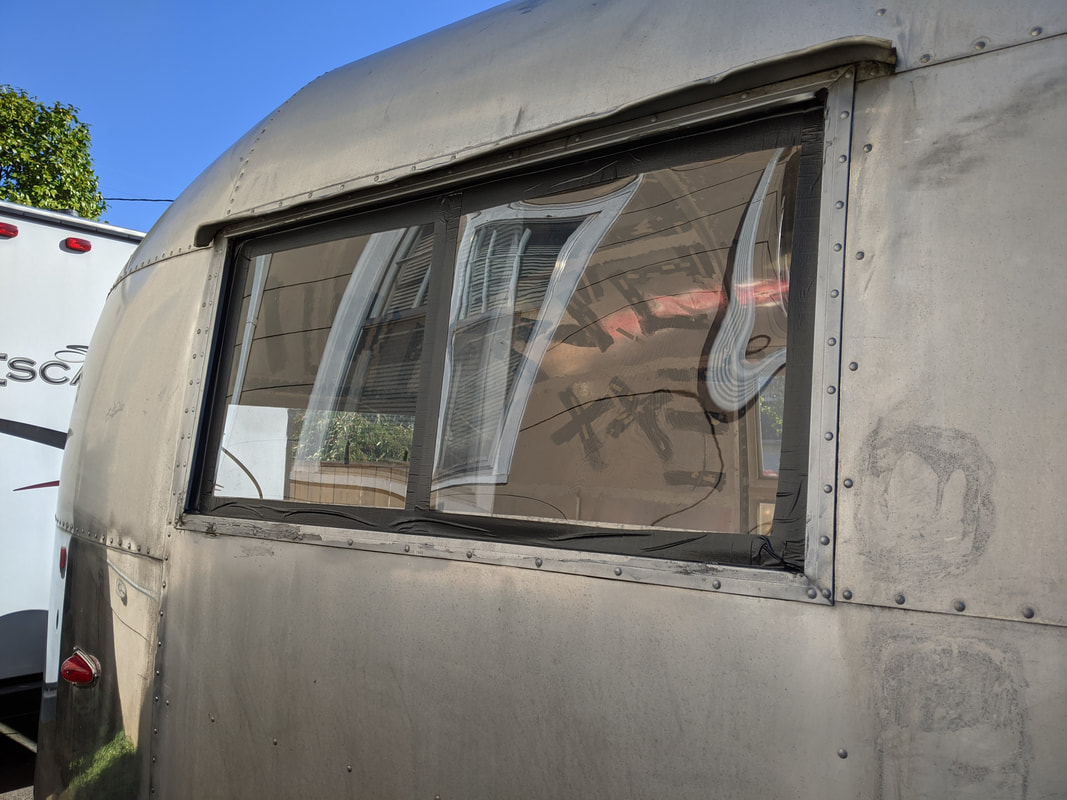
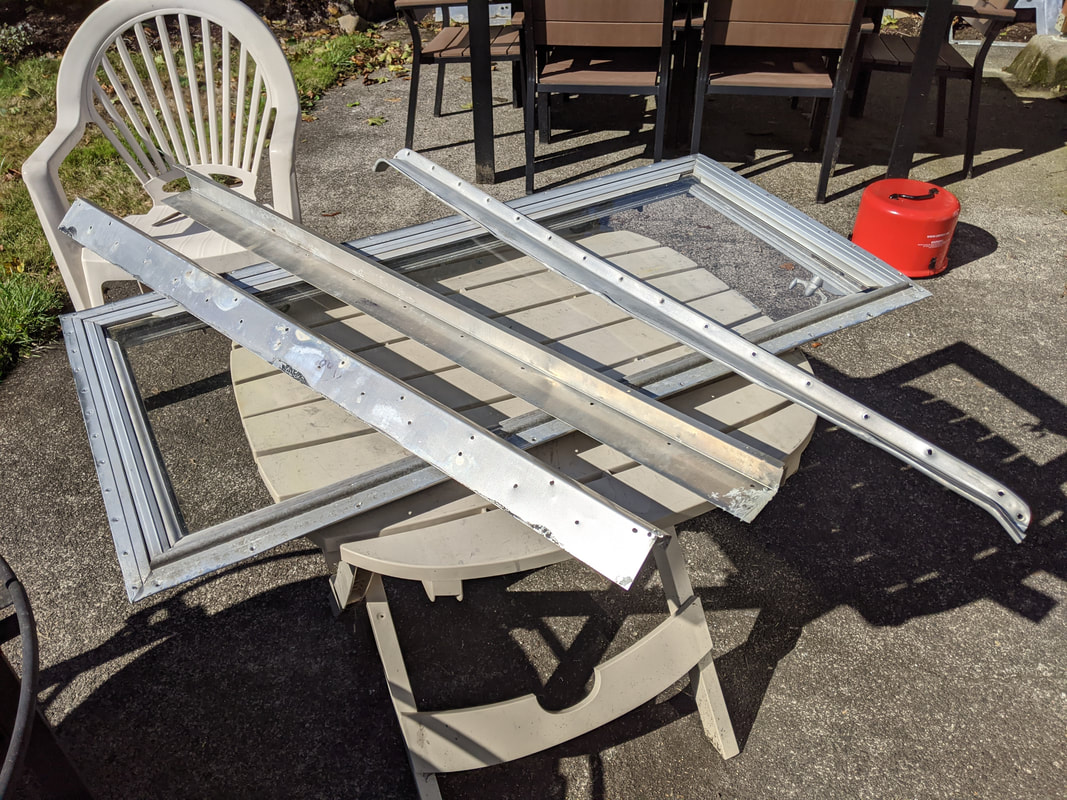
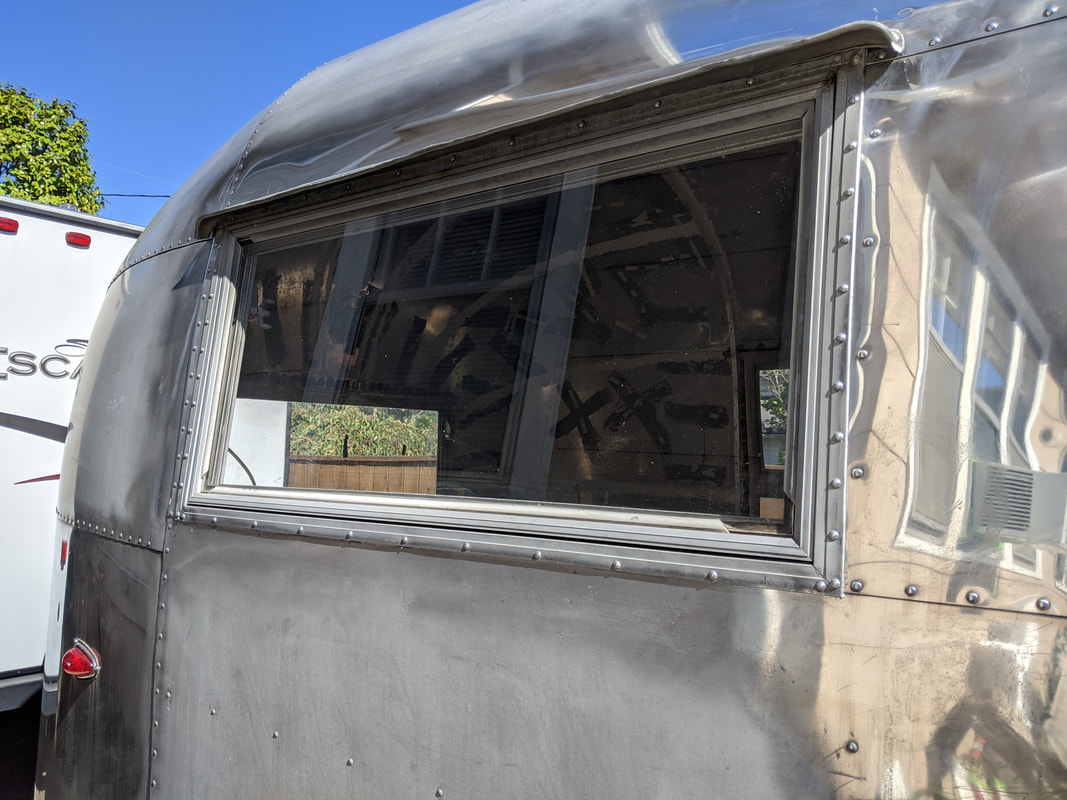
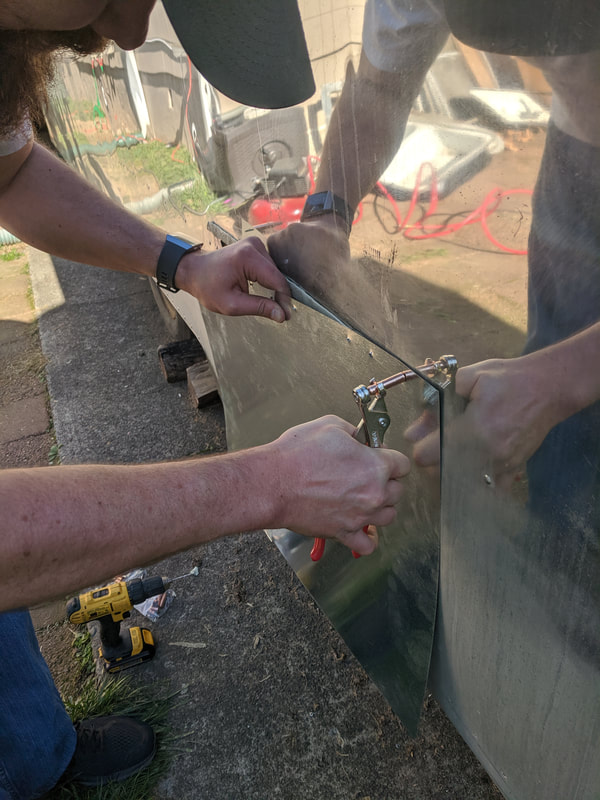
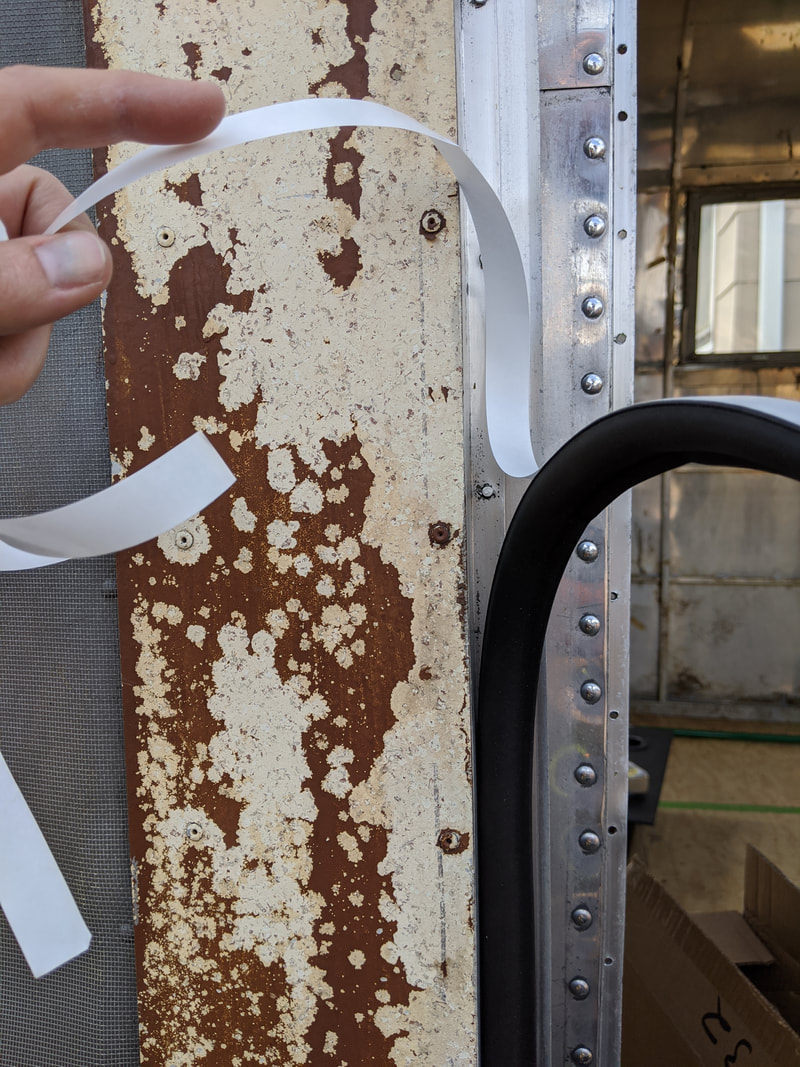
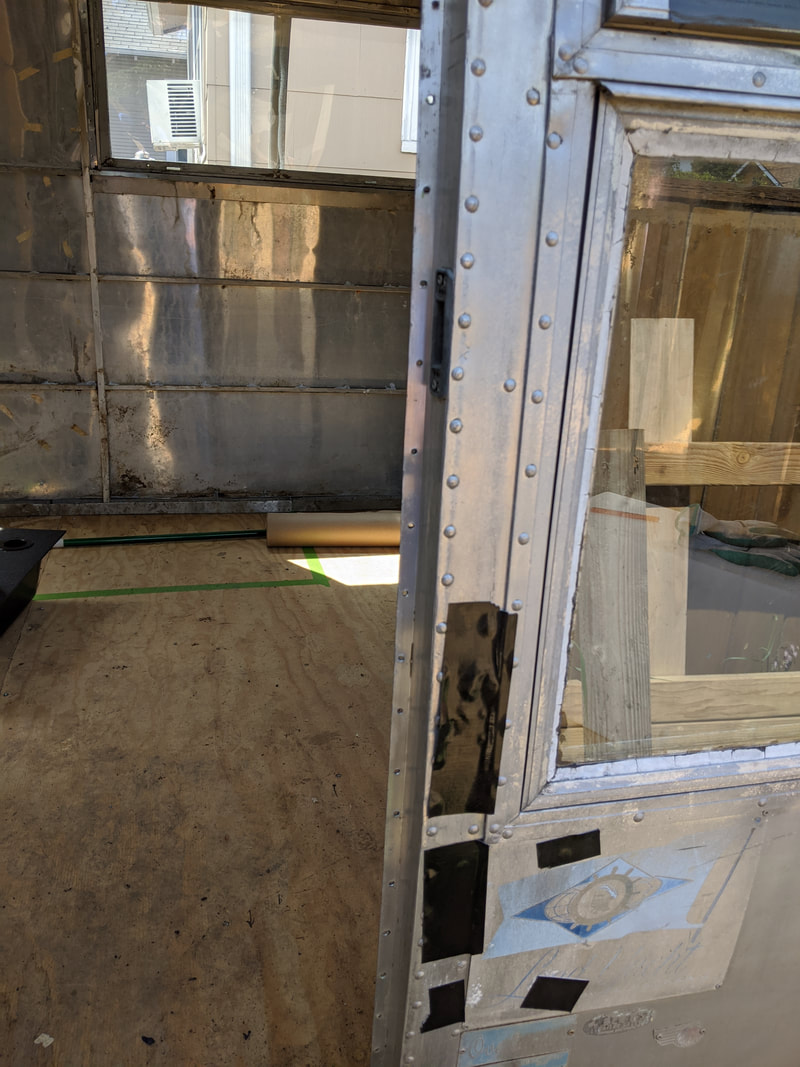
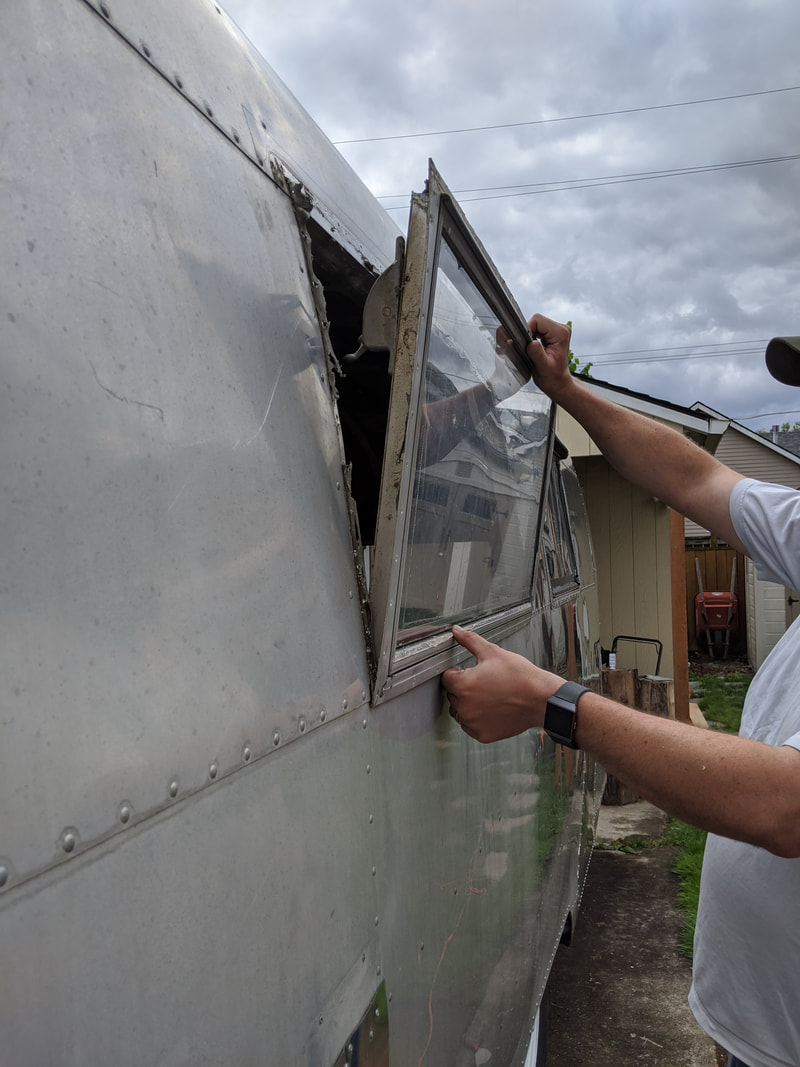
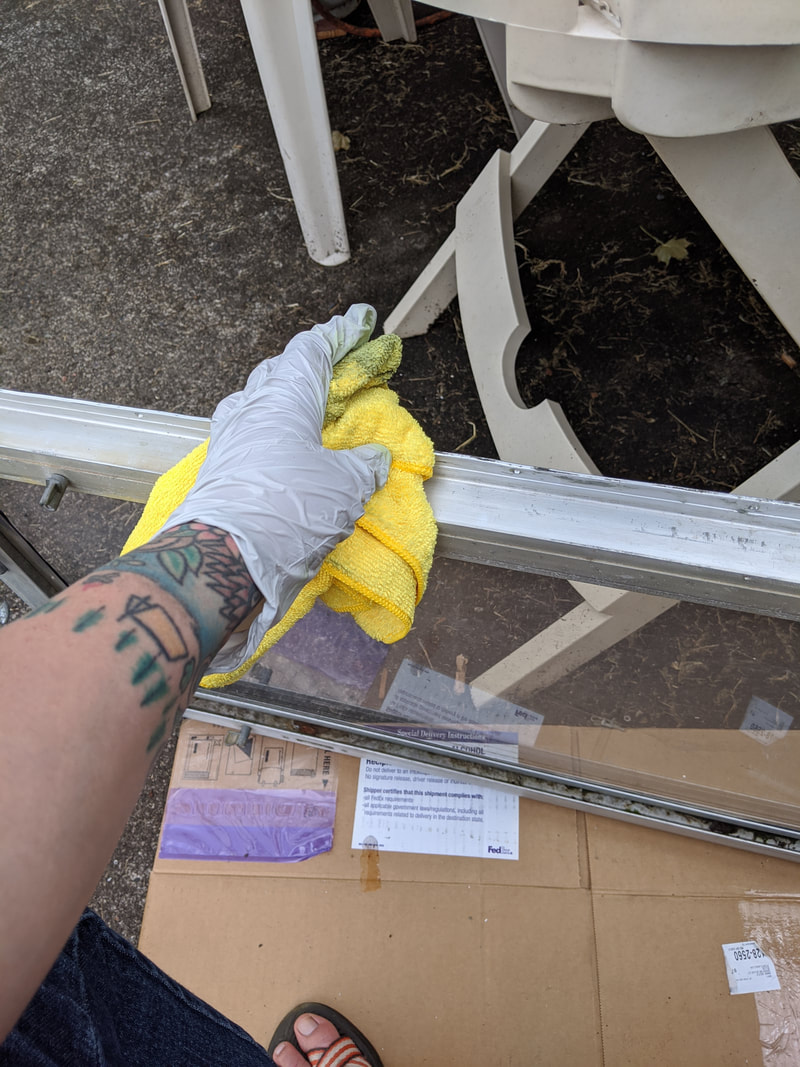
We think that a fair amount of the leaking from the windows could be coming from these corners in the frames, so we used some Tolley's Creeping Crack Cure and we'll see after the next rain if it made a difference! 
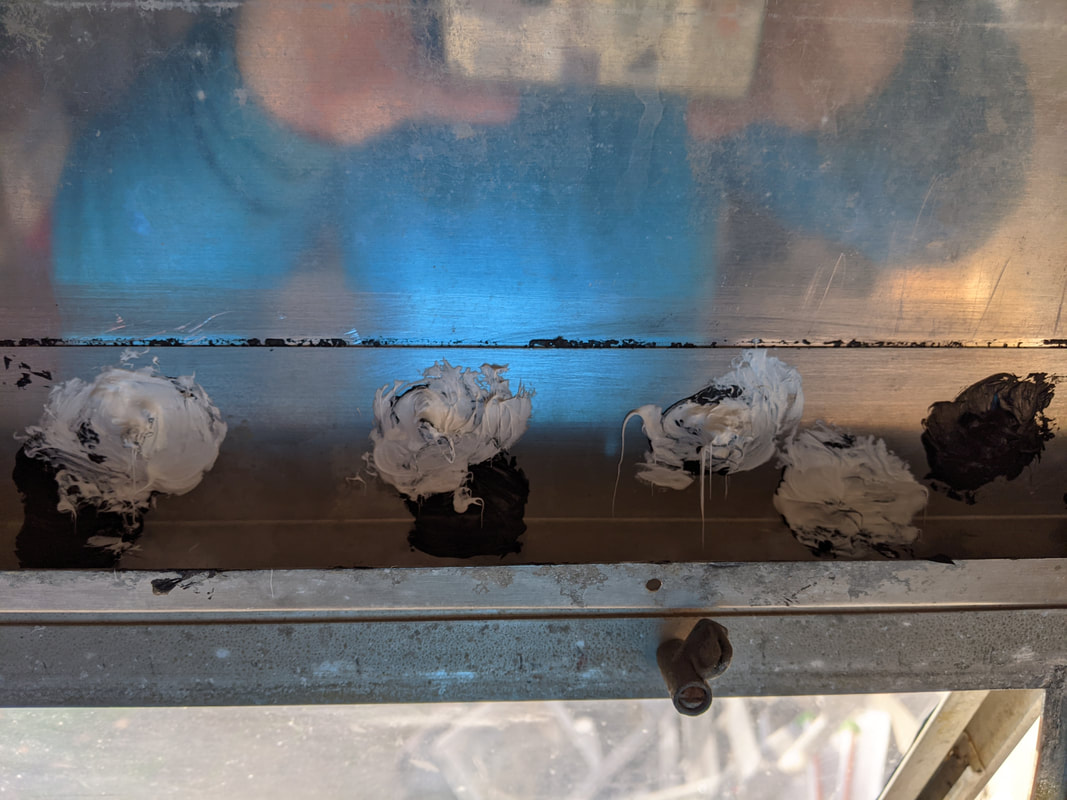
I also went through and slathered more caulk on any rivets that looked like I had skimped a little. TAKE THAT LEAKS! ;) 
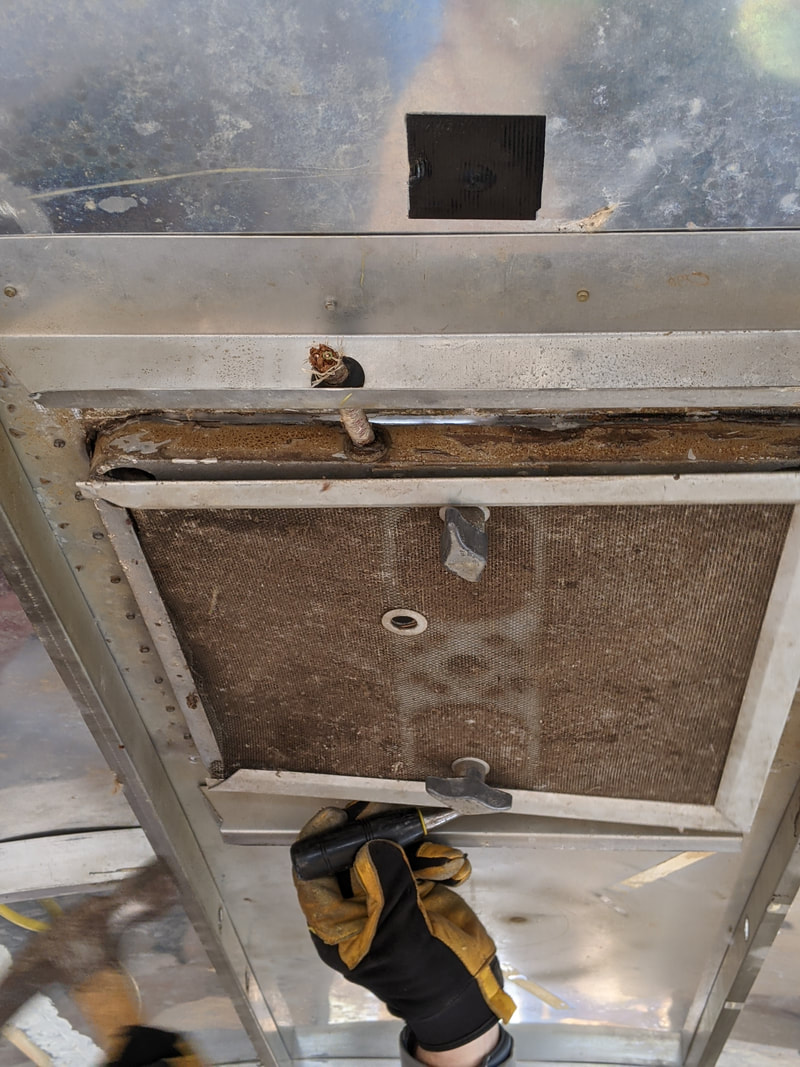
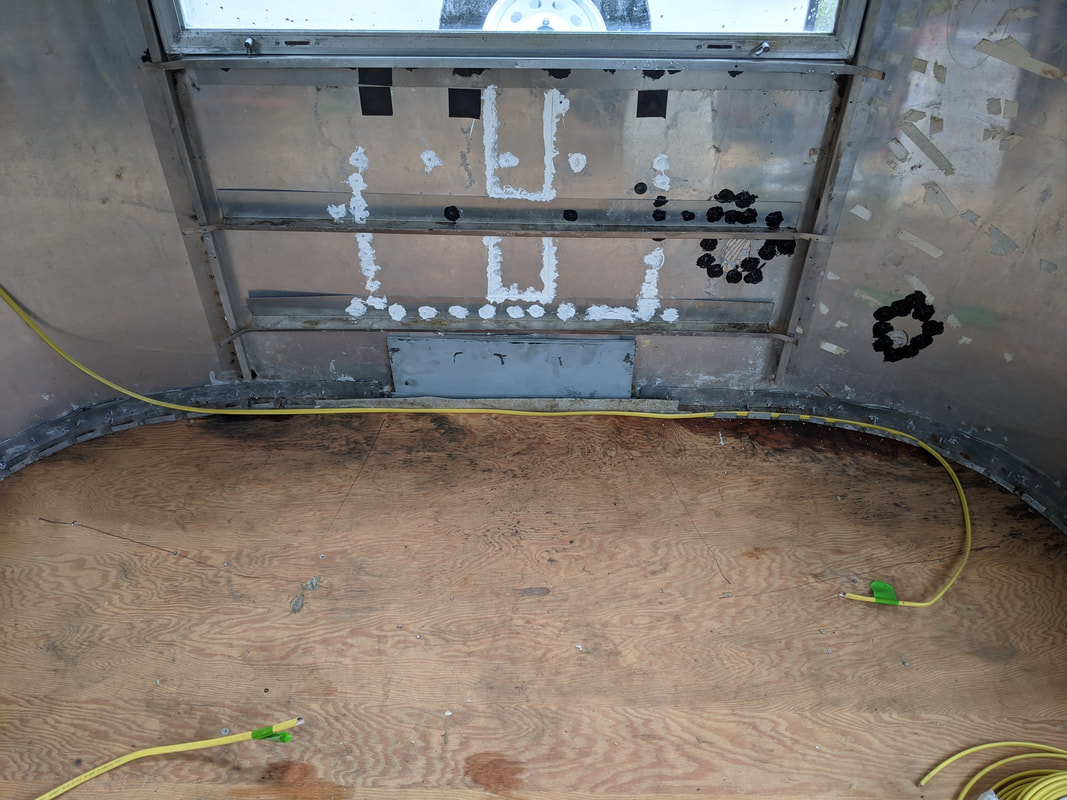
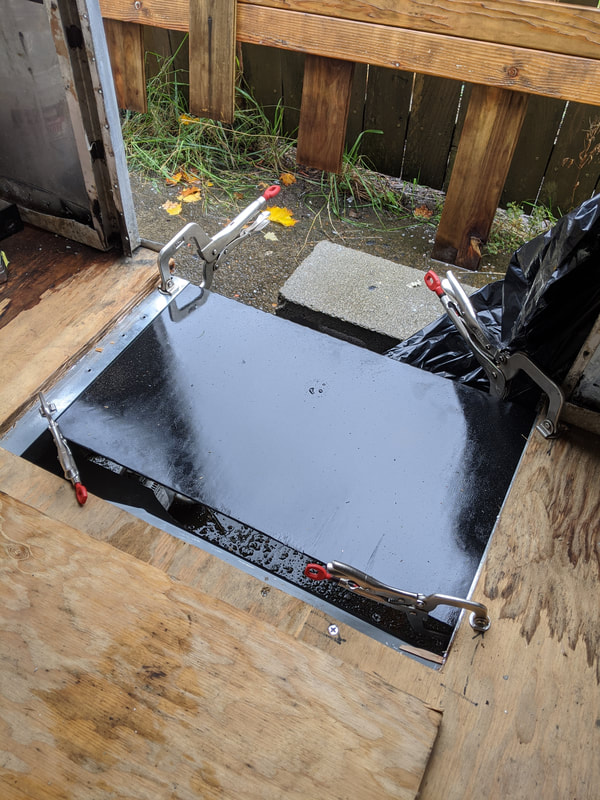
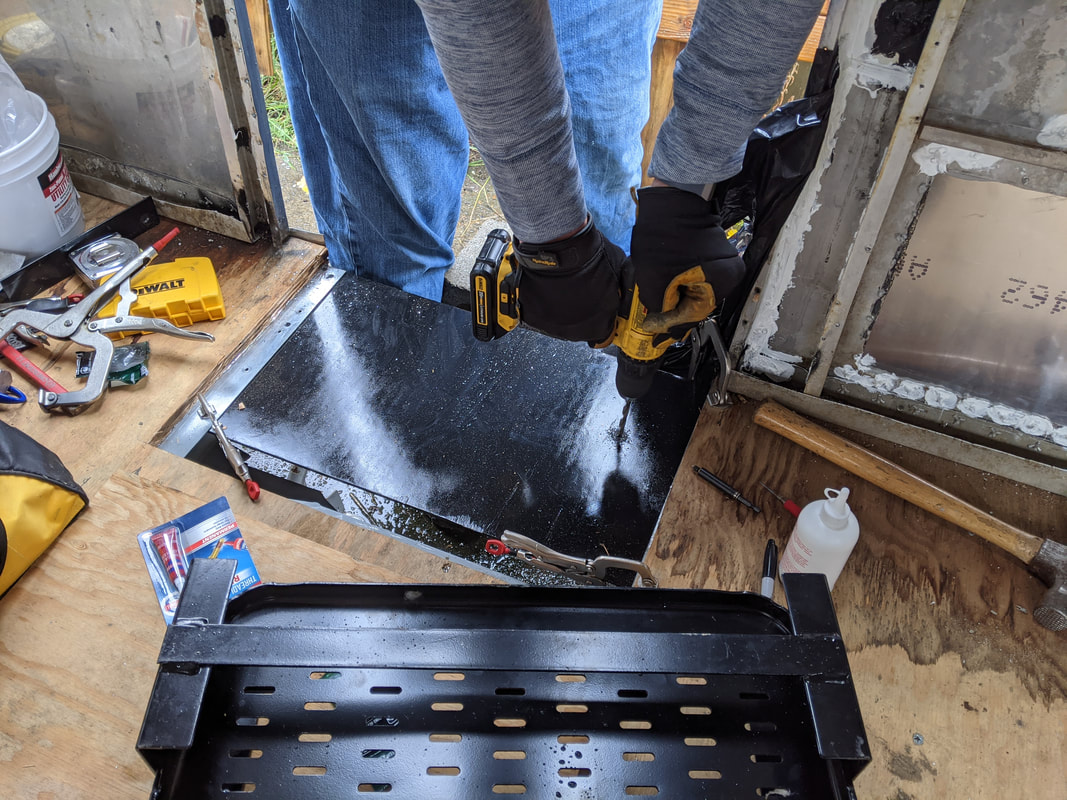
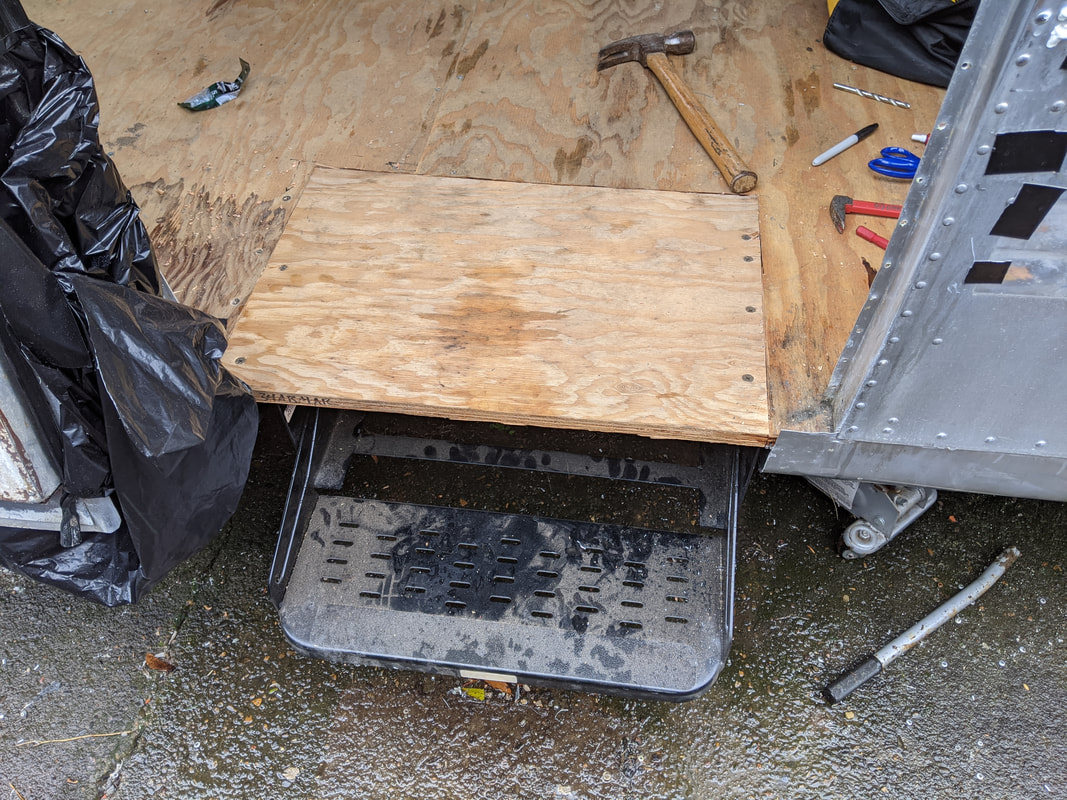
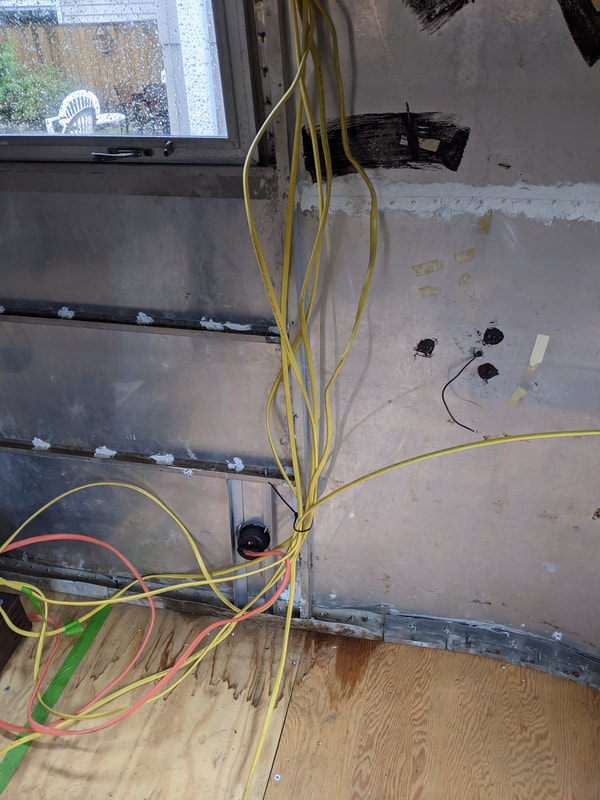
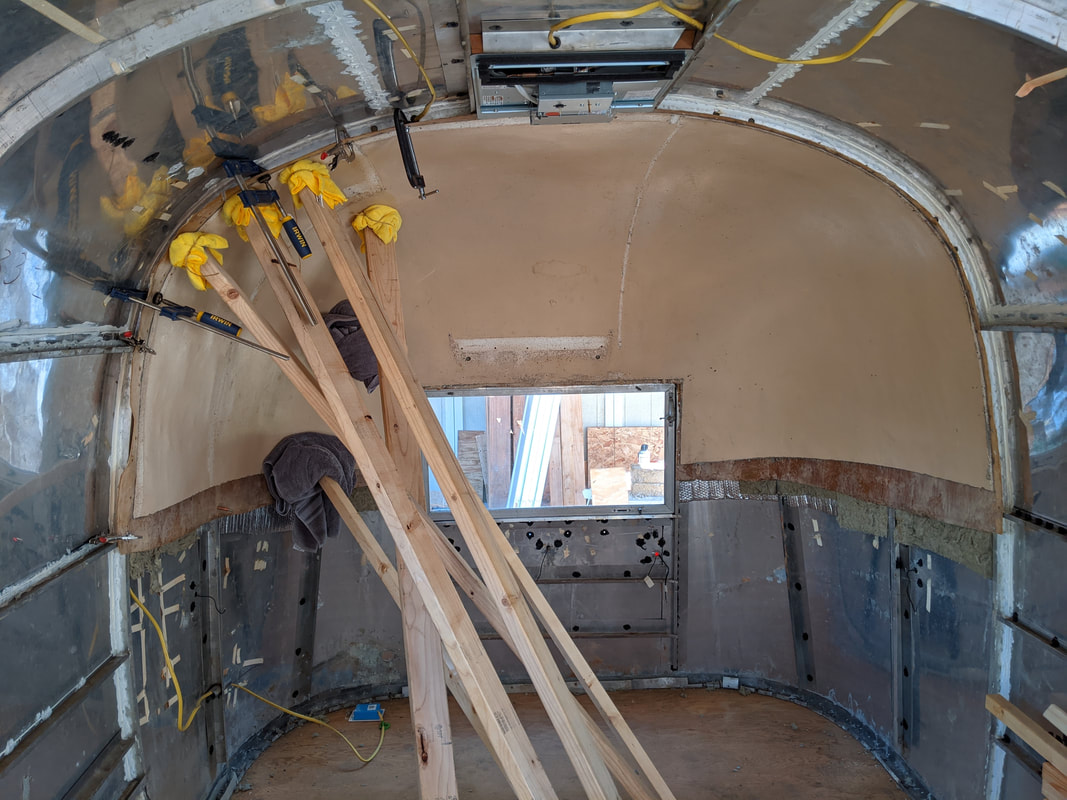
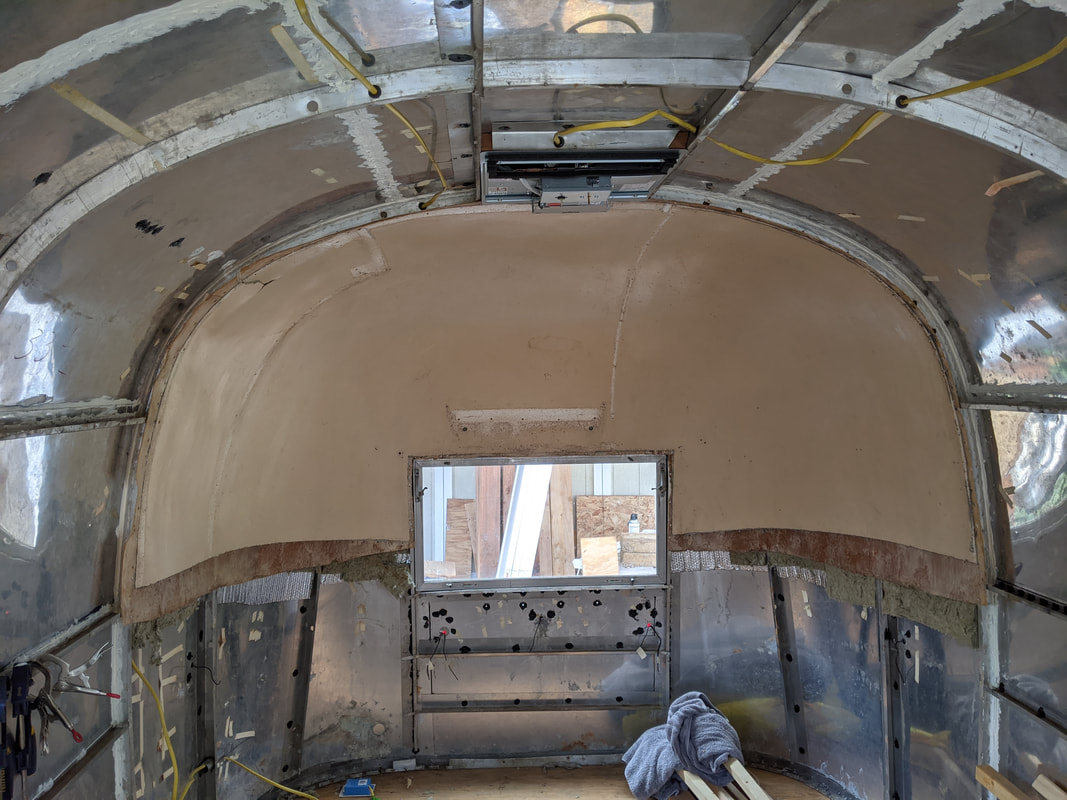
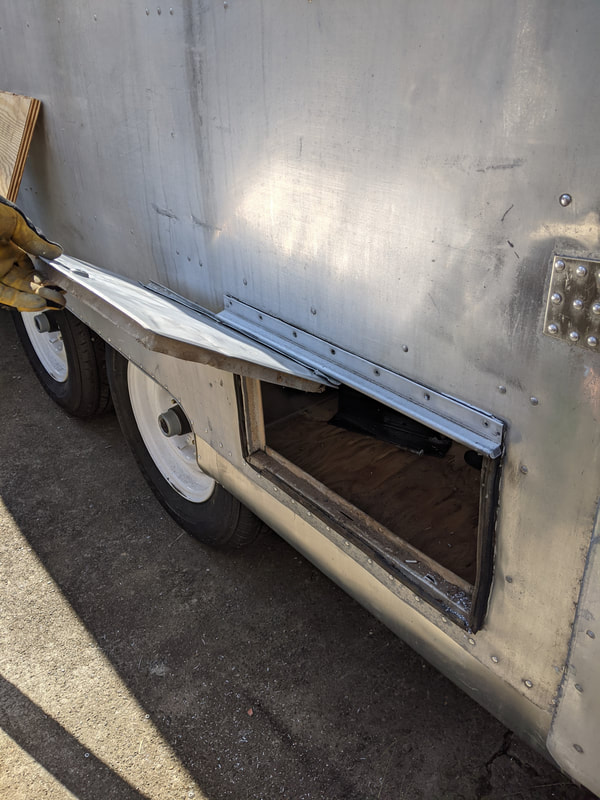
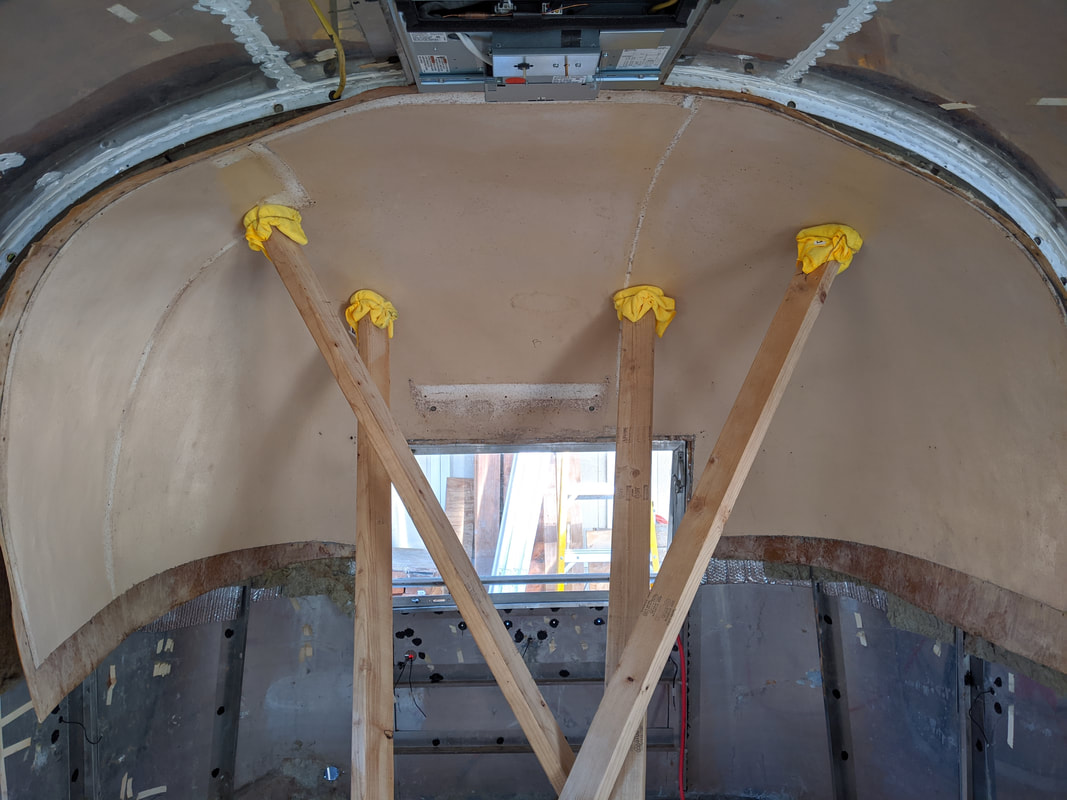
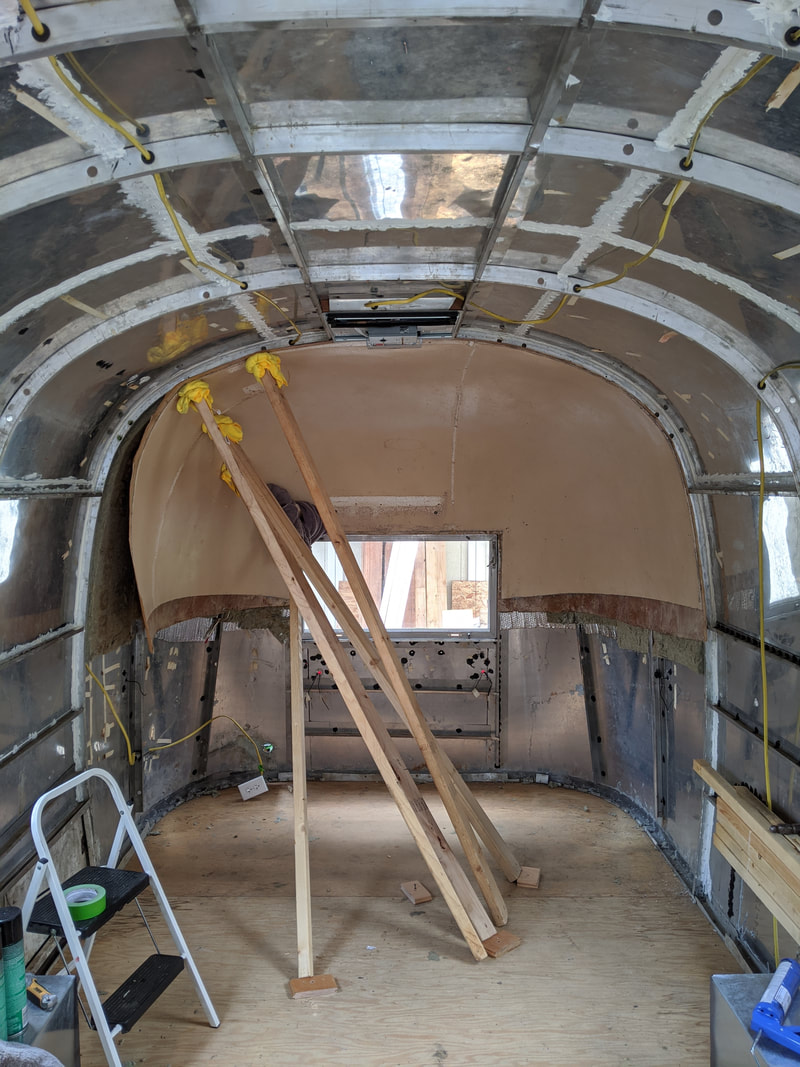
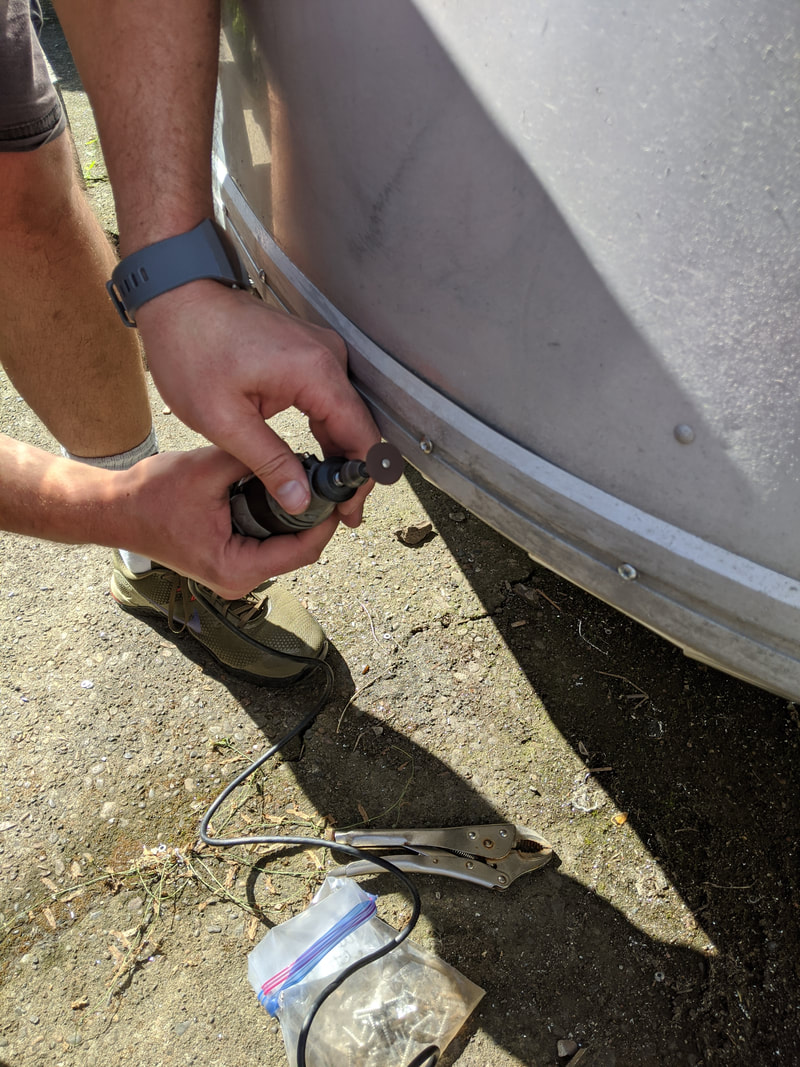
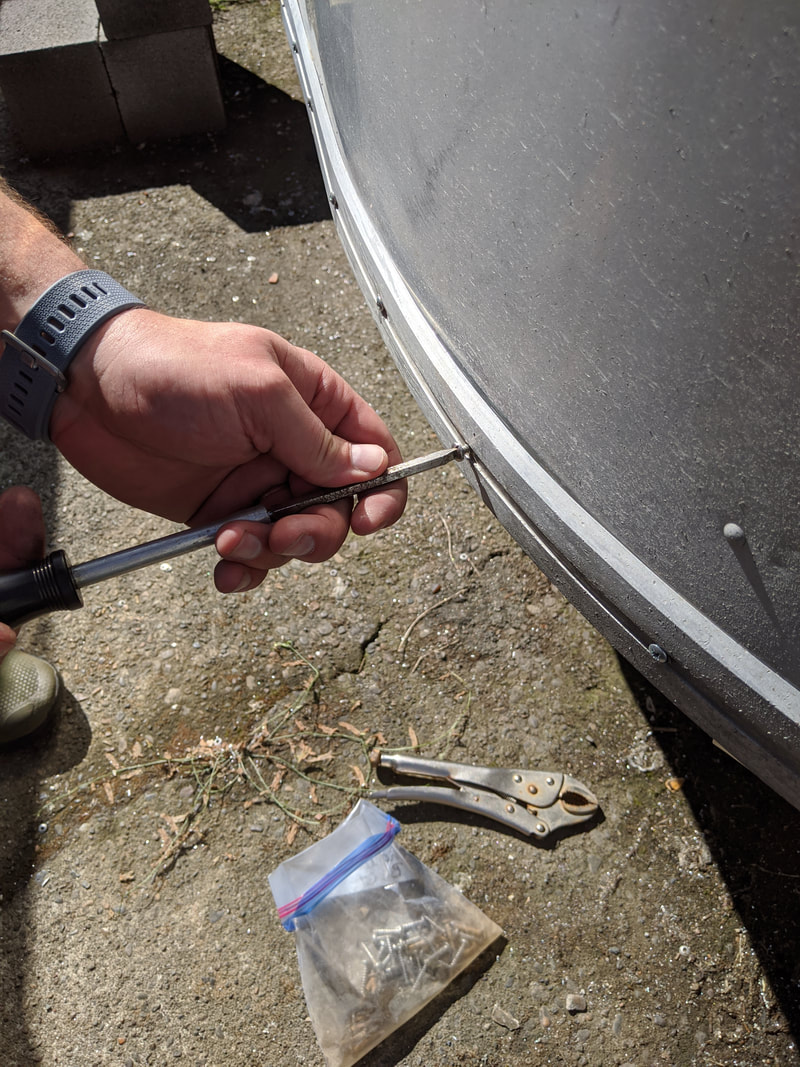
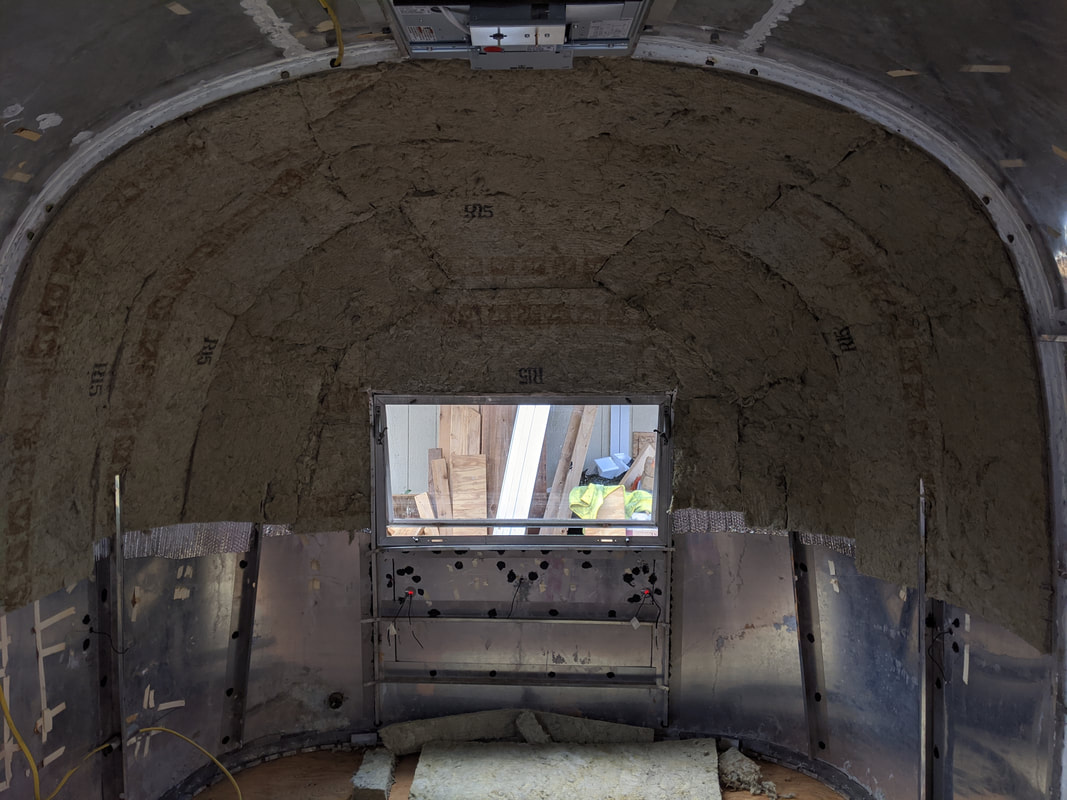
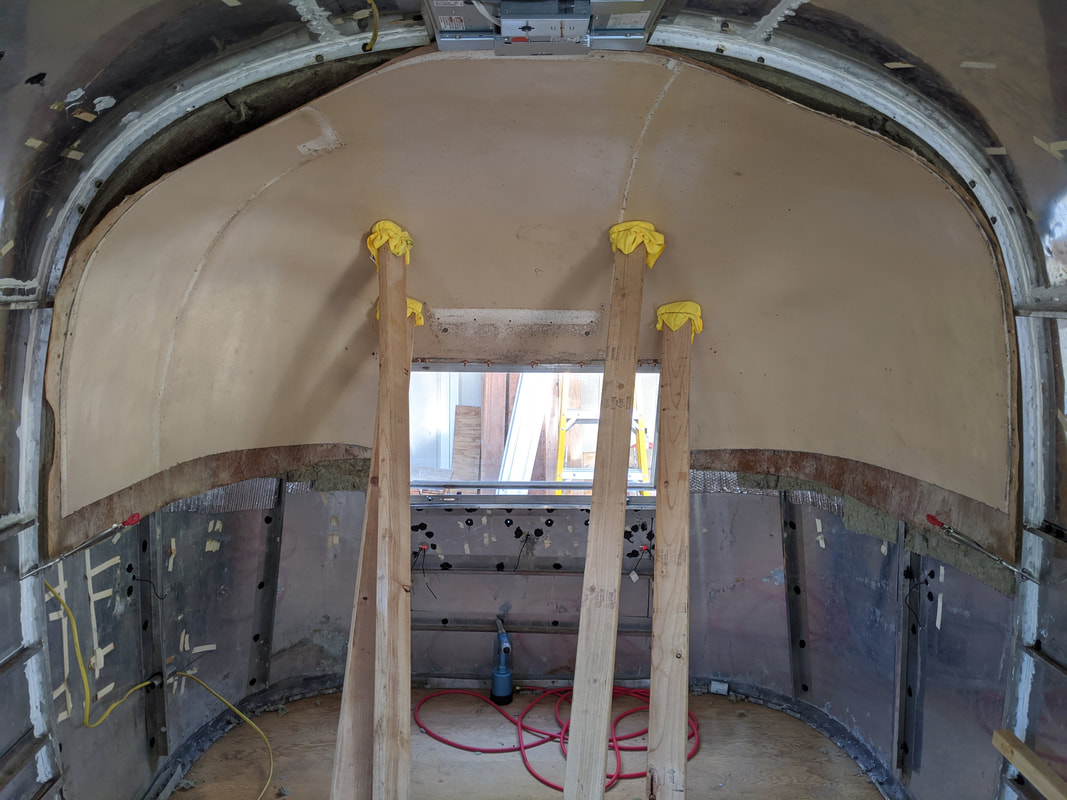
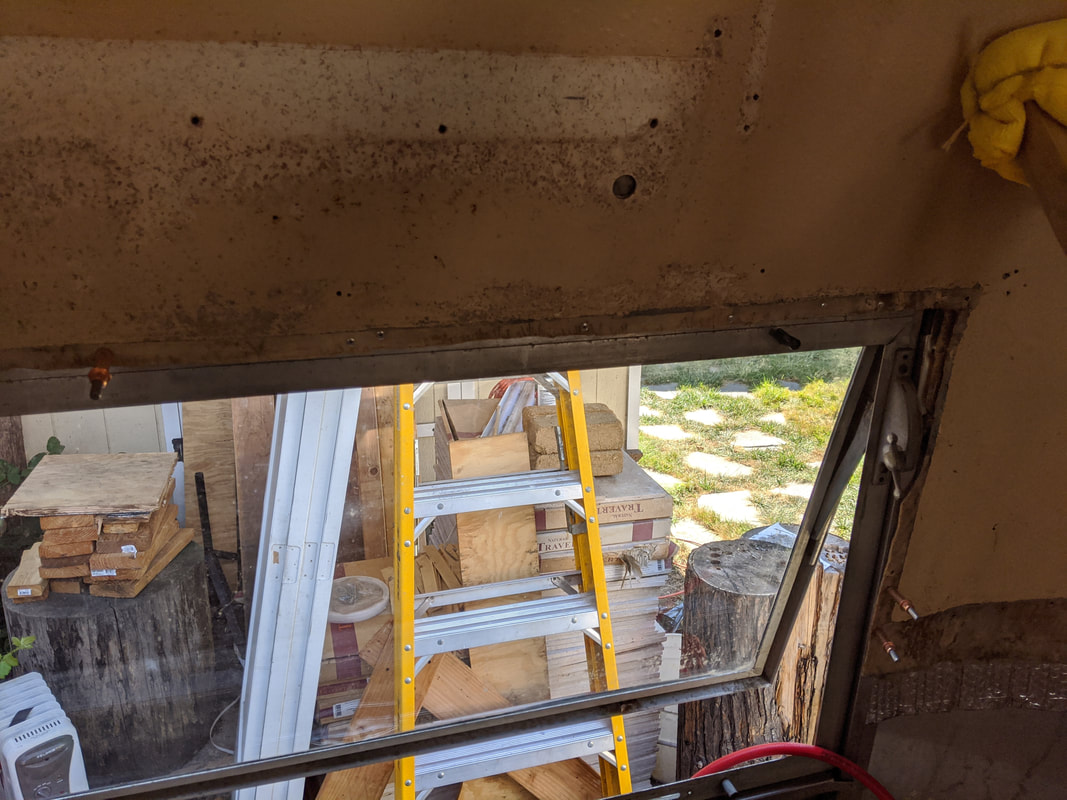
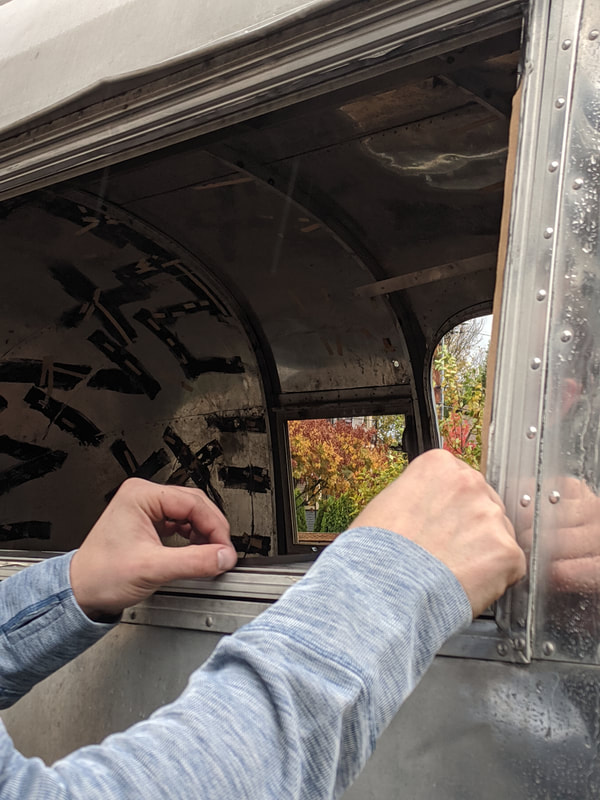
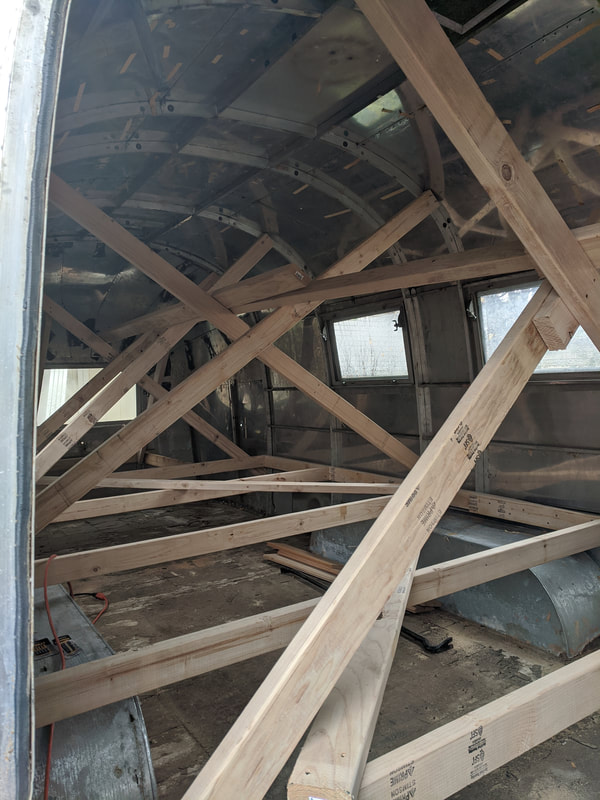
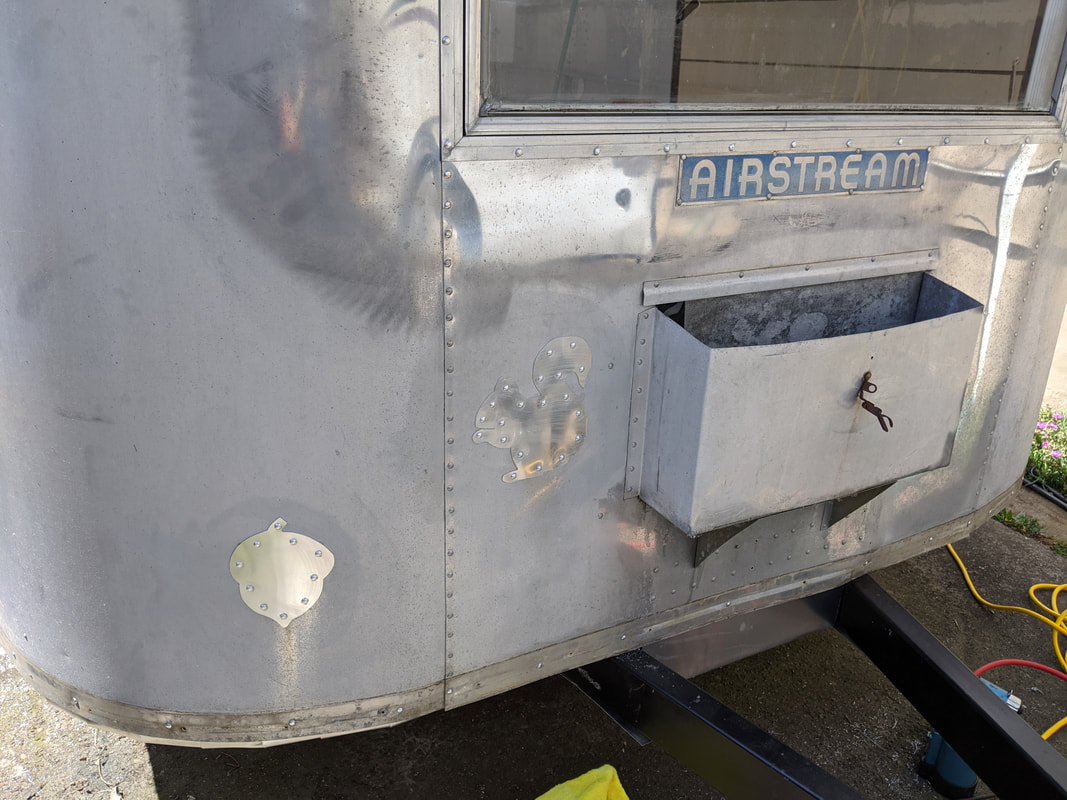
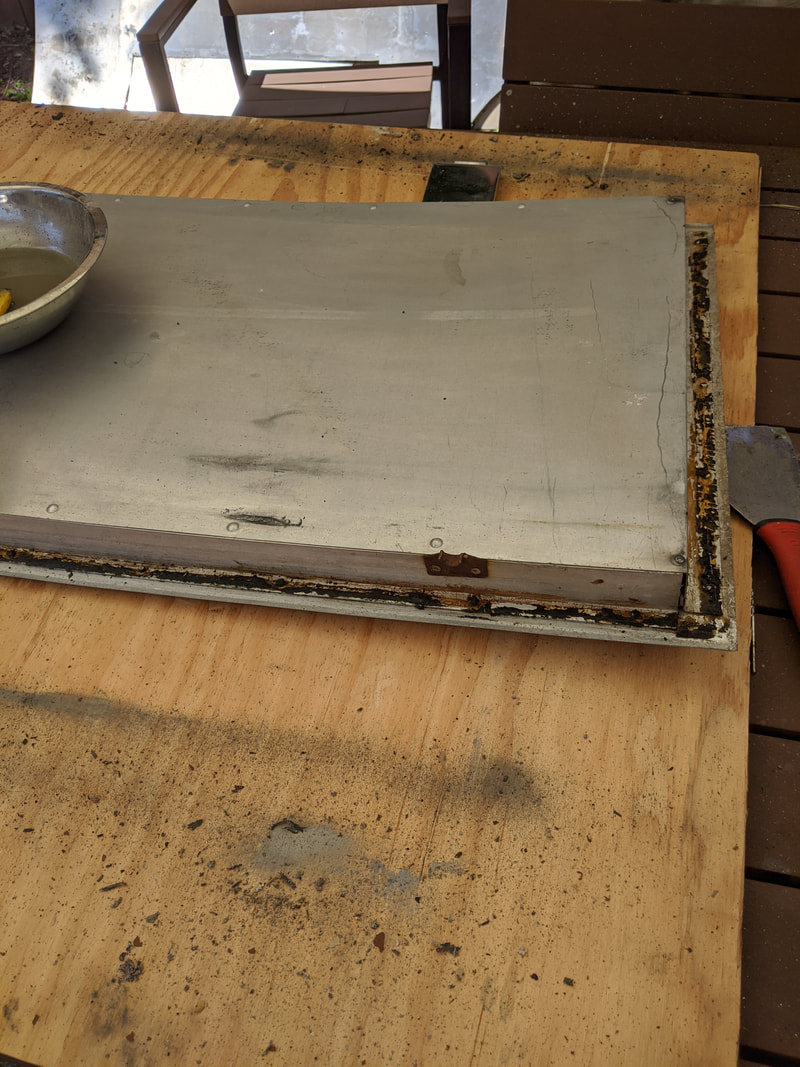
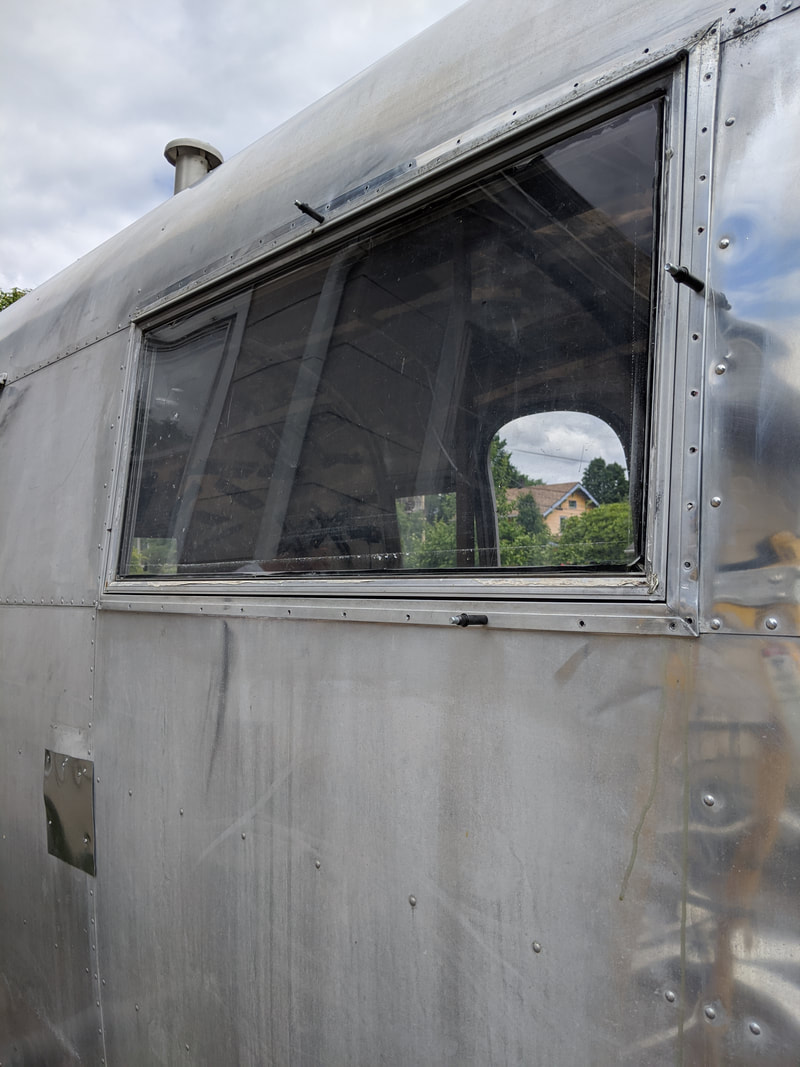
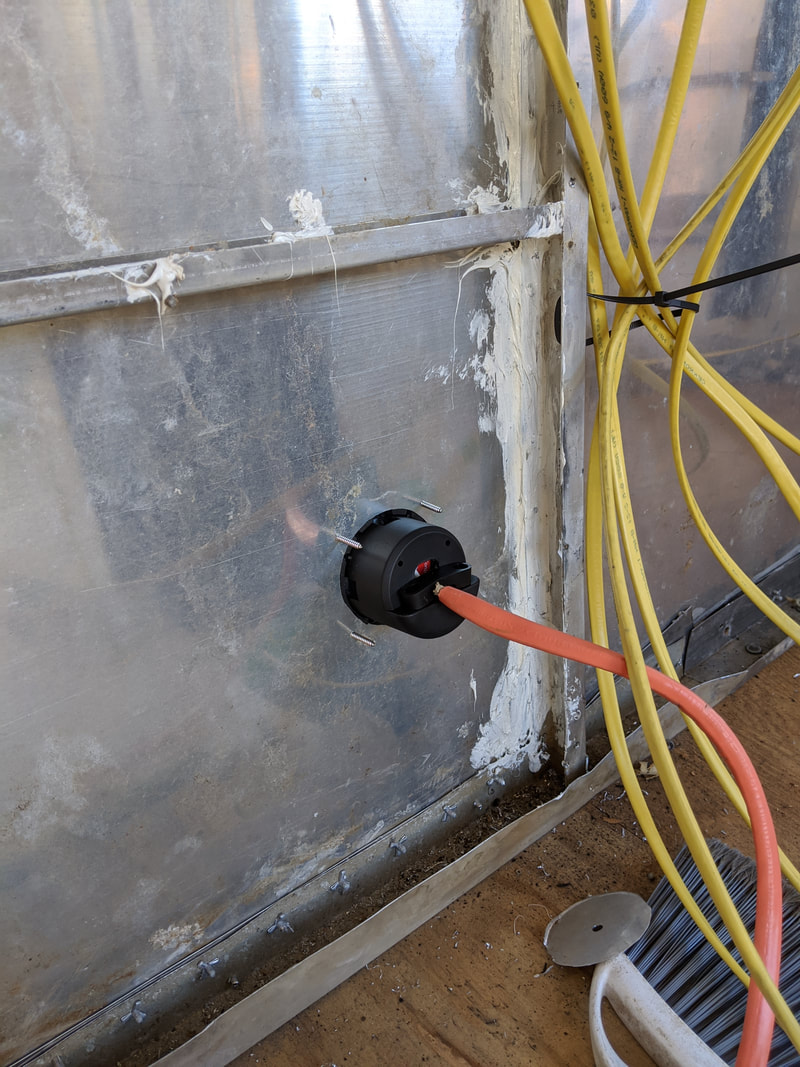
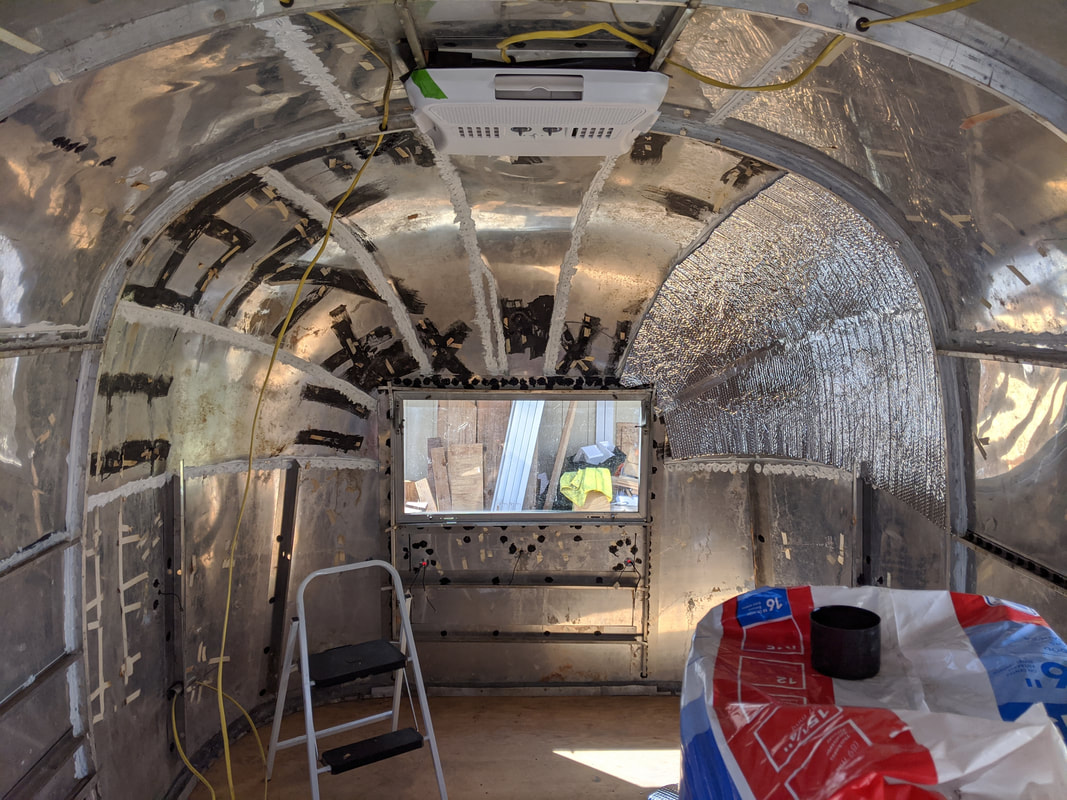
Next, we decided that it was time to get rid of the vent that, once we start installing Maude's interior, would have been in the middle of the bathroom wall. While Mike was chiseling off the backs of the rivets holding it in place, a HUGE chunk of wasp nest fell out! I *THINK* this is the last of the yucky old stuff? LOL Bathroom will be to the right of this vent, "hallway" back to the treatment room will be to the left. 
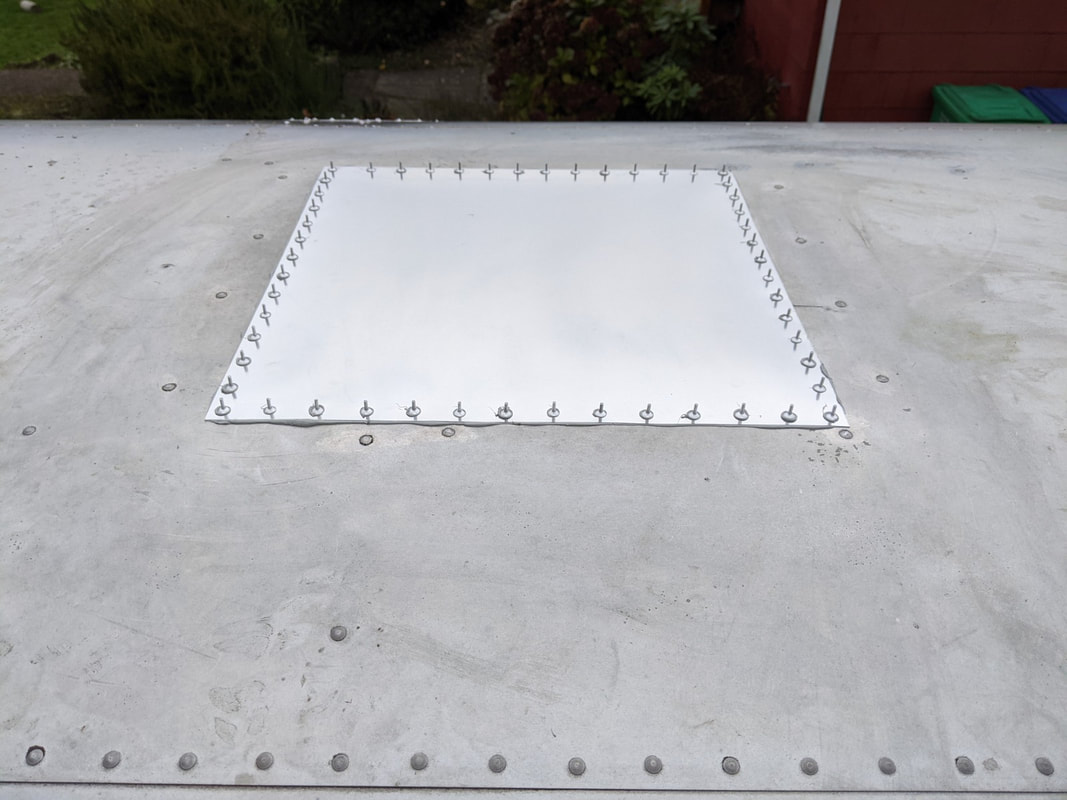
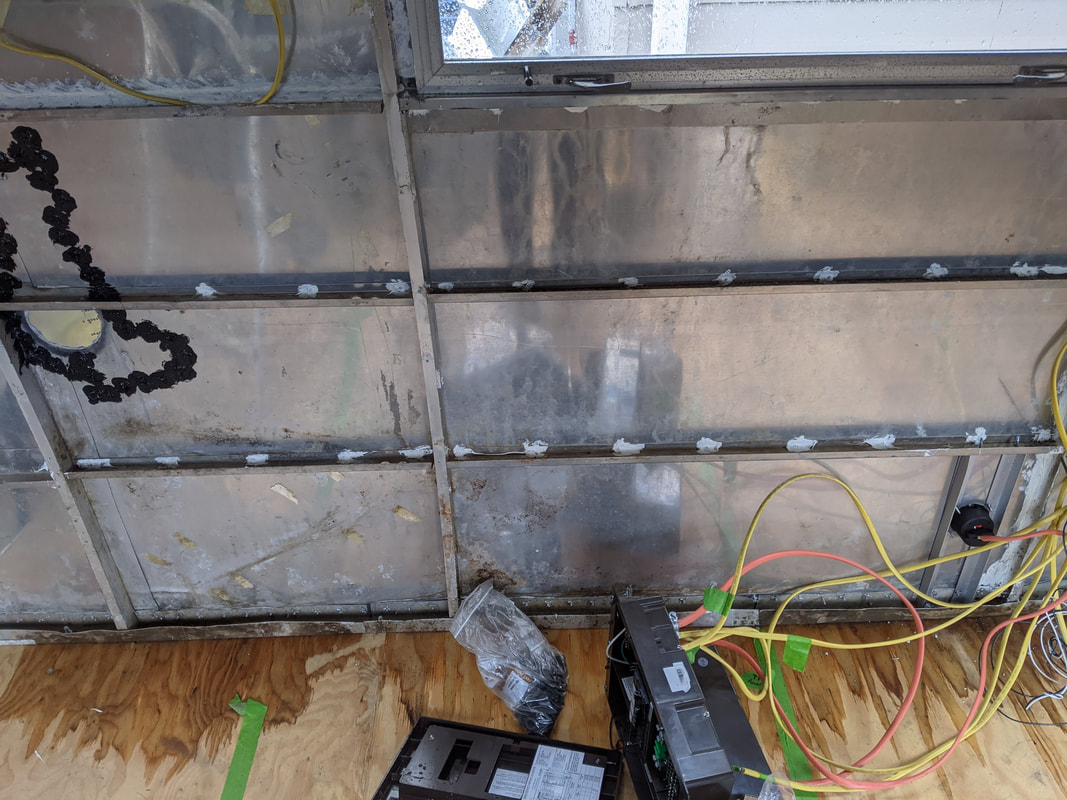
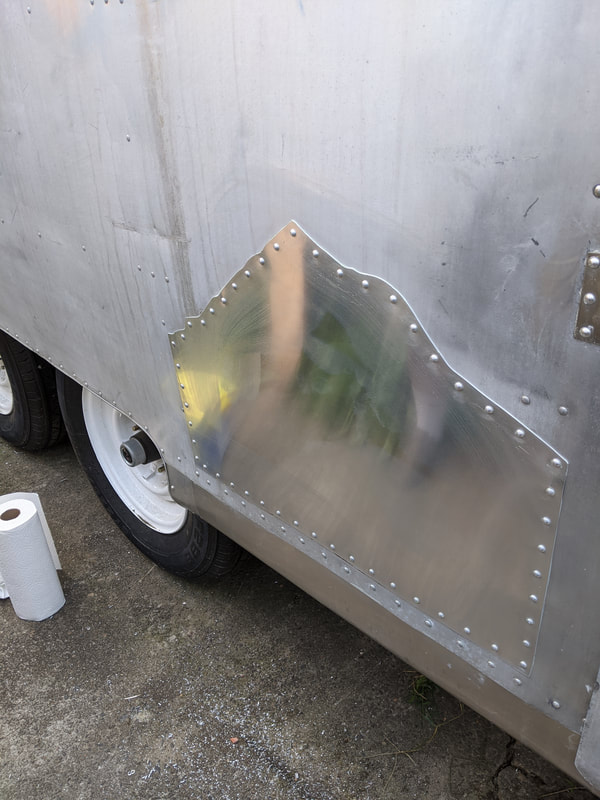
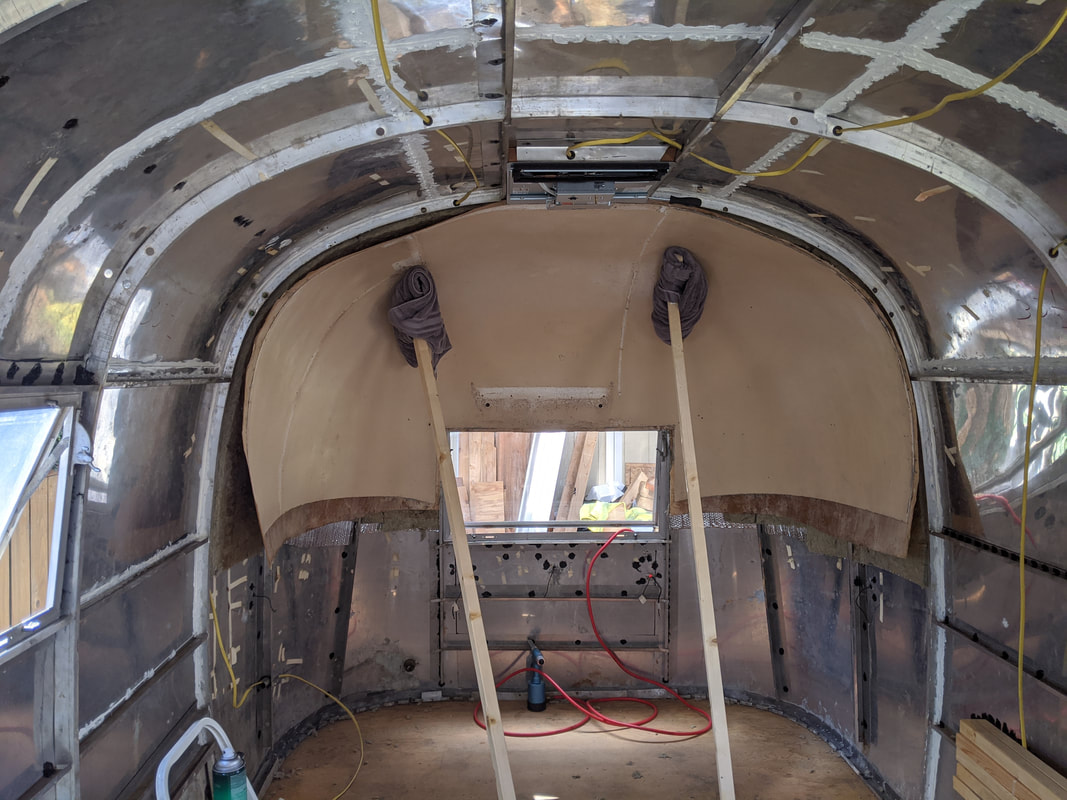
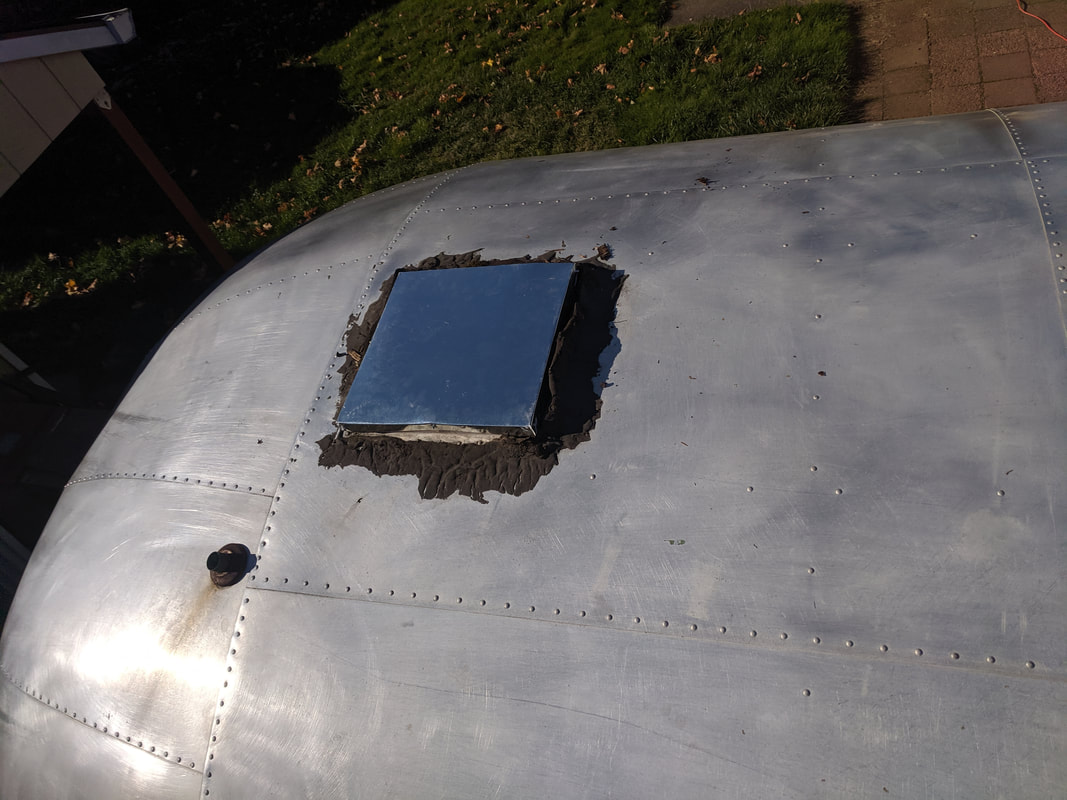
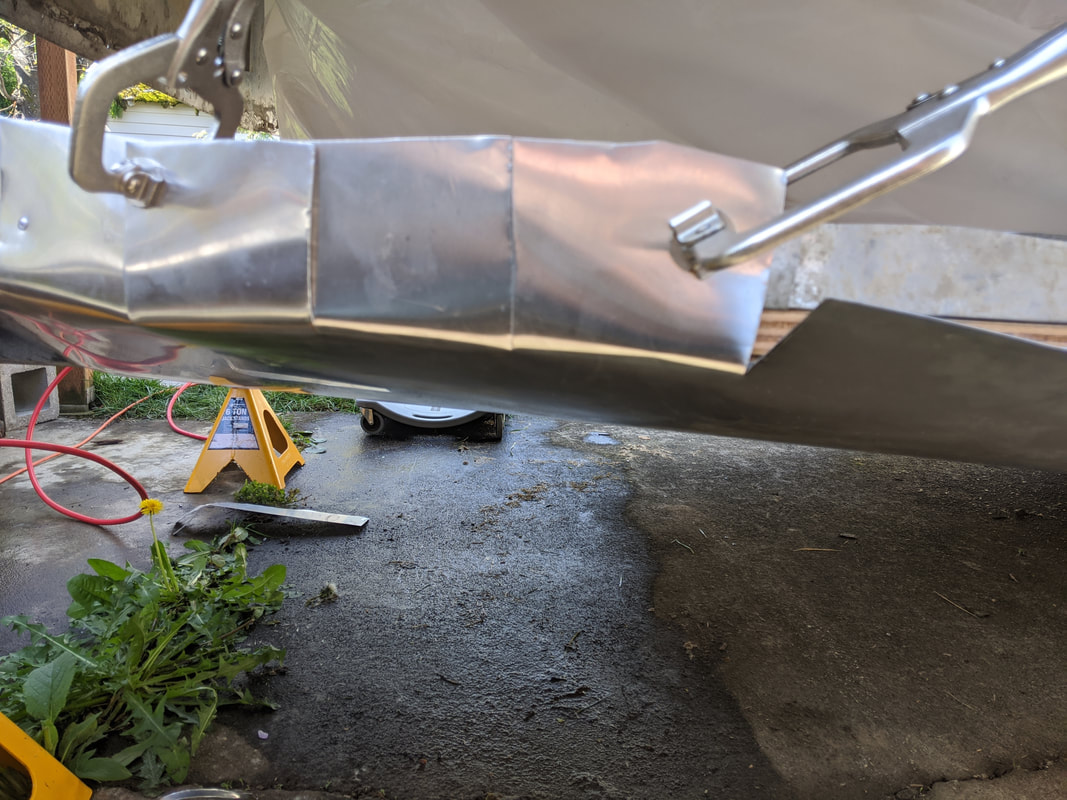
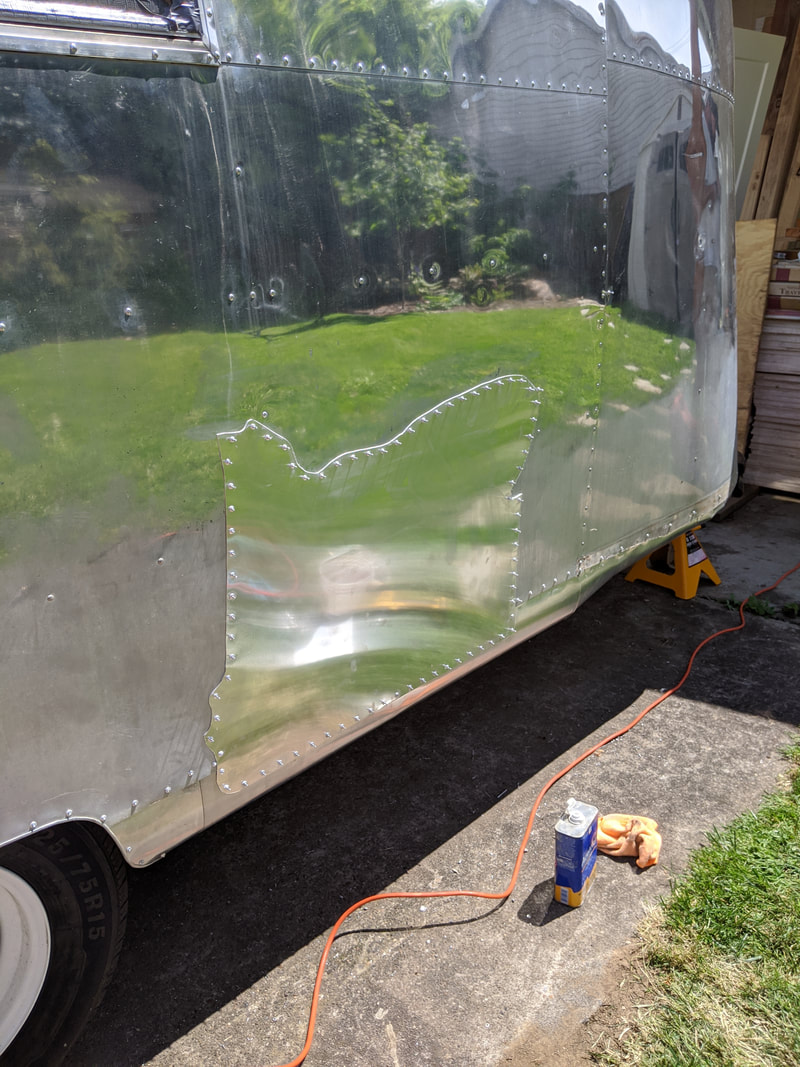
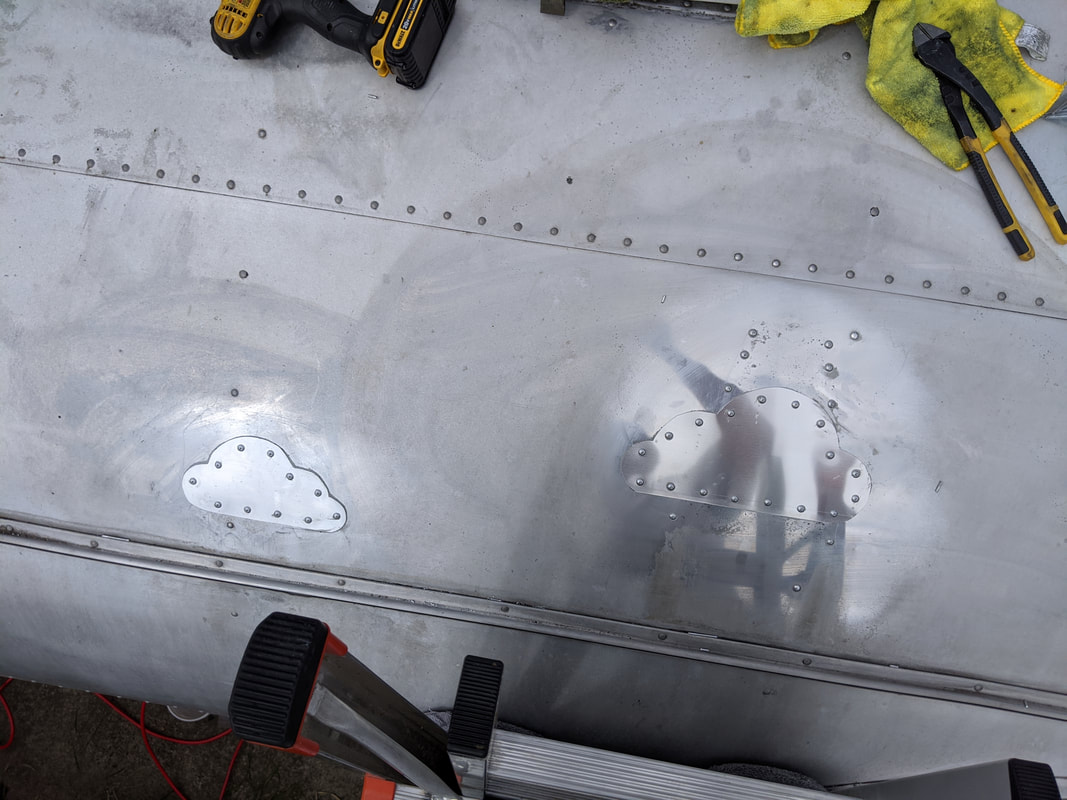
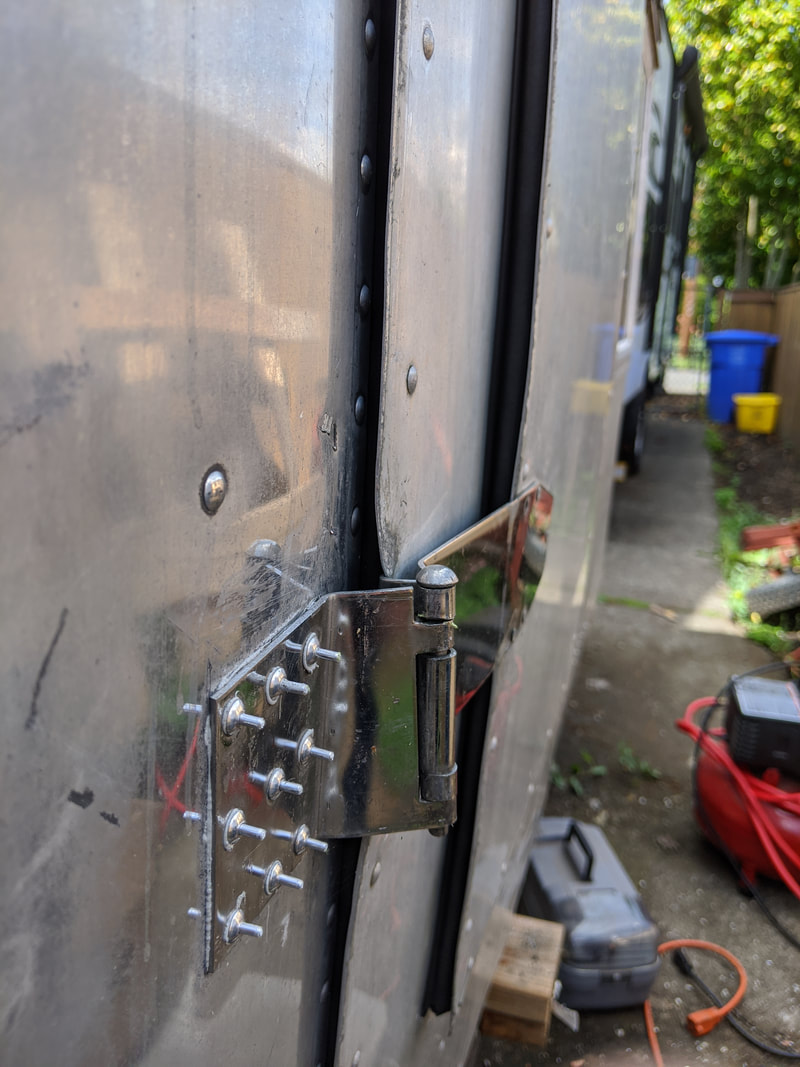
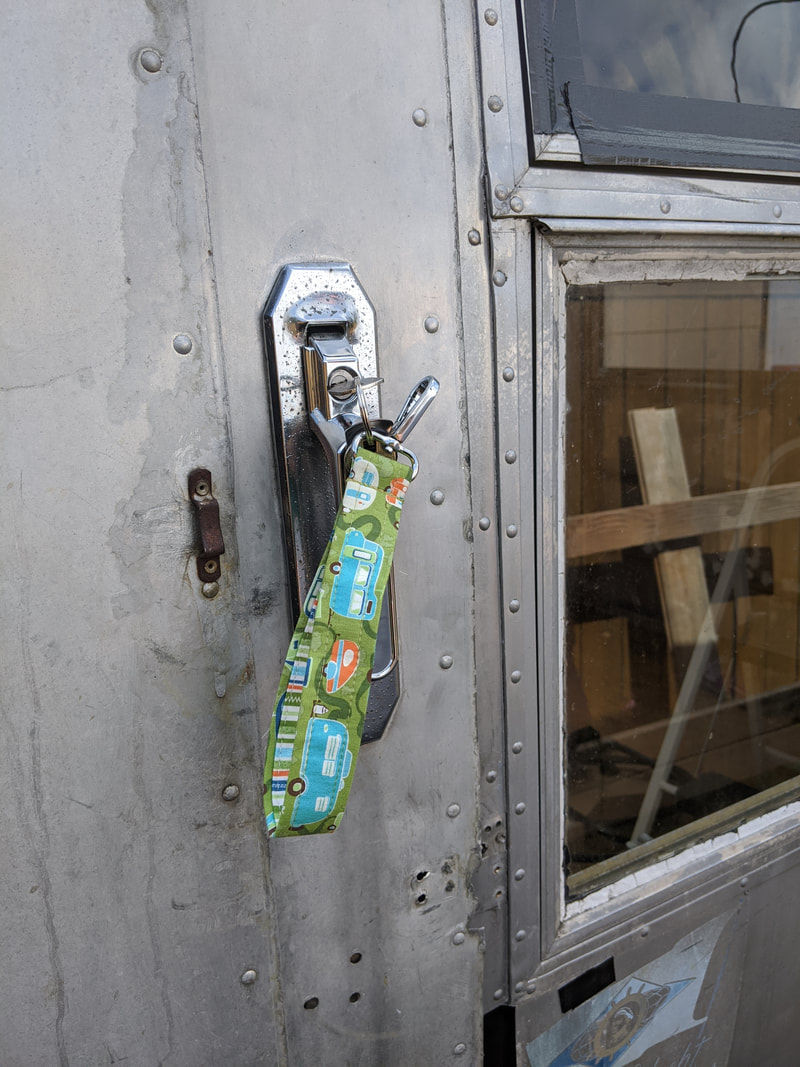
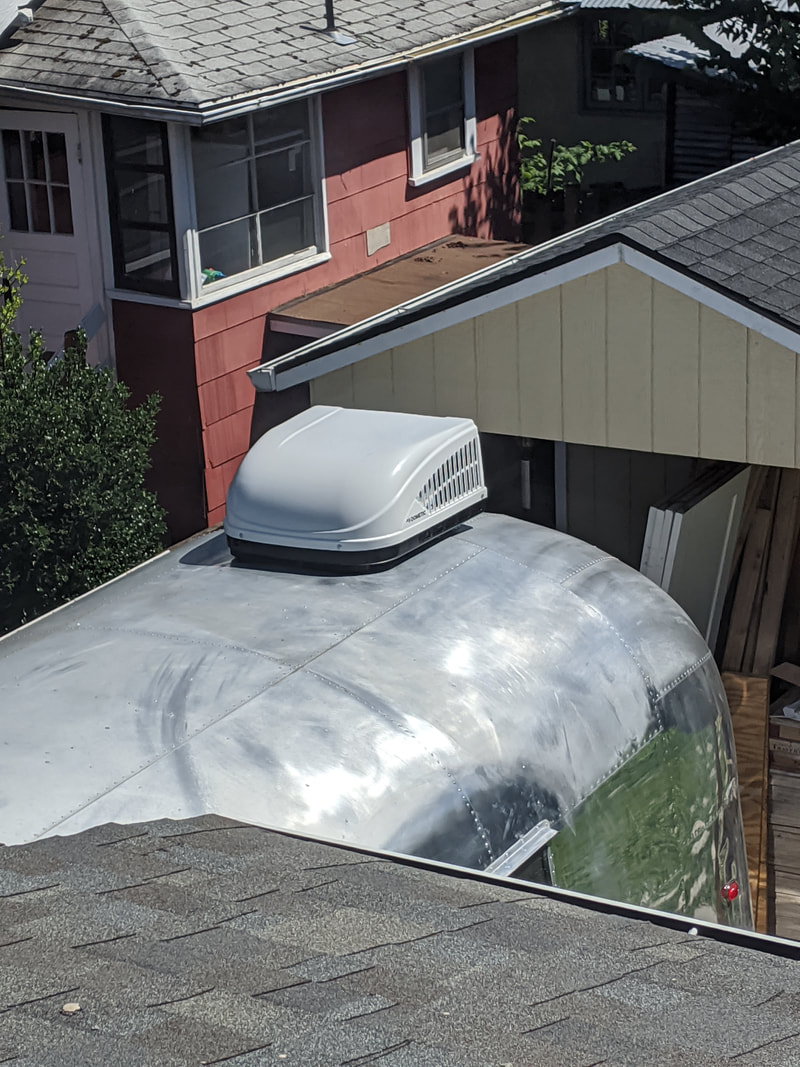
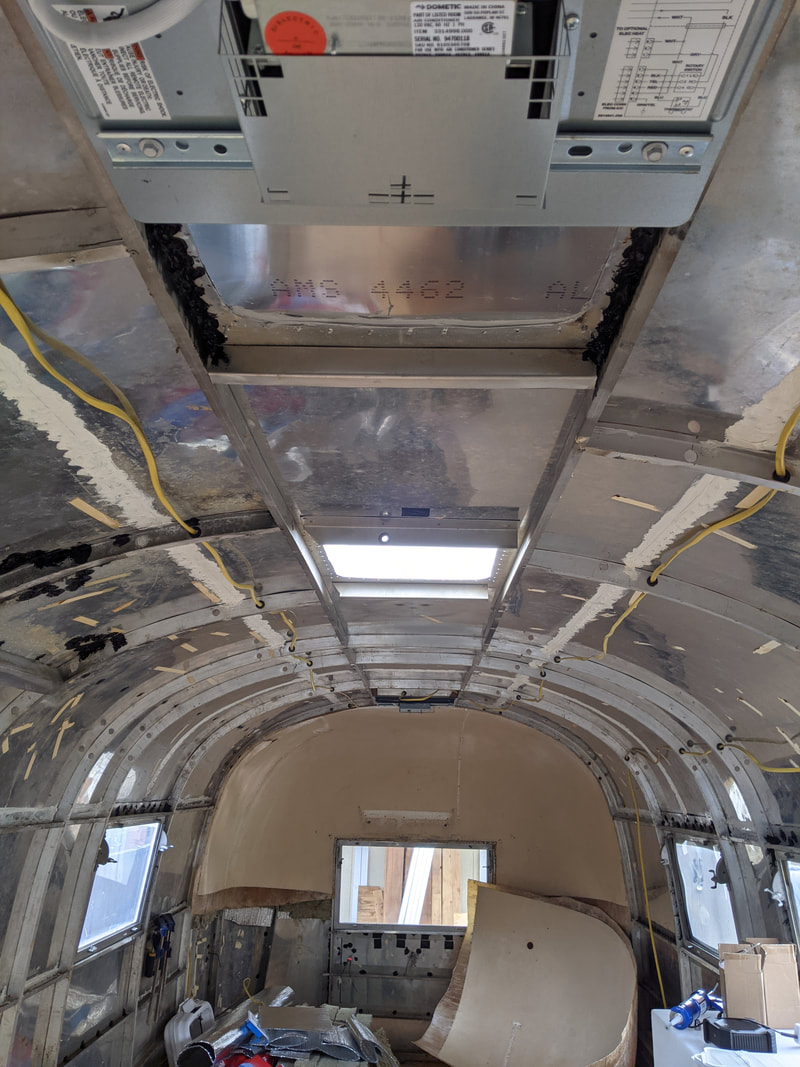
Surely, by now you guys understand the procedure for riveting? ;) Mike made sure to be VERY generous with the caulk. Pretty sure this sucker won't leak on us ;) 
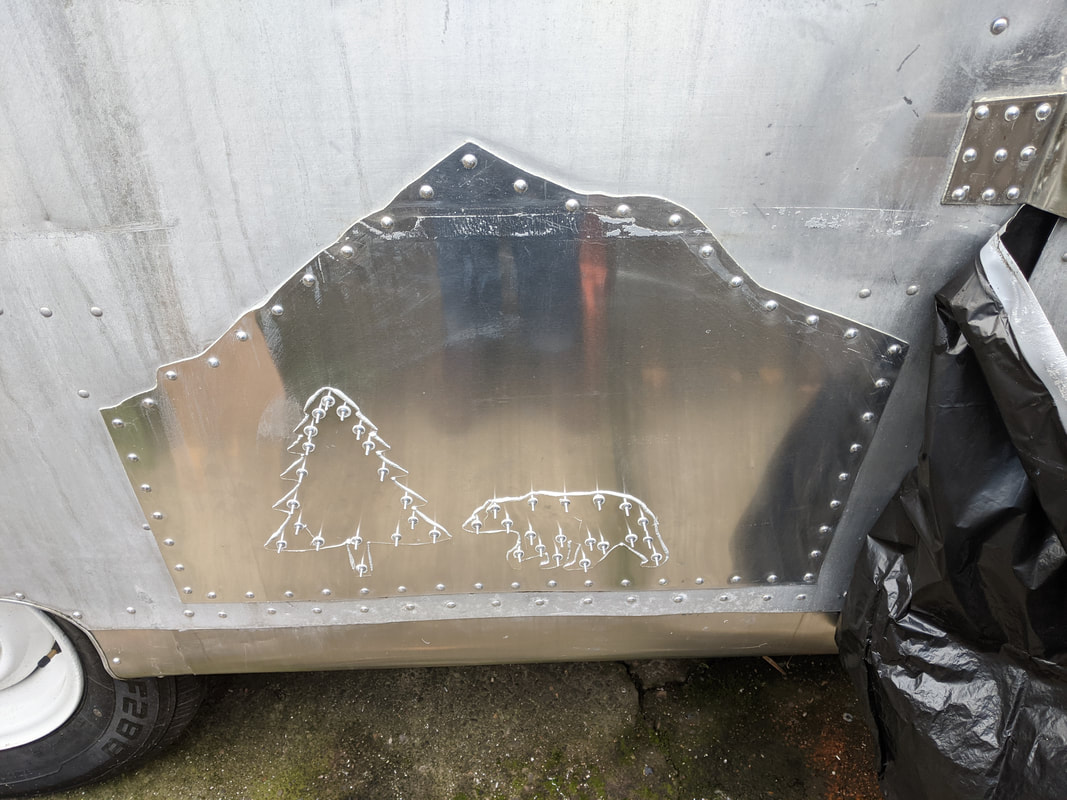
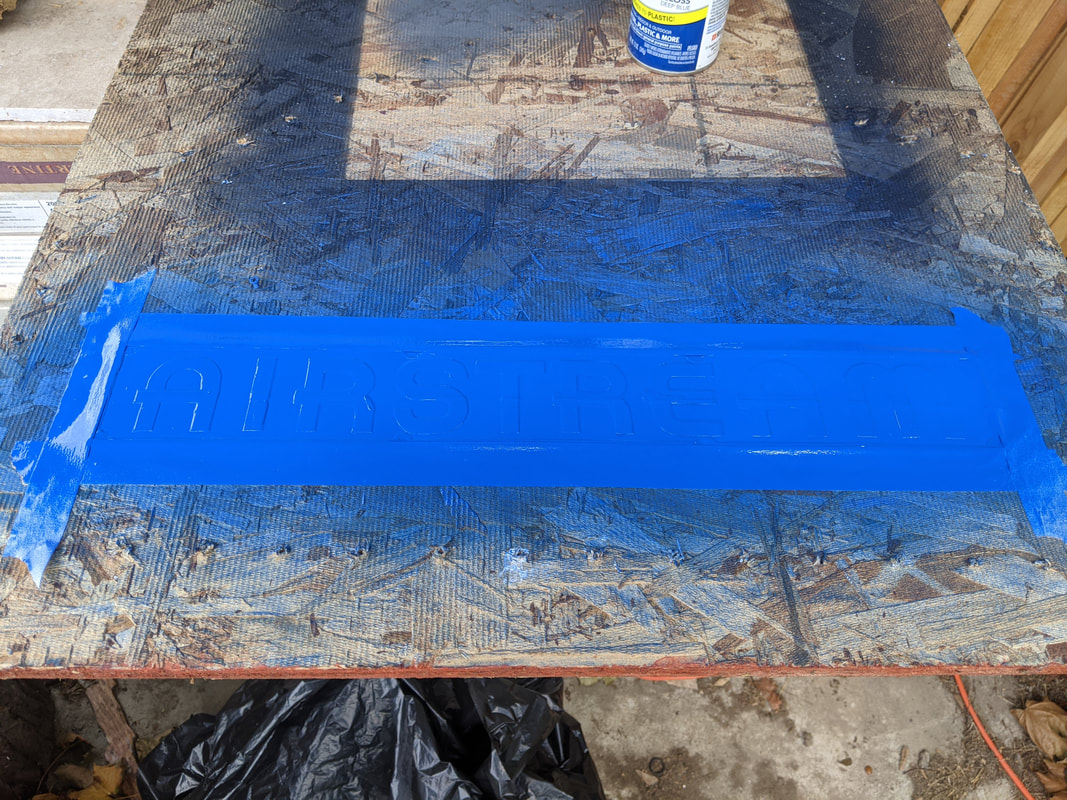
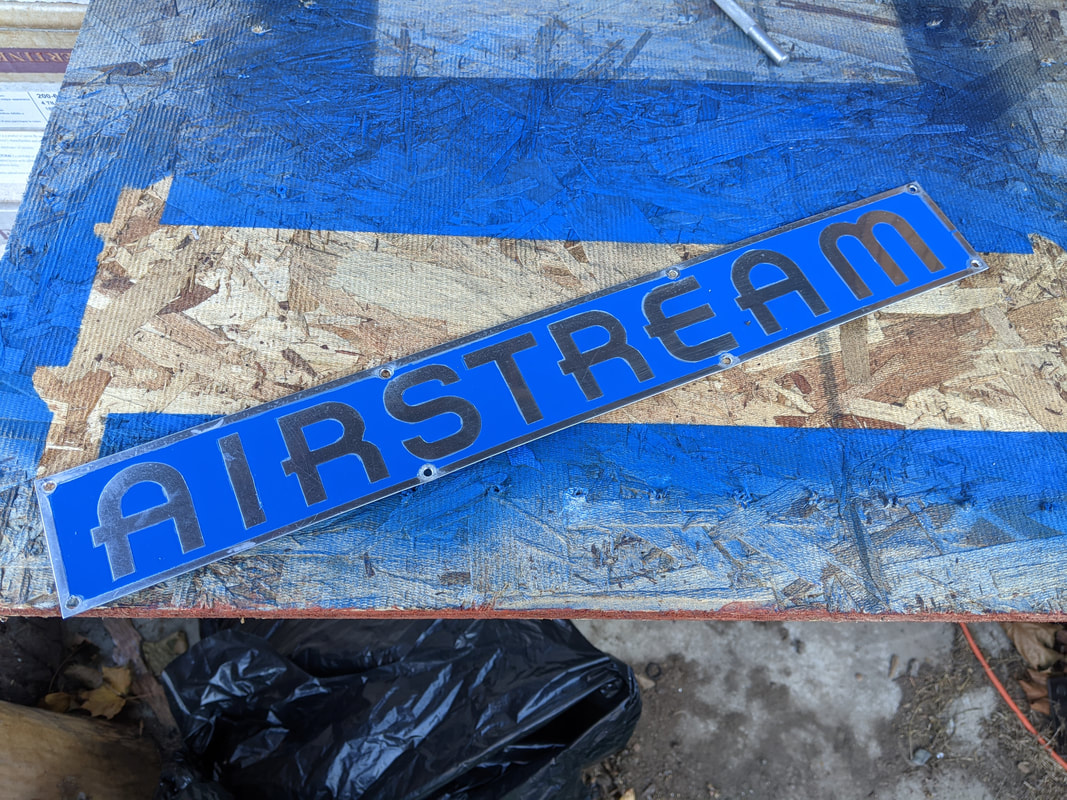
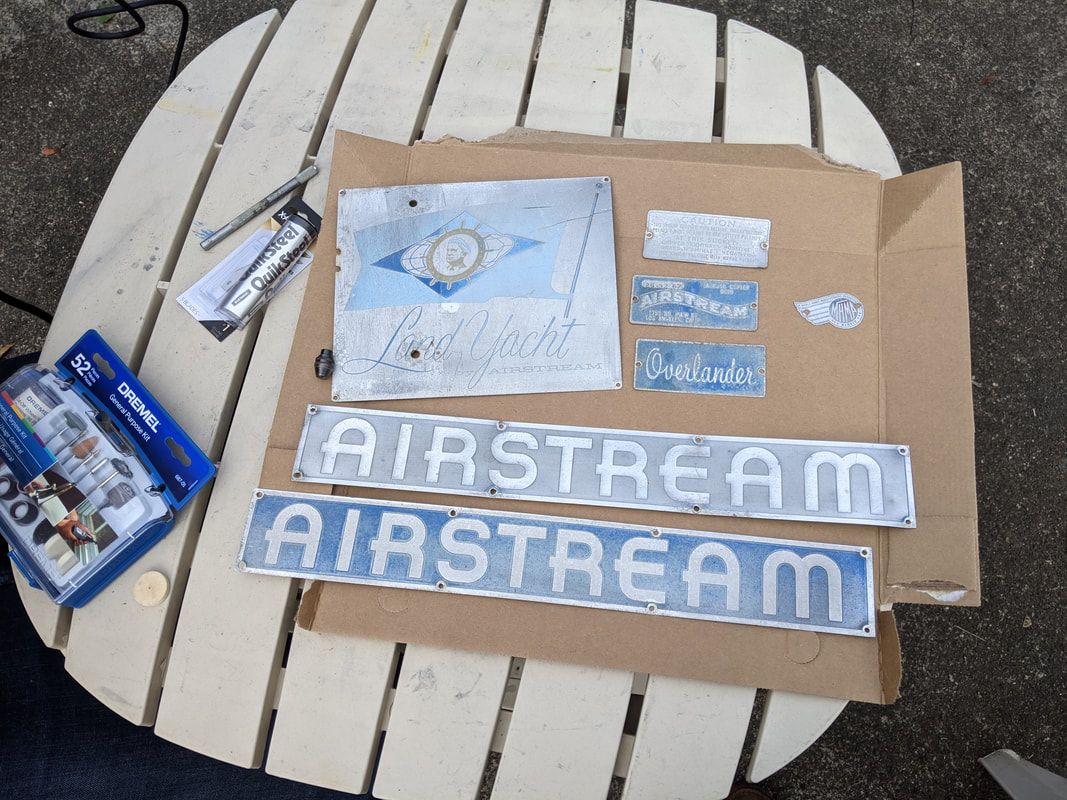
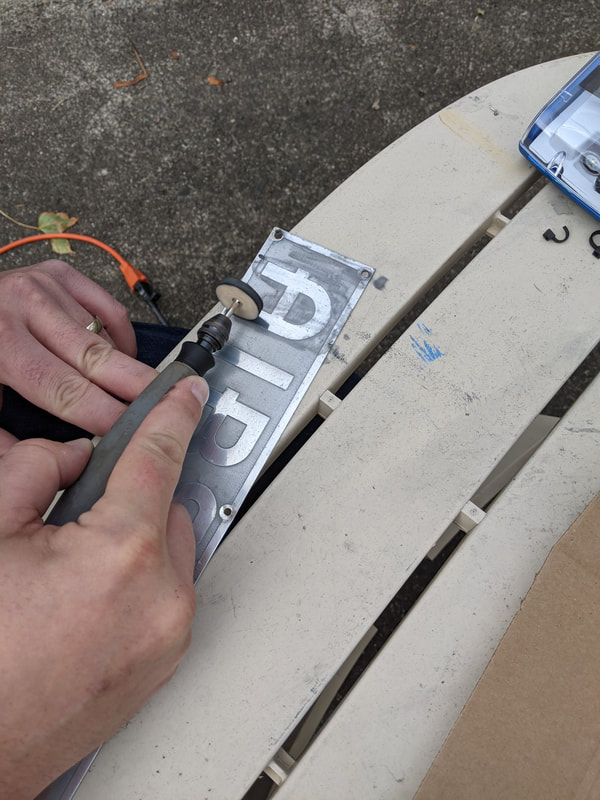
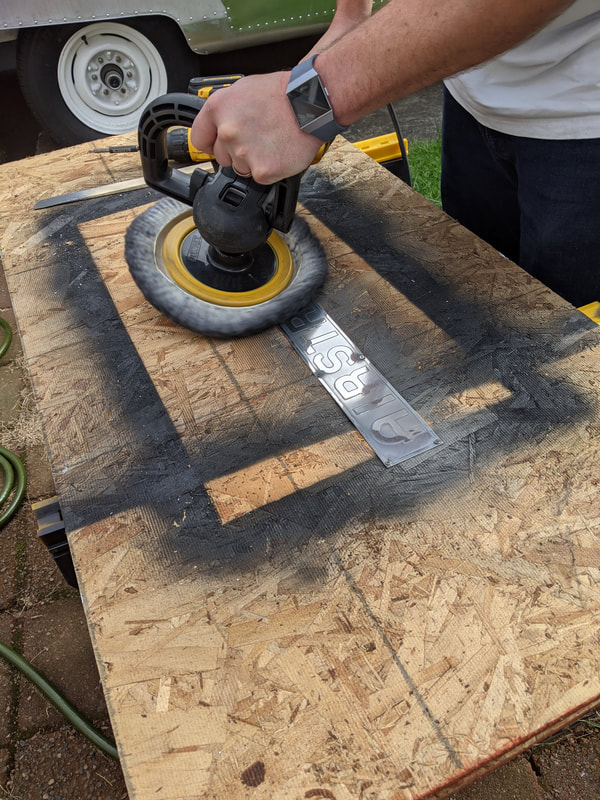
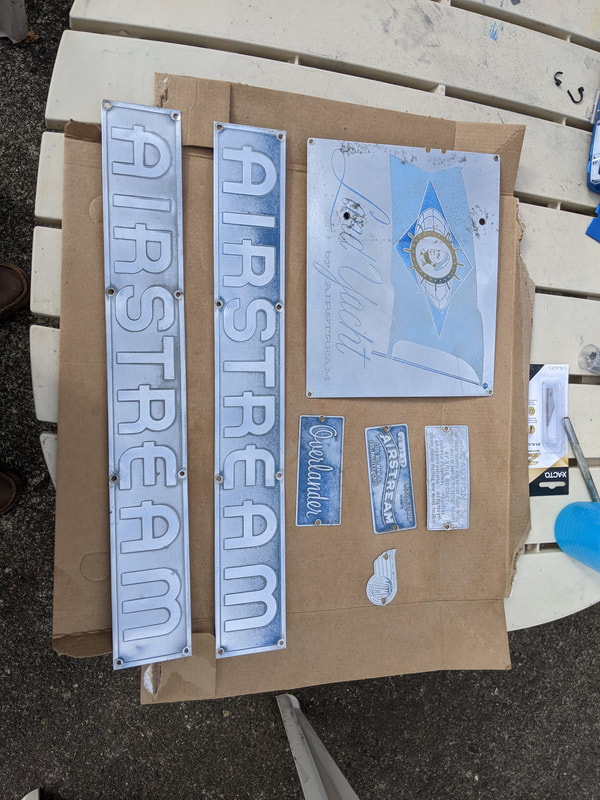
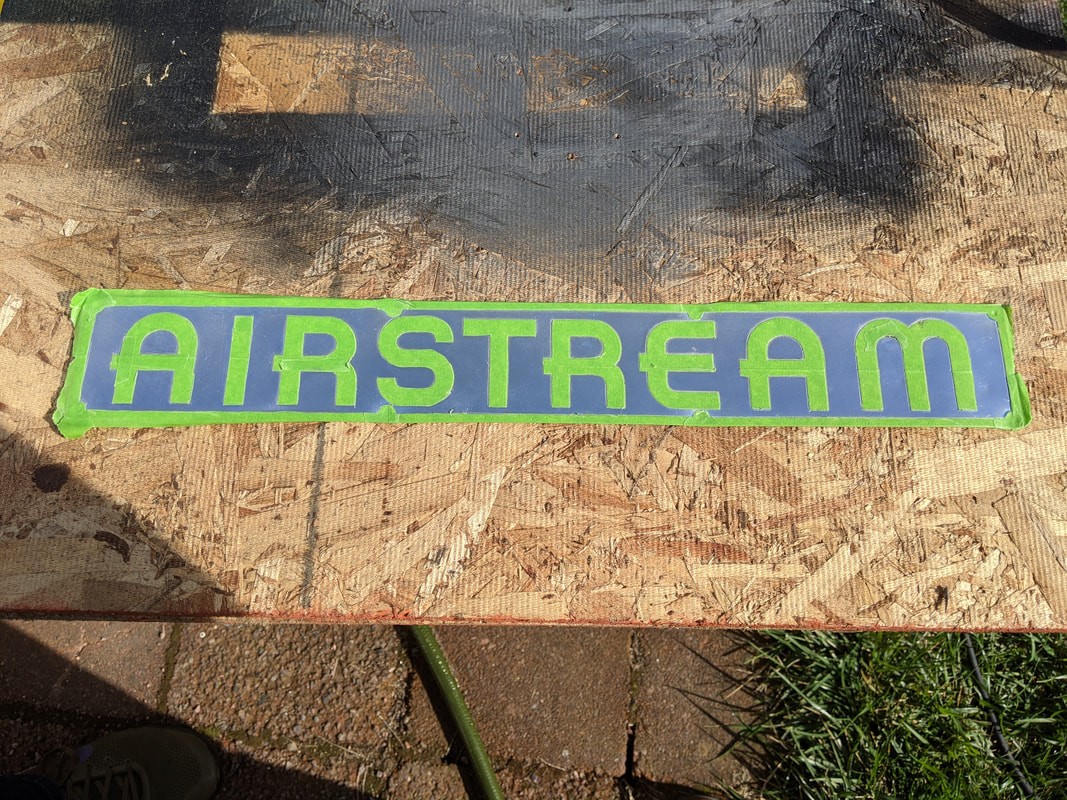
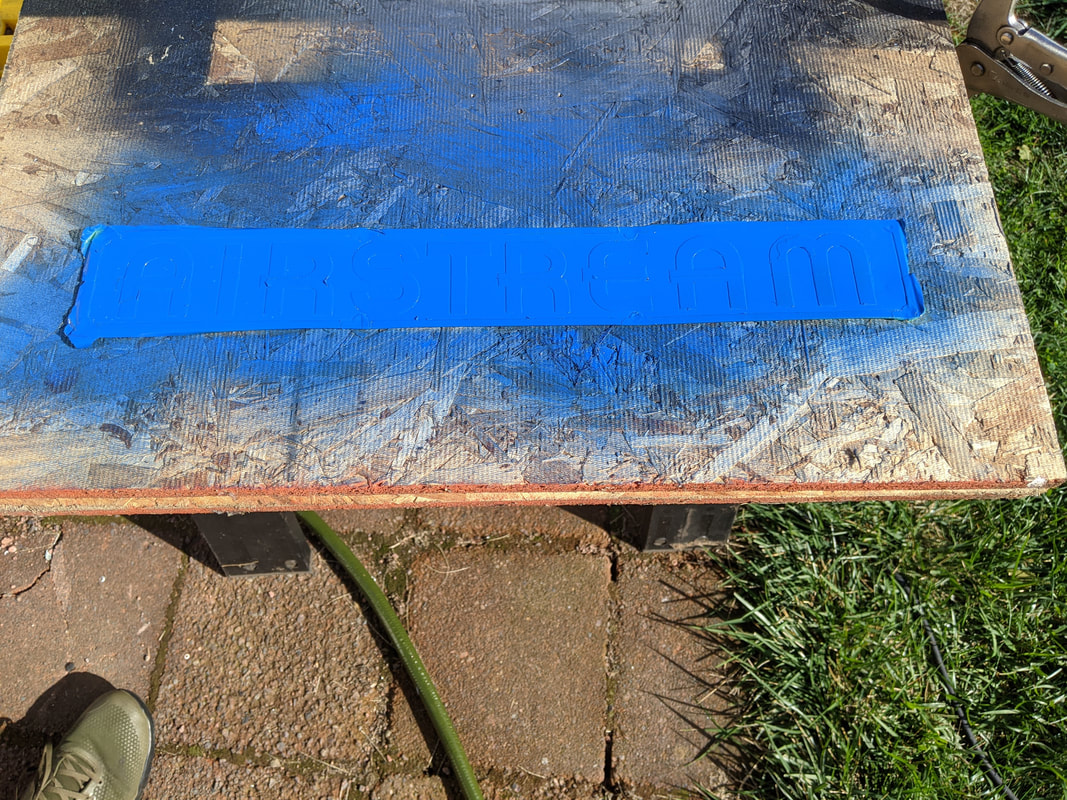
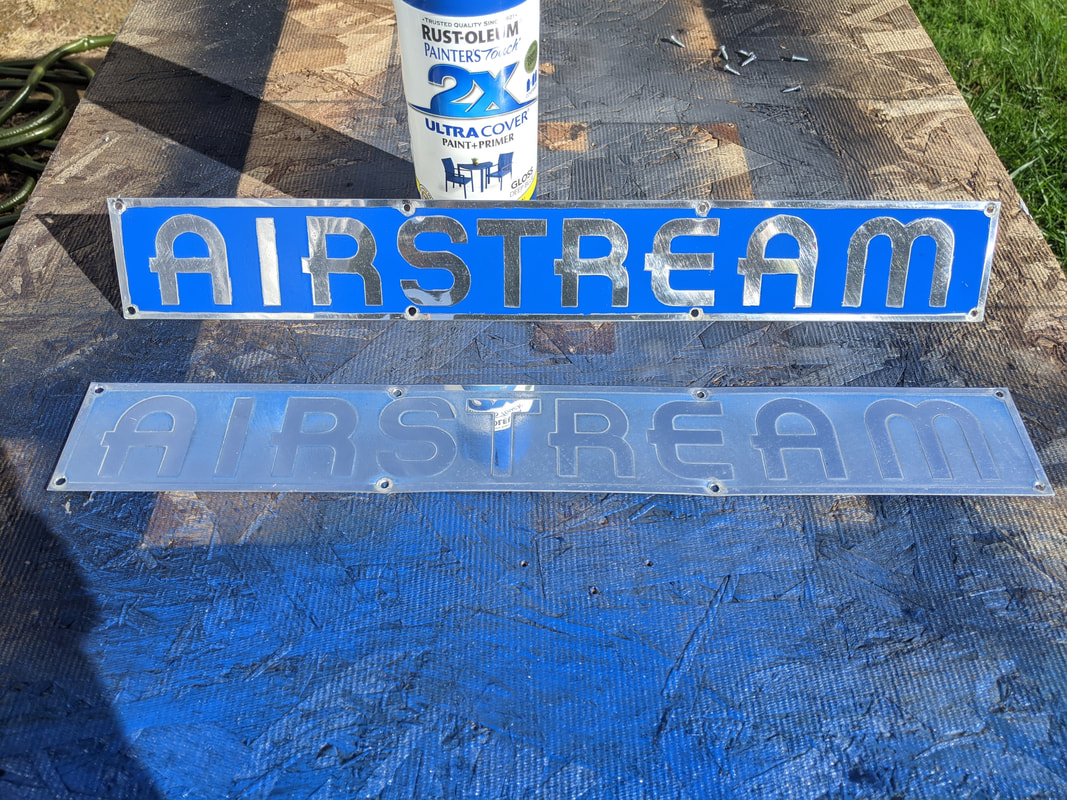
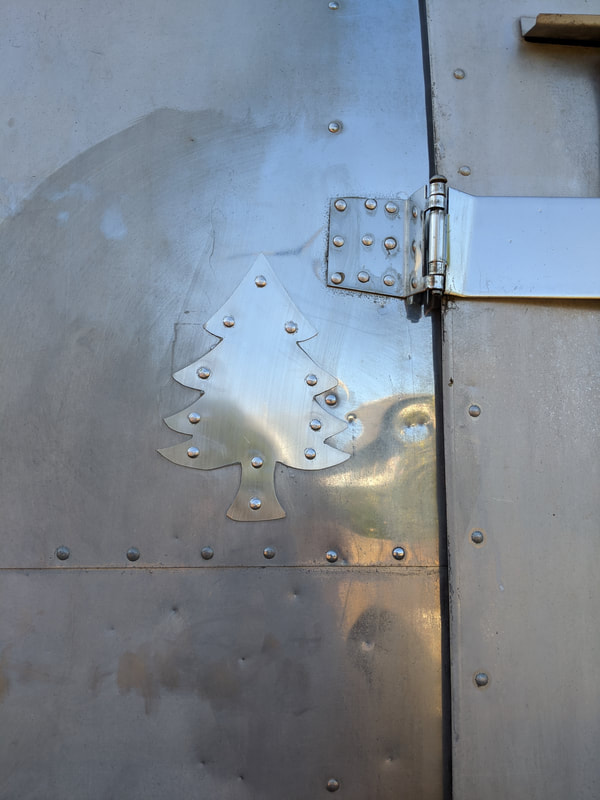
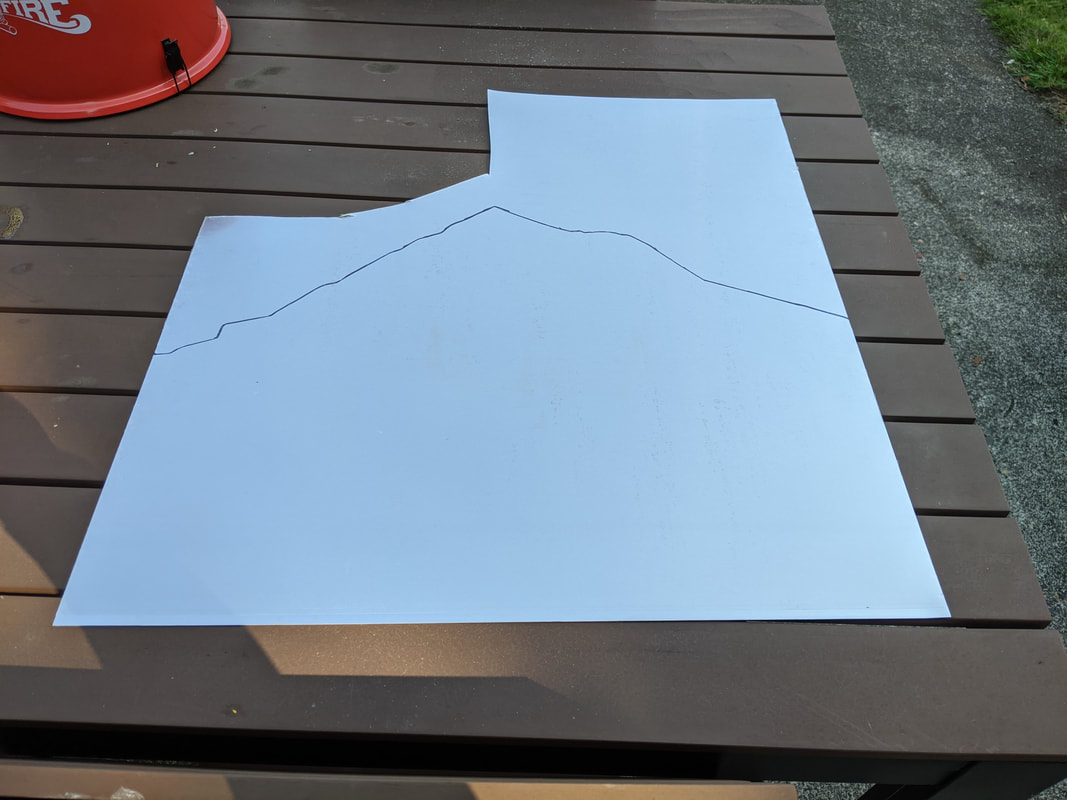
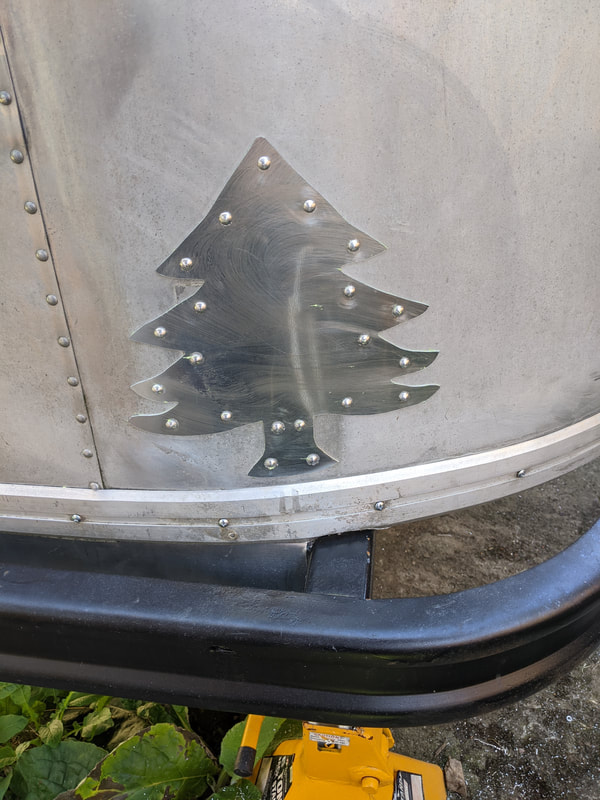
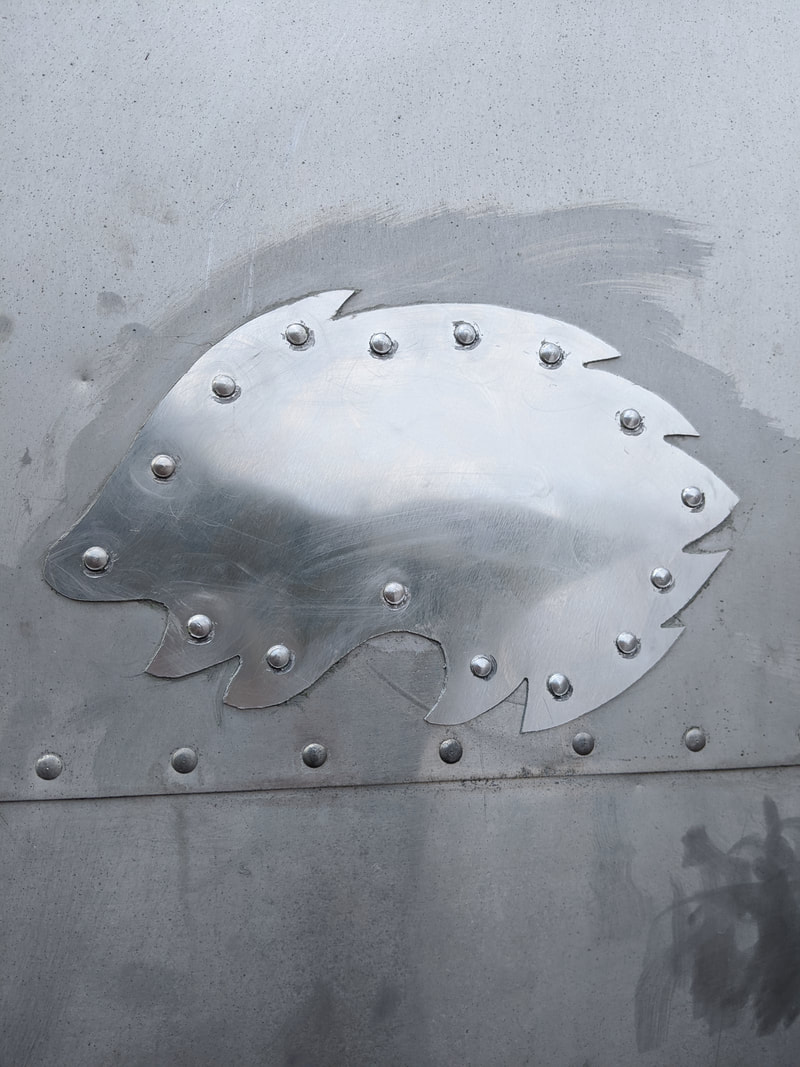
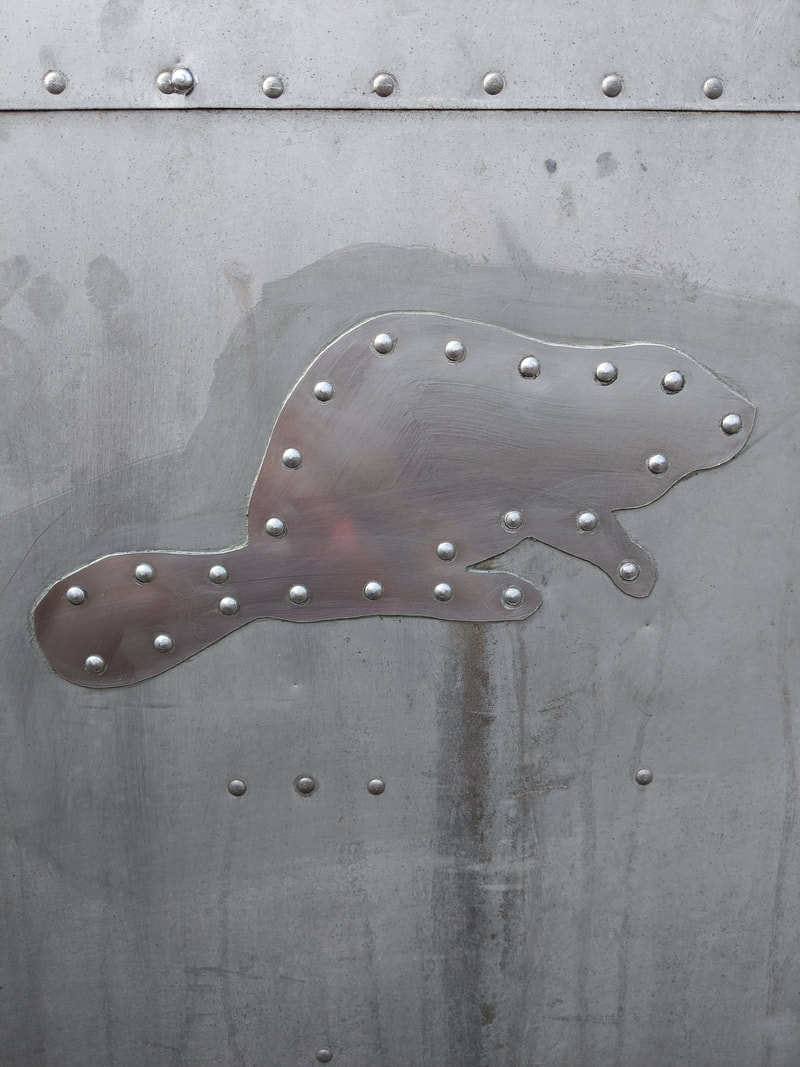
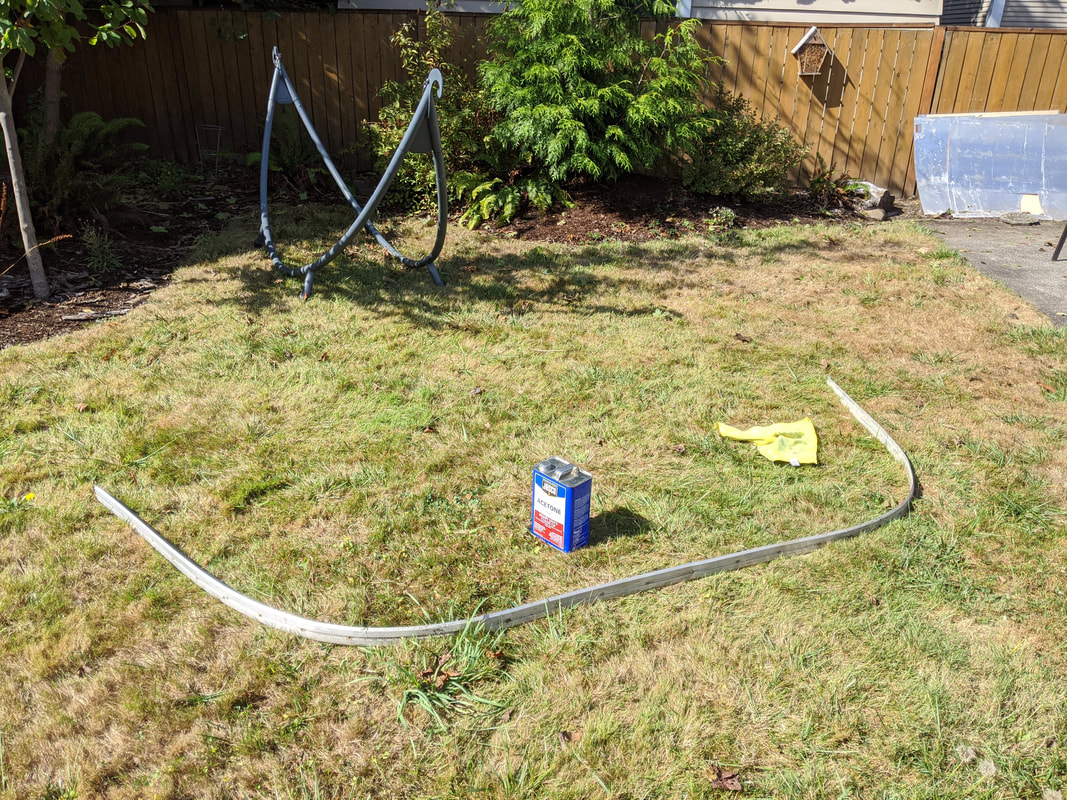
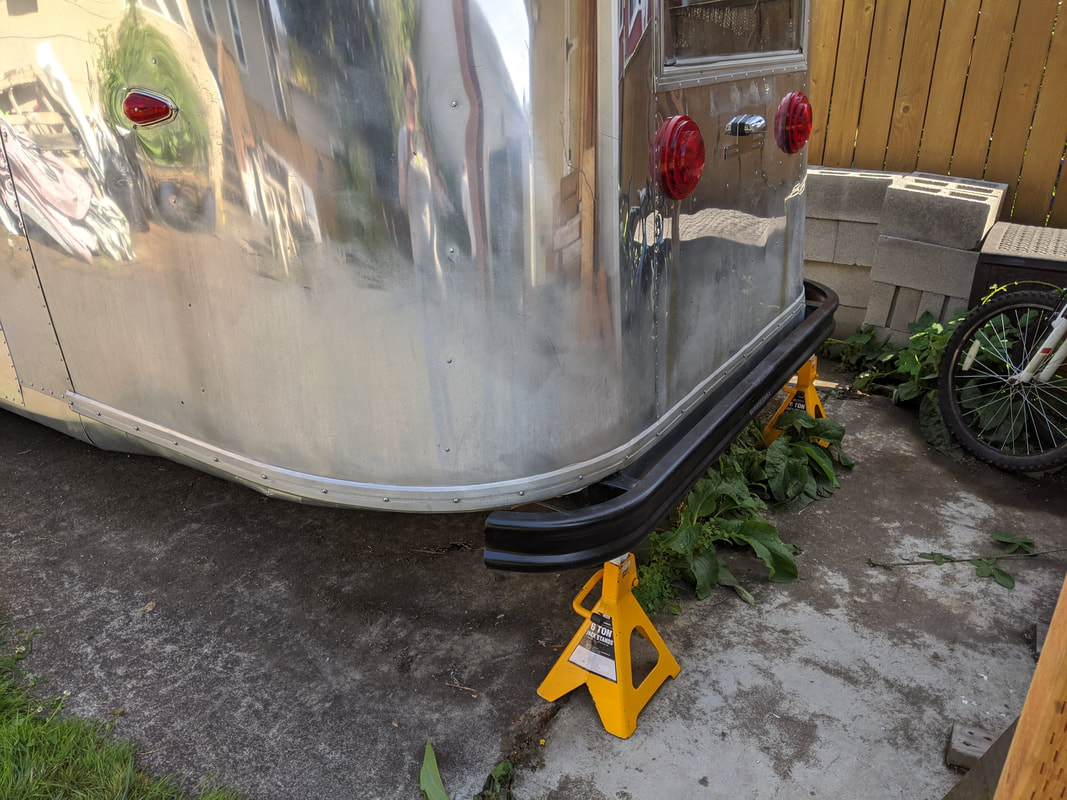
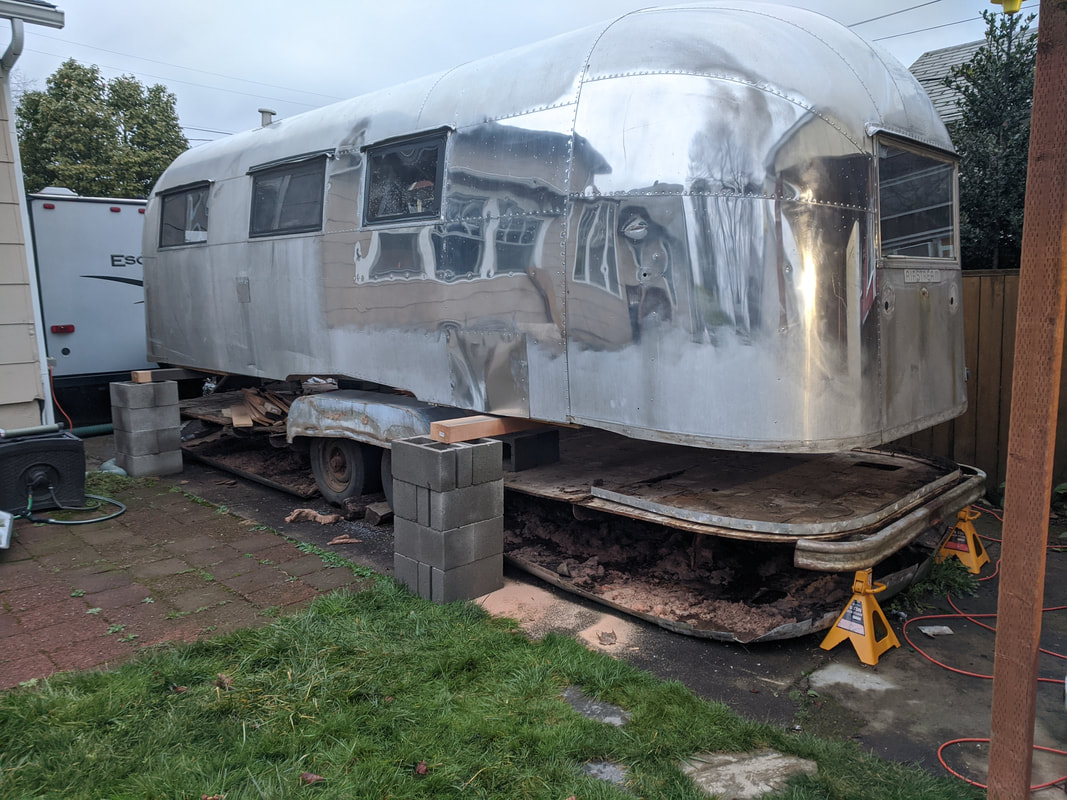
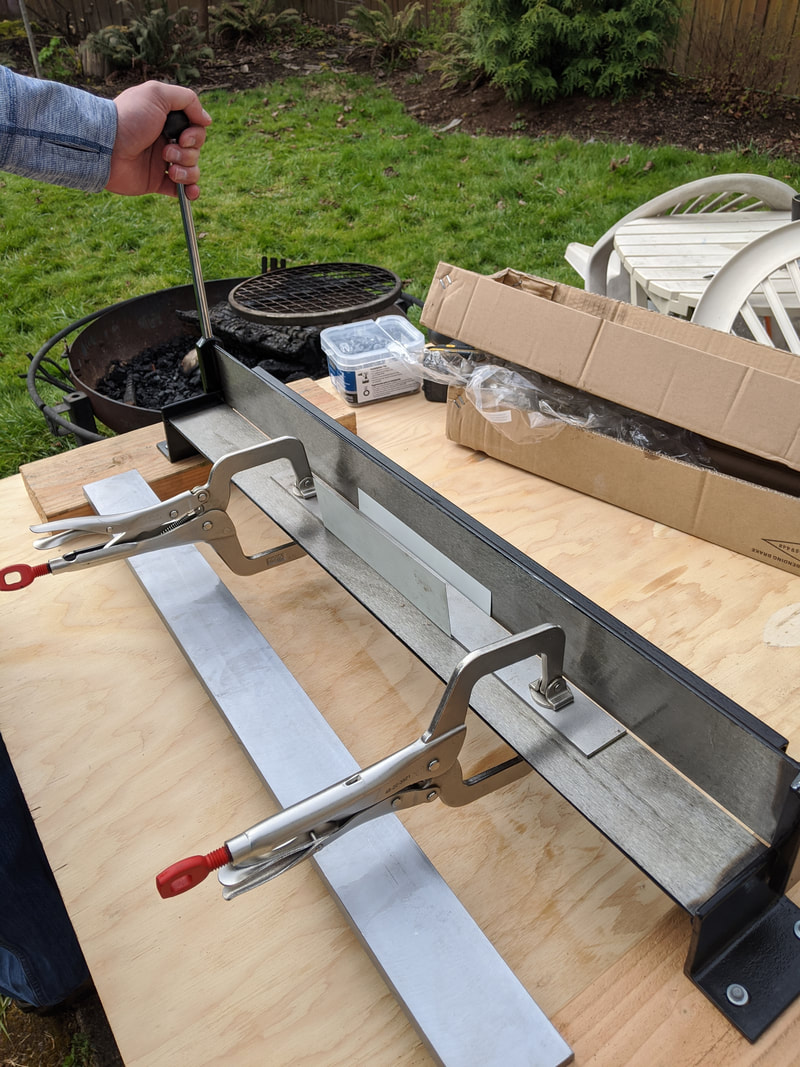
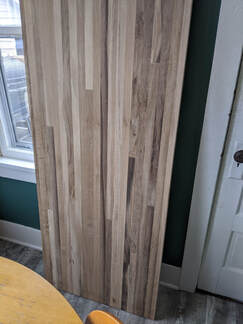
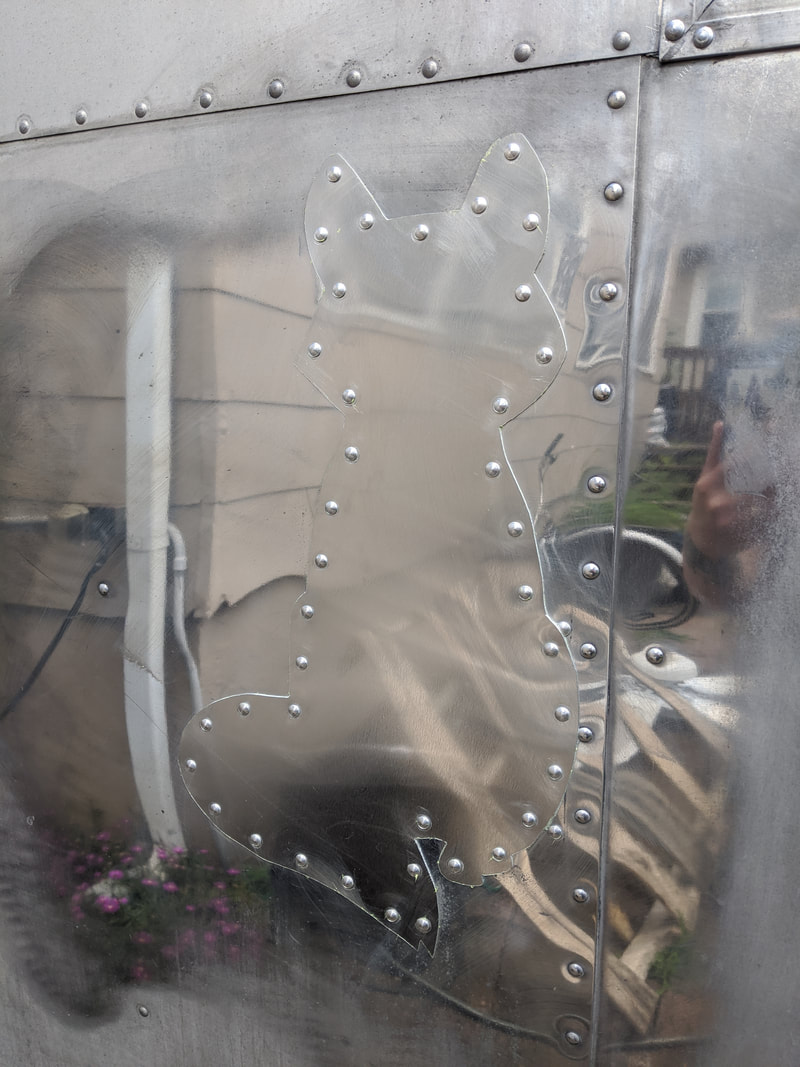
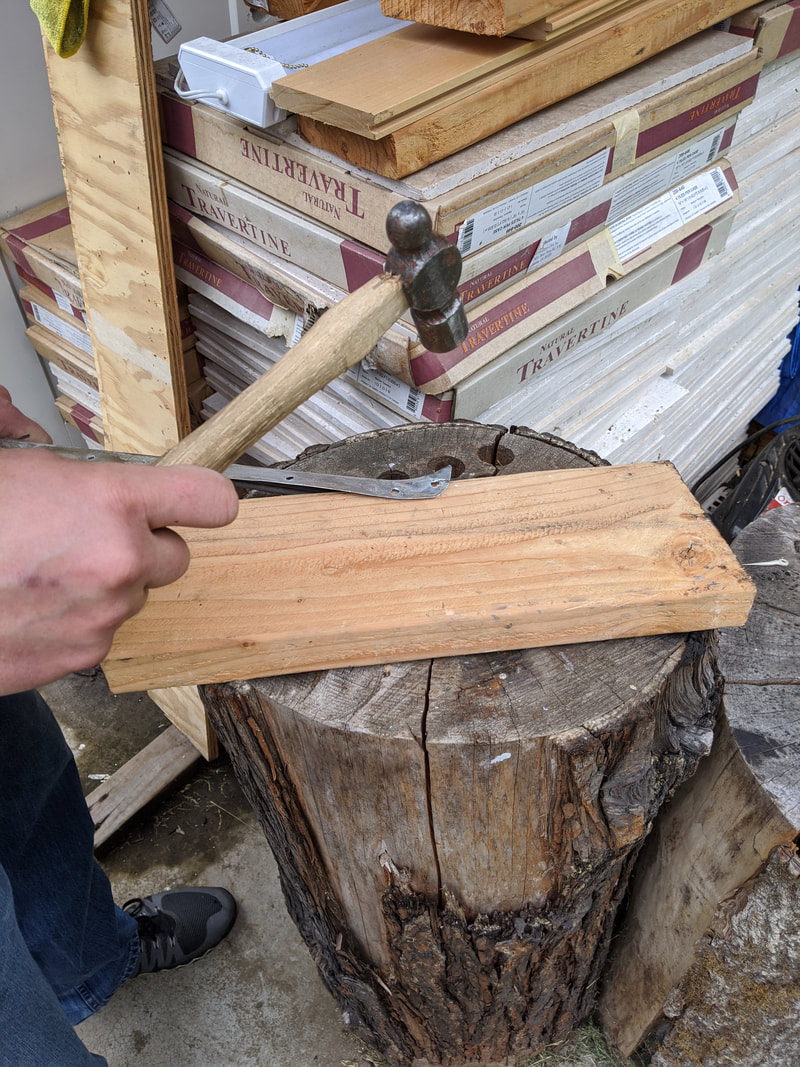
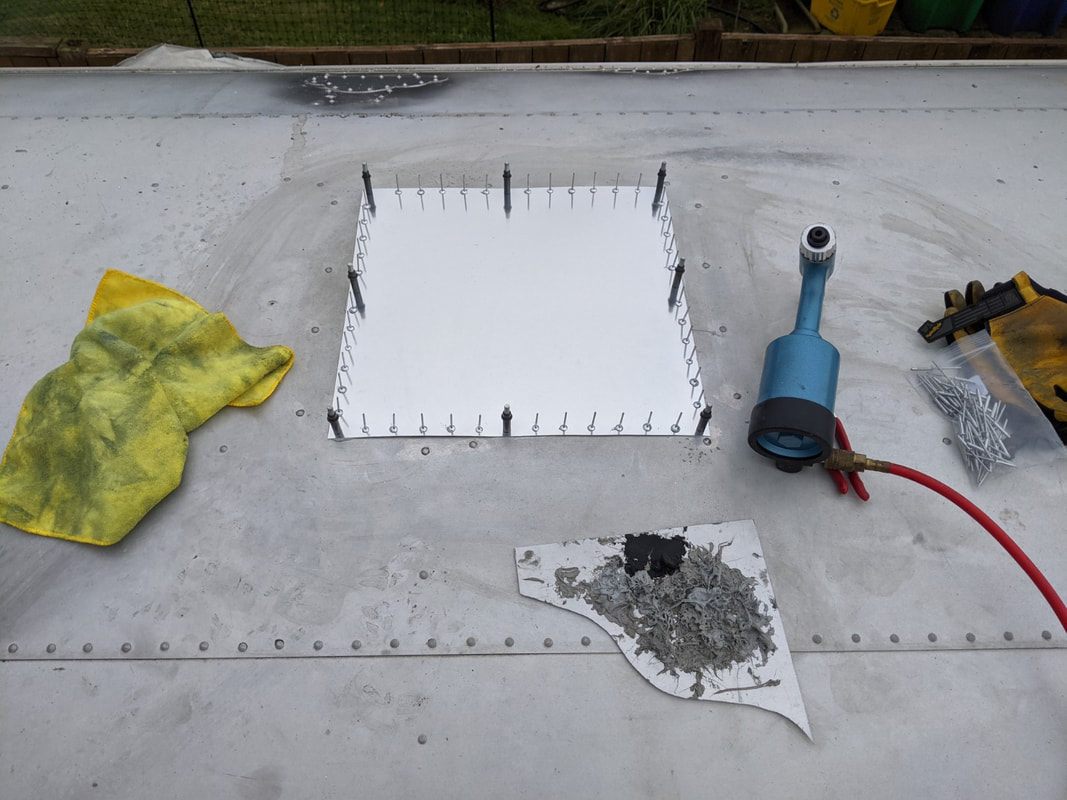
And while Mike was up on the roof, I was working on these patches! They aren't patching anything, they're just to be pretty, but they sure add to the Mt. Hood silhouette! 
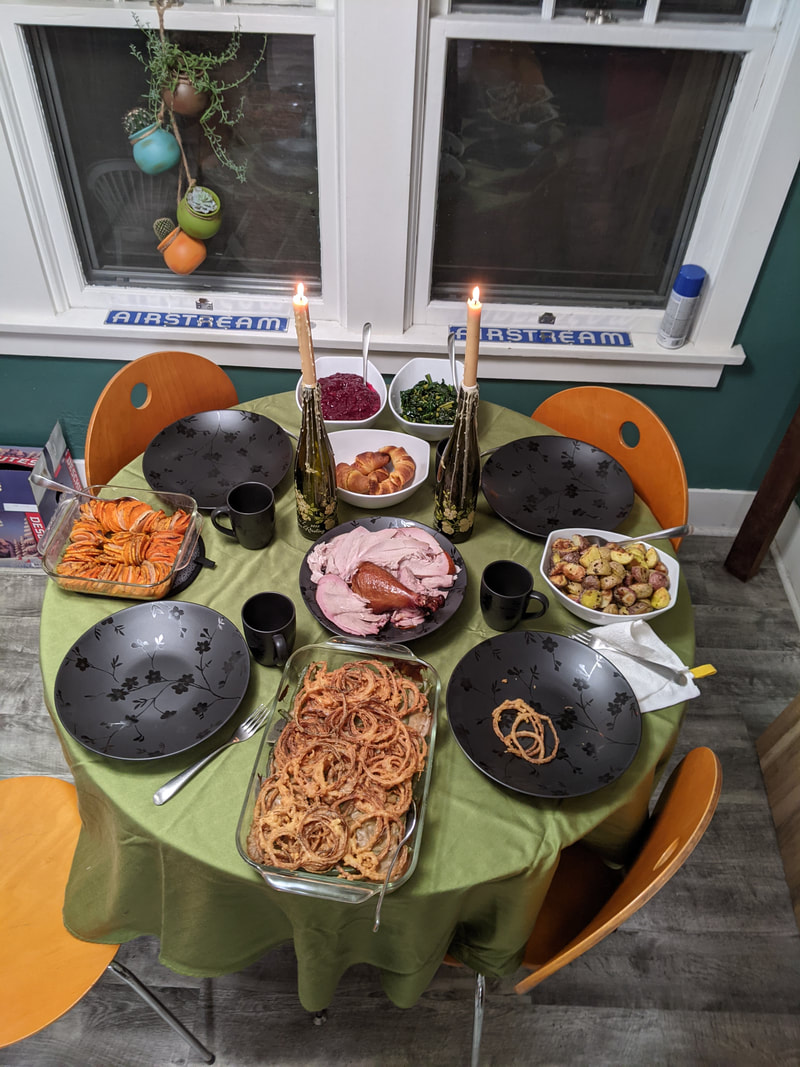
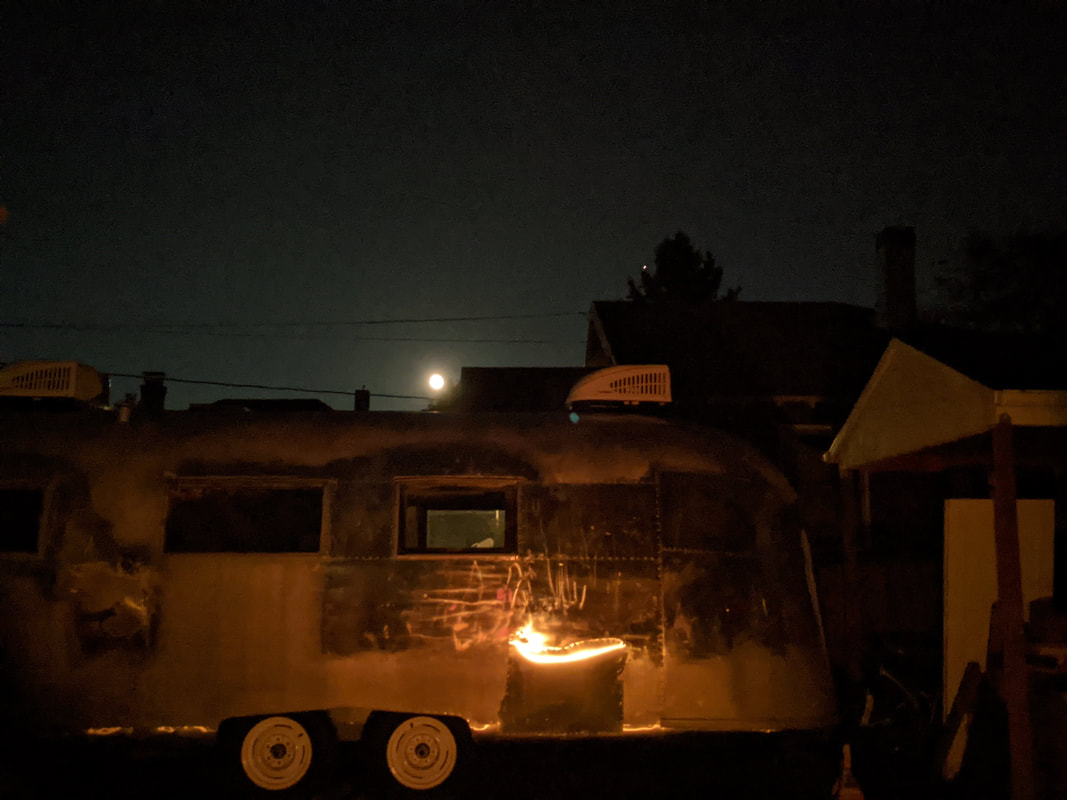
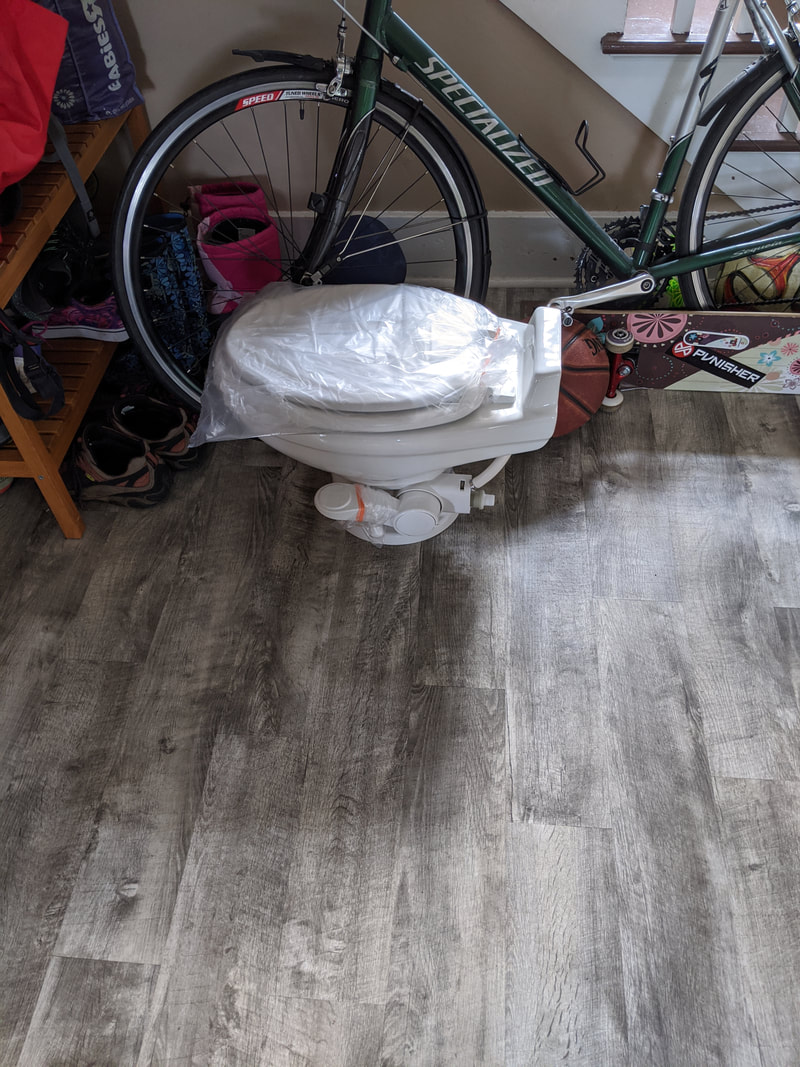
And, finally, here's Thanksgiving in the Seitz household! Lots of yummy food with Maude the AcuTrailer projects that have been sitting on the dining table pushed aside! LOL
Until next time! <3 Becca
0 Comments
Hey Guys! I know I haven't written much about Maude's progress lately, but that's because there just hasn't been that much progress made. We've been dealing with all of her leaks. All that darkness under the window? Yep, that's water from leaking windows. A couple of weekends ago we caulked all around all of the windows. Didn't work. *sigh* And more leaks :( Every time it rains we try caulking more seams, but it's a super slow process, since we have to wait for the caulk to cure to see if it worked. So when it hasn't actually rained, we've been hosing her down to try to search for more leaks. Our next step is to start using a product called "Tolley's Creeping Crack Cure" in all of the seams and rivets from the outside. Each. And. Every. Seam. And. Rivet. *sigh* Now, I had known we were going to need to seal all of the seams from the outside, but it's really hard to do in the rain ;) So, in between the disappointment of finding more leaks and trying to seal them up, we've been trying to keep up on some forward progress. We've now got the second Airstream emblem painted! We'll do touchups, a clear coat, and then get the suckers installed! Note: Some of our leaking has been coming from the holes where these emblems need to be re-installed. Another project on our before-we-can-really-start-working-on-the-inside list was to fix the stairs. If you recall, because of the way the plywood seamed in the doorway, it had a LOT of bend to it. There's no way it would have stood the test of time (not sorry about that pun! LOL!) Plus the stairs weren't centered under the door. So we cut a hole over the stairs to access the work area. A month or more ago we had gone to a metal scrap yard to find a good support piece. Mike has already cut it to size and painted it in the picture above. Mike drilled holes in the plate to not only secure it to the frame of the trailer, but to secure the stairs to the plate in their new, super-strong, centered position! Yay! Centered stairs!! And voila! The wood patch combined with the plastic (to prevent the door leaking) make it look uncentered still, but I promise you it is! ;)
It was really nice to have a bigger win this weekend in fixing the stairs. The leaking that we saw after the storm we had on Friday was VERY disheartening. Tears were shed. But Mike and I are both stubborn, and coming up with a plan for moving forward really helped. Until next time! <3 Becca Hey guys!
I've purchased a UV air filter for the treatment room! With the filter in place, I'm feeling much more comfortable, so I'm reopening online scheduling to allow for patients new to Thrive to come in person (as opposed to via telemedicine). I'd truly appreciate any referrals you all might send my way :) Plus, if things pick back up, I'd love to open up additional treatment days! During Crazy COVID Times (TM), acupuncture can be very helpful for stress-reduction, improving sleep, giving you a boost of energy and improving mood in general! Plus, how many of us are dealing with upper back, neck, and jaw tension from the stress of it all? Acupuncture helps with that as well :) I don't have an update on MaudeTheAcuTrailer this week - we took a mental-health break from working on her this weekend! We also took the time to winterize Harvey, our camping trailer ;) Stay Healthy! <3 Becca After last weekend when it rained and we discovered all of our leaks, we spent some dry moments in the middle of the week addressing them. We started with the air conditioner, since it's on the roof. Sorry, I didn't get any pictures of it - I'm terrified of heights and Mike was the one up there (he also forgot to take photos!) ;) After we got the roof sealed, we moved onto the next big leak which was the door. All of the white caulk that you see nearest the door frame is the latest addition ;) We caulked the entire away around. We also squished caulk into the seam seen above! Don't worry, we wiped off all of the excess and it looks fabulous! And lastly, we caulked the edges of the window frames where they attach to the shell of the trailer. We *THINK* this should address all of the leaks, but it hasn't rained yet, and we haven't felt like giving her a shower to test the seams quite yet, so we're not positive ;) On Saturday, we decided that we needed to get the emblems all restored so that we could rivet them back into place. This all needs to happen before we can put the inner skin back on, since the rivets will need to be caulked from the inside. The above photo is our "before" picture. They've been cleaned with soap and water and then wiped down with acetone. I kind of thought that the acetone would remove the old blue so we could start fresh, but it didn't budge! Not sure what the blue stuff is! Next, we polished them. We had originally thought that polishing them with the Dremel would work well, but it was hard to hold onto them and was slow. So Mike broke out the big polisher! Made MUCH quicker work of it LOL! Here they are all polished up! It's hard to see in the photo (it looks like nothing changed!), but the raised letters don't have huge nicks and scratches in them anymore :) Pretty sure this was the most tedious part of the whole thing - taping in preparation for spray painting. UGH. The taping TOOK FOREVER. Or rather, the trimming the tape with an exacto-knife and carefully removing the excess tape TOOK FOREVER ;) The spraying, however, took no time at all! Here's a (sort-of) before and after - one painted blue, the other not painted yet! There are some touch ups that need to happen, and then we'll need to seal it with a clear coat, but it looks AMAZING! And then we'll have to repeat the process with the others LOL! On Sunday, we decided to take the day off from working on Maude. I've been pretty grumpy about her, and it's not productive ;) In hopes of taking a REAL break (not just sitting around the house feeling guilty for not wanting to work on Maude) and doing something to recharge my batteries, we went mushroom hunting! And I think it worked :) Getting some much-needed dirt time was lovely, we found some species that were new to us, and I'm feeling less resistant to working on Maude :)
With the rain moving in this week, we were really feeling the pressure to get some more external projects done. For some reason Mike doesn't really like working underneath Maude, let alone in a giant puddle - wuss! ;) All of the time we've been working on Maude, she's been supported by jack stands. Well, she's starting to get to lean on her own stabilizers! Unfortunately, they need to be secured to the frame which is REALLLLY tough metal! Mike is able to drill the holes and screw in just 3-4 bolts before the batteries die on his tools! So we've got the two rear stabilizers installed, but are waiting for the next dry days to get the front two installed :) On Sunday, it rained. Our original plan for the day was to pull the 12-volt wire that will go under the front endcap so that we can start the process of getting it installed! But instead, we found several leaks. And we can't install the endcap until we're sure it's not leaking underneath it. Fortunately, the whole back of the trailer is dry, but we've got leaks at the door, the front air-conditioning unit and 2 of the front windows. We spent the day trying to source the leaks so that the next dry day we can caulk them. Sunday didn't feel particularly productive OR positive ;) Here's the leak at the front door. Note: it's NOT coming in through our newest mountain patch! Thankfully, all of our patches are sealed properly! The water for this leak is coming down the side of the door and sneaking in at the bottom of the door seal right into that bottom C-Channel. In order to prevent more water from getting in, Maude's back to looking a little trashy with her garbage bag tarp, but we'll get it figured out!
Until next time! <3 Becca Hey Guys! This weekend we got serious about getting the darned endcap into place. We're tired of messing around with it ;) Saturday we used ALLLLLL the clamps and got it into a pretty good shape! We let it sit so that we could do some minor adjustments once it had relaxed over night :) In the meantime, we did another patch! This one was covering a spot in the shell that had corroded through. We used a wire wheel to remove the loose corrosion, then caulked the HELL out of it and patched it! No more leaks from THAT spot! ;) On Sunday, we made some final adjustments and then riveted the endcap into place. As we worked our way around the front edge riveting and removing clamps and supports, we figured out why it had seemed to FINALLY get into a better shape for us - we cracked it. OOPS! Here's a close-up of the crack. We've since drilled holes in the ends of the cracks to keep it from splitting more, but we're pretty sure we're going to need to cut the fiberglass a bit to allow it to lie a little flatter. Then we'll figure out how to patch fiberglass! We're learning ALL the skills along the way! LOL! It was a pretty big bummer, but what's done is done and we'll make it work :) After the mixed results of the endcap, we decided to do another project - we needed to deal with this cargo door that has been one of our biggest leak sources. We got it all pulled apart and as we were trying to figure out how to bend the door and frame back into shape (somewhere along the way, it had gotten hit and bent out of shape, thus the massive leaking), we started thinking. The opposite side of this door is going to be shelving for herbs and supplements, did I really want or need cargo storage there? Turns out the answer was, "No, not really." So we changed course and decided to patch it. It would be easier, quicker and more sure not to leak! Since it was a rather large hole that we now needed to patch, it took a while to figure out what shape to patch it with! I settled on the silhouette of Mt Hood :) And here's the patch all installed! I'm not quite done with it yet, though! I'm going to add some purely aesthetic patches - some trees in the middle of this patch. :) After all of those rivets, we were pretty tired though, so the prettiness will happen another day ;) Just for fun, here's a picture of all of the patches on Maude's curbside :) On Sunday, Mike took this photo as we sat in our backyard with a little propane fire. The fire cast some neat light on Maude, plus there was a mostly-full moon above her! Very Halloween-y! :)
Until next time! <3 Becca I'm SO tired of windows! But this is the last one, so yippeeeeeeeee!! We finally found an entire replacement window on EBay. You can see that we had the part of the frame that attaches to the shell of the trailer, but we're missing the part that would hold the glass and allow it to open and close. Early on in our relationship with Maude, we purchased plexiglass to temporarily cover the hole and lovingly sealed it with duct tape ;) The replacement window came in this week, so we got to install it! Yay! Functional, in that it prevented leaking, but NOT pretty ;) As usual, Mike removed the old frame and I got to clean up all the bits that would be going back, while he prepped the trailer side of things. Here they are all cleaned up! And here it is! The LAST WINDOW! INSTALLED! Even with a really clean replacement, the whole process STILL took about 3 hours. Not going to miss doing these ;) After the window was done, I was still feeling like I had a little bit left in me, so I installed this patch on Maude's rump. I've been calling it her Camp Stamp *giggle*
Until next time! <3 Becca Holy cow, it's been a couple of weeks, eh? We went camping for one of the weekends, during which my youngest broke her wrist. So that was exciting ;) Then the smoke rolled in, which made it impossible to be outside to work on Maude at all, and made me really want to skip town, since it was really kicking my butt. BUT, if there's a good side to all of these happenings, we got a bit of a break from working on Maude, so we were more ready to get back to work :) So last time, we left off with me being frustrated with the endcap LOL. The picture above on the left was where we left it. We had actually gotten some of it riveted into place! Well, this weekend, Mike pushed and prodded and cussed the right side of the endcap into place and got it riveted! Unfortunately, the left side wasn't wanting to mold into the proper position, so we set it up with 2x4s and clamps pretty close to shape. We're going to let it rest in this closer-to-correct position and we'll try to get it next weekend :) These endcaps are.... really stubborn ;) While Mike was working on the endcaps inside, I was working on more patches! We have 2 more to go before we're done with them and can check them off our list! I'm TOTALLY loving my porcupine and beaver patches!! Another chore on our check list was to finish getting Maude's trim (we call it her belt!) installed. Installed PROPERLY. So, you may remember that we started installing the front belt. Well, the screws that we had purchased to do so were CRAP. They ALL either stripped before getting the trim on tight, or the frickin' head of the screw just popped off! Well, this weekend, we addressed it. We started by grinding a little slot in the stripped screws and then removing them. The ones with popped-off heads we had to use vice grips. But we got them all! And we had complete success with the new screws! The front belt went so quickly and smoothly that we decided we had time to get the rear belt installed as well :) All cleaned! And it was pretty exciting, as the belts have just been sitting standing up against our back fence for a whole year. I'm happy to see them reinstalled so our yard looks a LITTLE bit less like a junkyard. *Note: Inner skins still leaning up against the side fence LOL Maude Beltless. She's looking a little naked! And Maude fully accessorized!
It was nice to have some wins this week, since the endcaps have been SUCH a blast! OH YEAH! And another piece of great news! We found a replacement window for the last window that we haven't addressed yet. Our current window has the part of the frame that attaches to the shell, but we're missing the part that would hold the glass and allow for the window to open and close. Well, some guy on Ebay had just the window we needed! It was a bit spendy, but now she'll be complete! Alright guys, stay healthy and we'll catch up again soon! <3 Becca We last left off at us having started applying the Reflectix to Maude's end caps, but we ran out of materials. We got more Reflectix and spray adhesive, so we were able to complete the job :) We also were able to put the Rockwool Insulation in place! We were really excited when the spray adhesive held it in place really nicely (we weren't sure if it'd be too heavy). This part went really quickly and smoothly! We might have gotten too excited about getting the endcaps into place - the rest of it isn't going as smoothly as one would hope ;) We seem to have several factors working against us : 1. The endcaps sat in the shed for a year, so perhaps the heat allowed them to shift shape a bit. 2. The trailer shell might not be in the exact shape as it was originally since it had deteriorated over her 60 years. 3. We're working against a thicker insulation than she'd had originally. Regardless, we're having trouble getting the endcap into anything resembling an original location ;) We're using the boards to hold it up, but to try to get it to form to the curve better. Another complicating factor is that there aren't any ribs under the endcap! The only places it attaches to the shell is around the window frame and at the front of the endcap at the big archway. So trying to get all of that to line up while not creating gaps along the curves is super tricky! We got frustrated enough with it, that we left it for the day. ;) We find that taking some time to think about a problem really helps figure out our next steps. We still had a lot of time left in the day, so we started working on some other projects that still need to be completed before the inner skins can go back on. Above is the doorway and stairs. As you can see, the plywood subfloor ended up with a join right in the doorway. It made for a really wussy entry that bends under our steps. Also, the stairs are uncentered in the doorway, which was driving me nuts. This was not gonna cut it! So we cut it out ;) We did some problem solving to figure out how to remedy all of these issues, and decided that a trip to the metal scrapyard was in order. But we wouldn't be able to make it until the following weekend. So.... onto yet another project! LOL I removed and cleaned all of Maude's emblems to get them prepped for repairing, polishing and painting. At this point, the day had been a bit disappointing in that we didn't FINISH anything, but we called it a night. The next day we decided to retry tackling the endcap. We used more boards to help support and shape it. This seemed to go a bit smoother! Plus, I think letting it sit overnight allowed it to heat and cool in a position that was closer to it's original shape! We were able to get the rivets in around the windows this time!! This was quite the win after our struggle the day before LOL! But we still had a hard time getting the edge of the endcap to meet up with the rib properly. We decided that we were never going to be able to get the old rivet holes to match up - so we drilled new ones. We got some rivets in at the top of the outer curve right by the AC unit, which was a huge win! But we found that trying to get the curves to fit as well as we would like wasn't working. We again stopped for the day. We're hoping that more resting in the heat will help us some more? We'll see!
We're taking a little break from working on Maude while we get the girls settled into the new routine of school, so you won't be seeing new progress reports for a couple of weeks, but don't worry, we'll get back to kicking butt again soon! Until next time! <3 Becca We went camping this weekend, and so didn't get any work done on Maude this weekend. It's perfect timing, though, because we've had Maude almost 1 year! On August 25th, 2019, we brought this sweet, little old lady home, and we've been working our butts off to help her shine again! We had originally hoped that it would take about a year to get her ready to turn her into my new practice space. Obviously, that didn't come to fruition, but we've made HUGE progress with her! Maude - my diamond in the rough! Poor thing had been so neglected! She's been gutted. We've removed her inner skins and gotten rid of her mouse-destroyed insulation. We've spent time at DMV getting her re-titled. We've made MANY temporary repairs until the proper fix could be performed. We nearly gave me a heart attack lifting off her shell! (Holy CRAP, it was terrifying!) We discovered that her frame was not salvageable. But we weren't deterred! We had a new one fabricated for us in no time flat! And then we stopped pulling so many things apart and started putting them back together all nice and new and clean :) We've reused parts that were salvageable, and recreated new pieces to fill in when they were just too far gone. We struggled with that stupid belly pan for WAYYYY too many hours ;) And we gave me more heart attacks lowering her shell back down onto her new frame! We started to see Maude coming together! We got her floor plan all figured out and gathered almost all of the fixtures that will make Maude a cozy treatment space for you all! We've made TONS of cute patches, with more to come! We cleaned up the door and got it to stop leaking. We removed, cleaned, repaired and replaced WAYYYY too many windows! We fixed the door latch and started wiring! We installed all of her external lighting. (Look at that cute butt!!) We installed her new power plug! We installed Air Conditioning/Heater units! And, finally, we've begun the process of insulating her!
It's been an amazing year of ups and downs, easy and hard days. We've had multiple (minor!) injuries, but what project would be complete without a blood sacrifice to the gods? ;) We're learning so much about Airstreams and their construction, and we're having a ton of fun doing so. I'm super excited to continue on with our Maude Journey and get her finished so that (once the COVID pandemic is over) I can introduce her to you all in person :) Happy Gotcha Day, Maude! <3 Becca |