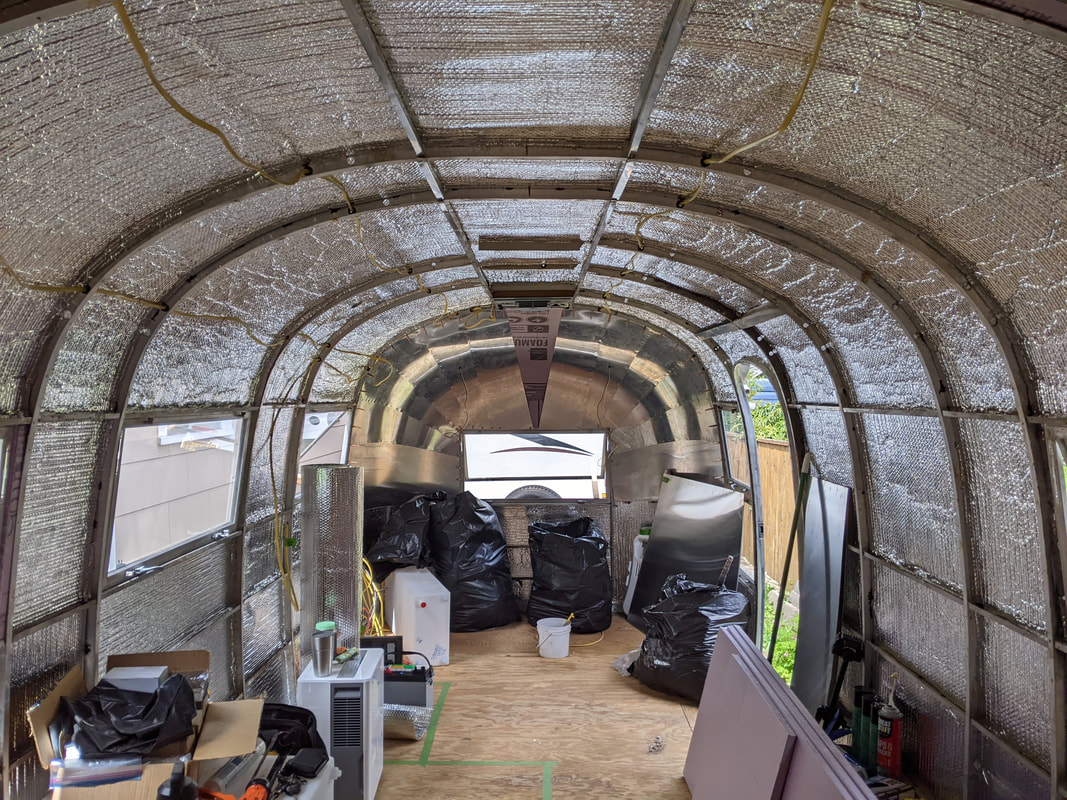
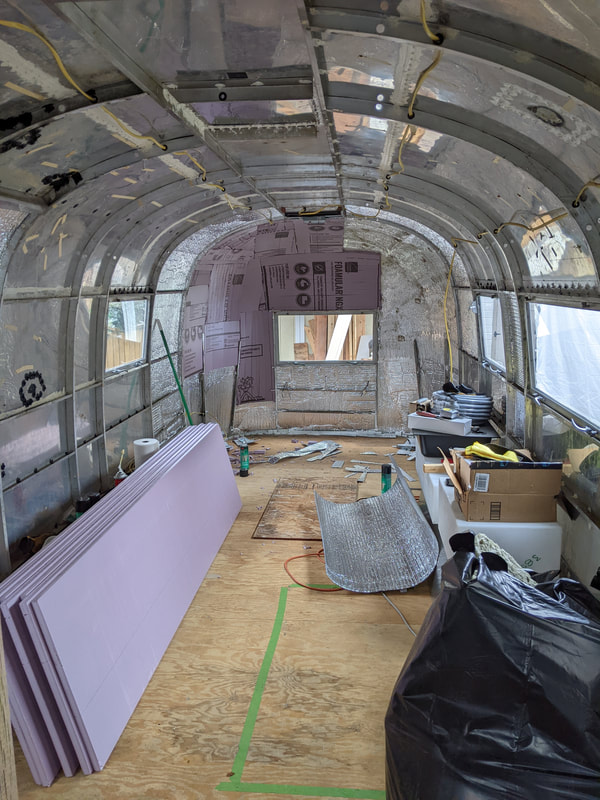
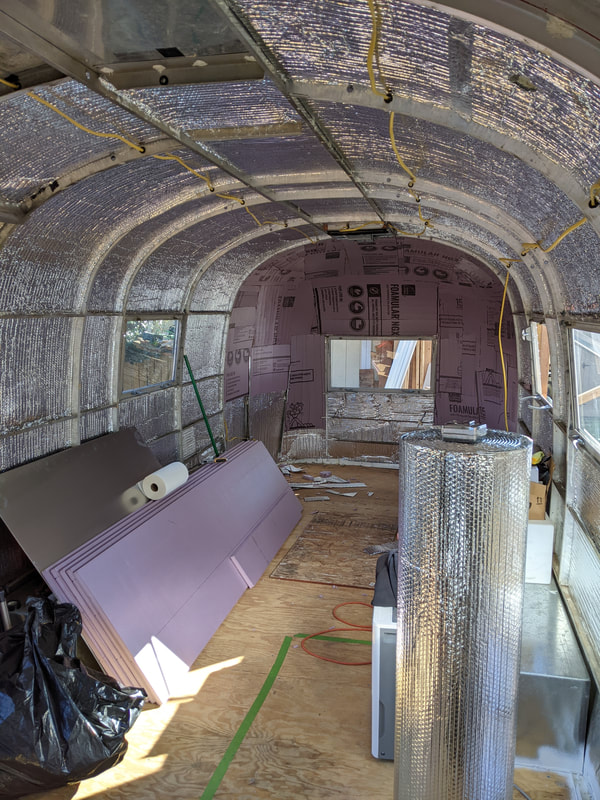
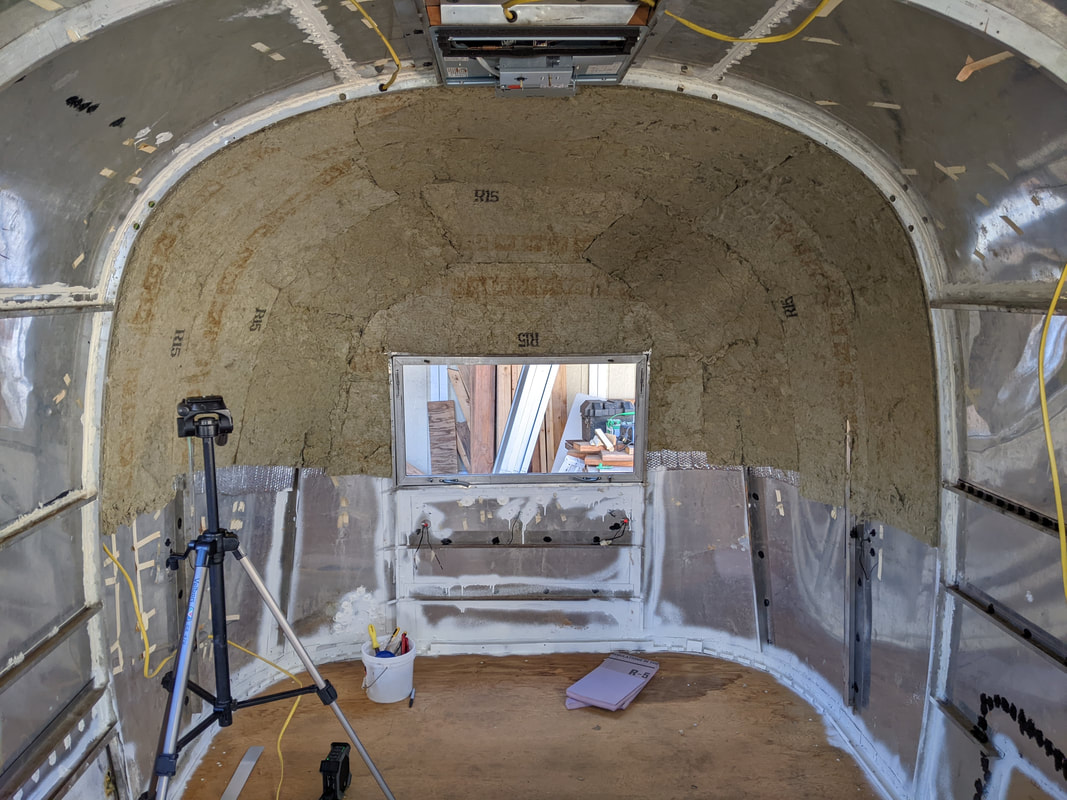
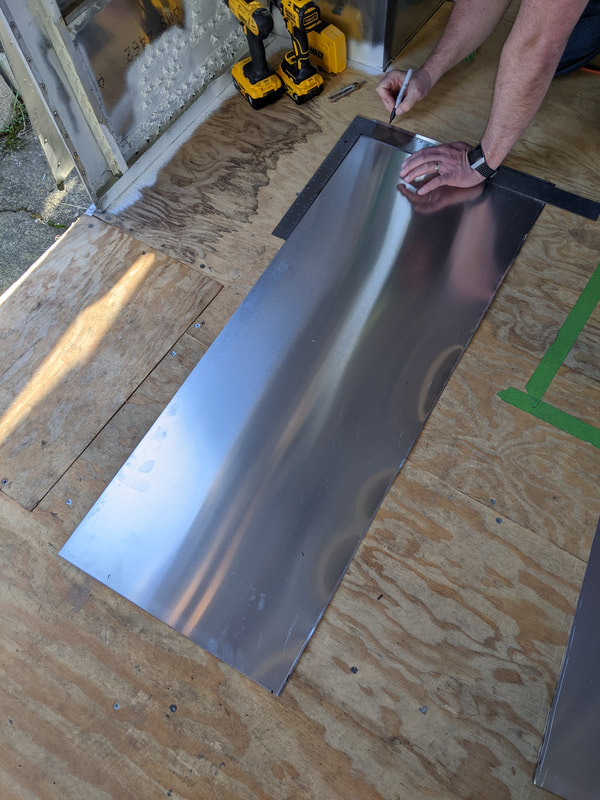
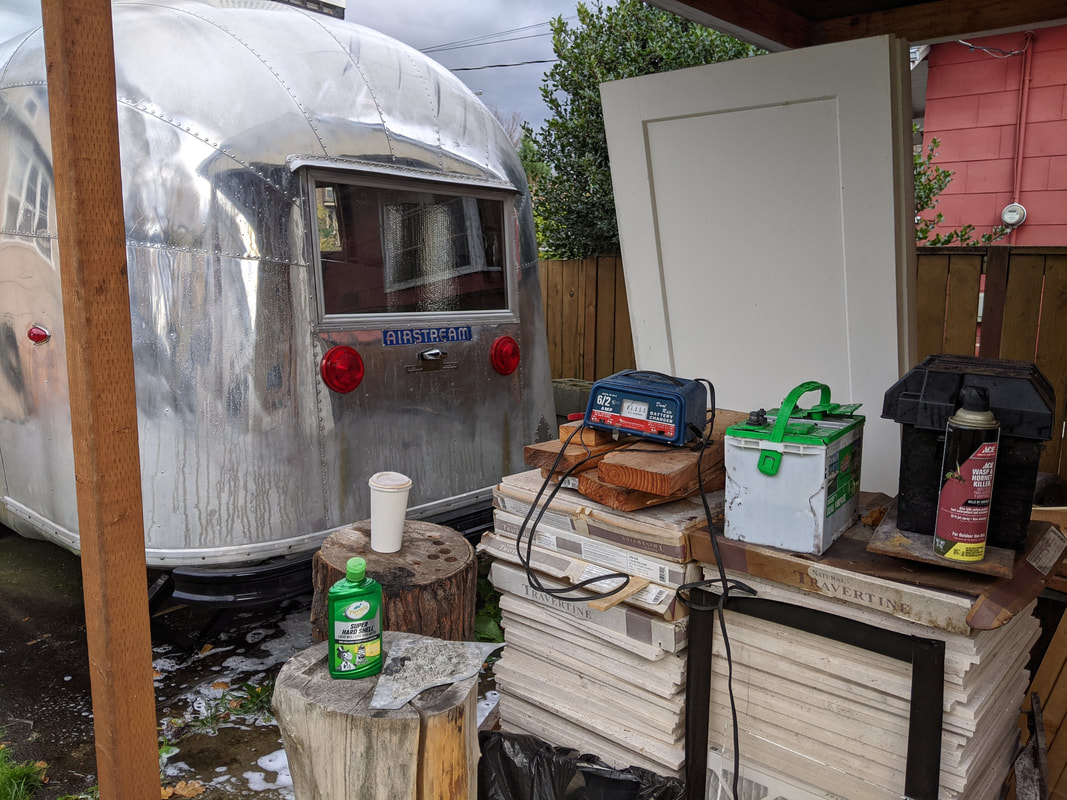
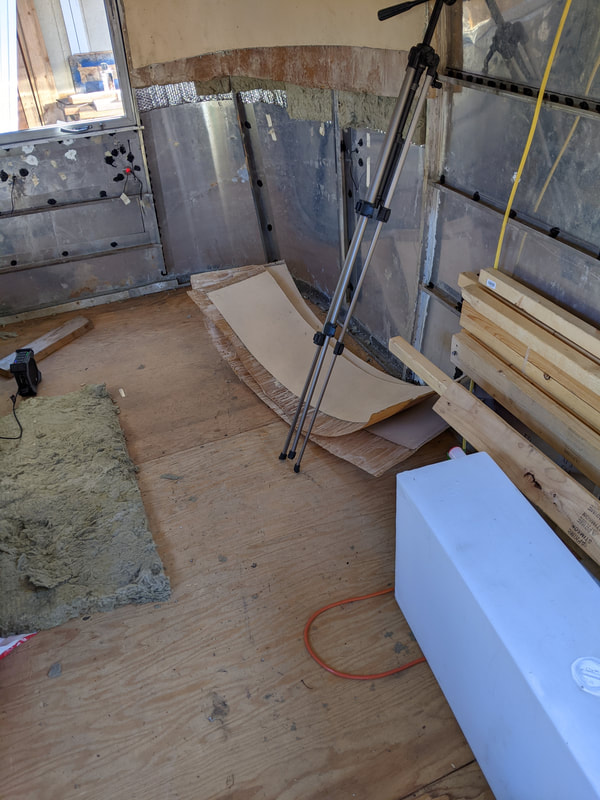
We got a little more work done on Maude this weekend!
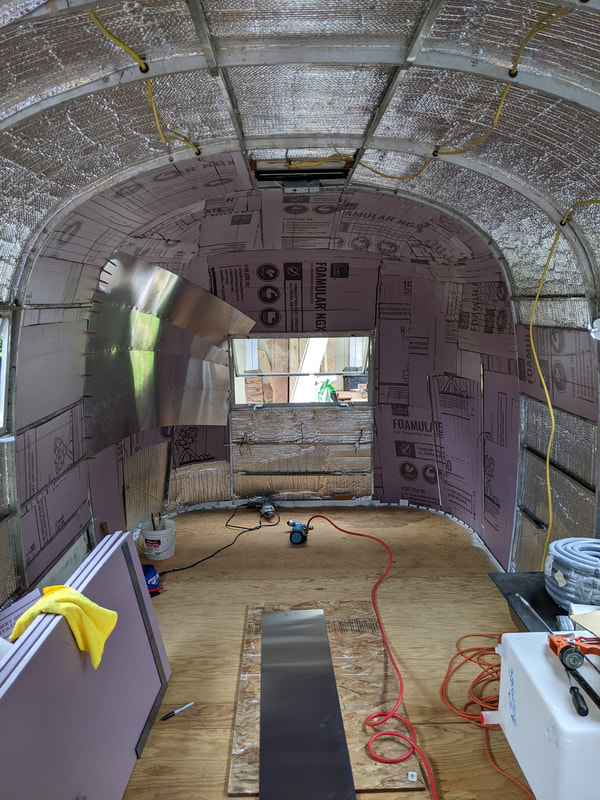 | 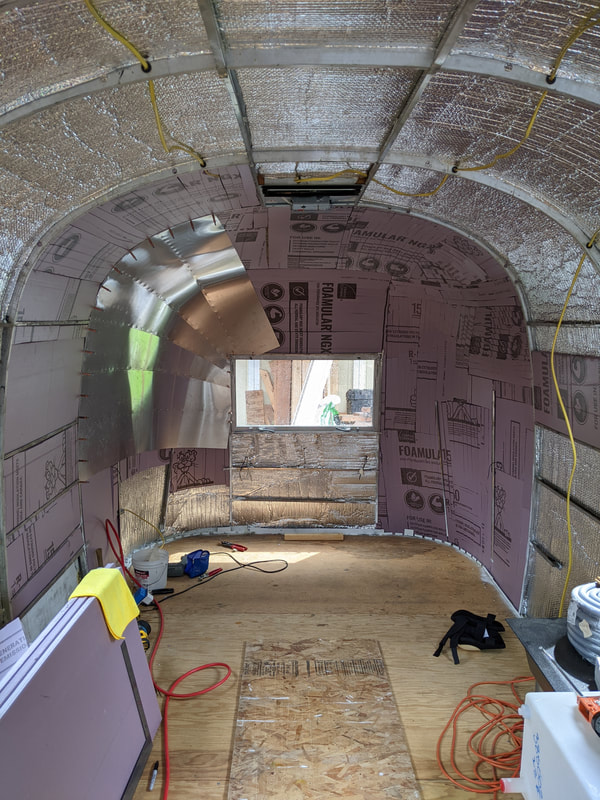 |
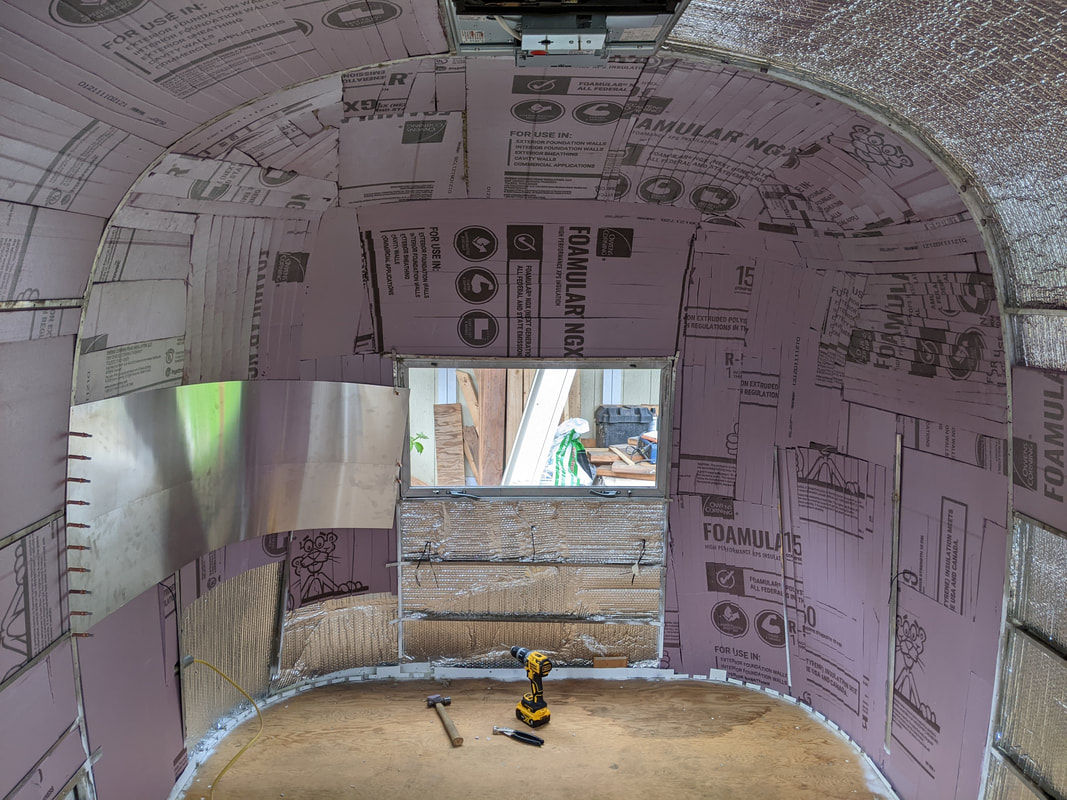
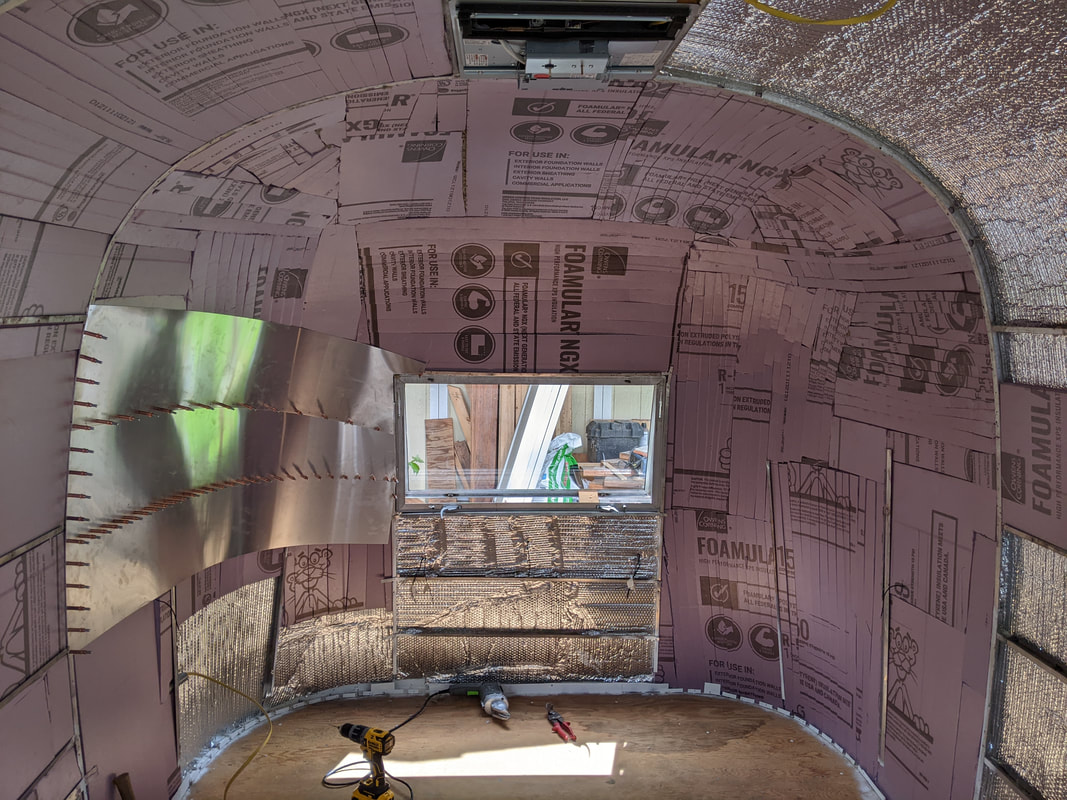
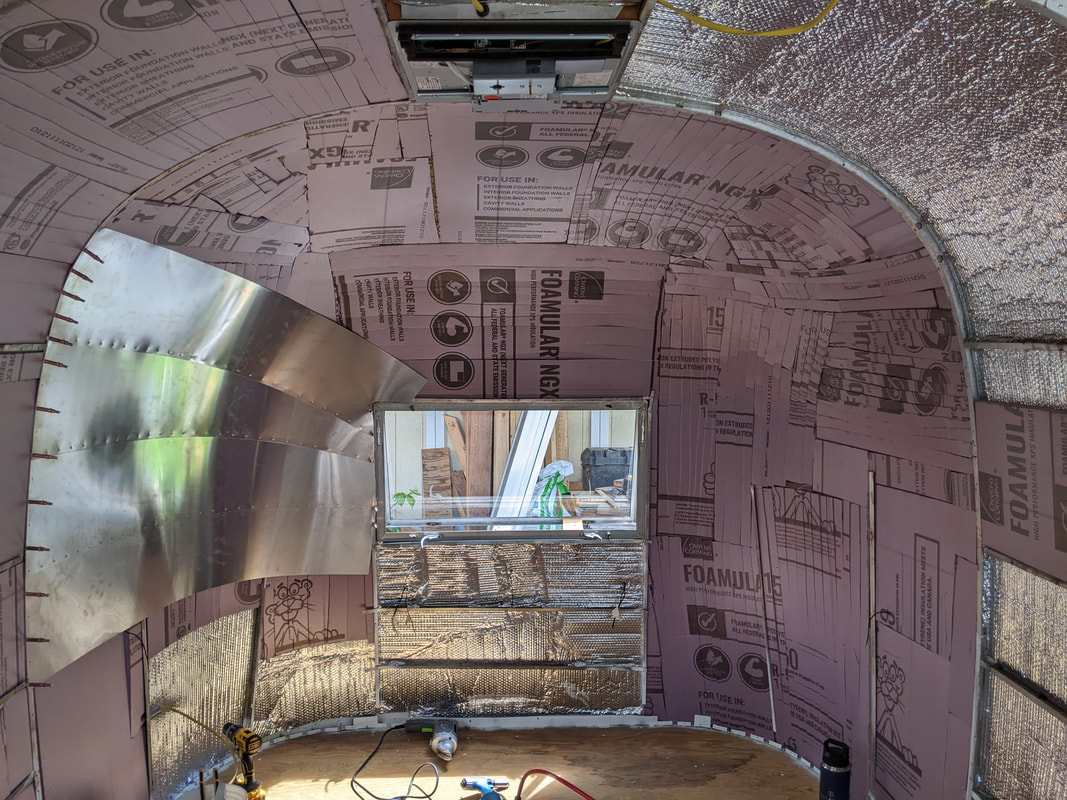
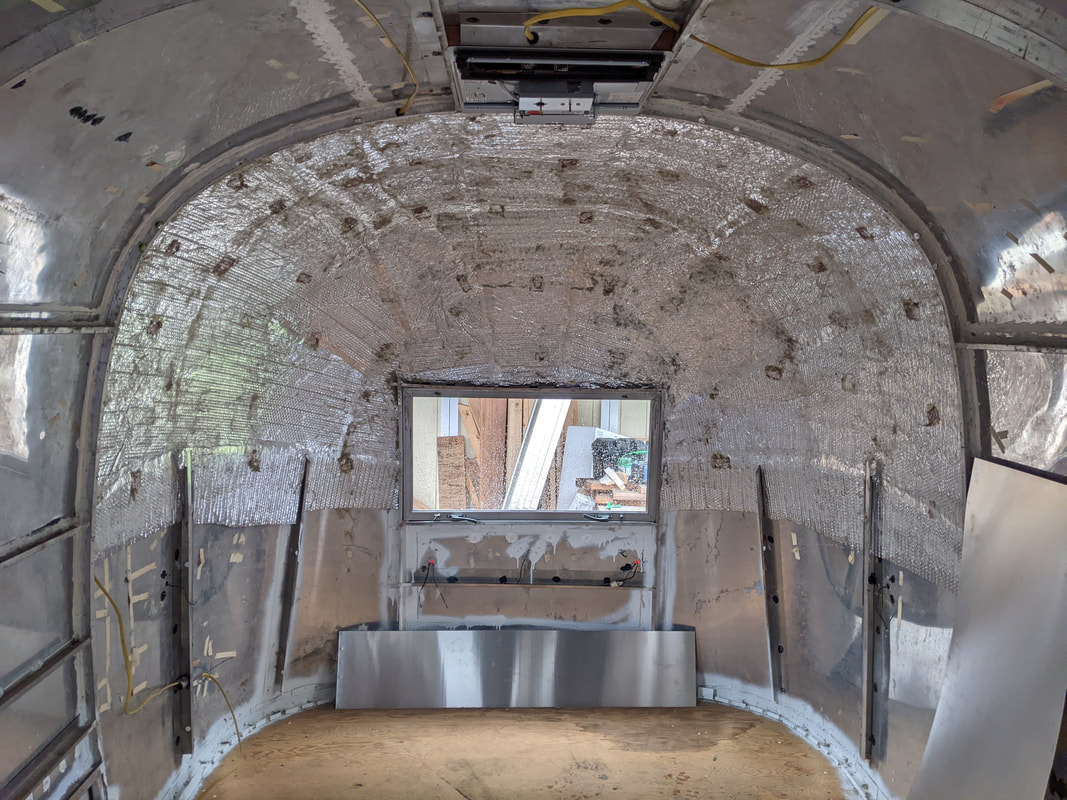
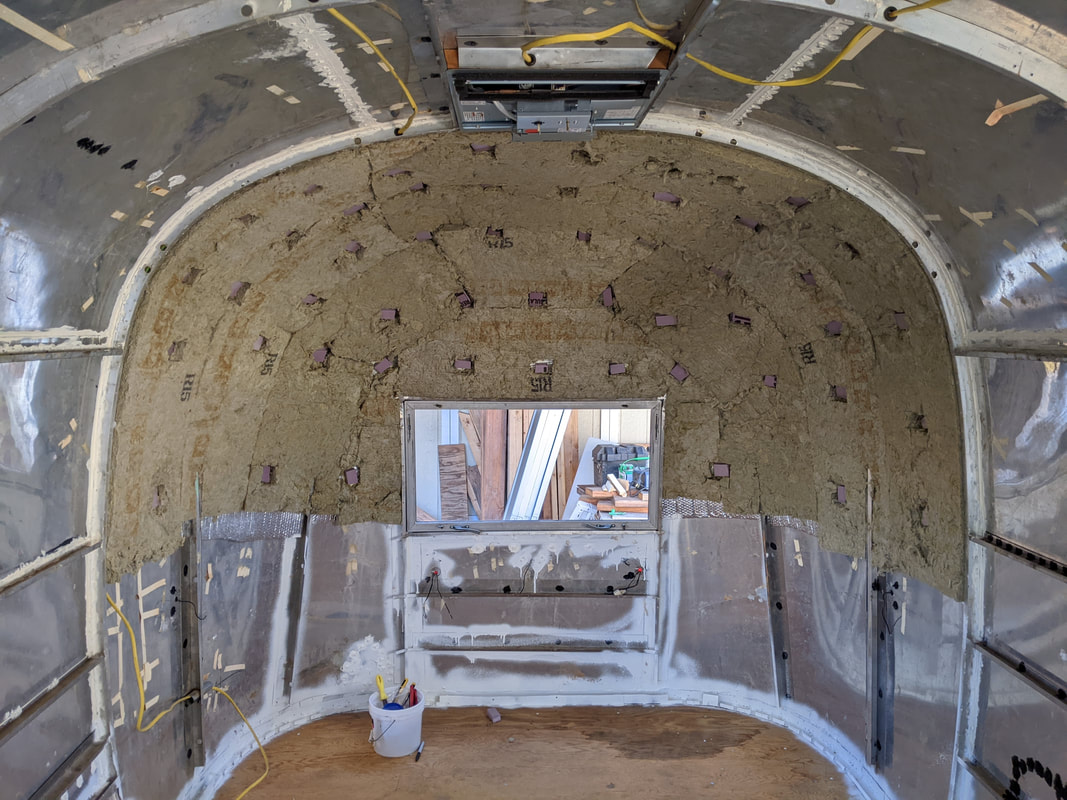
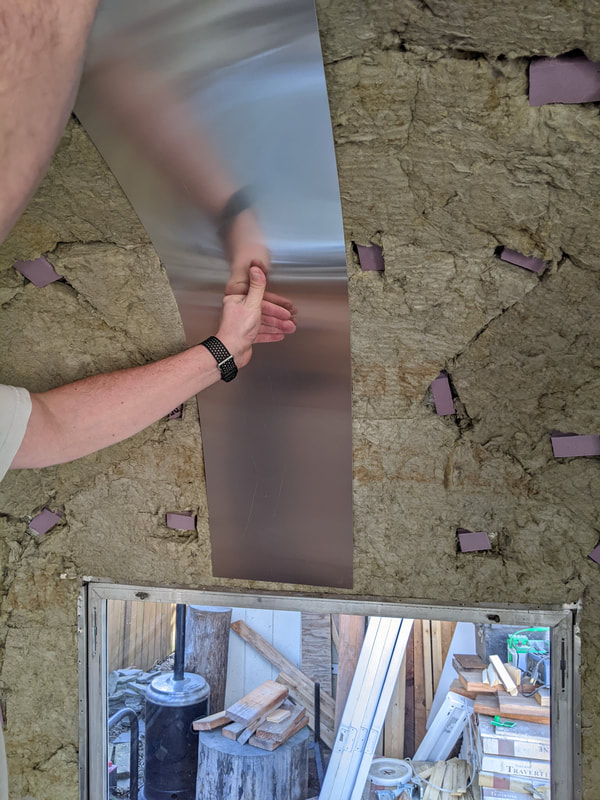
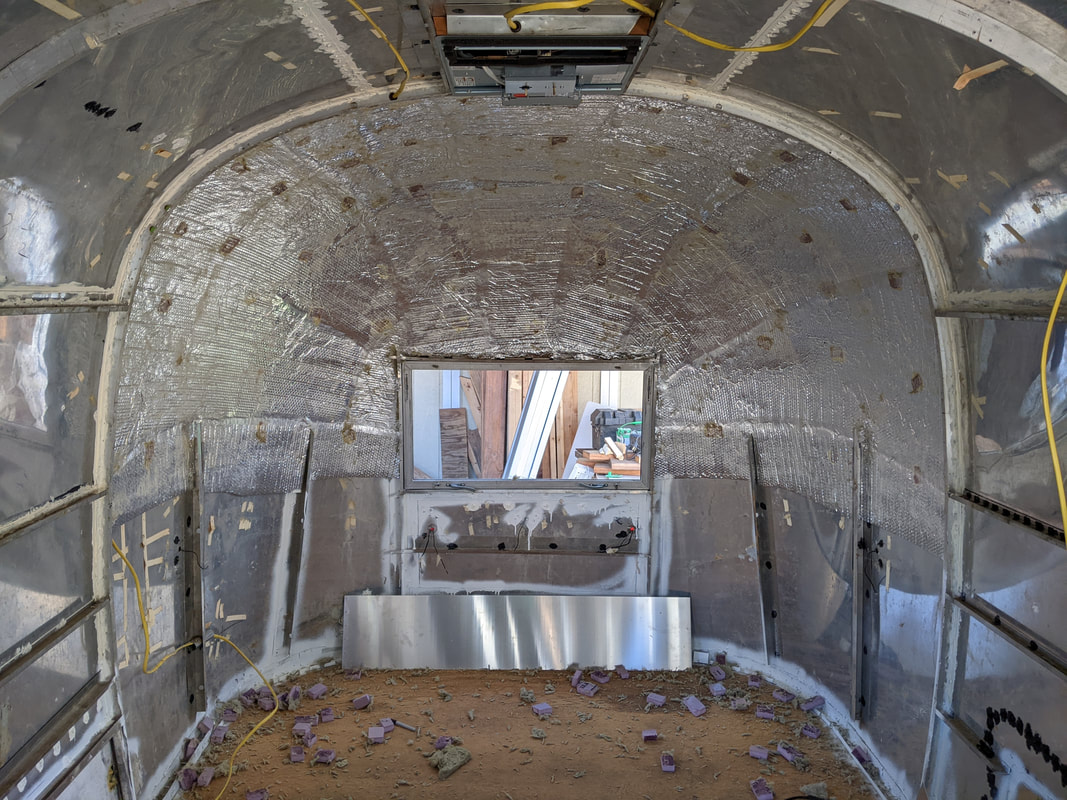
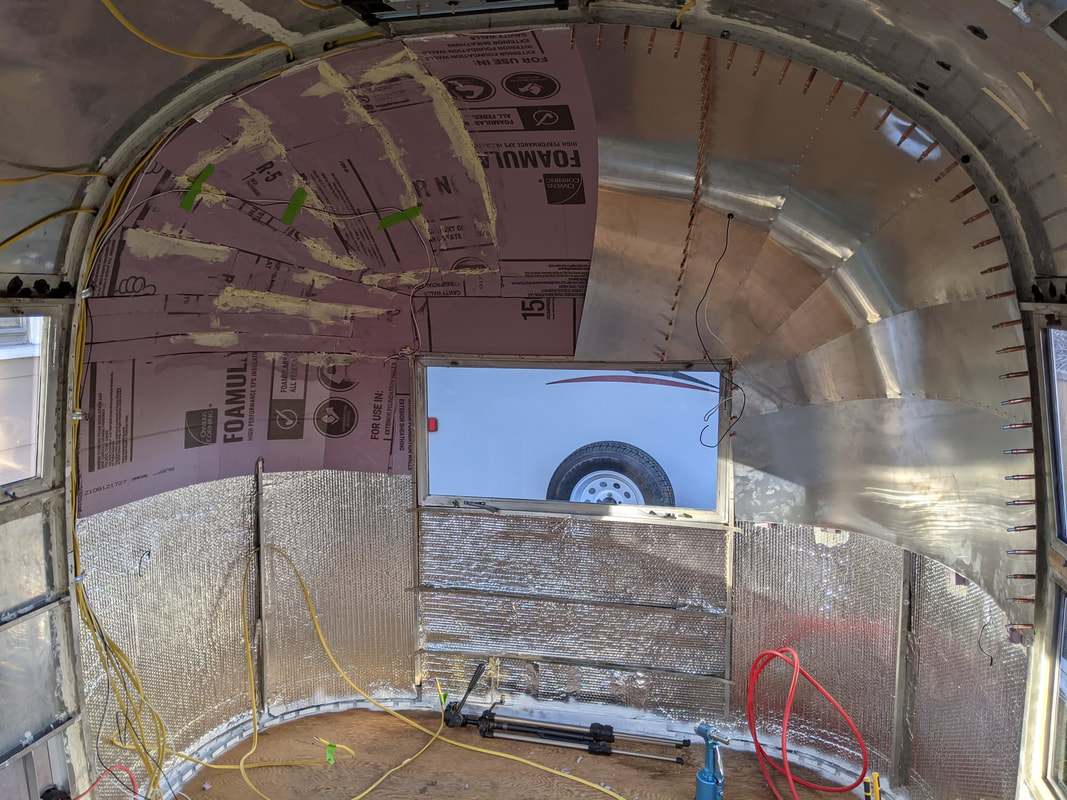
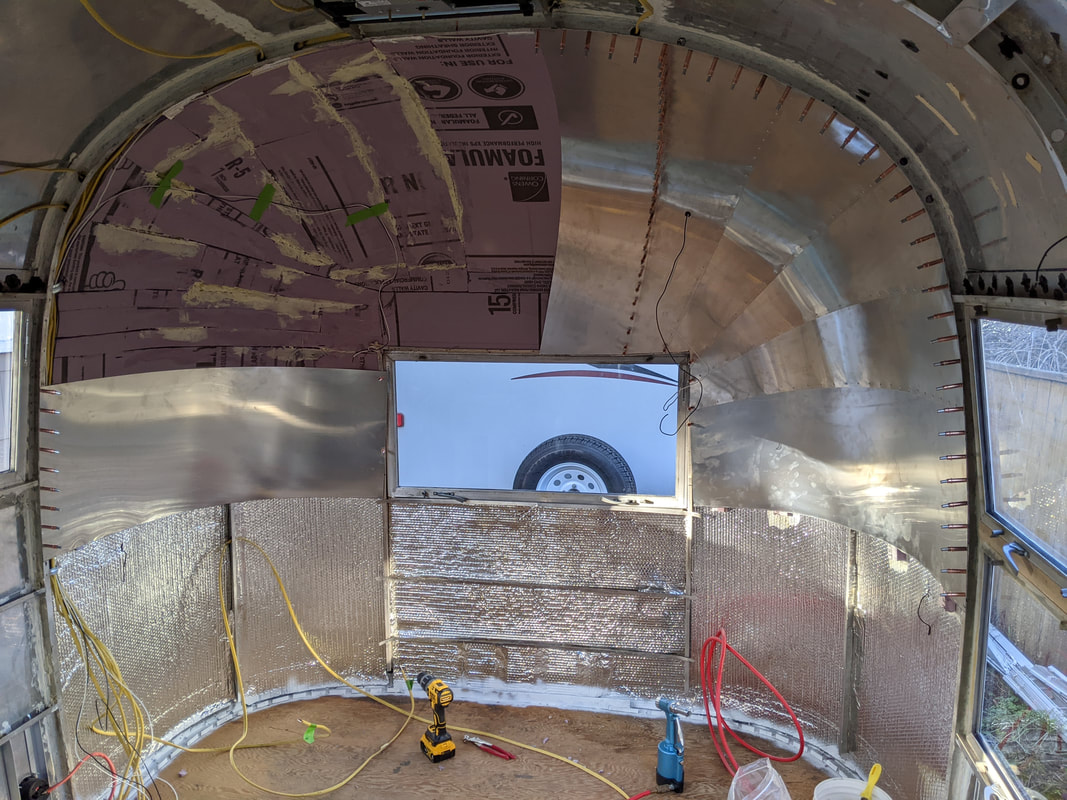
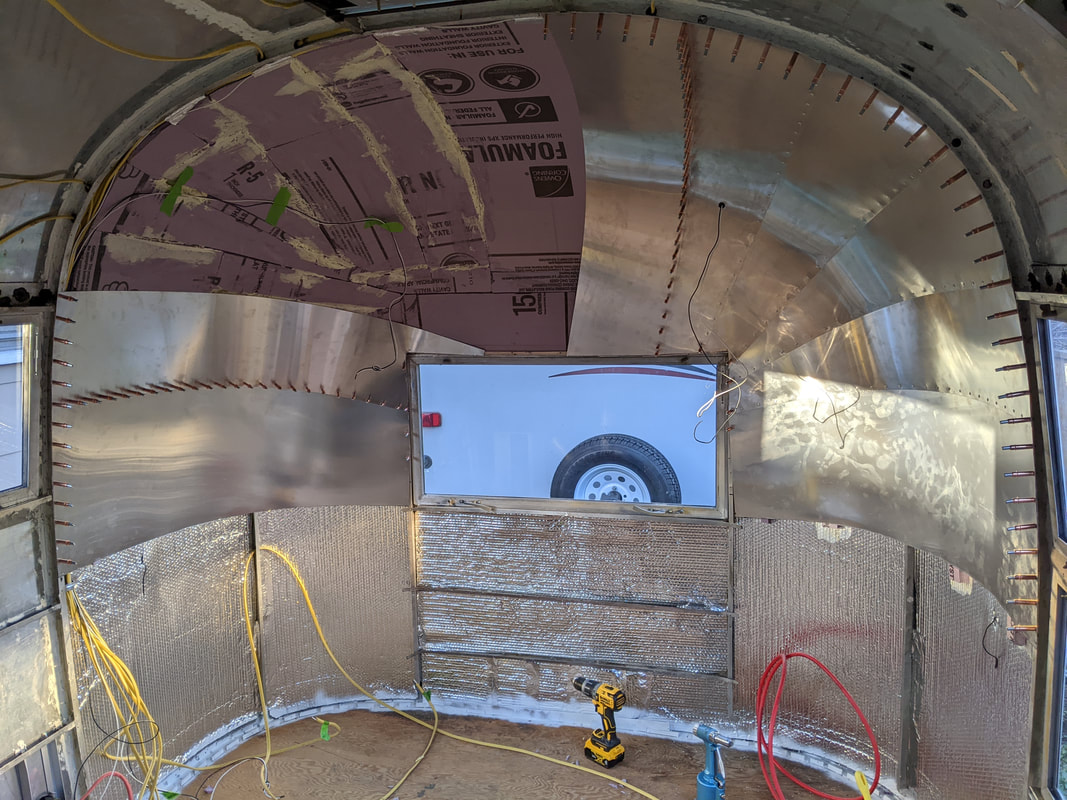
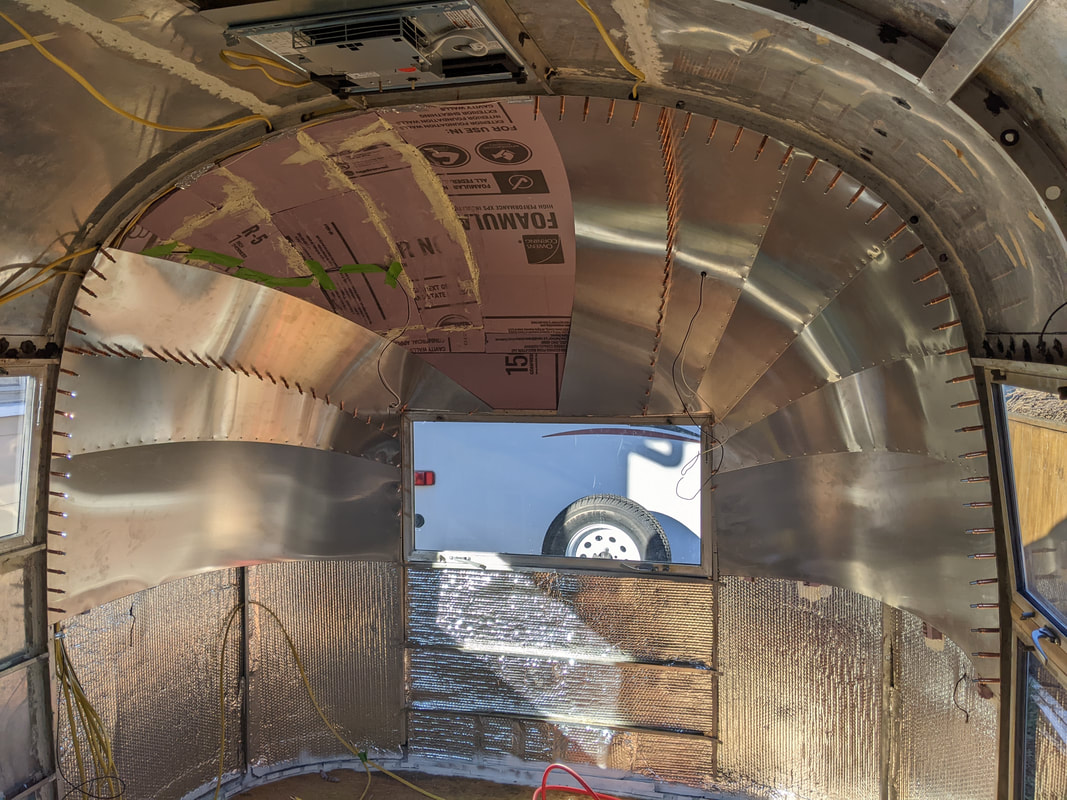
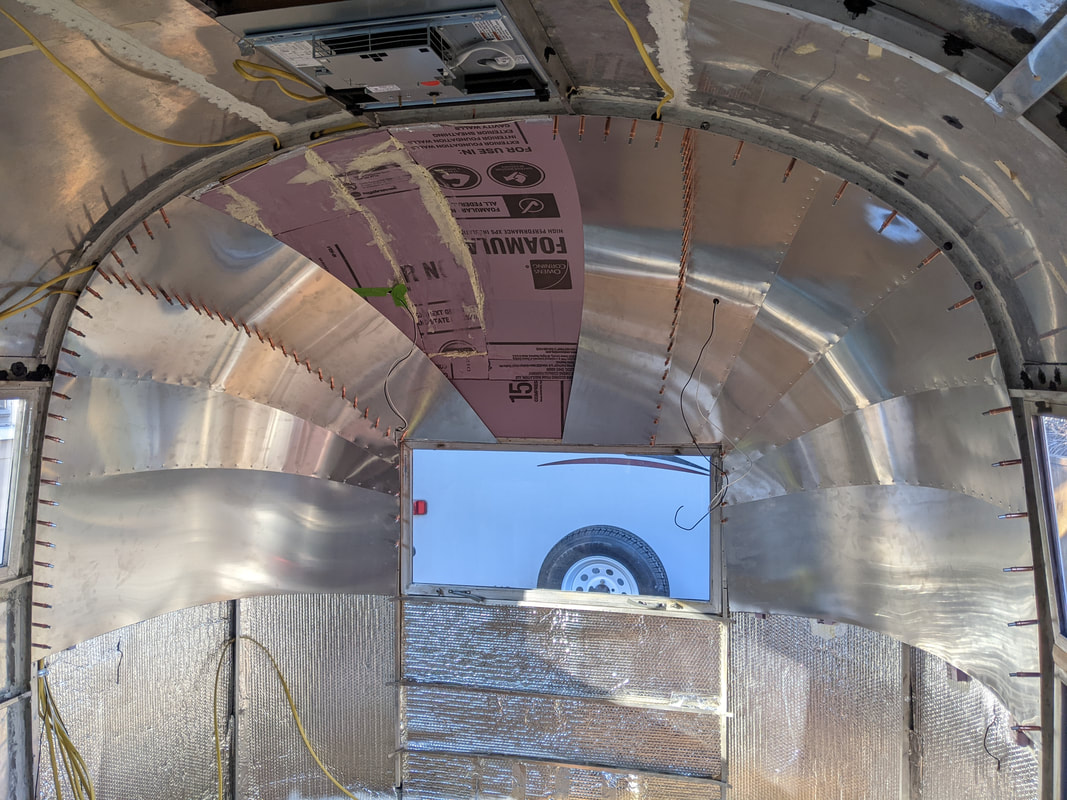
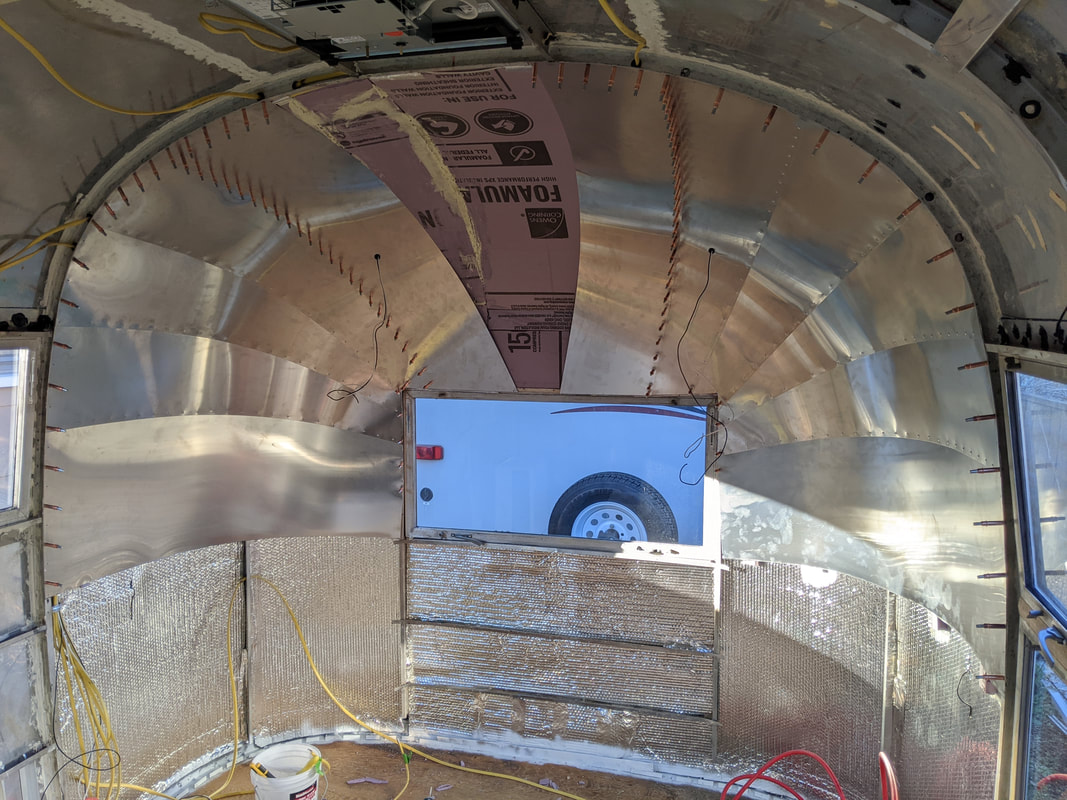
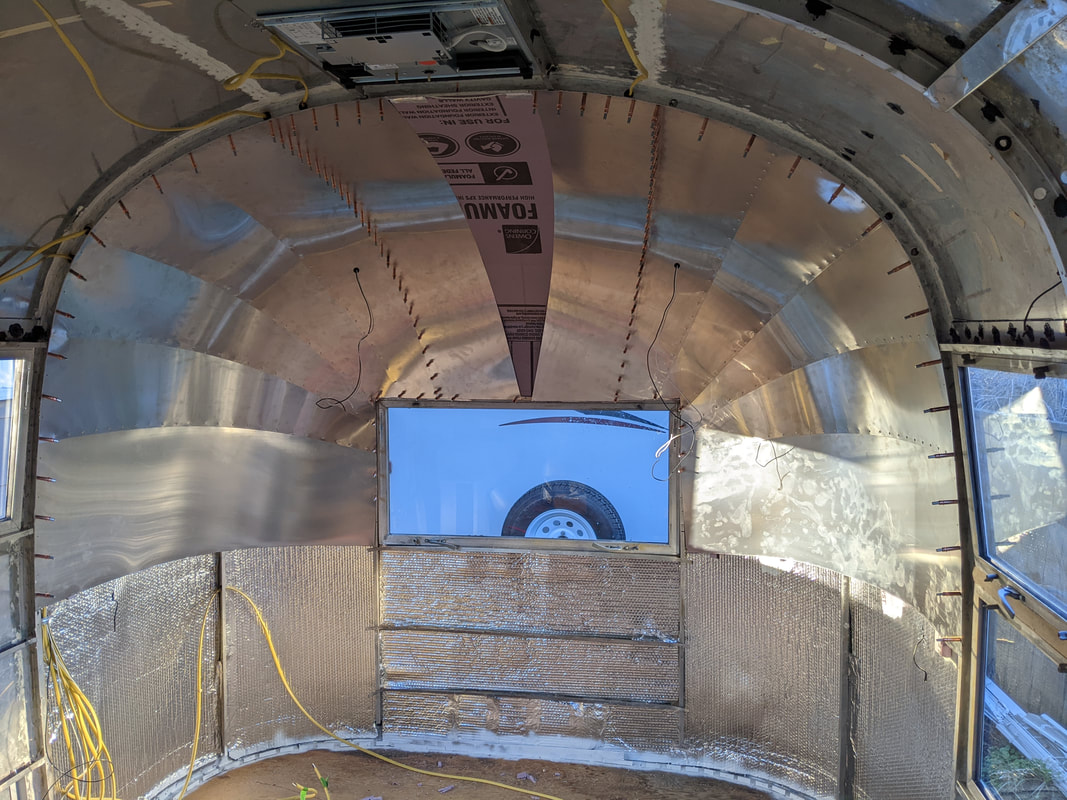
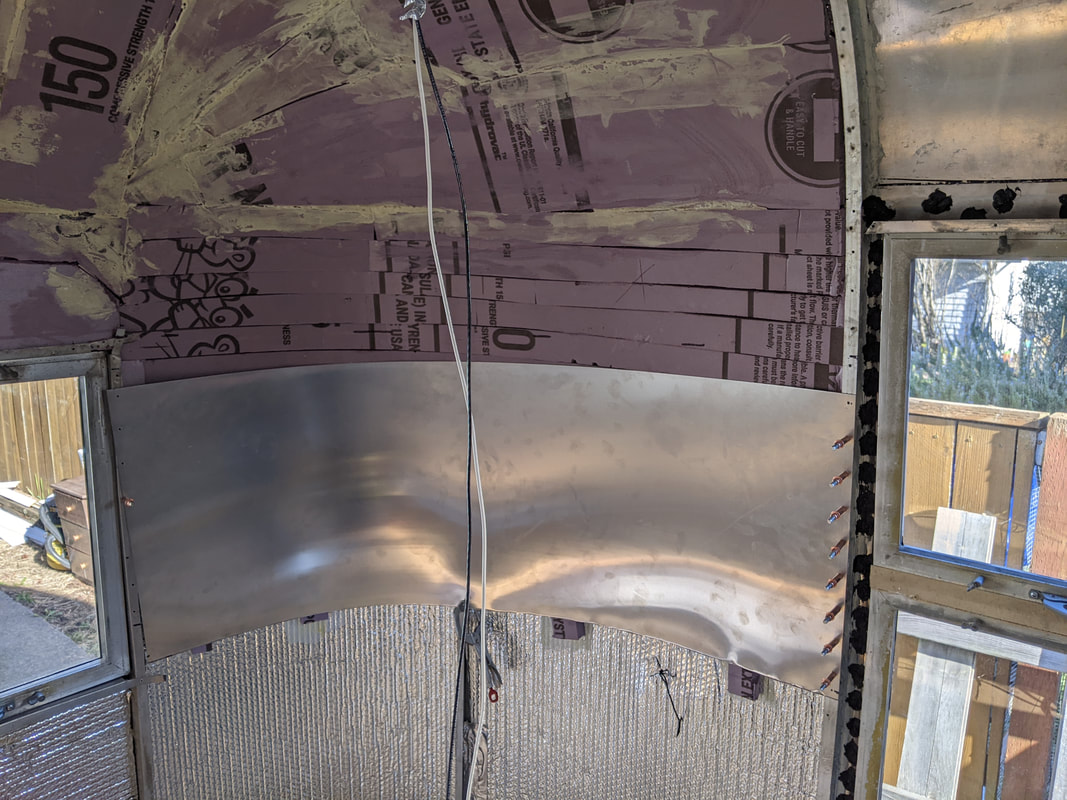
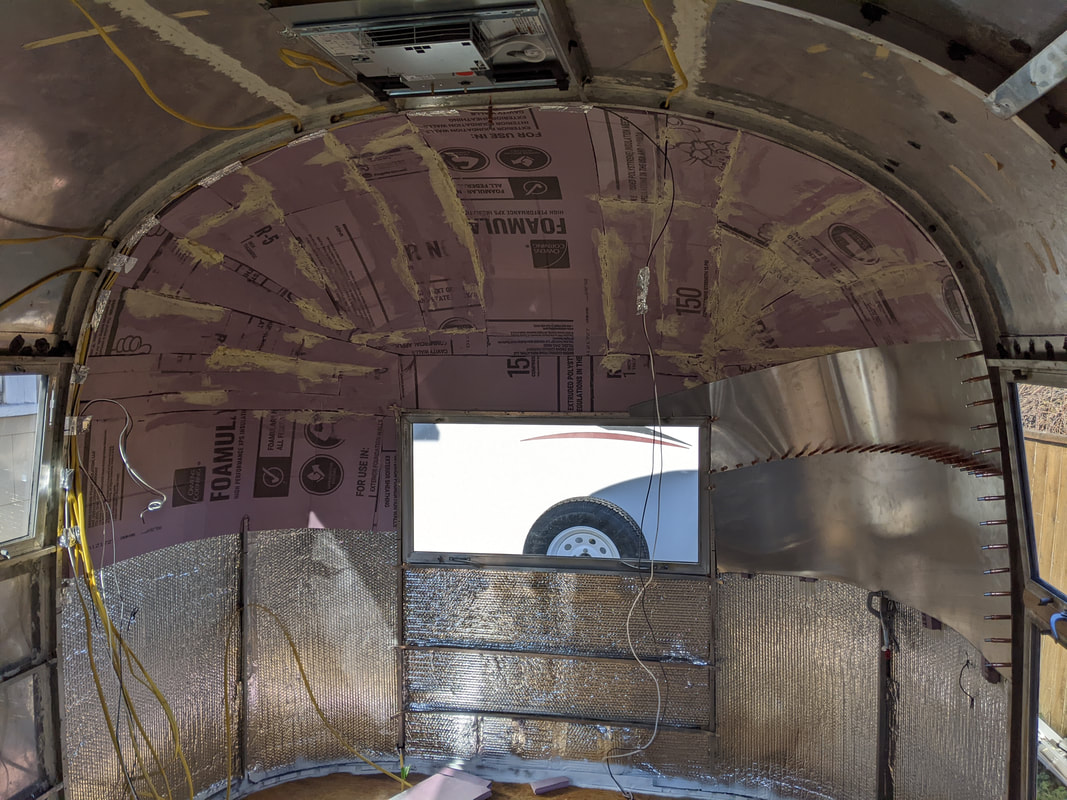
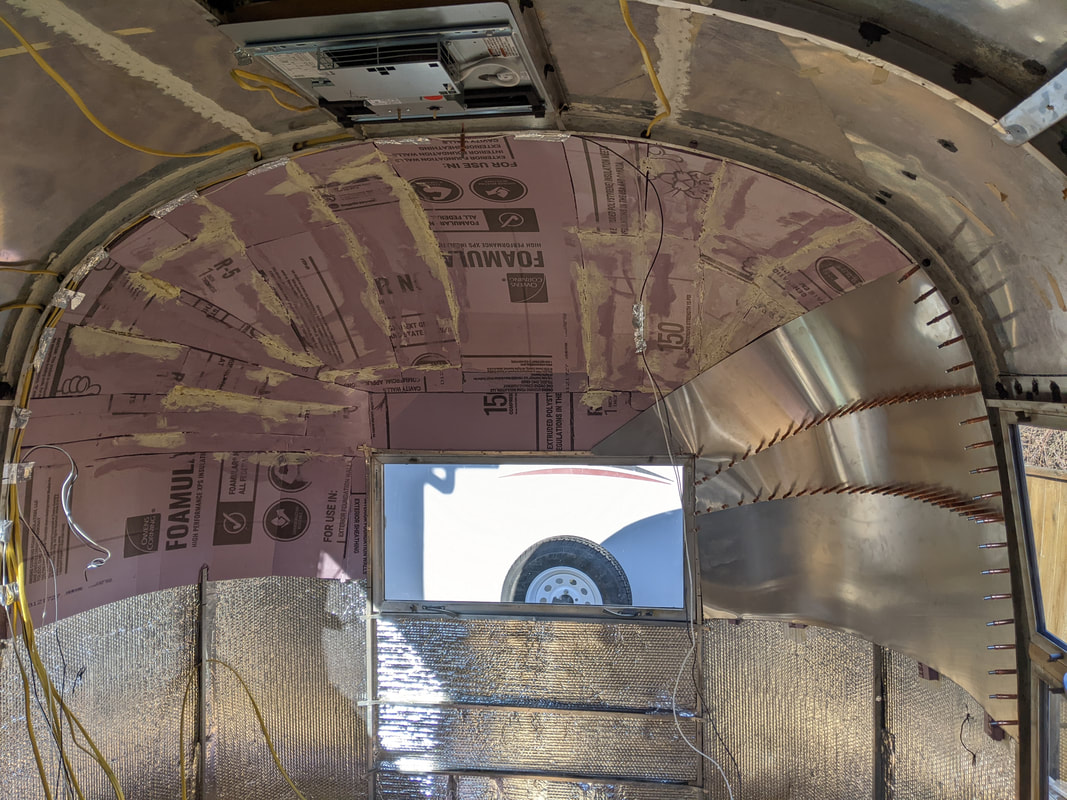
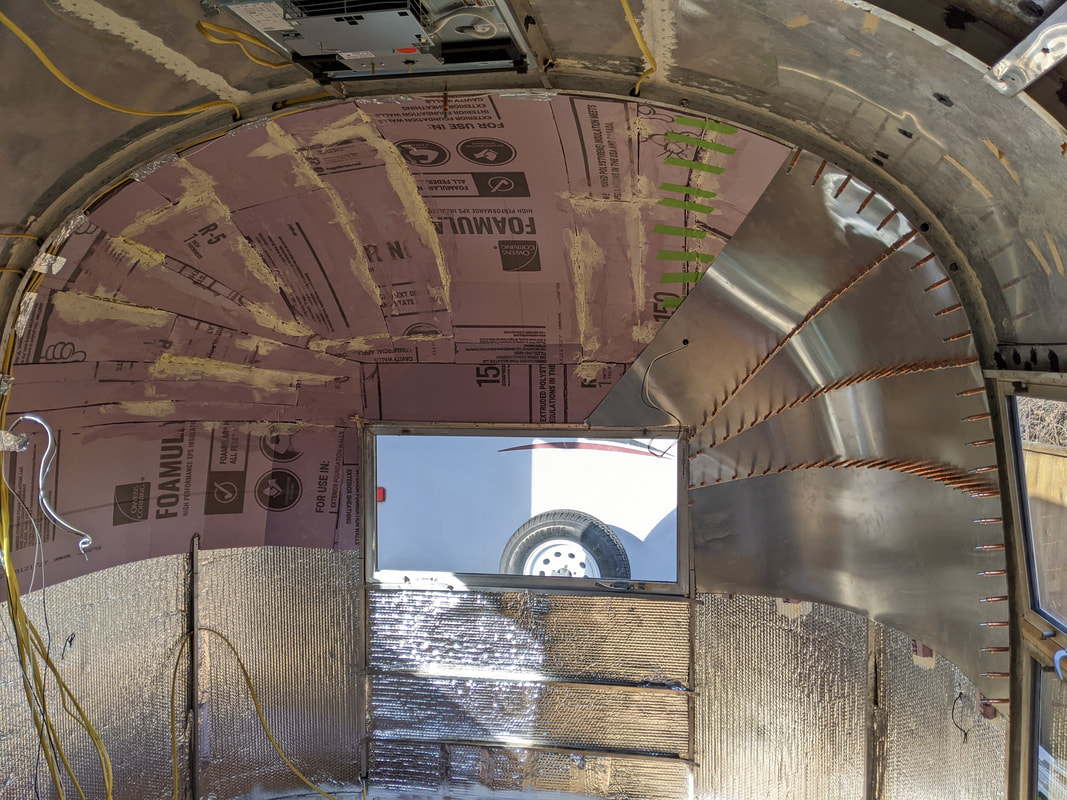
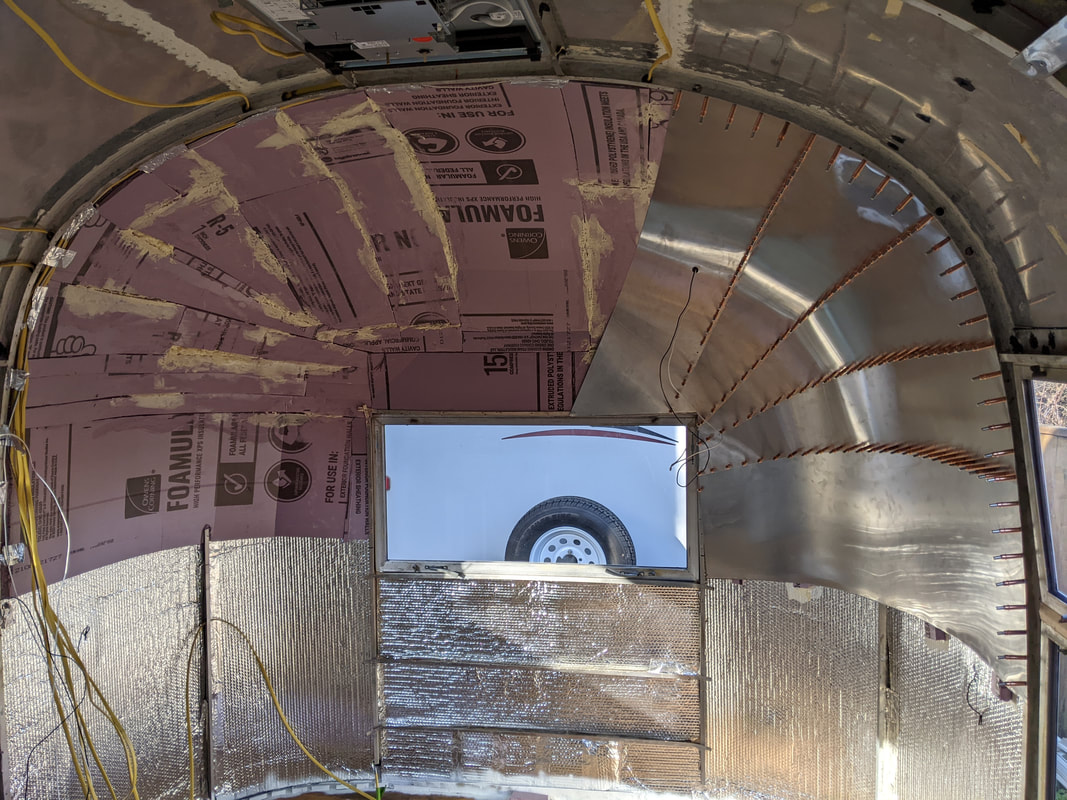
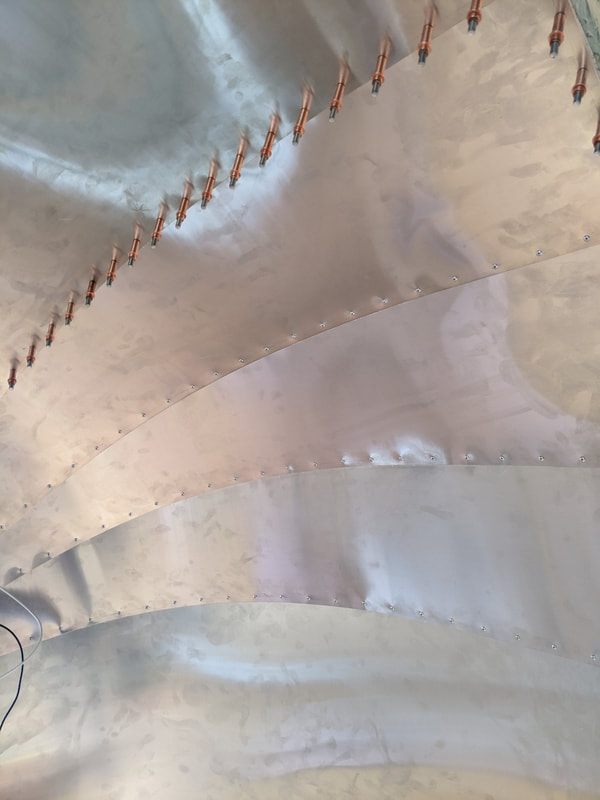
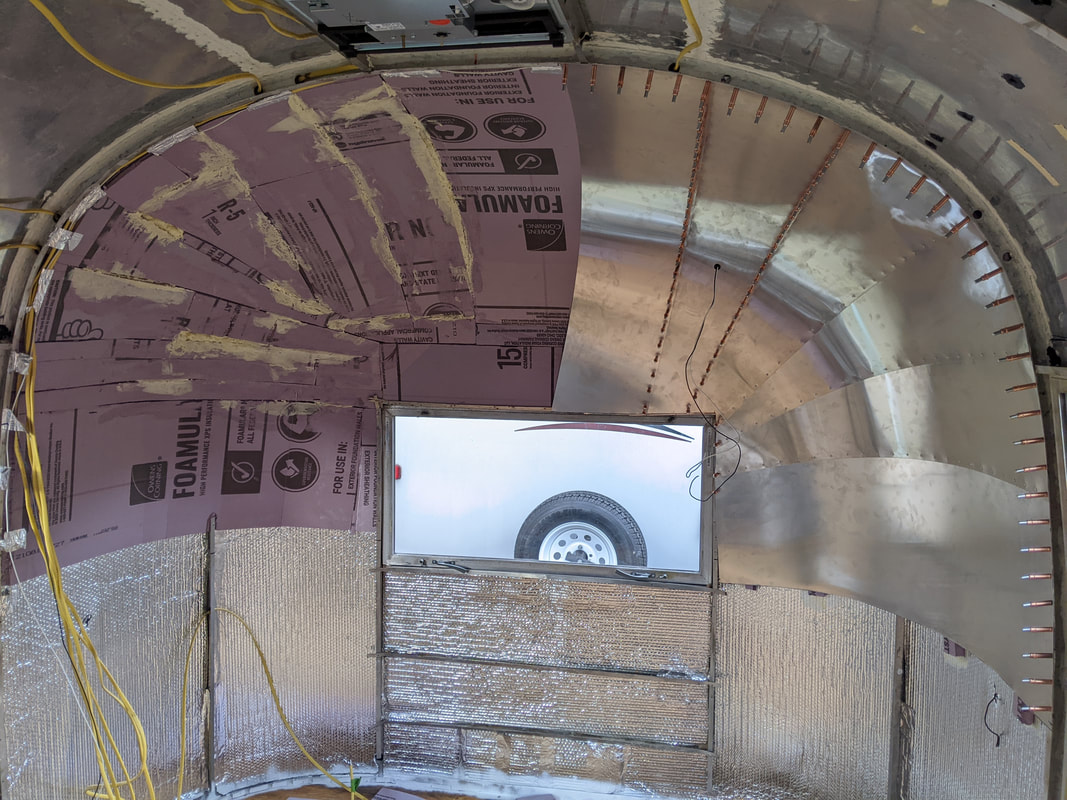
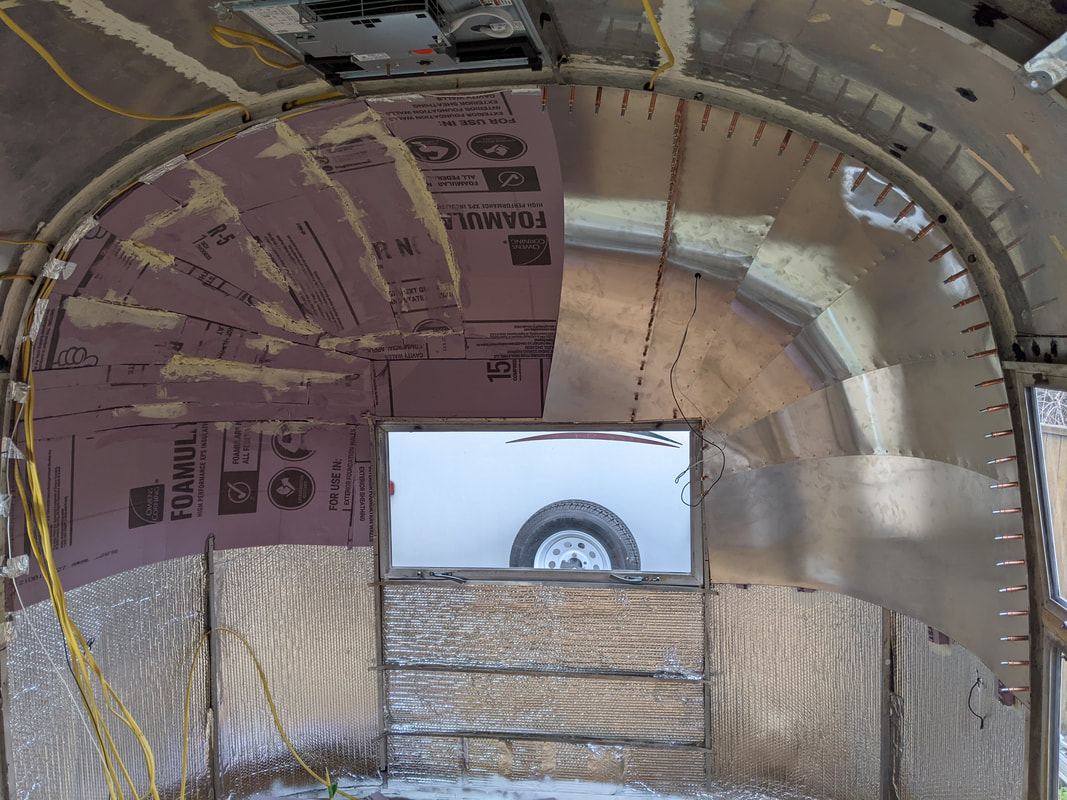
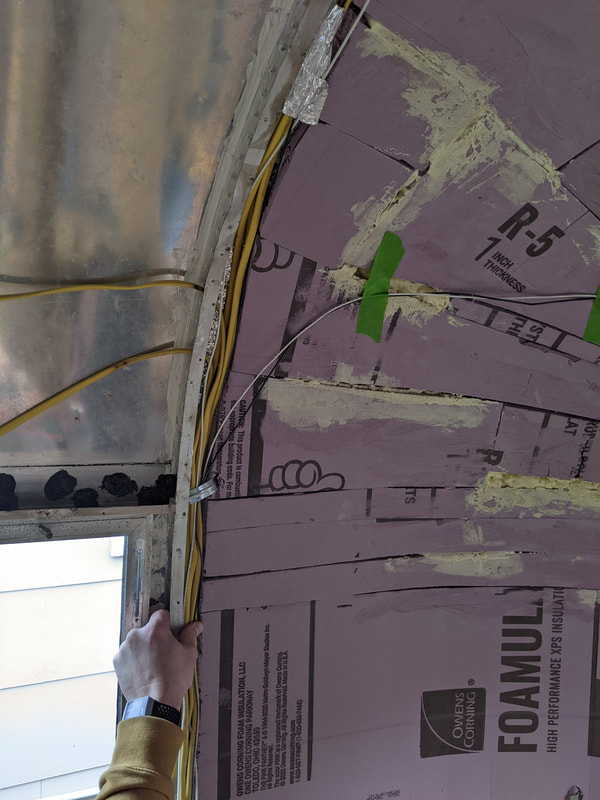
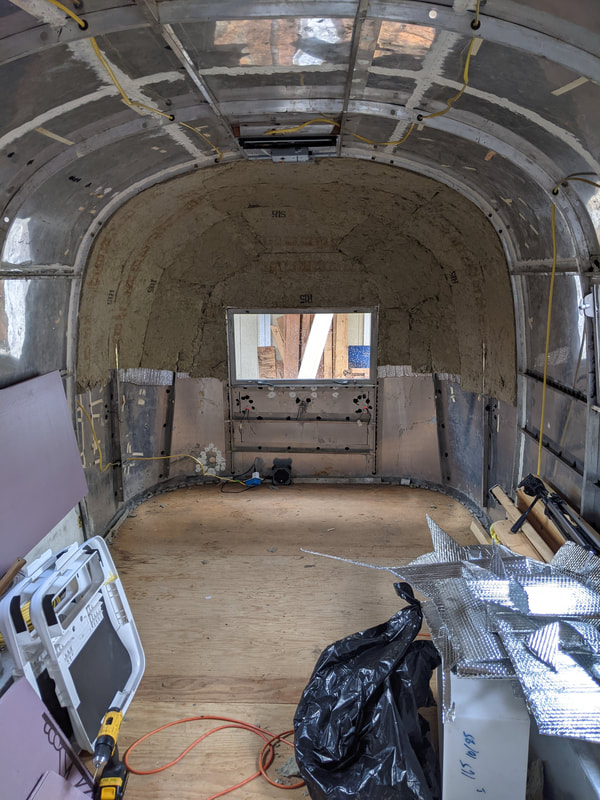
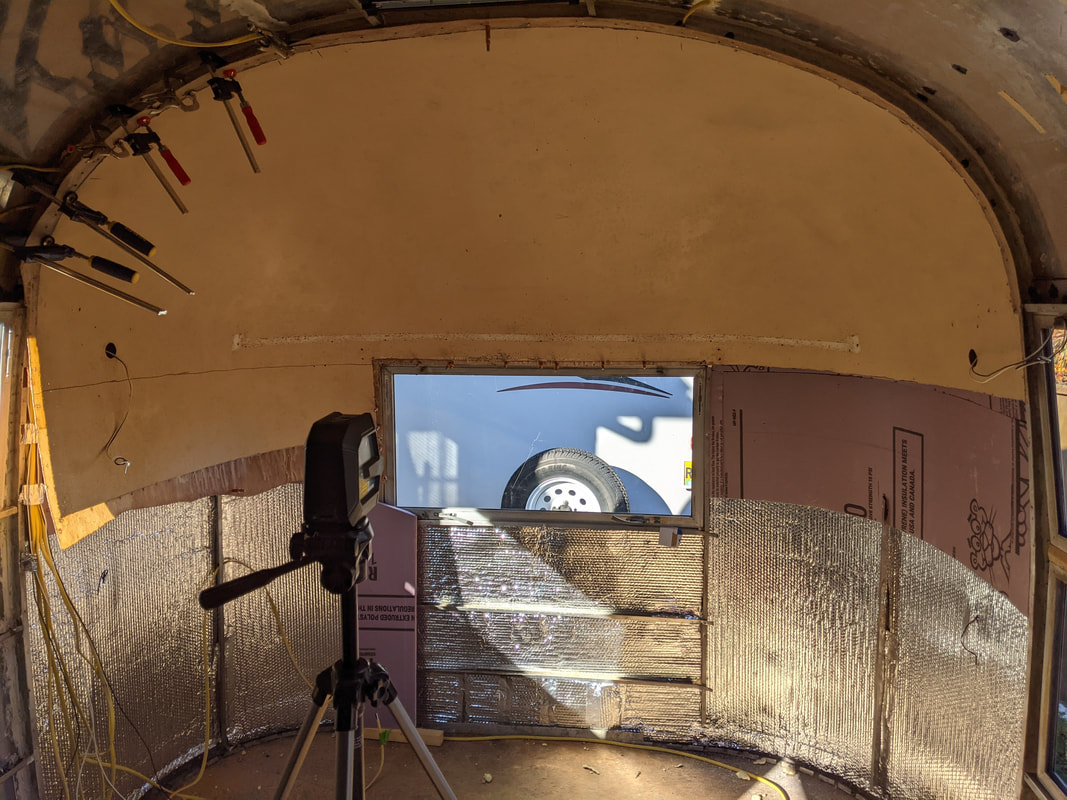
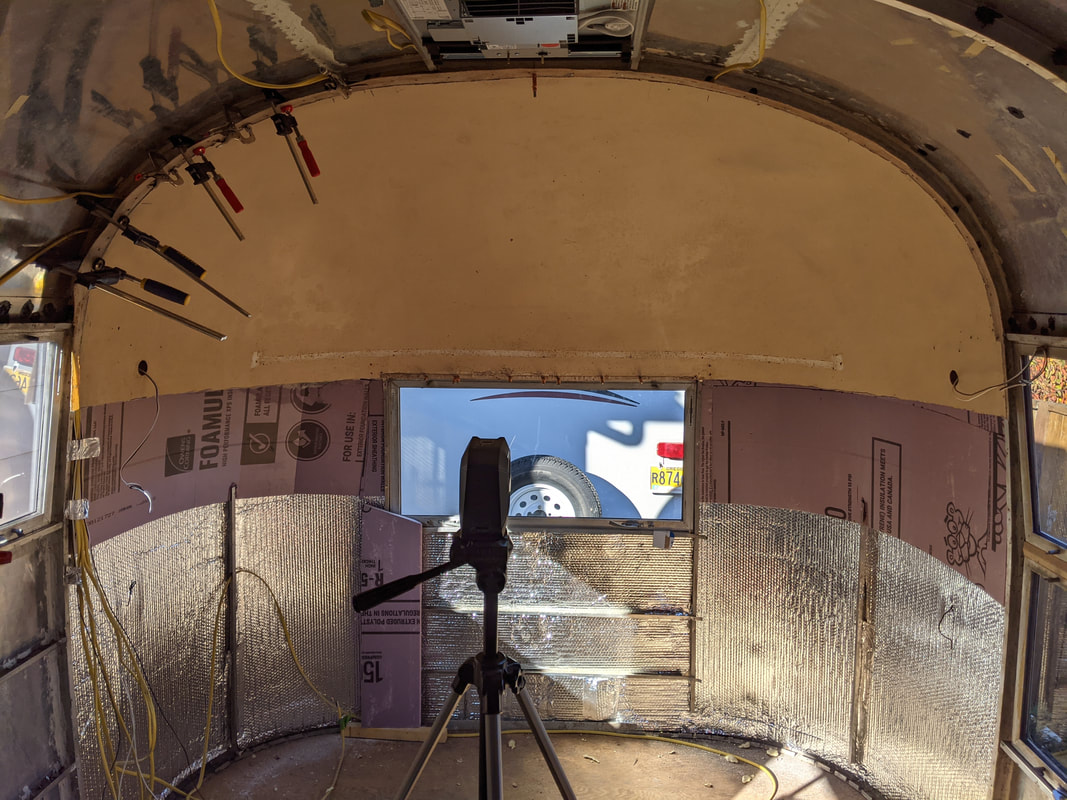
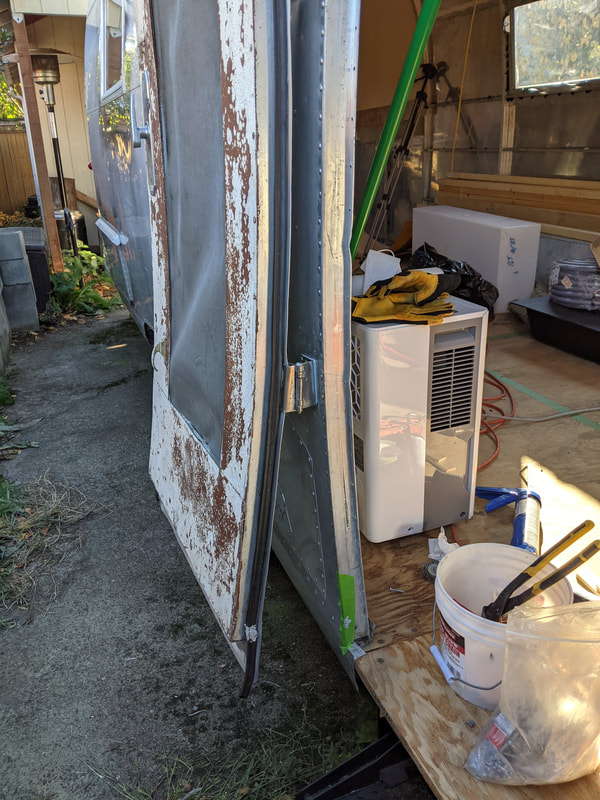
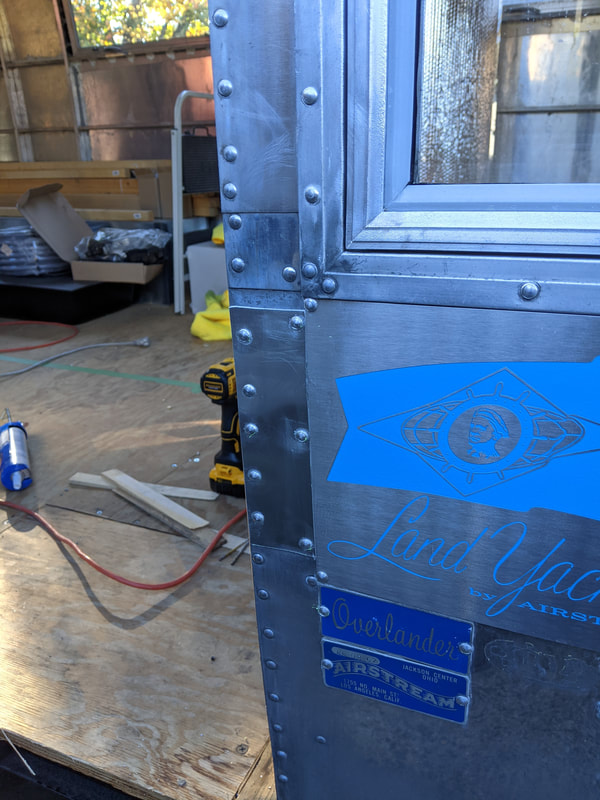
We got two more panels installed! This is as far as we could progress on the left side with the sizes of aluminum sheets we have. What's really nice is - we have enough sheets to do the same amount on the right side!
WHICH MEANS!
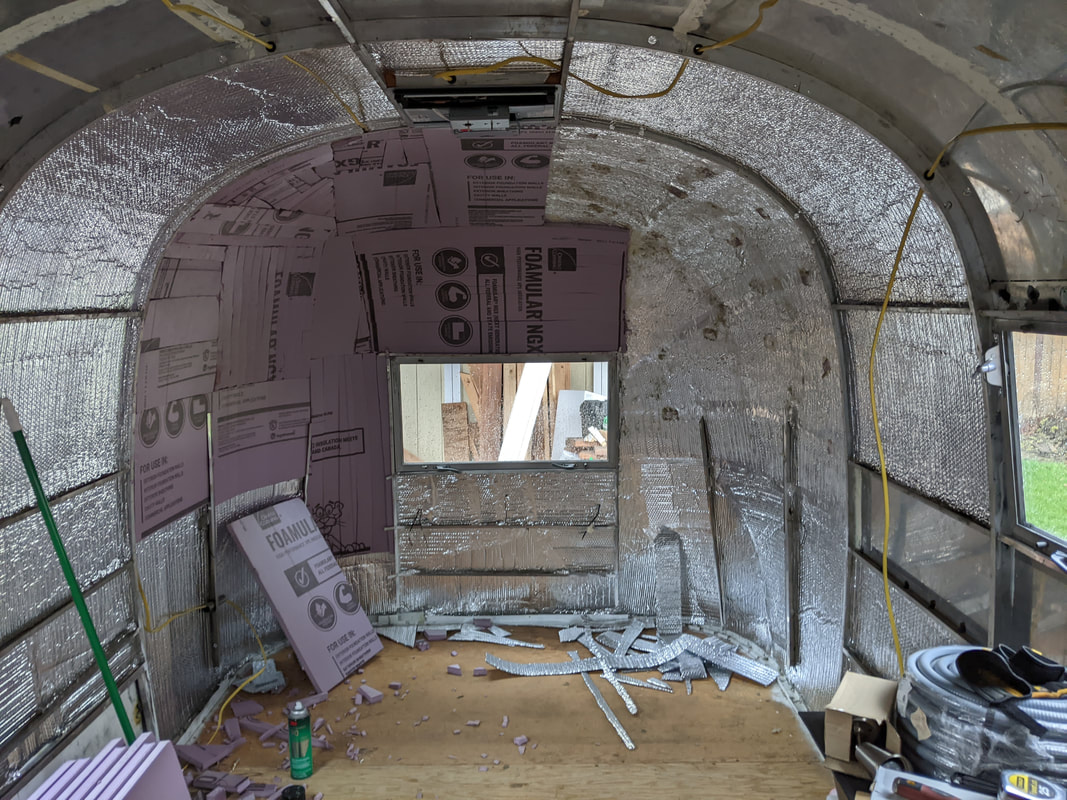
In order to fix our ordering mistake (totally took YouTube advice on sheet sizes when we shouldn't have ;) ), we only have 4 sheets total to reorder! We need the center panel for the front end cap plus 3 panels for the rear! That's WAY better than I had imagined :)
Super excited to be moving forward again, even if it IS at a turtle's pace ;)
Until Next Time! <3 Becca
WHICH MEANS!
In order to fix our ordering mistake (totally took YouTube advice on sheet sizes when we shouldn't have ;) ), we only have 4 sheets total to reorder! We need the center panel for the front end cap plus 3 panels for the rear! That's WAY better than I had imagined :)
Super excited to be moving forward again, even if it IS at a turtle's pace ;)
Until Next Time! <3 Becca